


But in this case I don't think it has anything to do with cleanliness but all to do with the paint.. Is it acrylic or enamel?
Warren


Hi
Here is a update.
Lot of sink marks and zillions of rivets will disappear when the filler hits!


 I've got an Airfix Hudson that was too close to a fire, the fuselage halves bent at the middle, I doubt there's enough clamps in the world to bring those halves together...


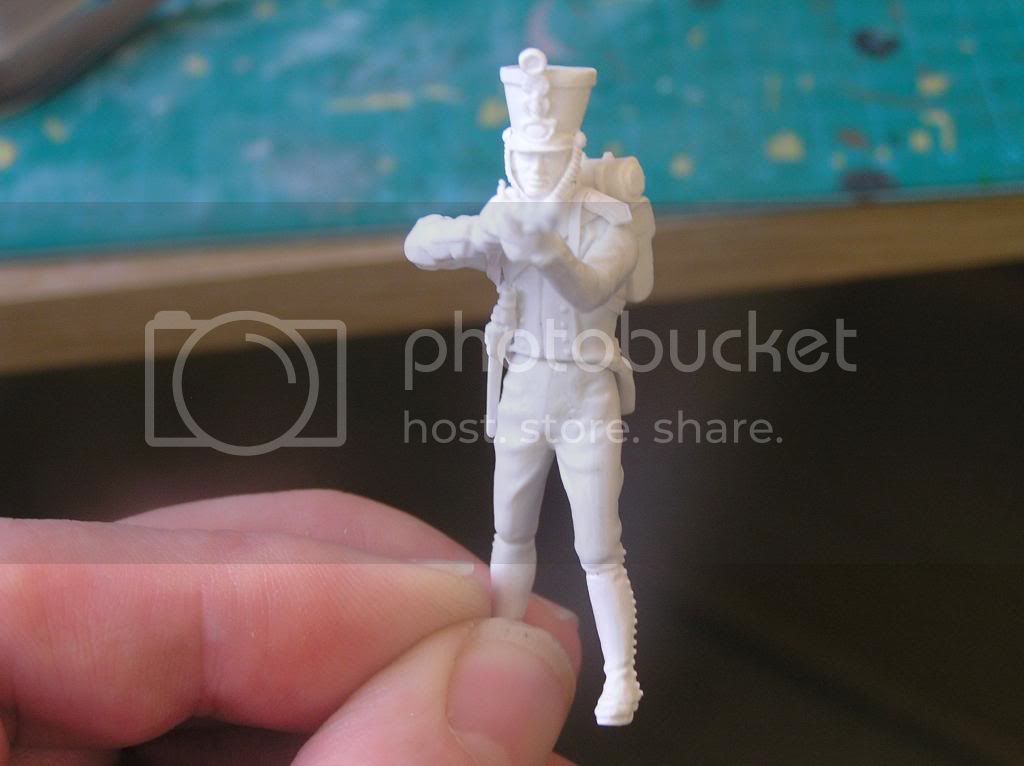

Ok, that's the French Line Infantryman assembled, filled and sanded, ready for priming:


A search of the Falcon website comes up negative
Tip for you: Bridge the gap with a bead of white glue first, let it dry, paint it the interior colour, then apply your Milliput or superglue. That way the proper colour will be seen through the canopy windows.


Warren it looks like we have the same mould maker!
Warren, good to see you boldly going forth with the Annie. I have one of these in my pile and you adventure is a good road map to follow.
Back 40 years ago the gap would have been split around the glass and big steps would be part of the frame and lots of glue as filler
. But the detail on several of the parts had been softened by frequent gluing..... That one stayed on the shelf..


 |


