


Have a nice night, fellows!
Javier


That's a great handle Quasimofo..
Good to see one of these older airliner kits being built by someone other than Jessie...


well guess who totally missed the start of this one! i'm going to have a look at whats eligible for this as soon as i stop typing this.......
back in a mo!
it has been a long mo.. 


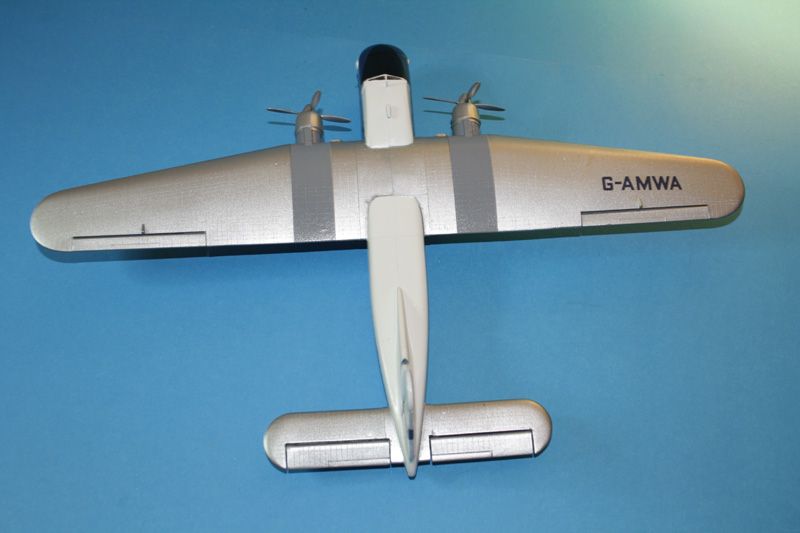
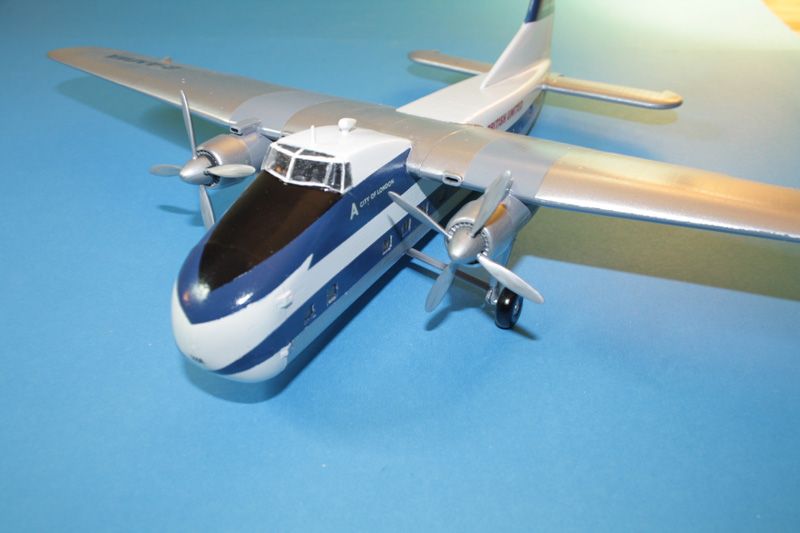
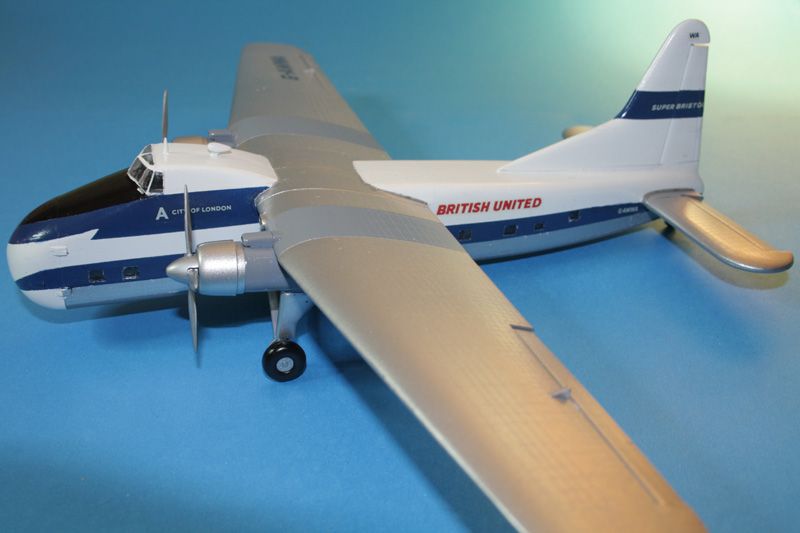
all right, the story so far...........
I've been up in the loft, gone through the stash and decided that this kit was begging me to build it-
I then read through the whole thread, and noticed someone else was already building this one, however rather than go back up the loft I'll'll carry on with this build as it just gets in before the 1979 cut off point-
thing is, when I opened the box I found a forgotten bonus!
now is it OK to use this etch? it only really adds detail to the cockpit, stuff I may well have scratch built or otherwise improved
*edit* just spotted warrani's post, yeah the mo was stretched out due to my ever helpful camera phone deciding it just HAD to download all sorts of updates when all i wanted to do was put three pics up in this thread! doncha just love technology!
Quoted Textall right, the story so far...........
I've been up in the loft, gone through the stash and decided that this kit was begging me to build it-
I then read through the whole thread, and noticed someone else was already building this one, however rather than go back up the loft I'll'll carry on with this build as it just gets in before the 1979 cut off point-
thing is, when I opened the box I found a forgotten bonus!
now is it OK to use this etch? it only really adds detail to the cockpit, stuff I may well have scratch built or otherwise improved
*edit* just spotted warrani's post, yeah the mo was stretched out due to my ever helpful camera phone deciding it just HAD to download all sorts of updates when all i wanted to do was put three pics up in this thread! doncha just love technology!
That date has me confused as I know I built this kit in the early 1970s... Oh well..


Well done Mr Banger..
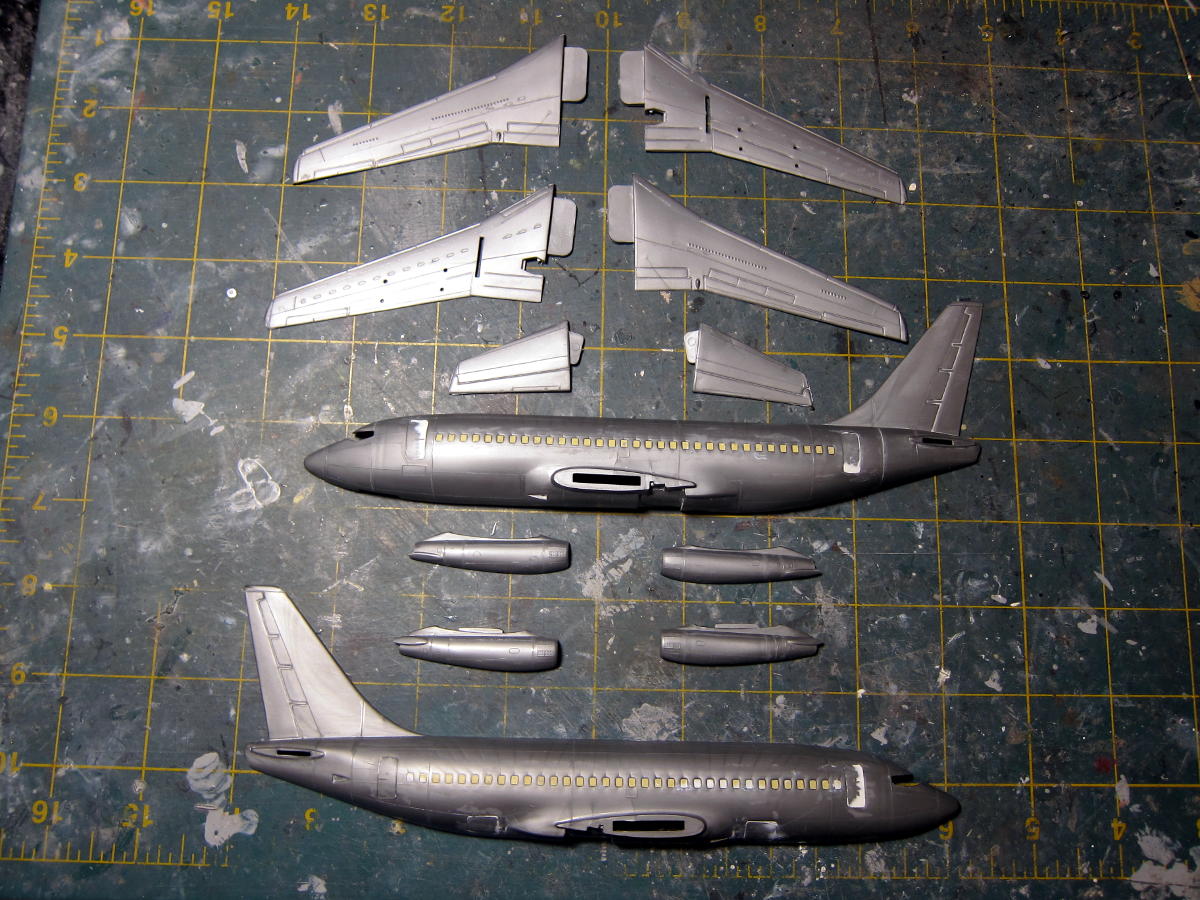
thanks jessica! I have been piddling about with the etch, and it thrown me a bit of a curveball already, it seems theres no way to fit the folded cockpit tub into the fuselage...


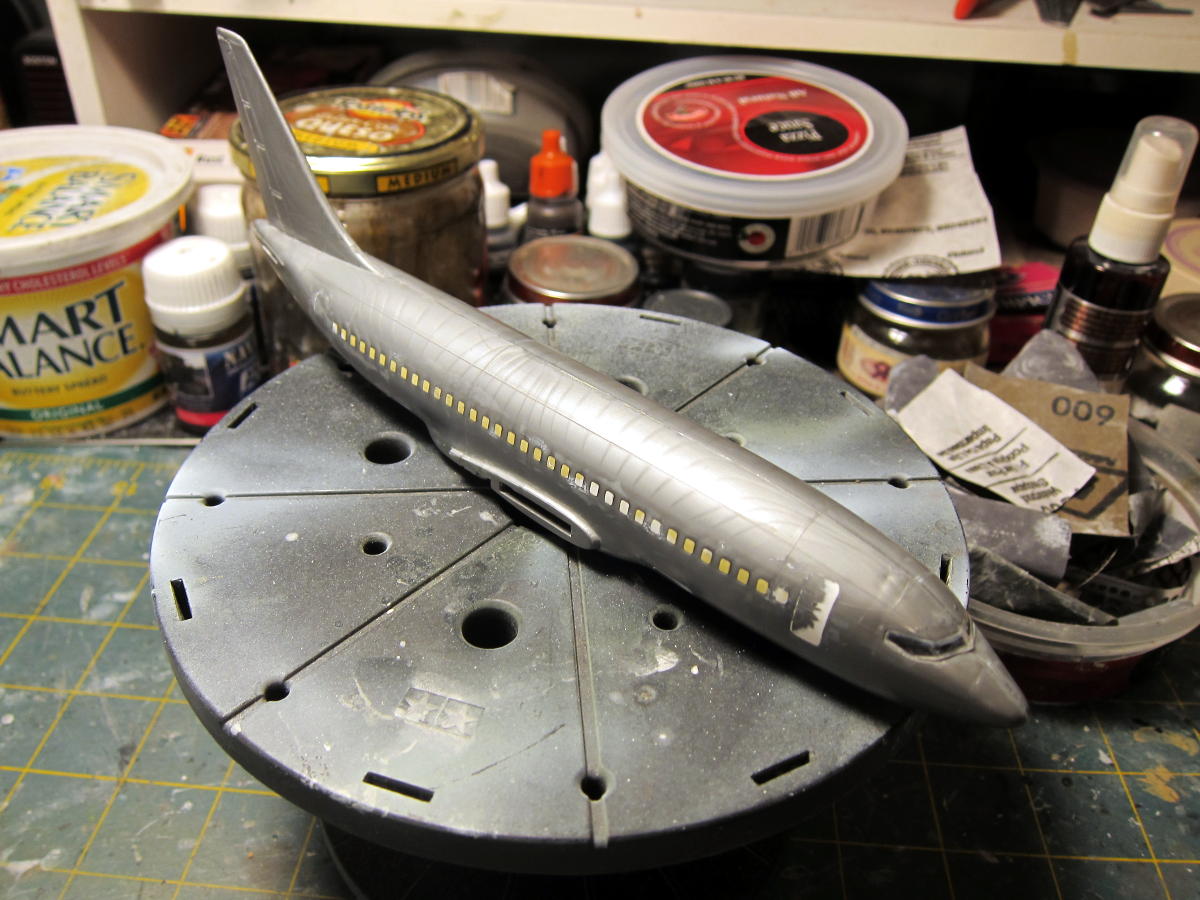
well, not only have I been thinning down the sides,but I threw every trick at my disposal at this- I also did manage to shave down the width of the instrument panel plus for good measure I will put a sliver of plasticard in the join to give me a little more width to play with-
the cockpit sides got as thin as I dared take them, when held up to a light they are really transparent! now that hiccup is out of the way I can get some more actual building done, maybe even some painting too!


The 737 is in the schedule for re-release in 2014 along with the 727. Poseidon anybody?


 |


