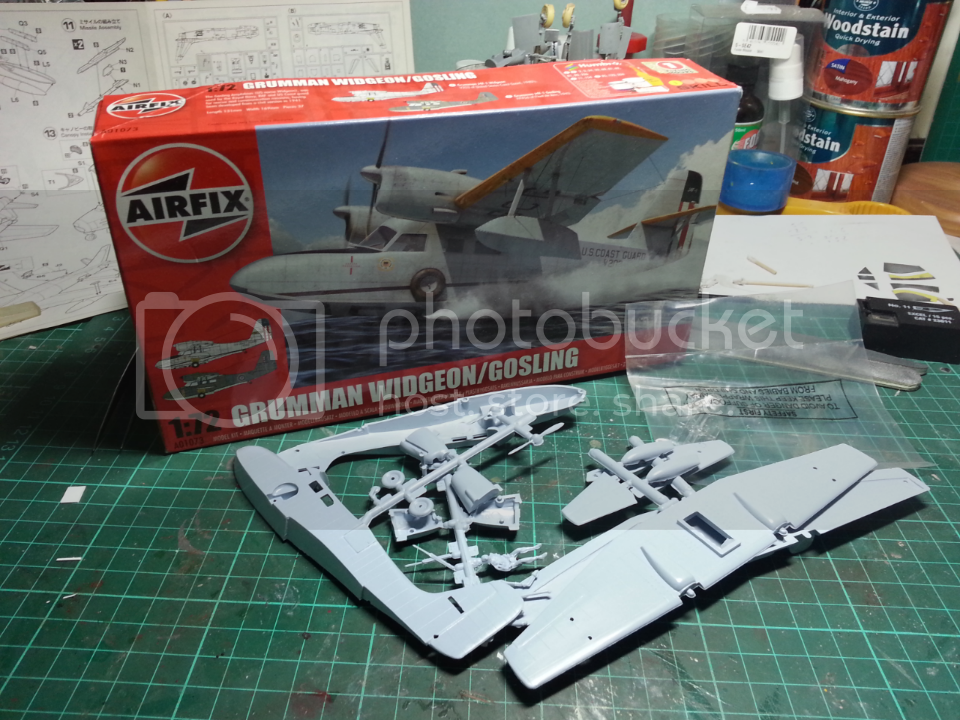
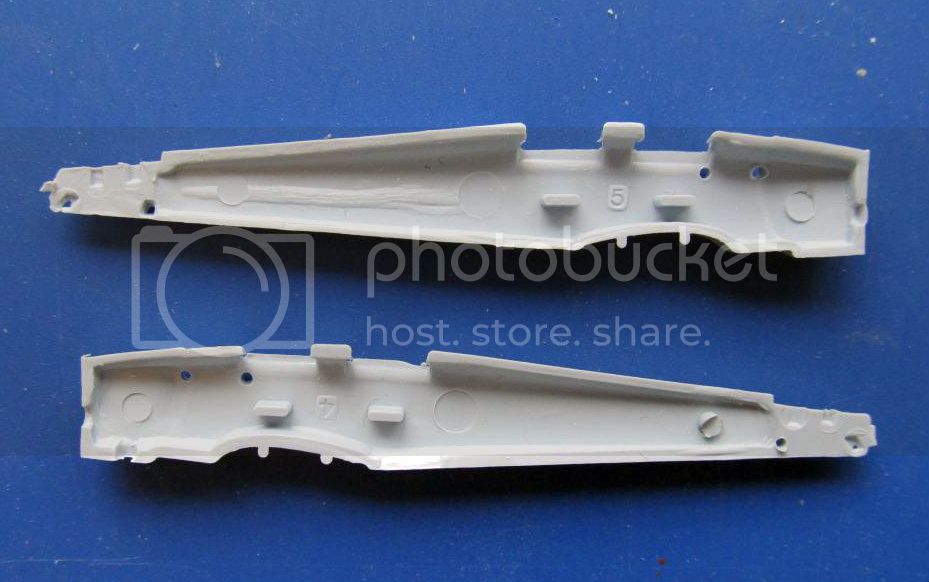
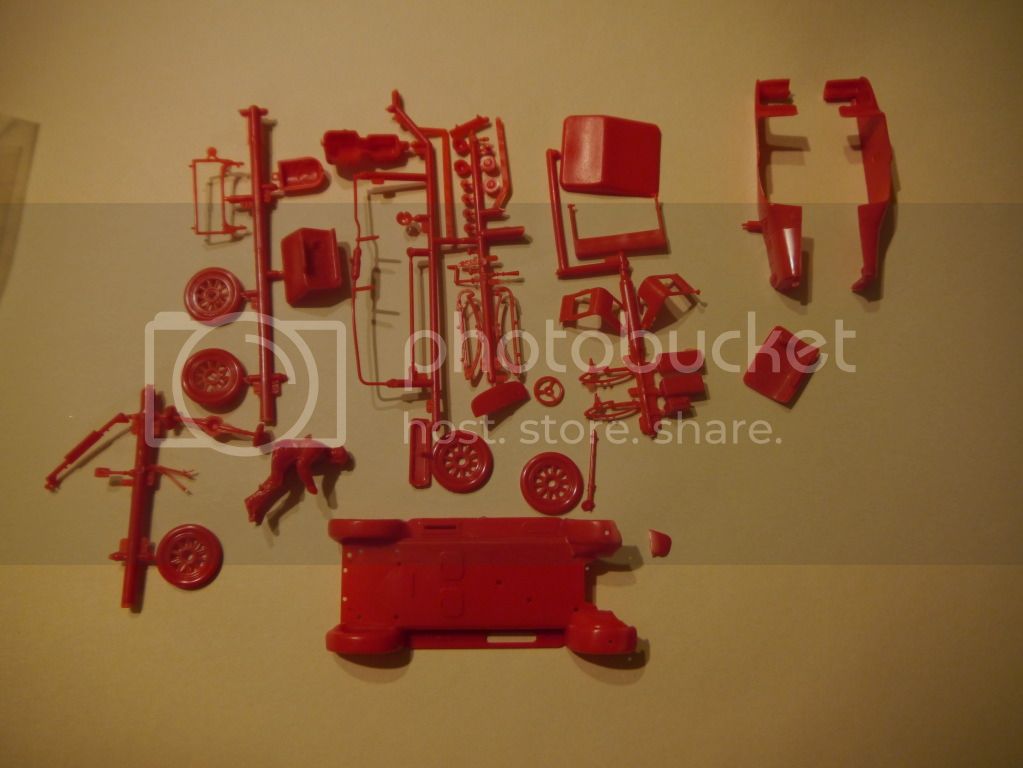
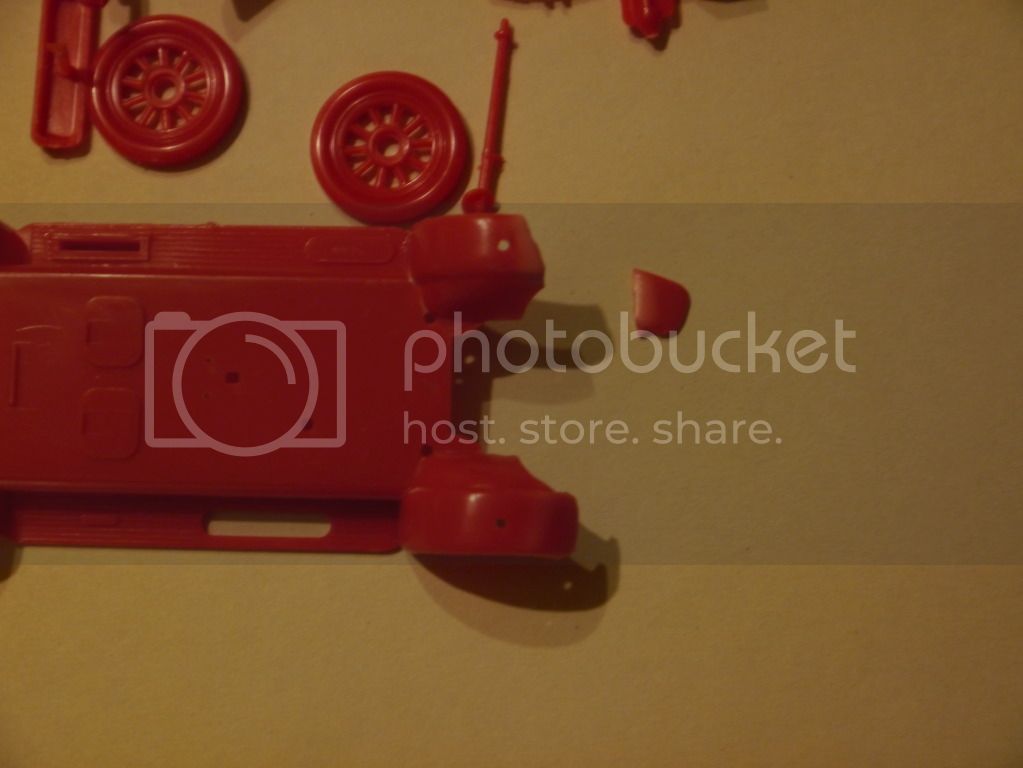
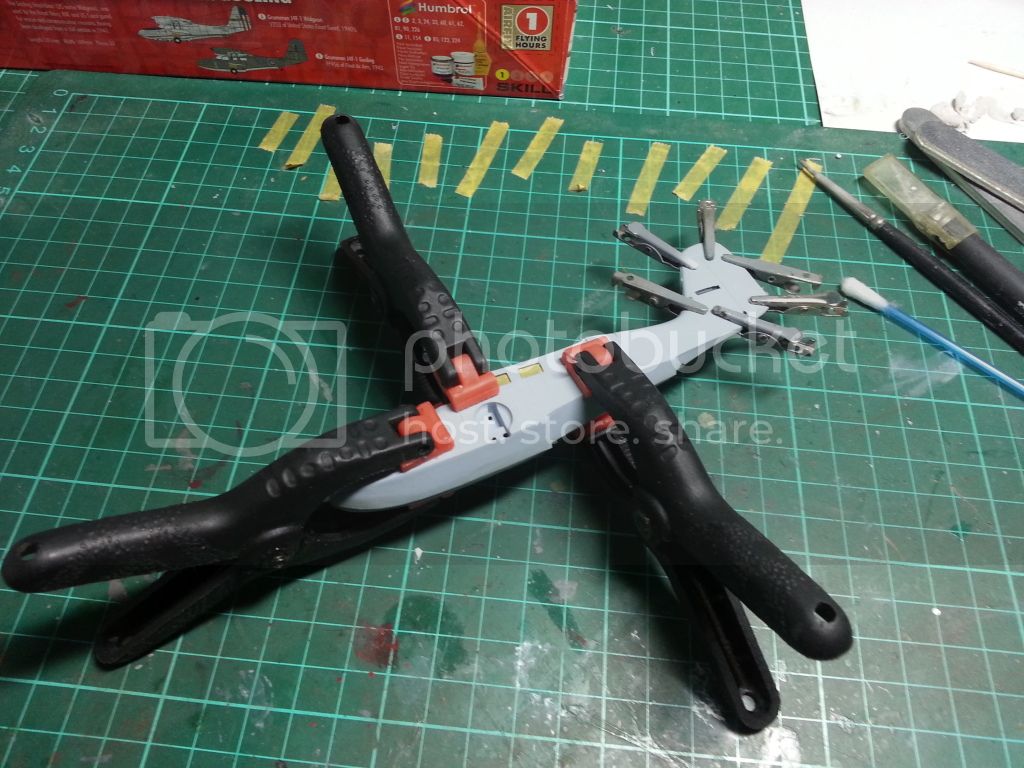
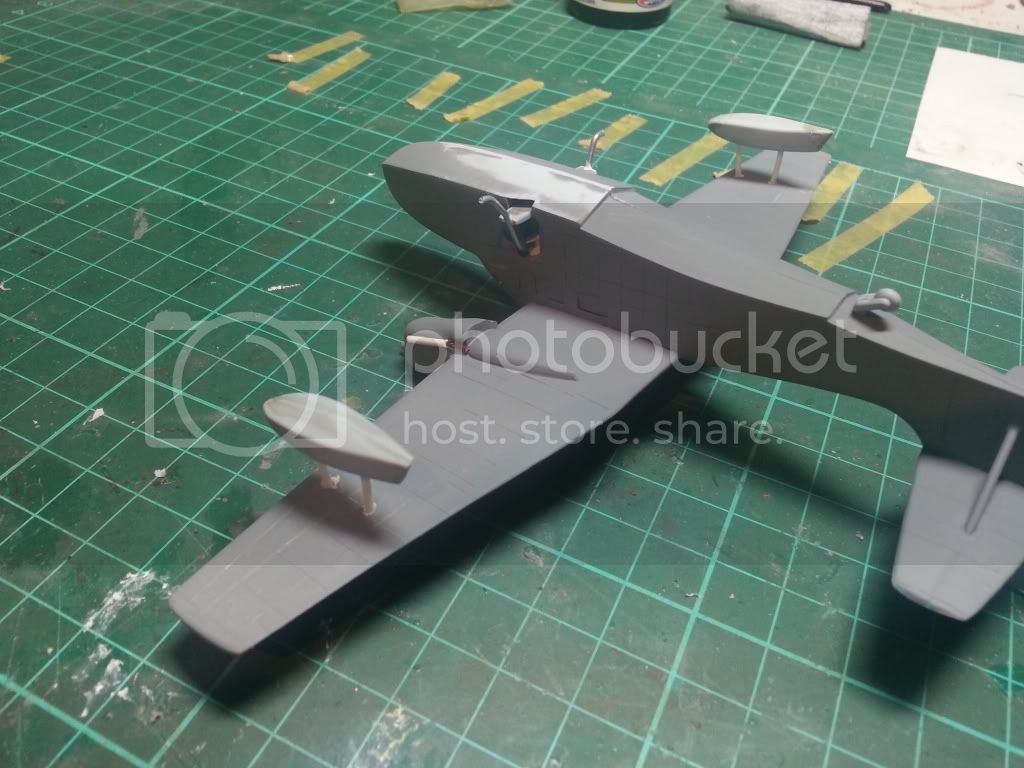
First was the major parts and gluing them together, these are really showing their age now with lots of flash and bad alignment. This took a lot of clamping and removal of the locating pins to get a reasonable fit.
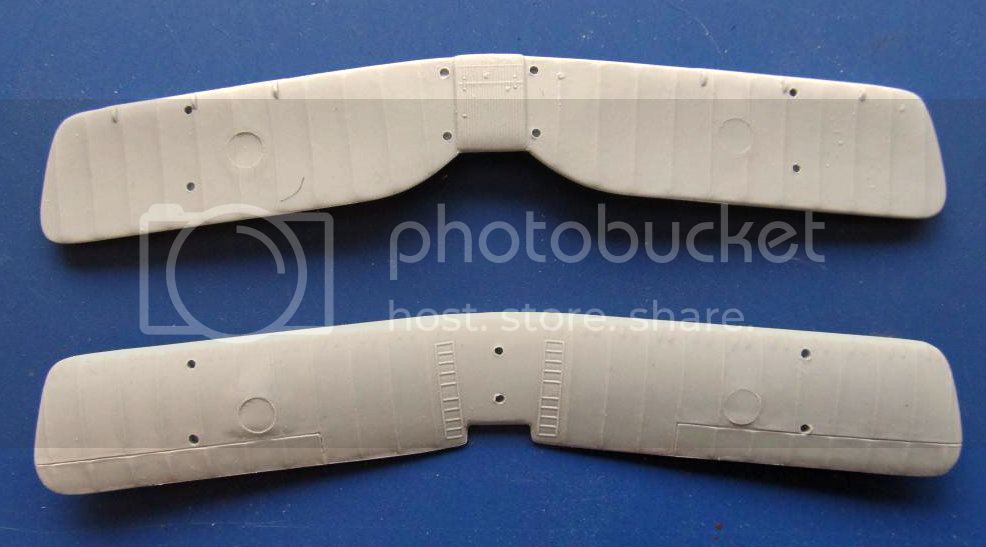
unfortunately I lost a lot of the raised detail while sanding so I re-scribed the panel lines. sadly I followed what was there and discovered afterwards that a lot of the raised lines should only be rivet lines.
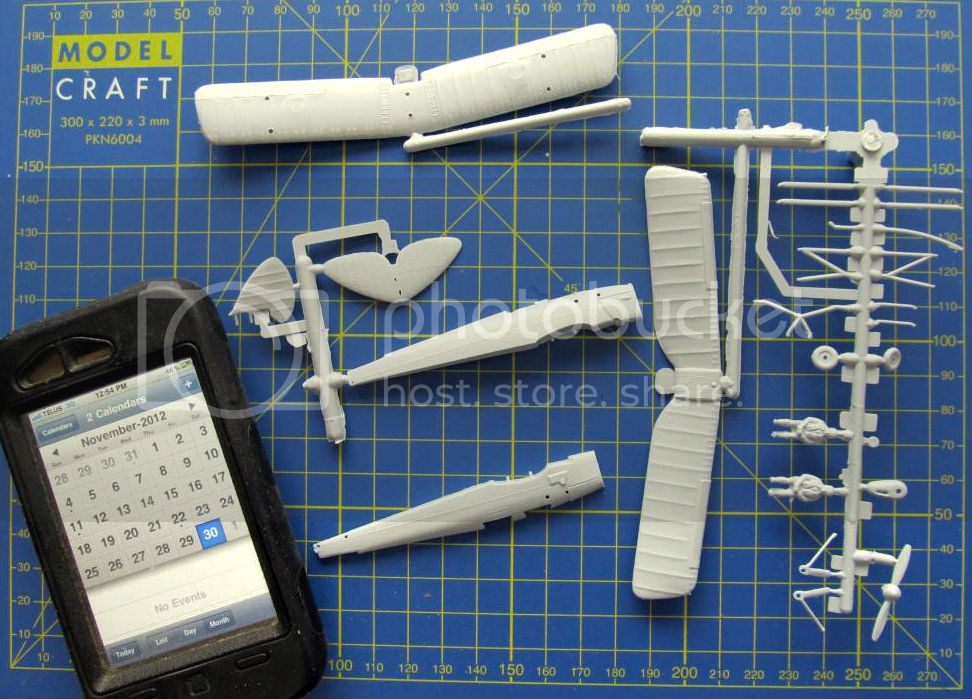
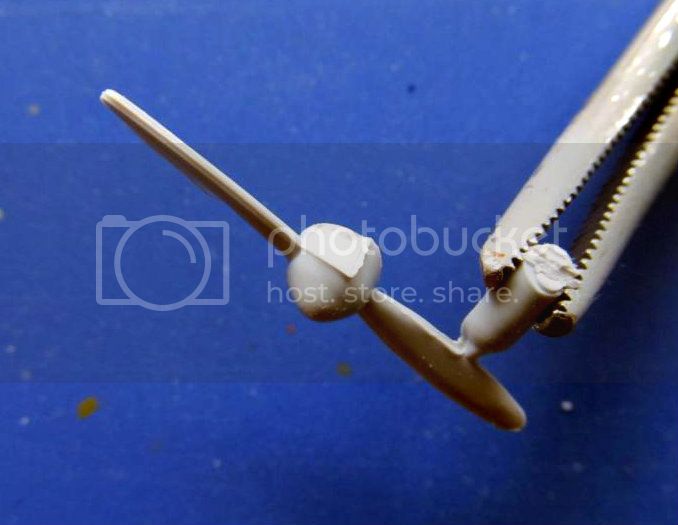
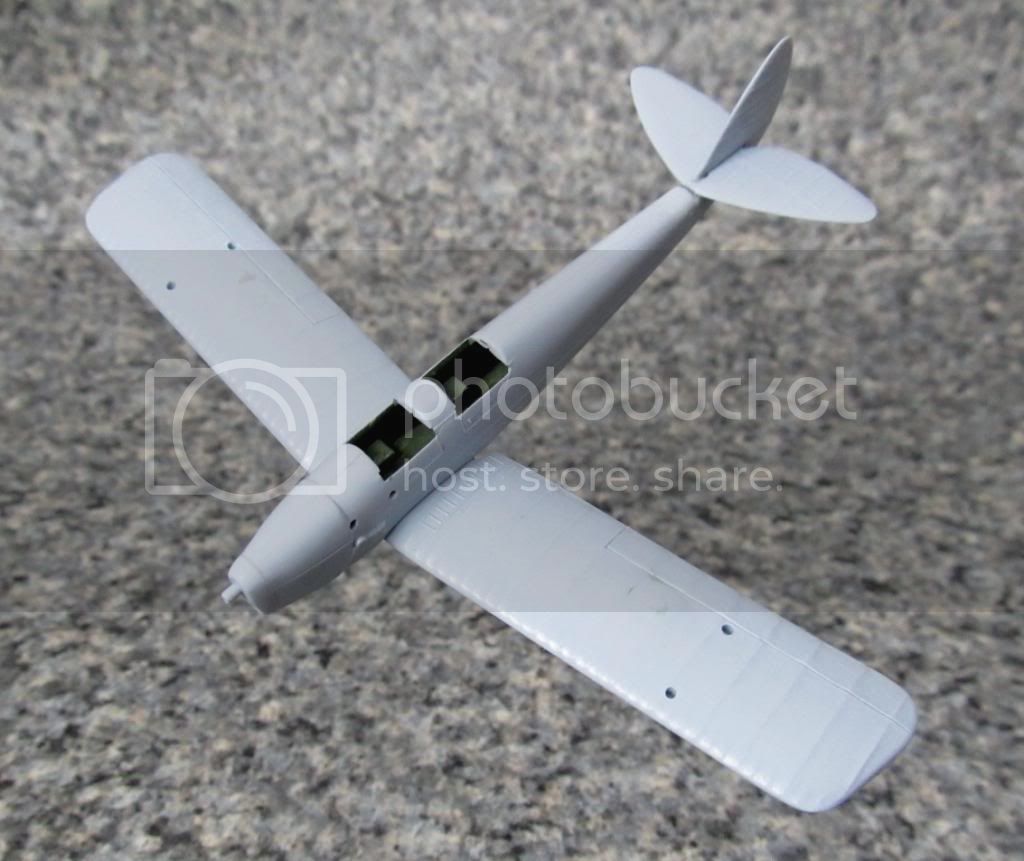
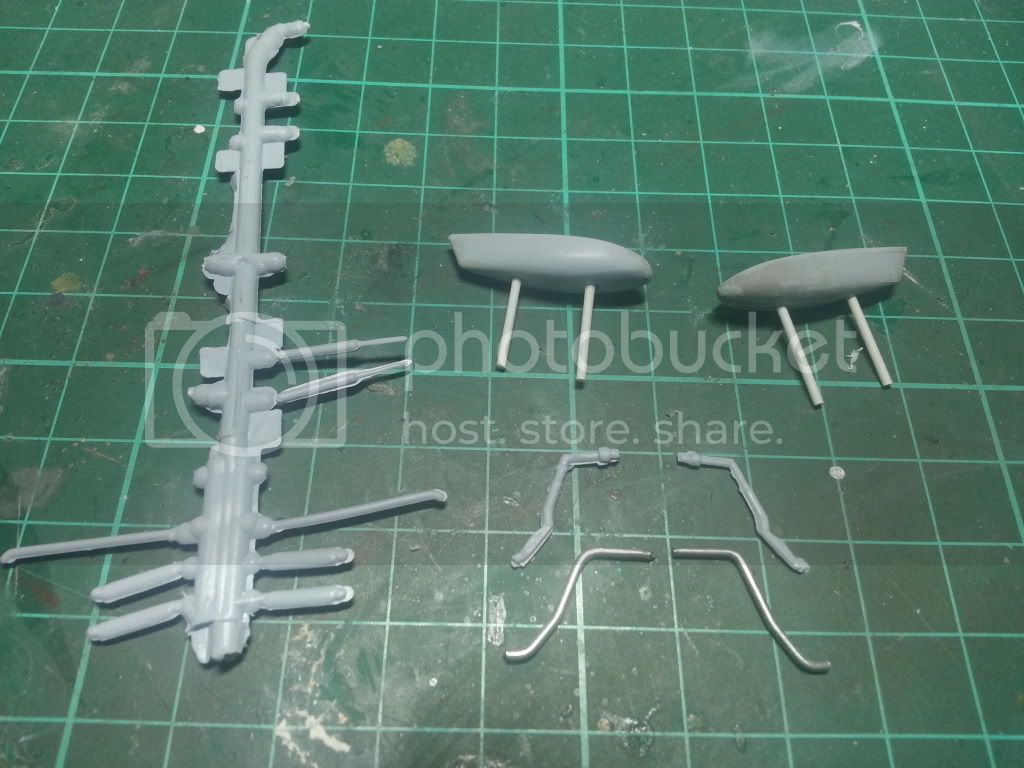
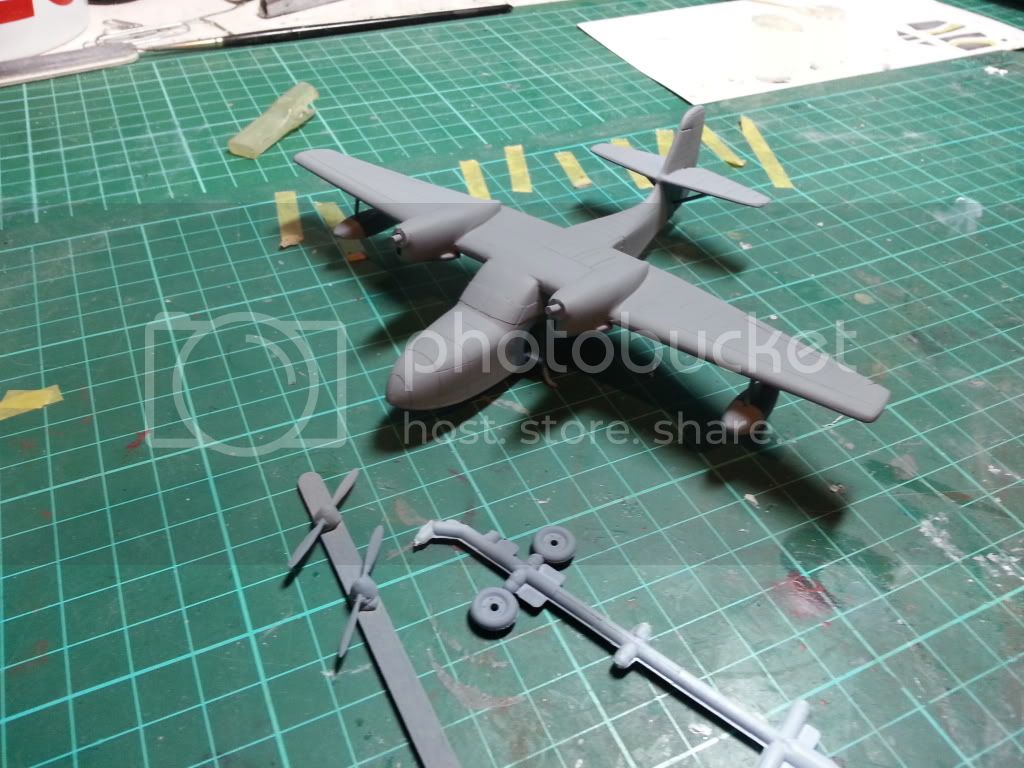
The ancillary parts are beyond hope with flash so much so that I couldn't tell which bit were kit and which was flash on some of the so I used a paper clip to recreate the under carriage and plastic rod for the exhausts and struts. I hope with these modifications that I'm not breaking the rules but slightly bending them instead

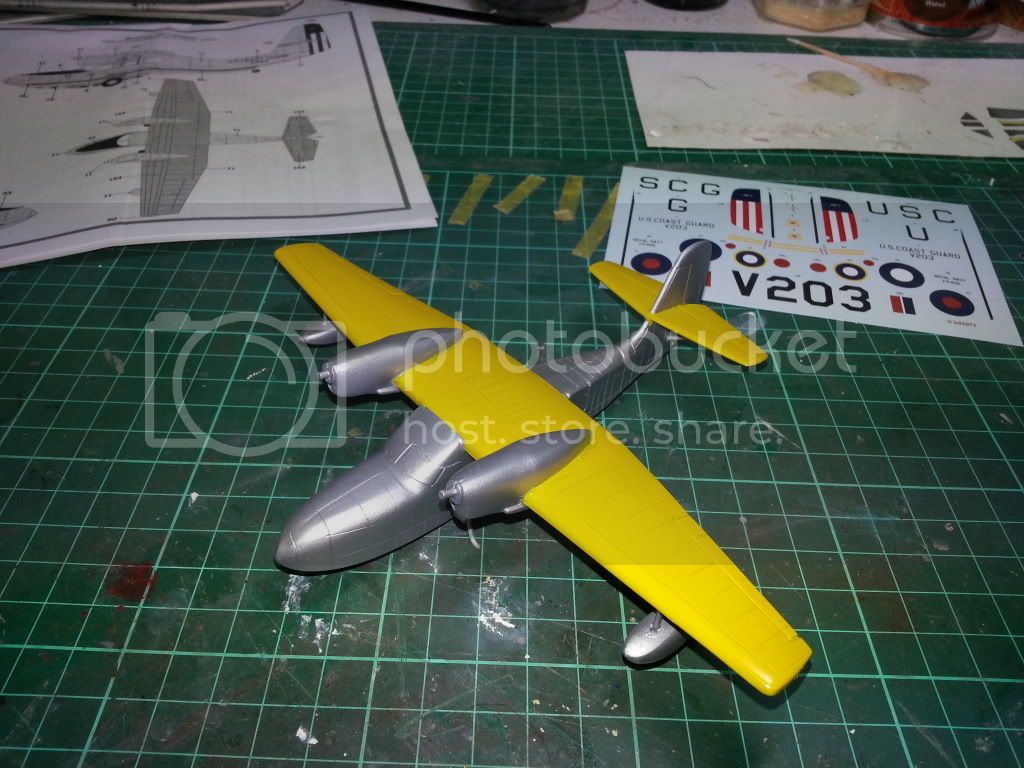
and the parts in place
Primed
and painted in Alclad Aluminium
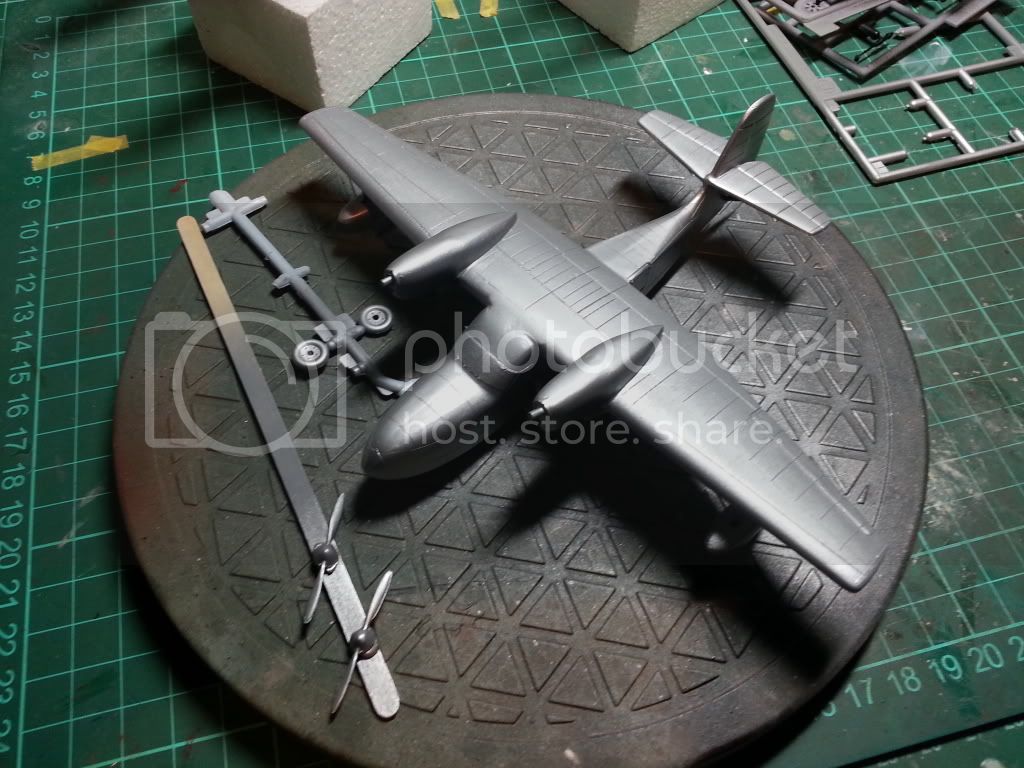
Next up will be to mask of the aluminium ready for the top of the wing and tailplane to be painted yellow.
As always comments, suggestions and critique is always welcomed