Official Rusty/Scrap campaign
Bangkok, Thailand / ไทย
Member Since: September 17, 2013
entire network: 1,617 Posts
KitMaker Network: 66 Posts
Posted: Tuesday, December 03, 2013 - 12:14 AM UTC
Work in progress. I have to work my pants off to get this finished. So a small update. Frontwheelsuspension is on the way to get finished. For contrast, watch the lighter in front.
The chrome sanded down on the grille. Repainted with alu and silver. polished with graphite and pigments to get a wornout effect.
First rust is attached. this is the basecoat. Now the funpart begins. Original colours snd strip them again, several times. Inside of the doors get a special threatment. They go separate from the outside.
Some pics.


That will be all for now.
Back to the car.
Regards,
Robert Jan
Scotland, United Kingdom
Member Since: February 15, 2013
entire network: 1,273 Posts
KitMaker Network: 149 Posts
Posted: Tuesday, December 03, 2013 - 12:26 AM UTC
Great work so far Robert. Keep it up.
Pete
Bangkok, Thailand / ไทย
Member Since: September 17, 2013
entire network: 1,617 Posts
KitMaker Network: 66 Posts
Posted: Tuesday, December 03, 2013 - 10:30 AM UTC
Rust is the source of all life on earth.


All has to dry now. Next step will be mounting some details.
Back to work.
Regards,
Robert Jan
Scotland, United Kingdom
Member Since: February 15, 2013
entire network: 1,273 Posts
KitMaker Network: 149 Posts
Posted: Tuesday, December 03, 2013 - 04:17 PM UTC
Superb so far Robert. There can not be much room left on your bench with that baby on there

Pete
England - South East, United Kingdom
Member Since: January 11, 2003
entire network: 4,307 Posts
KitMaker Network: 788 Posts
Posted: Tuesday, December 03, 2013 - 06:38 PM UTC
Really great work so far Robert, this is going to be a cracker when it's finished!
Bulldog#3
Grumpy Old Modeller No1
Growing old disgracefully!
Nordrhein-Westfalen, Germany
Member Since: March 12, 2012
entire network: 224 Posts
KitMaker Network: 5 Posts
Posted: Tuesday, December 03, 2013 - 07:14 PM UTC
Robert, your car looks great.
I have never before seen a model car that size being rusted. How do you get the rusty look?
Pigments?
Oil colours?
Acryl colors?
Cheers
Thomas
I started my own Blog. Have a look if you like...
http://1967er.blogspot.de
Bangkok, Thailand / ไทย
Member Since: September 17, 2013
entire network: 1,617 Posts
KitMaker Network: 66 Posts
Posted: Tuesday, December 03, 2013 - 08:12 PM UTC
Hi all. Thanks for the nice words. I just explained my brother it's great to work in this scale. The volume and workingspace I need makes it well planned operation.
@Thomas: I work with acrylics, base coat and original RAL numbers from a can. Which means I'm building a car from 1937/1939. Doorpanels and hood are having a mix of brown.
In the fresh paint I add all kinds of pigments, fluid and dry.
There has been some chpping too. Most of the rusty effect will be hand painted. A matter of attaching and removing in thin layers. Fixing with hairspray and another layer.
Regards,
Robert Jan
Bangkok, Thailand / ไทย
Member Since: September 17, 2013
entire network: 1,617 Posts
KitMaker Network: 66 Posts
Posted: Wednesday, December 04, 2013 - 12:19 AM UTC
Just some progress I want to share with you Rusty Scrap builders as I'm leaving for some family visits.
I just love this campaign. Textures and living colors.
Rust, as Imentioned before is the source of all life.
Ferro & Oxigene produced a gas. This was 'food' for very primitive life forms like the rust was sediment for organic 'life'.
coming days I can study from real life. My brother is busy building a 1976 Citroën CX Prestige. Started with scrap, making it a new one. Autodidact as he is, the learning process is just amazing to watch. Just got to visit him ones in while to see the beauty coming out of his hands.
Ok, back to the TA15 Big Six.
Wheelhubs, doorpanels and a composition of the bonnet with grille.


See you all on Friday with new updates.
Regards,
Robert Jan
Scotland, United Kingdom
Member Since: February 15, 2013
entire network: 1,273 Posts
KitMaker Network: 149 Posts
Posted: Wednesday, December 04, 2013 - 01:40 AM UTC
Great work Robert, enjoy your small break.
pete
JPTRR
 Managing Editor
#051
Tennessee, United States
Member Since: December 21, 2002
entire network: 7,772 Posts
KitMaker Network: 802 Posts
Posted: Wednesday, December 04, 2013 - 09:17 AM UTC
I will submit a rather simple model, a pile of junk! And by the end of this campaign, I'll probably submit more! I have a Lifecolor rust set and other such products that I plan to have fun with.
While this is not my submission as I have already made it, I wish the campaign started when I got this model!
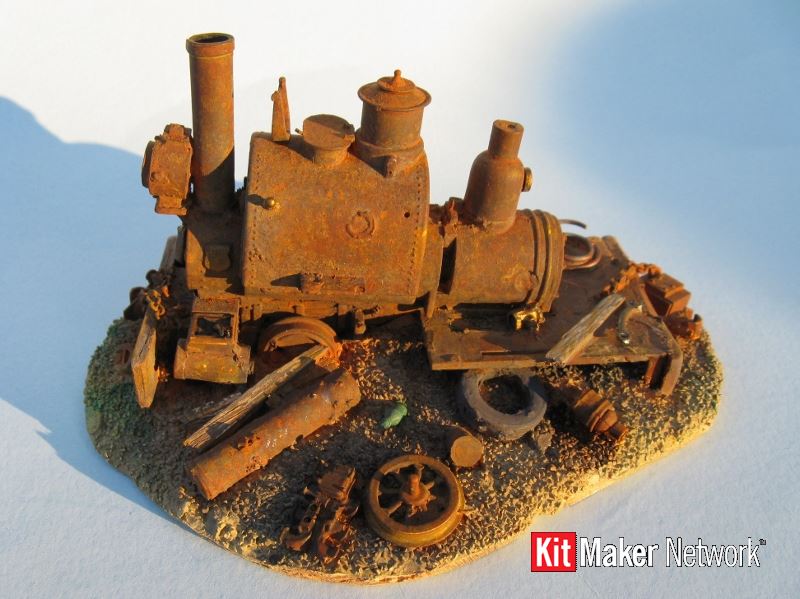
(
Derelict Steam Locomotive )

If they demand your loyalty, give them integrity; if they demand integrity, give them your loyalty.--Col John Boyd, USAF
Any plan where you lose your hat is a bad plan.
Scotland, United Kingdom
Member Since: February 15, 2013
entire network: 1,273 Posts
KitMaker Network: 149 Posts
Posted: Thursday, December 05, 2013 - 12:51 AM UTC
Very nice Fredrick something similar would be something unusual and a great addition to the build.
Look forward to seeing your build.
pete
England - South East, United Kingdom
Member Since: March 04, 2007
entire network: 1,330 Posts
KitMaker Network: 56 Posts
Posted: Saturday, December 07, 2013 - 09:11 AM UTC
Just a Minor update(too much chritmas type stuff getting in the way!)
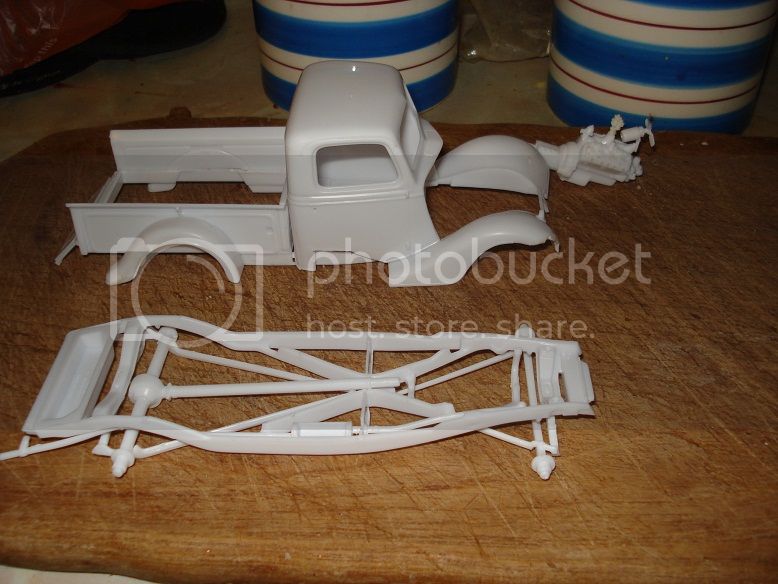
Before.....
After I drilled out one of the grills along with the front grill last night just need to finish the clean up.
Paul
Scotland, United Kingdom
Member Since: February 15, 2013
entire network: 1,273 Posts
KitMaker Network: 149 Posts
Posted: Saturday, December 07, 2013 - 10:18 AM UTC
Nice Paul Do you have etch for the grilles or use plastic strip?
Yeah I expect most of us will be tied up through the xmas period. But keep the updates going guys.
Pete
England - South East, United Kingdom
Member Since: March 04, 2007
entire network: 1,330 Posts
KitMaker Network: 56 Posts
Posted: Saturday, December 07, 2013 - 10:30 AM UTC
Quoted Text
Nice Paul Do you have etch for the grilles or use plastic strip?
Yeah I expect most of us will be tied up through the xmas period. But keep the updates going guys.
Pete
No I am just going to leave them open so the engine can be seen a little better....As far as a narrative the vehicle gave up the ghost in the '60's and has been sitting there ever since. Somebody borrowed/stole the grills, the cargo bed has long since gone. I may still remove a door to but I am not sure whether to scratchbuild a replacement for the seat or miss it out completely?
Paul
Scotland, United Kingdom
Member Since: February 15, 2013
entire network: 1,273 Posts
KitMaker Network: 149 Posts
Posted: Saturday, December 07, 2013 - 09:53 PM UTC
Nice idea Paul, and it's coming along nicely.
Pete
Bangkok, Thailand / ไทย
Member Since: September 17, 2013
entire network: 1,617 Posts
KitMaker Network: 66 Posts
Posted: Sunday, December 08, 2013 - 09:21 AM UTC
Progress.
Had a good weekend with nice painting and some construction on the TA.
enginebay is allmost ready now. started with a first paintjob.
Rearsuspension and some other stuff put together.
My house is all rust now.

Some pictures.
Drive shafts ready, together with the extensions of the chassis which will hold the cooler.

Picture of the enginebay. It shows some technique I use to get rust. I work wet in wet. Fresh paint is dusted with pigments. Ones I make myself and Trackrust from AK.

Dry powder combined with Engine grime, Trackwash and lots of other colours made with pastels, waiting to dry.


Back to the workbench.
Regards,
Robert Jan
Scotland, United Kingdom
Member Since: February 15, 2013
entire network: 1,273 Posts
KitMaker Network: 149 Posts
Posted: Sunday, December 08, 2013 - 09:55 AM UTC
Nice work Robert it's coming along now. I like the technic with the rust I must try it myself.
Looking forward to more of your work.
Pete
Bangkok, Thailand / ไทย
Member Since: September 17, 2013
entire network: 1,617 Posts
KitMaker Network: 66 Posts
Posted: Friday, December 13, 2013 - 07:42 PM UTC
Hi all.
Some little progress on the TA. Had a strange week, not really satisfied with the work on the TA. Best thing to do is focus on another project.
Anyway, Friday I had a great modelling day.
Some results:
Controlpanael with switches. Stearingcolumn isn't complete yet, so not mounted.

First door the way they are going to be. The canvas is still off. Give it a try this weekend to finish it.

The back of the TA. Tape keeps it together so colours match.
Spare tire comes back in place after the paintjob.
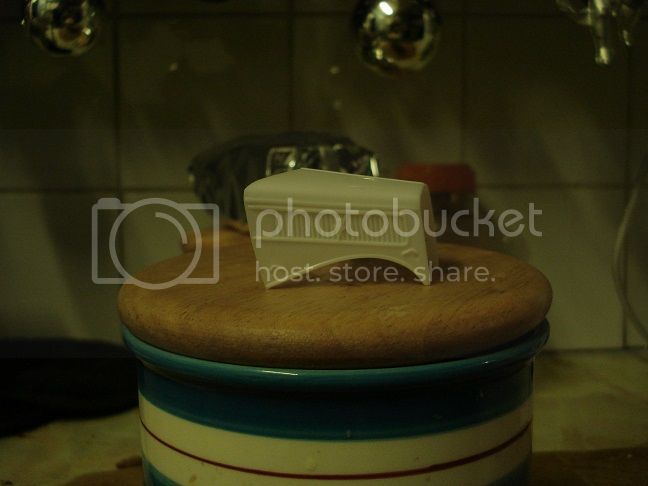
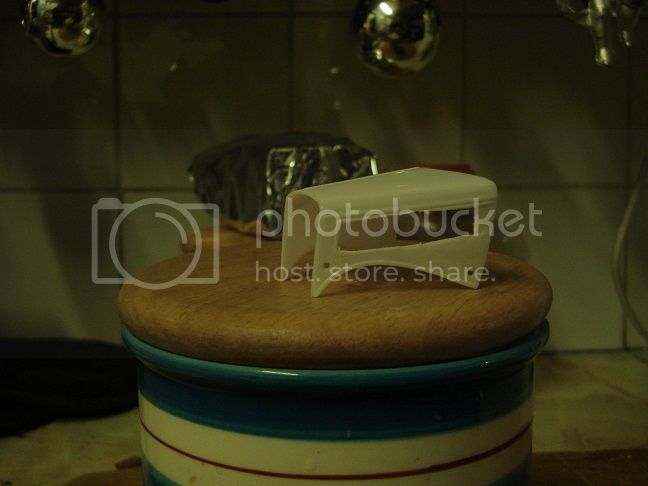
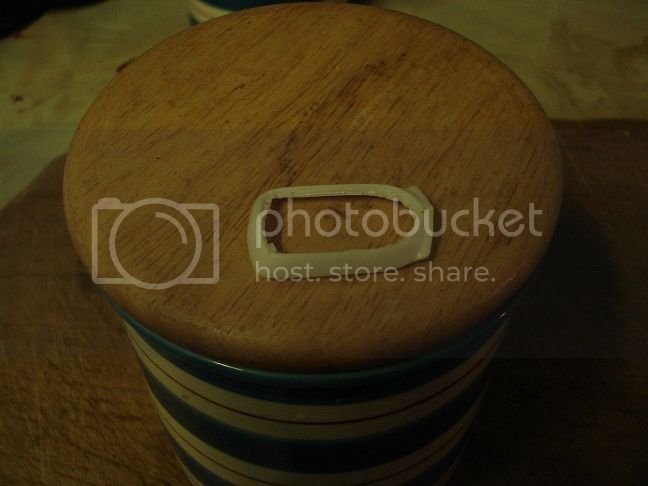
Cover is also ready. Don't know what to do with that. Maybe I leave it on the ground, place it in the trunk of the TA.

Back to the workbench.
To do's for the weekend: Bodywork - Doors and rearsuspension and axle.
Regards,
Robert Jan
Bangkok, Thailand / ไทย
Member Since: September 17, 2013
entire network: 1,617 Posts
KitMaker Network: 66 Posts
Posted: Saturday, December 14, 2013 - 01:23 AM UTC
TA United!!!
Lenght 60cm. plus
Height 20cm. plus
All will have to dry now. Fit was excellent.

Also waiting for the extra parts I ordered at Heller.
Service is good at this company. They asked me to make a list for missing parts. Hope to recieve them next week.
Gives me time and space to work on the interior of the car.
Regards,
Robert Jan

Scotland, United Kingdom
Member Since: February 15, 2013
entire network: 1,273 Posts
KitMaker Network: 149 Posts
Posted: Sunday, December 15, 2013 - 12:42 AM UTC
Great work so far Robert, superb job.
Pete
England - West Midlands, United Kingdom
Member Since: August 01, 2012
entire network: 960 Posts
KitMaker Network: 175 Posts
Posted: Sunday, December 15, 2013 - 01:12 AM UTC
Some wonderful model building and finishing taking place here.
Scotland, United Kingdom
Member Since: February 15, 2013
entire network: 1,273 Posts
KitMaker Network: 149 Posts
Posted: Sunday, December 15, 2013 - 01:22 AM UTC
Brent there is still plenty of time to enlist my friend.
pete
Nordrhein-Westfalen, Germany
Member Since: March 12, 2012
entire network: 224 Posts
KitMaker Network: 5 Posts
Posted: Sunday, December 15, 2013 - 07:14 PM UTC
Hi Robert,
your Rust-Effect is looking extremely realistic.
Great work!
Cheers
Thomas
I started my own Blog. Have a look if you like...
http://1967er.blogspot.de
Bangkok, Thailand / ไทย
Member Since: September 17, 2013
entire network: 1,617 Posts
KitMaker Network: 66 Posts
Posted: Sunday, December 15, 2013 - 08:29 PM UTC
Thank you Thomas, Brent(join the club) and Pete.
Been busy with the TA all weekend.
Later today updates will follow. More rust to come. First a little cleaning to do. Clear the workbench for the next stage.
Stay tuned, it's only getting better.
Regards,
Robert Jan
Bangkok, Thailand / ไทย
Member Since: September 17, 2013
entire network: 1,617 Posts
KitMaker Network: 66 Posts
Posted: Monday, December 16, 2013 - 01:07 AM UTC
Little update from the bottomplate of the TA.
Depending on the conditions the car will be in the diorama setting later on, I kept the weathering to a certain base.
Lots of rust and damage will be applied later when all the wires, tubes and more details are ready.
Fueltank is installed and tubing found it's way under the car to the front.
I will have to work on the drumbrakes now. Making the tubes and lead them in to the tunnels under the car, which are visible on the pics. Electric wires from the taillight also will be fixed. Later on today you'll see how the fenders on the back of the car look like.
Some pictures. There is more to come later this day.


Regards,
Robert Jan