Scratchbuilders!: Armor/AFV
This is a group for armor scratchbuilding questions, topics and projects.
Hosted by Mike Kirchoff
1/24 Bedford TM Scratchbuild
okdoky
Visit this Community
Scotland, United Kingdom
Member Since: April 30, 2007
entire network: 1,597 Posts
KitMaker Network: 673 Posts
Posted: Thursday, April 26, 2012 - 02:45 PM UTC
Whilst paint is drying on parts for the DAF, I thought I would give you a teaser of a project that might very soon make a start.

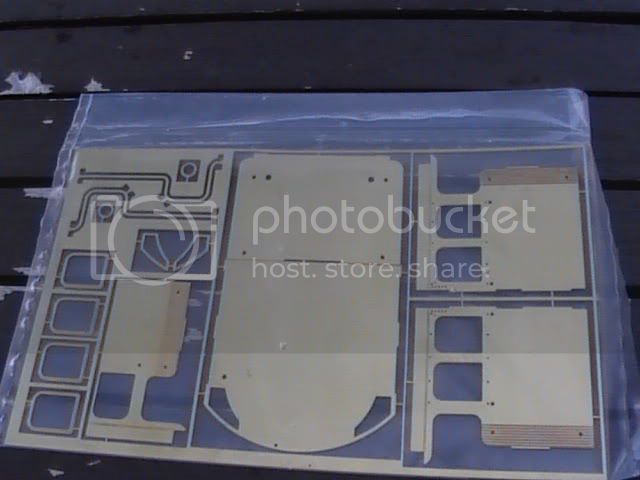
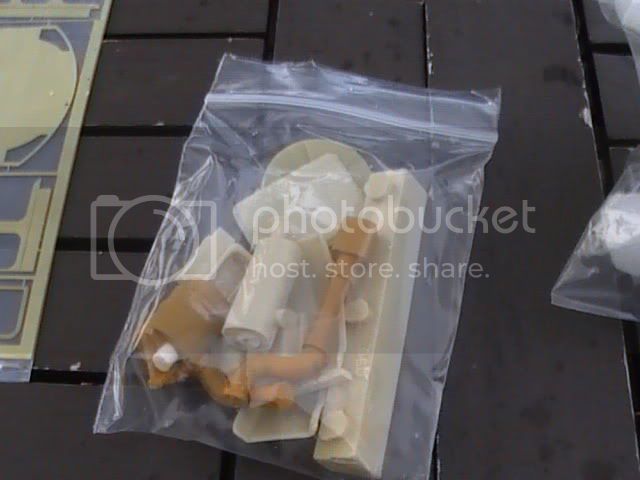
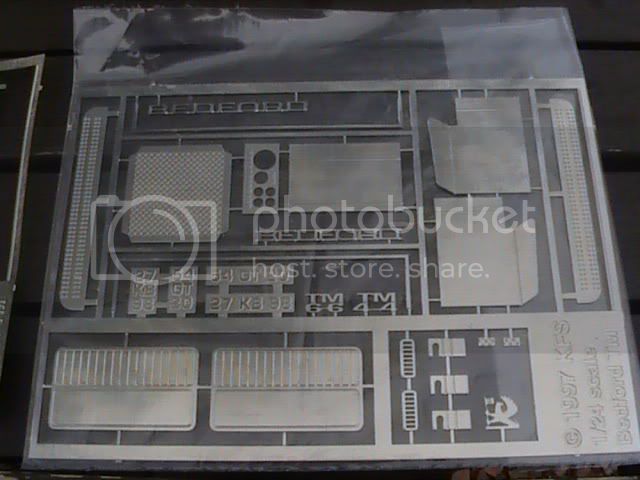
I wonder what is in the Box ???????


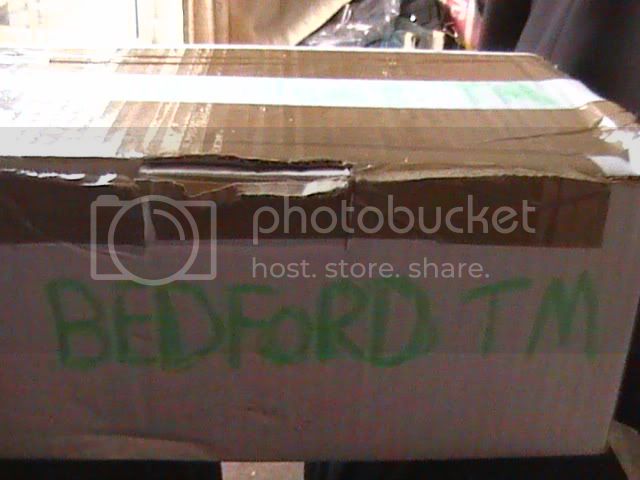
It is the Cab and parts for the Bedford TM that Howard Whitehead of Kit Form Services sold me a long while ago !!!!!!! From what I remember, Howard gave me his last copy and bits available from the run he did.


Having wanted a model of this truck I got to drive in the TA to build, I was only too glad to get what I could from KFS knowing full well that any re-run of the kit might be a long time off, if ever at all.

Howard gave me what he could at the time, and I am grateful to him for that.


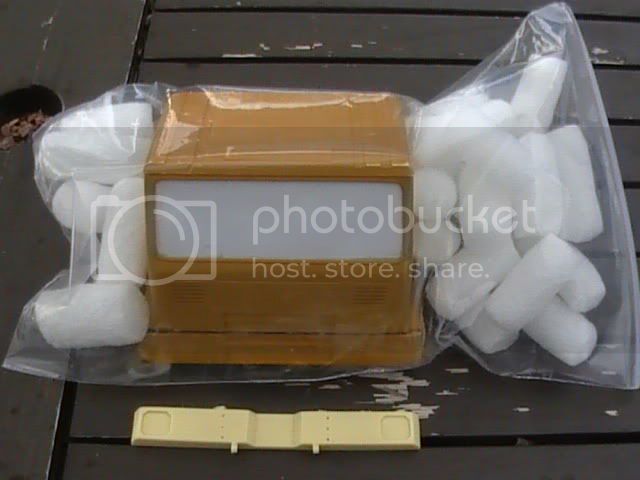
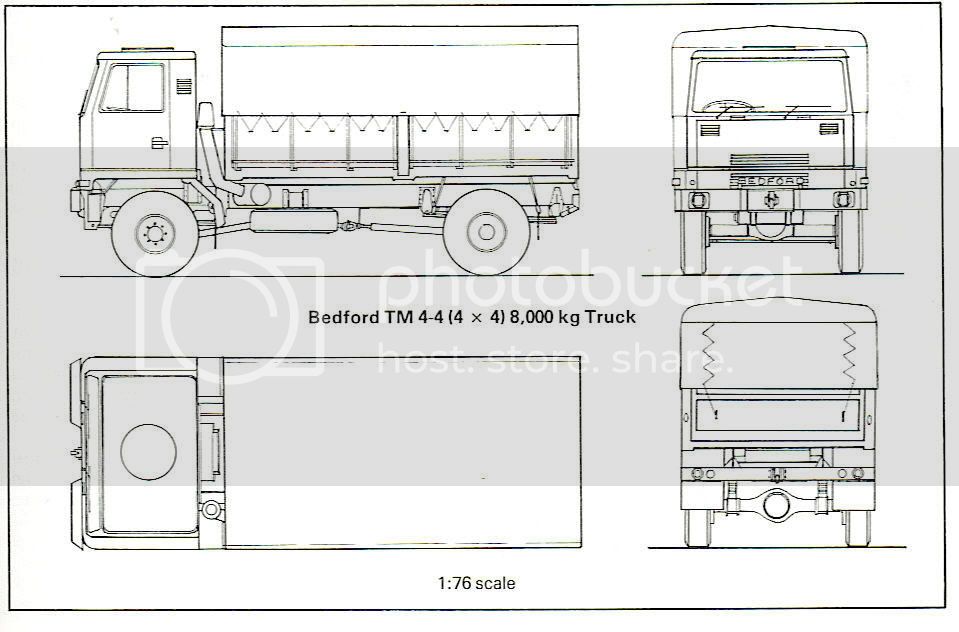
No instructions though, so I think I am going to have fun guessing the parts from comparing with an Army parts manual on the TM that a friend has just provided me with.

Thanks Neil for your help. Information will be a great help on this one.

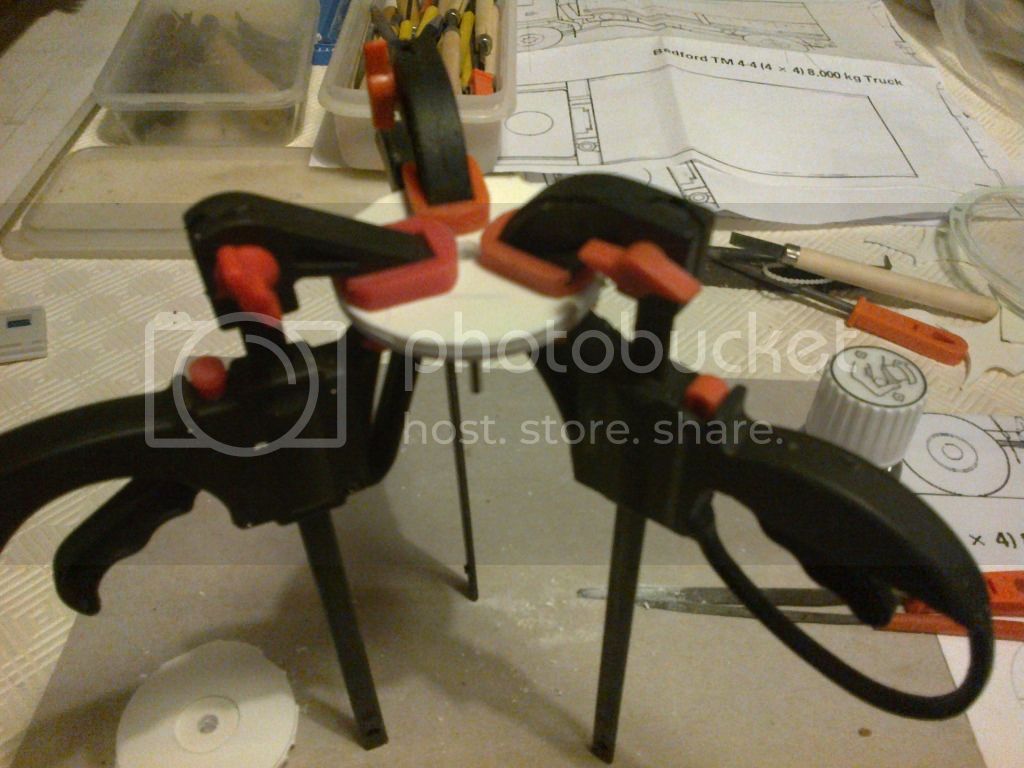
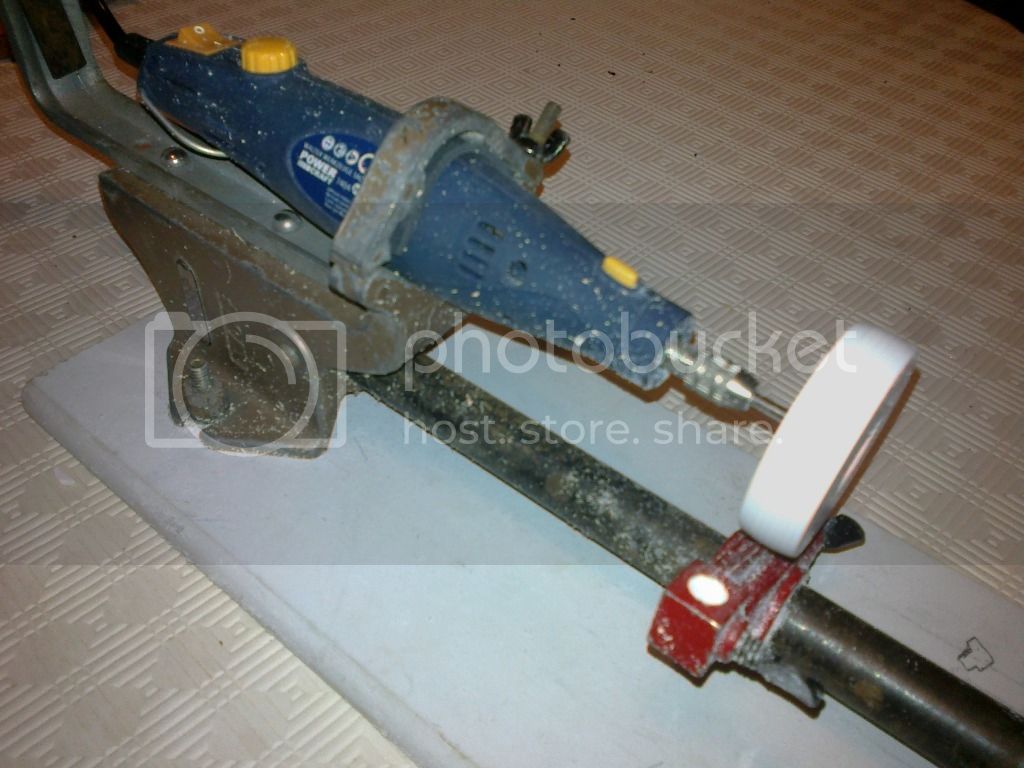
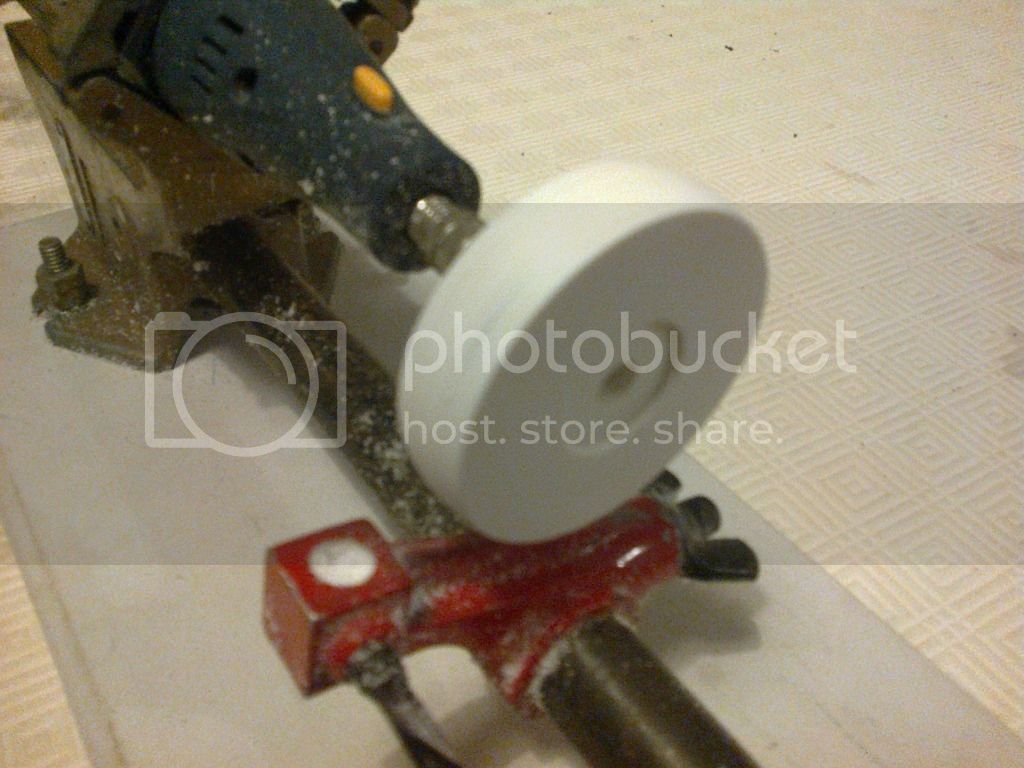
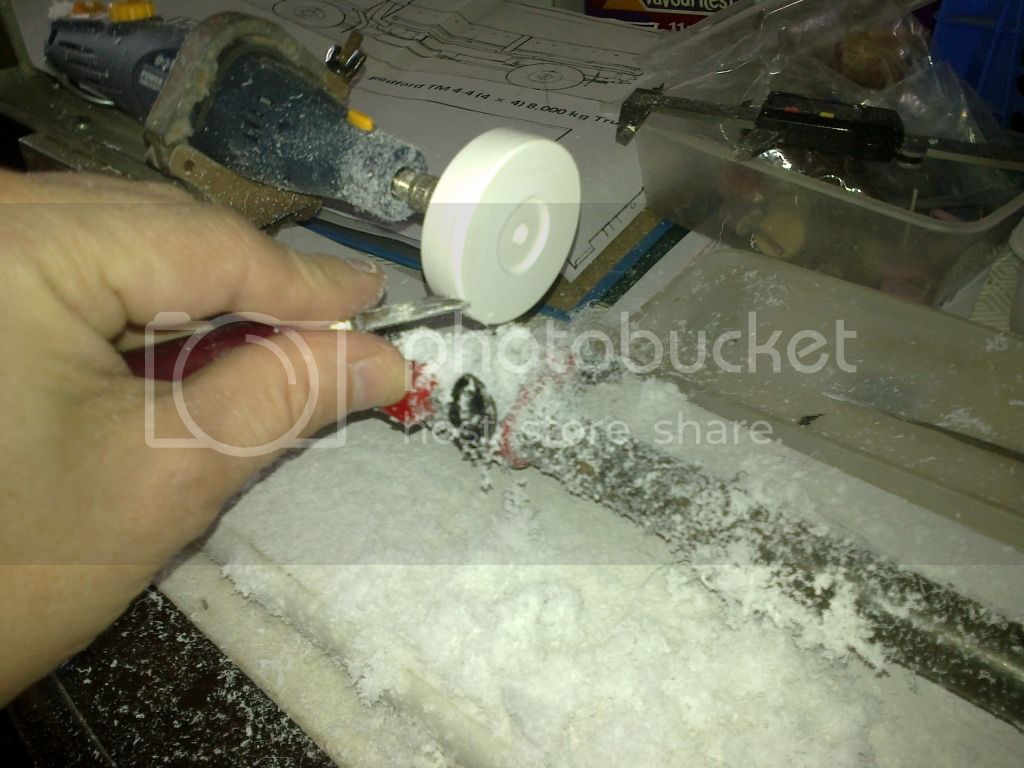
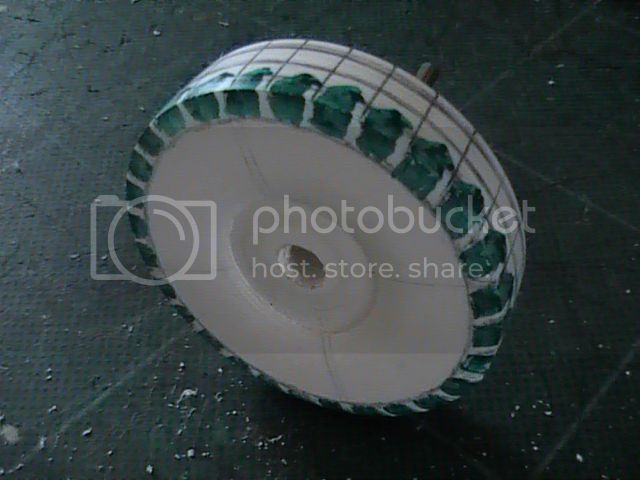
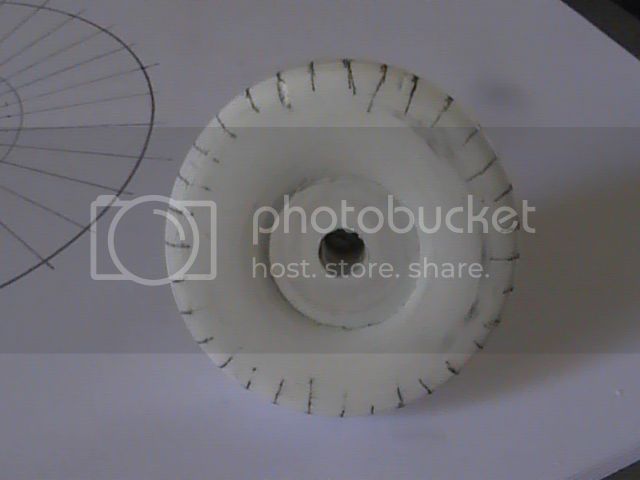
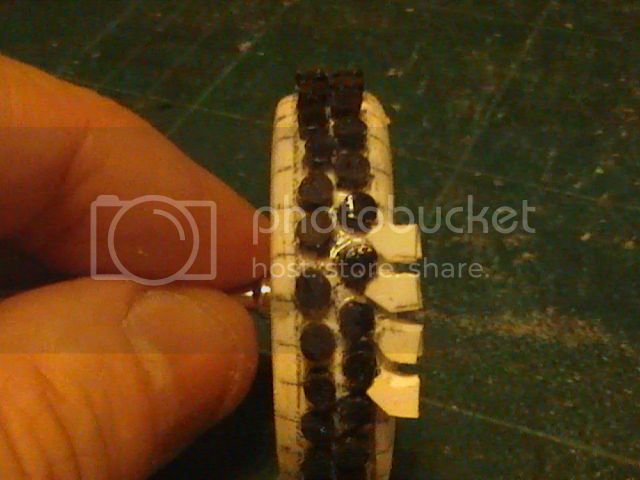
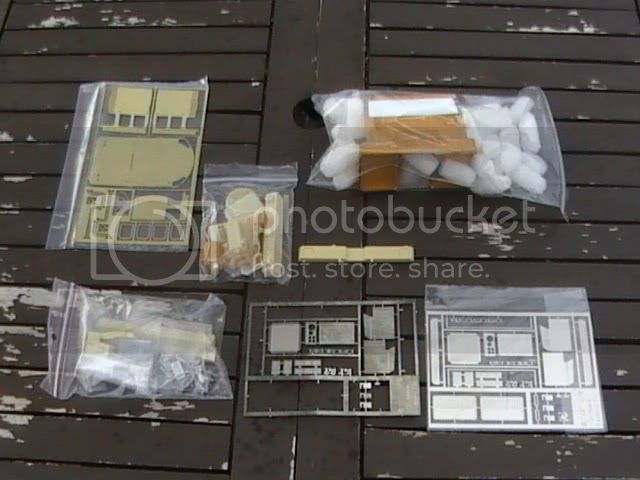
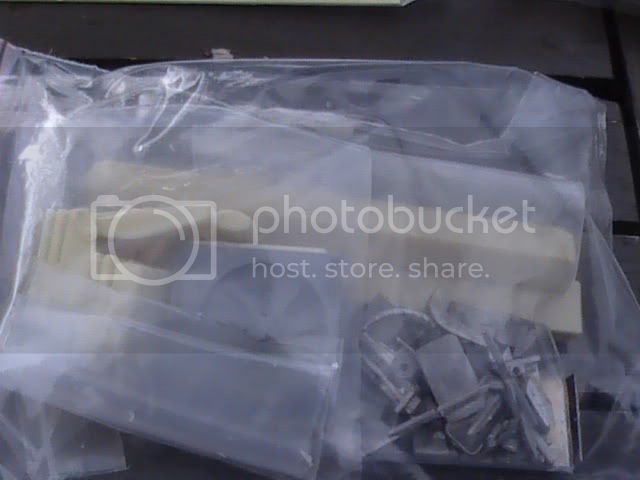
I haven't opened the bags, but I can see that there is a good selection that will make my life a bit easier


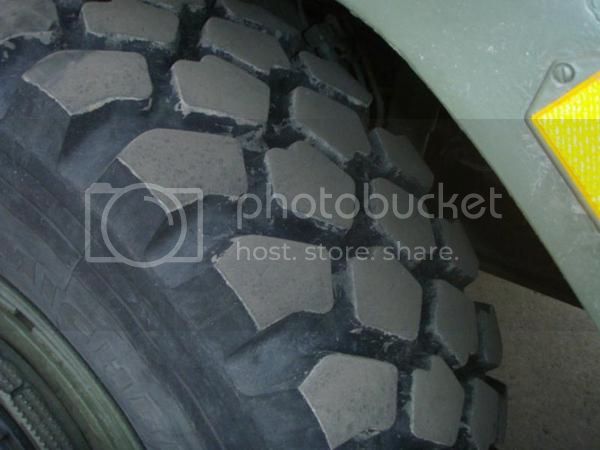
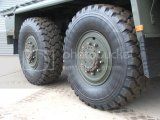
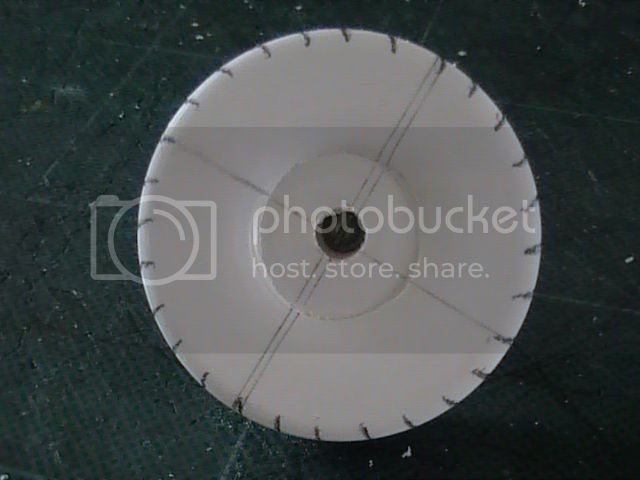
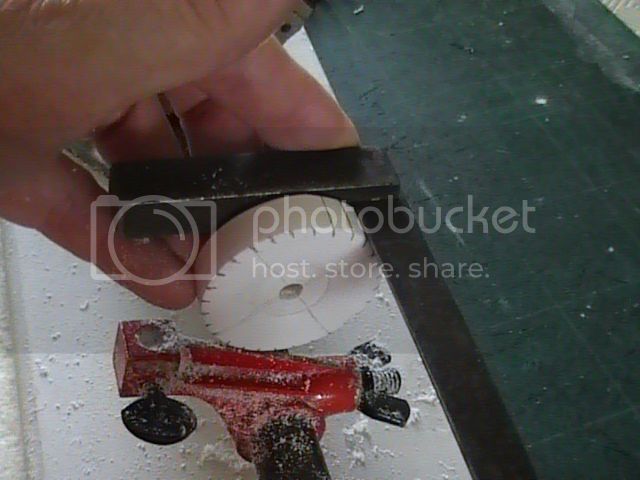
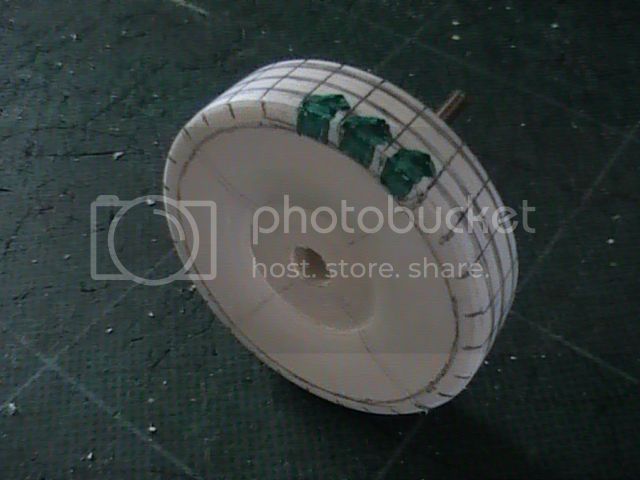
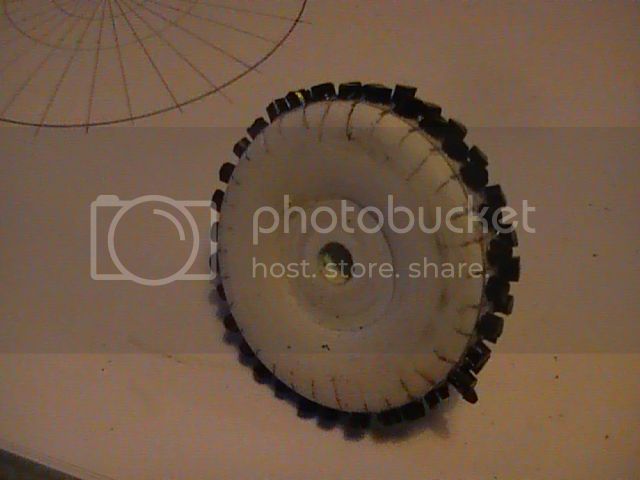
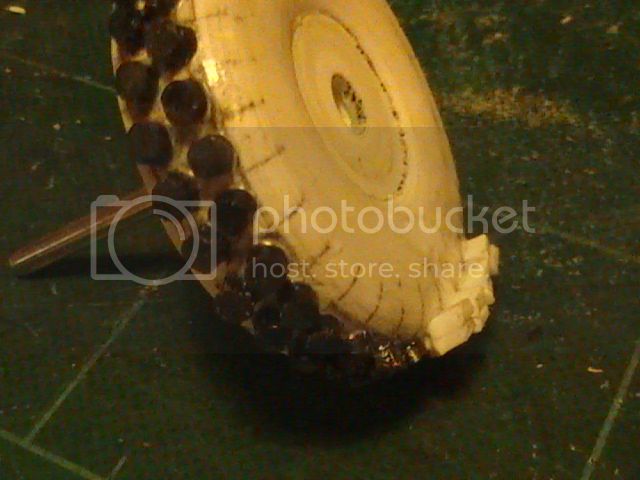
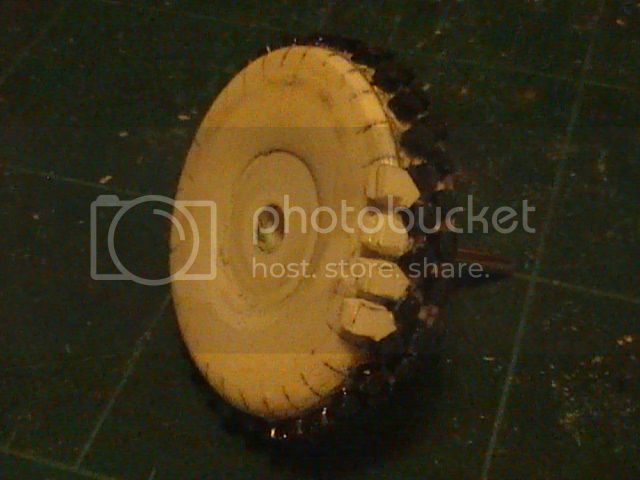
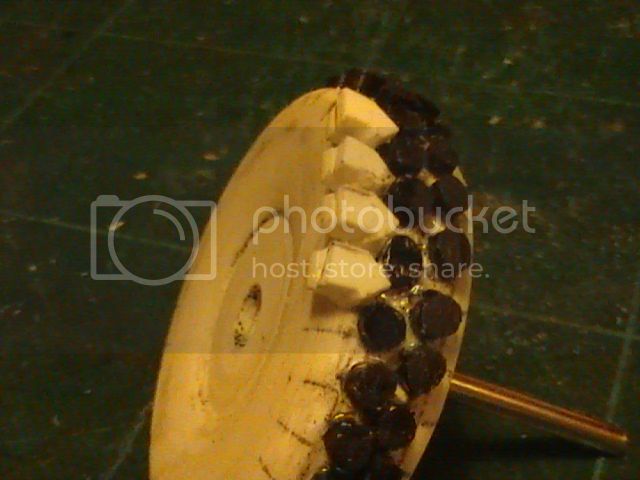
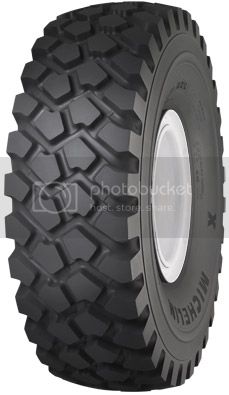
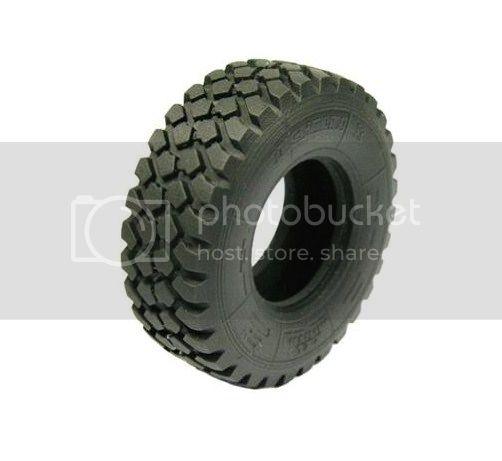
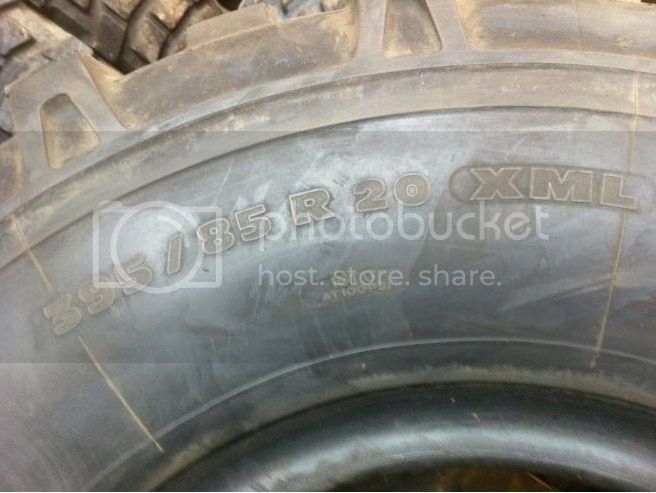
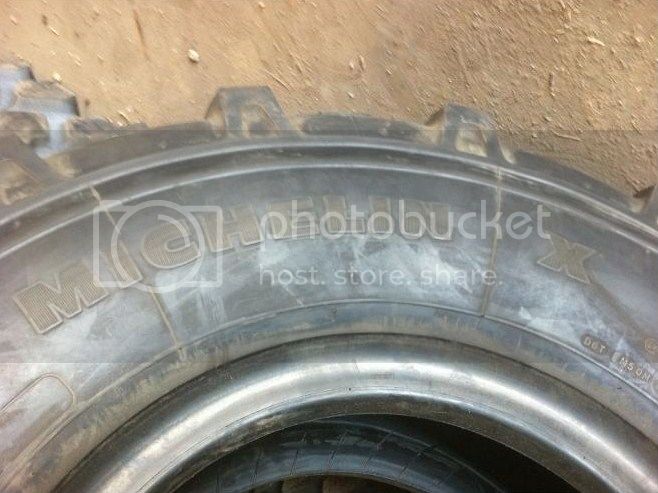
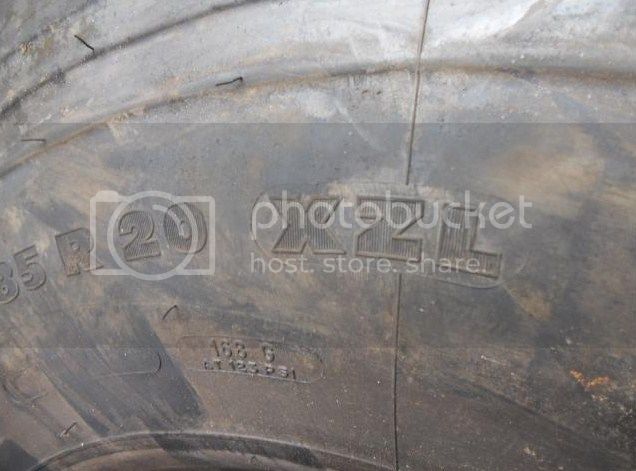
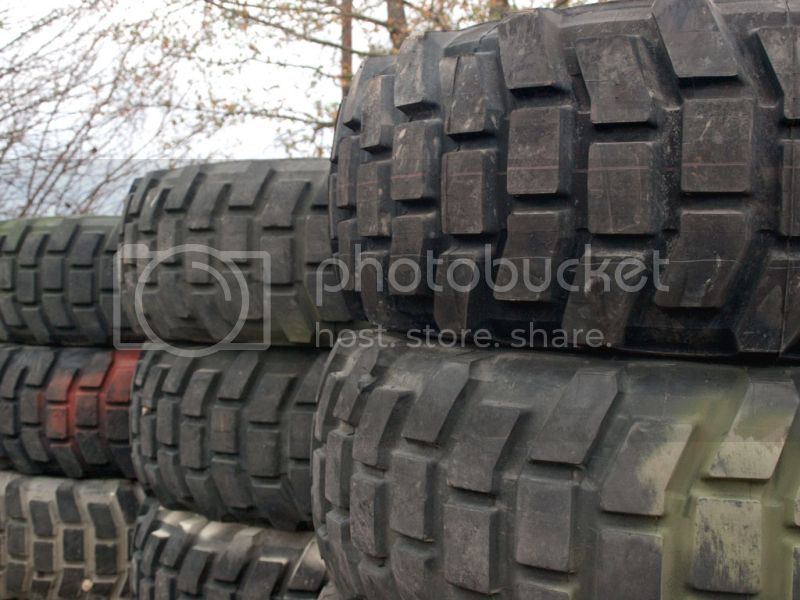
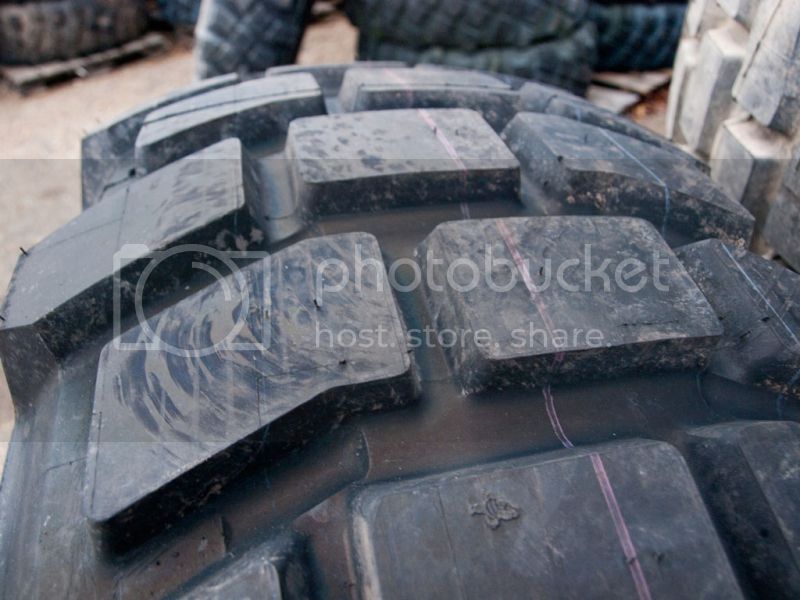
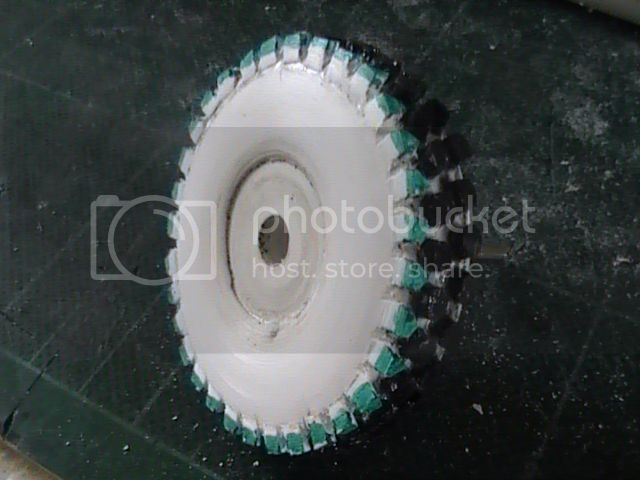
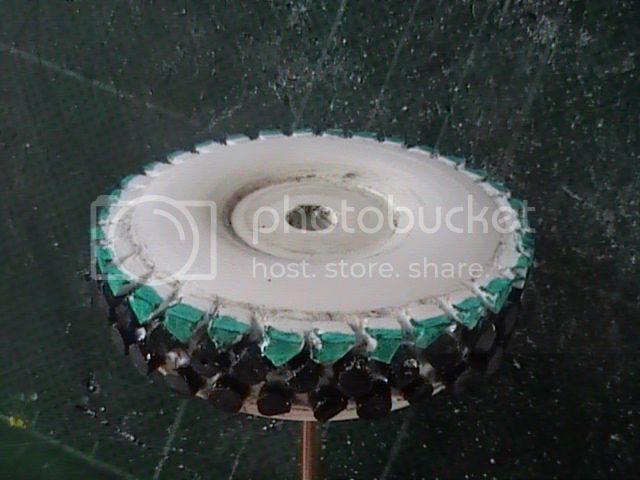
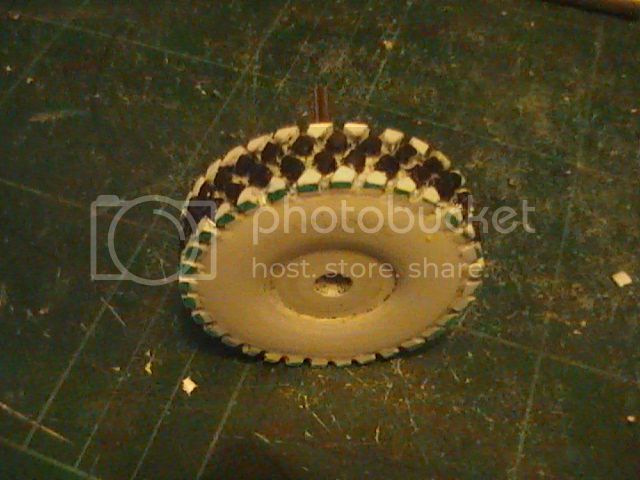
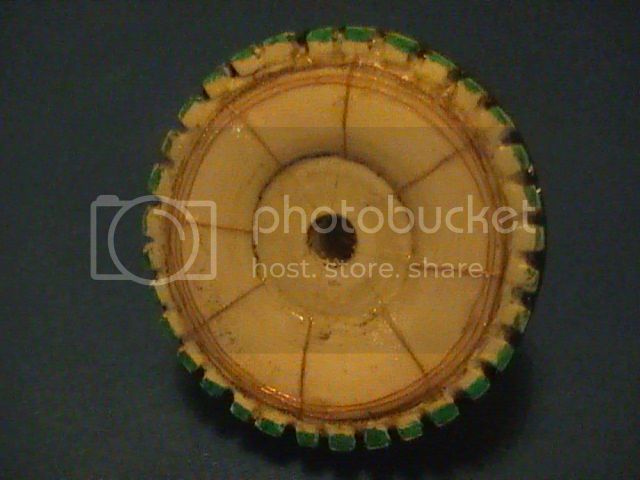
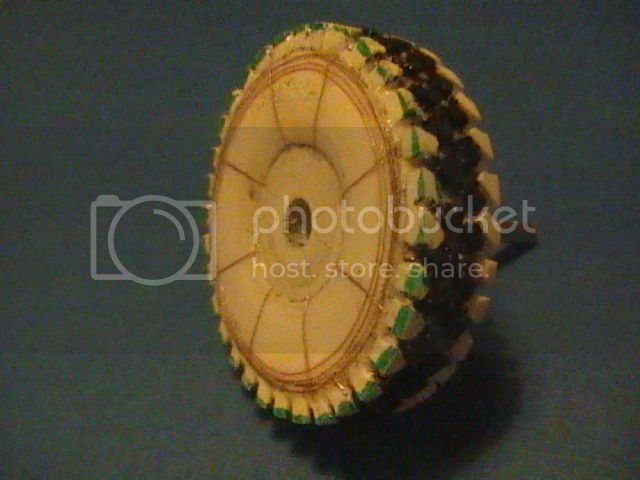
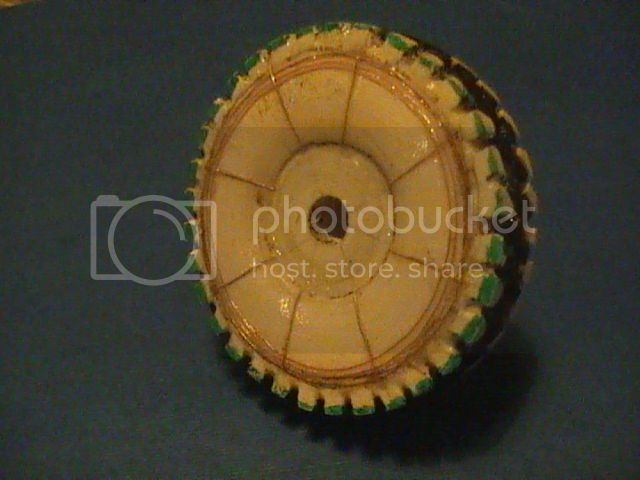
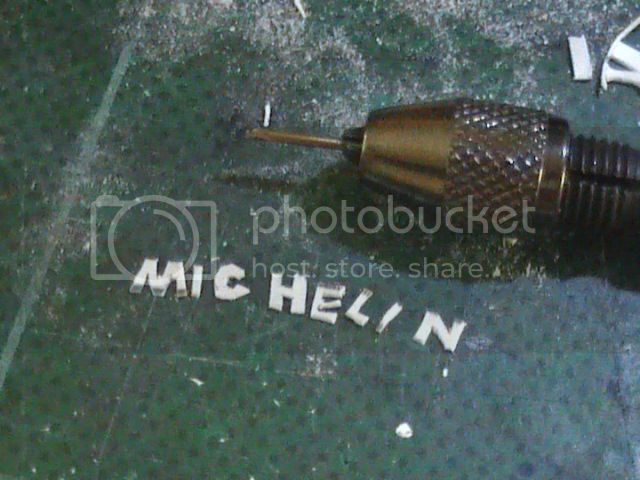
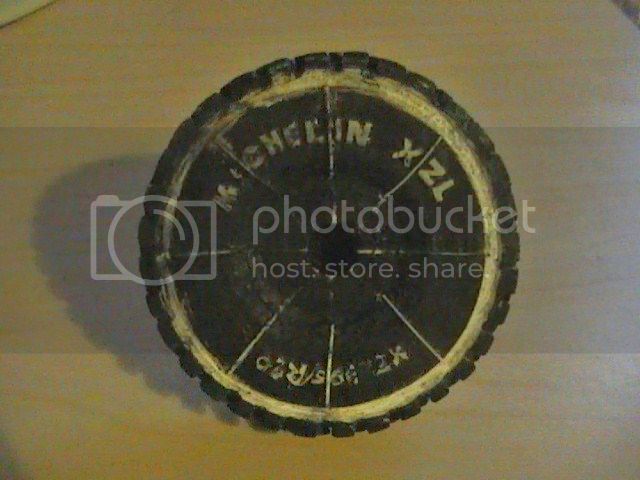
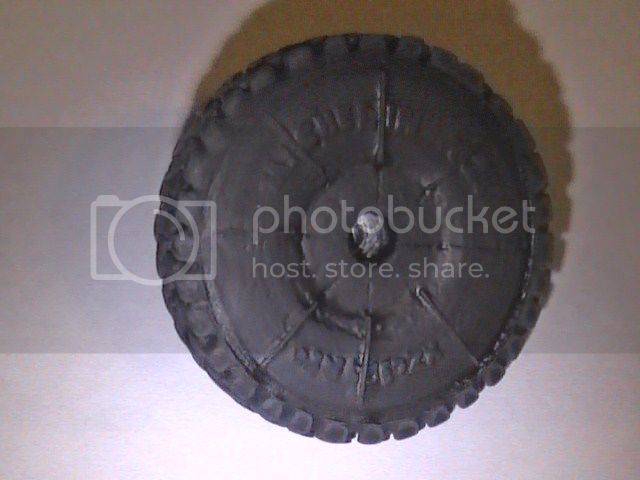
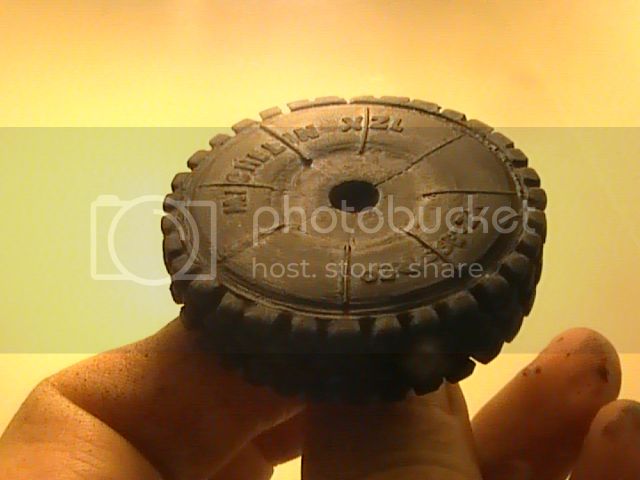
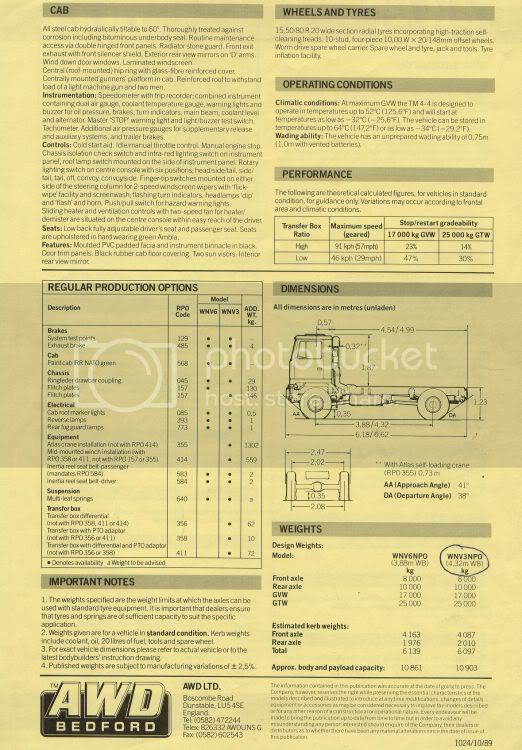
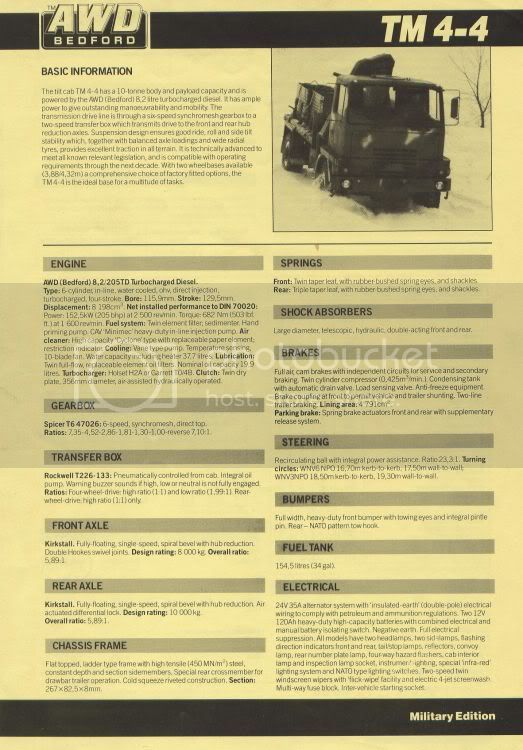
Since the info I have is mainly on the 4X4 Eight Tonne, it is likely that I will go for that, although, if I can source seven wheels and tires of the right size, I might be persuaded to go for the 6X6 Fourteen Tonne.


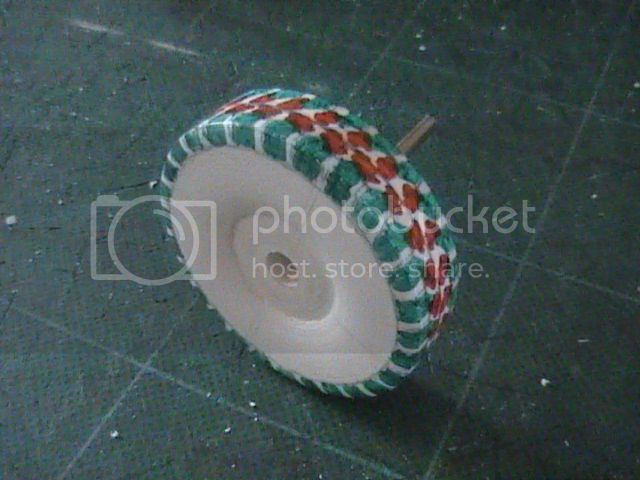
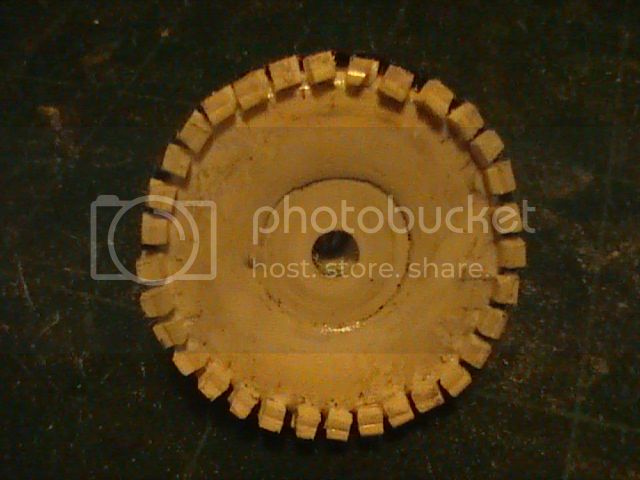
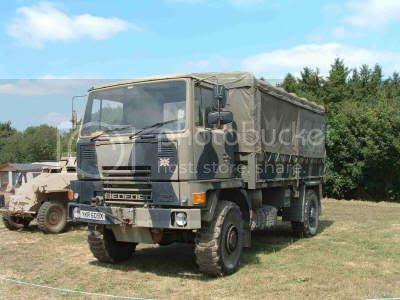
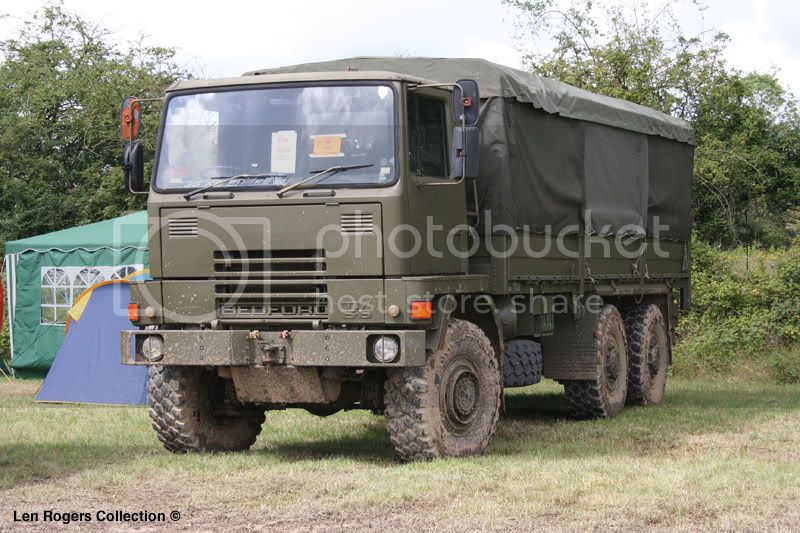
And this is what I hope it will look like at the end
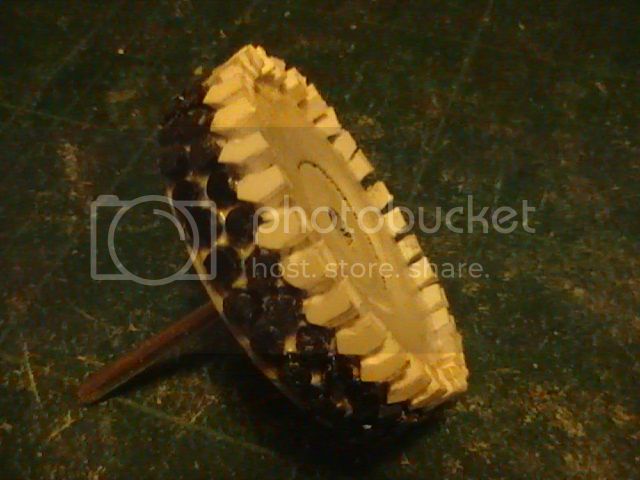


and


Hope that is a wee teaser for now. Must get back to the DAF !!!!!!!

Nige
okdoky
Visit this Community
Scotland, United Kingdom
Member Since: April 30, 2007
entire network: 1,597 Posts
KitMaker Network: 673 Posts
Posted: Friday, June 15, 2012 - 11:53 PM UTC
Have made a start on my first ever attempt at scratchbuilding a wheel and tire so wish me luck !!!!!!!!!!!!!!


It does help if you get the diameter right, but I think I used one of my photocopies that had a bit over large and I am putting this down to rushing to prepare for the model club night.

So this one is going to be a practice piece that I am going to keep shaving and sanding down to the tread size. I am then going to try my pyrograve on it for the tread pattern. If it proves to be a problem I will sand it beyond the tread and try the add on method instead.

Will be a long process, but hopefully worth it !!!!

Nige
okdoky
Visit this Community
Scotland, United Kingdom
Member Since: April 30, 2007
entire network: 1,597 Posts
KitMaker Network: 673 Posts
Posted: Saturday, June 16, 2012 - 02:53 AM UTC
That is the blank formed and ready for some setting out of the tread. Had a snow storm with the amount of plastic I had to shed first. Note to self get the basic diameter a bit closer next time !!!!!!!!!!!!


So far this process has been far easier than I thought and really quite therapeutic.

Will try to mark it out tomorrow and make a start with the pyrograve !!!!!!!!!!!!!!

Nige
bat-213
Visit this Community
Canada
Member Since: December 30, 2011
entire network: 902 Posts
KitMaker Network: 93 Posts
Posted: Saturday, June 16, 2012 - 11:12 AM UTC
looks like you have your hands fullgood luck.
okdoky
Visit this Community
Scotland, United Kingdom
Member Since: April 30, 2007
entire network: 1,597 Posts
KitMaker Network: 673 Posts
Posted: Sunday, June 17, 2012 - 06:24 AM UTC

Quoted Text

looks like you have your hands fullgood luck.


Hi Roy ,,,,,,,,,,,,,,,,,, certainly is a challenge, being that this is my first ever attempt !!!!!!!

I have been marking out the tread pattern on the tire blank and am waiting the kettle boiling for a cuppa before setting about engraving the pattern with either pyrograve, drill tools or a combination still to be decided !!!!!!!!!!!

Here is where I got to so far !!!!!!!!!!!!


Coffee, some shortbread and a break to get my head ready for carving !!!!!!

Nige
Murdo
Visit this Community
Scotland, United Kingdom
Member Since: May 25, 2005
entire network: 2,218 Posts
KitMaker Network: 760 Posts
Posted: Sunday, June 17, 2012 - 12:59 PM UTC
Sheesh! He's off again!

Haven't you finished it yet?

okdoky
Visit this Community
Scotland, United Kingdom
Member Since: April 30, 2007
entire network: 1,597 Posts
KitMaker Network: 673 Posts
Posted: Sunday, June 17, 2012 - 11:08 PM UTC

Quoted Text

Sheesh! He's off again!

Haven't you finished it yet?


Blows big raspberries at Murdo !!!!!!!!!!!!

Give me a chance mate !!!!!!!!!!! Anything better than a twelve year turn around will be good going for me !!!!!!!

Ha ha ha ha

Thanks for looking in !!!!!!

Nige
Murdo
Visit this Community
Scotland, United Kingdom
Member Since: May 25, 2005
entire network: 2,218 Posts
KitMaker Network: 760 Posts
Posted: Monday, June 18, 2012 - 11:07 AM UTC
Casper from Oz was right into this kind of stuff, made his own wheels. Haven't seen him on for a few months though. Remember him from a previous post you were on, he had a lathe the size of a QE2 engine?

okdoky
Visit this Community
Scotland, United Kingdom
Member Since: April 30, 2007
entire network: 1,597 Posts
KitMaker Network: 673 Posts
Posted: Monday, June 18, 2012 - 01:29 PM UTC

Quoted Text

Casper from Oz was right into this kind of stuff, made his own wheels. Haven't seen him on for a few months though. Remember him from a previous post you were on, he had a lathe the size of a QE2 engine?


Yep, Roger is great at making this sort of stuff !!!!!!!!!!! It is he who passed on the method to me long time ago. I just never plucked up the courage to cut some circles and give it a try !!!!!!!!

Well Plan A did not work too well as the etching tool on the mini drill was too wide and too rough to etch clean, narrow troughs. I knew I had to try it out simply to know what the limitations of the etching tool are when doing such fine work !!!!!!!!!!!

As I said though, this piece is very much a practice piece and I have been able to simply carve away the tread and reduce the diameter of the blank so that I can now try Plan B ,,,,,,,,,,,,,, adding the nubs to a flat strip in the right pattern and hopefully get a nice even tread !!!!!!!!!!!!

To Boldly Go Where No Man Has Gone Before (OK LOADS HAVE GONE BEFORE) ,,,,,,,,,,,,,,,,,,,,, but it is a first for me !!!!!!!!!!! Wish me luck !!!!!!!!!!

More to follow

Nige
okdoky
Visit this Community
Scotland, United Kingdom
Member Since: April 30, 2007
entire network: 1,597 Posts
KitMaker Network: 673 Posts
Posted: Wednesday, June 20, 2012 - 09:38 AM UTC
Well this is Plan B started !!!!!!!!!!! And it does help if you have 32 nubs like the original, not 28 as I had miss-calculated on the blank before !!!!!!!!!!!! Measure twice, cut once (or drill,,,,,,,,,,,, or sand ,,,,,,,,,,,,,or whatever) !!!!!!!!!!!!!!

360 divided by 32 equals 11.25 degrees per nub !!!!!!!!!!!!!!


Setting out by angle proved far more accurate than trying to set out with a compass around the circumference !!!!!!!!! Lesson learned !!!!!!!


Using a black piece of sprue, I cut the inner nubs out using my multi-angle guillotine with a necessary adaption of a catchers mitt (a clear sandwich bag weighted down inside) to catch the cut nibs before they can become carpet fodder !!!!!!!


To see the size of cut I wanted to make, I added a sheet of white paper with a very basic measure drawn on it !!!!! I would love to add a more substantial butt stop and measure gauge and would be interested to see what others have maybe added to theirs !!!!!!!!


Adding the nubs to the blank was very easy and quick to get the pattern !!!!!!! The outer nubs have still to be designed and cut, but that will be another day !!!!!!!!!!!!!!


I have made the nibs much larger than needed so that I can gently sand them down all together to the finished tread depth !!!!!! Not sure if to sand them with a slight oversize so that there is less risk of resin shrinkage on the treads !!!!!!!!!!! What do the folks who cast regularly think on this proposal ?????????????


Nige
17741907
Visit this Community
Istanbul, Turkey / Türkçe
Member Since: December 05, 2007
entire network: 953 Posts
KitMaker Network: 50 Posts
Posted: Wednesday, June 20, 2012 - 10:01 AM UTC
Really hard work Nige....Good luck my friend...
okdoky
Visit this Community
Scotland, United Kingdom
Member Since: April 30, 2007
entire network: 1,597 Posts
KitMaker Network: 673 Posts
Posted: Friday, June 29, 2012 - 12:48 PM UTC
Thanks Hakan

Made a start on the outer nubs of the tire. Judged the tread thickness and used double thickness of card to make sure the tread will be thicker than needed to allow for sanding back. Also extended out beyond the side wall to allow a sanding back to the vertical equally.


Only 64 to make ,,,,,,,,,,,,,,,,,,,,, ha ha ha ha ha ha !!!!!!!!!!!!!!!!! Slow progress !!!!!

Nige
okdoky
Visit this Community
Scotland, United Kingdom
Member Since: April 30, 2007
entire network: 1,597 Posts
KitMaker Network: 673 Posts
Posted: Saturday, June 30, 2012 - 01:56 PM UTC
This is the Michelin XZL 395/85R20

It means the tyre is 395mm width outer side wall to inner side wall at its widest point.

The aspect ration is 85% of the width = 335mm from hub rim to tread surface.

R = Radial

20 = 20 inch diameter wheel or 500mm diameter.


Will paste some superglue in the joints and then sand tomorrow !!!!!!!! Tread and side wall will get sanded down !!!!!!!!

More tomorrow !!!!!

Nige
bat-213
Visit this Community
Canada
Member Since: December 30, 2011
entire network: 902 Posts
KitMaker Network: 93 Posts
Posted: Saturday, June 30, 2012 - 07:09 PM UTC
how many tires are you makeing? your tire is looking good
keep up the good work.
okdoky
Visit this Community
Scotland, United Kingdom
Member Since: April 30, 2007
entire network: 1,597 Posts
KitMaker Network: 673 Posts
Posted: Sunday, July 01, 2012 - 02:47 AM UTC

Quoted Text

how many tires are you makeing? your tire is looking good
keep up the good work.


Hi Roy

Since this is my first ever attempt, the intention is to see how it goes. If successful, I will either make all 12 (minimum) needed for the 4x4 and the 6x6 TM's.

or

I will attempt to make the other common tread pattern, the Michelin XL Pilot 15.5/80R20


Here is where I am at


All the nubs are as good as this, but I am happy so far.

Just another 32 to do for the inner side wall !!!!!!!!!!!!!

Nige
bat-213
Visit this Community
Canada
Member Since: December 30, 2011
entire network: 902 Posts
KitMaker Network: 93 Posts
Posted: Sunday, July 01, 2012 - 03:57 PM UTC
hi Nige,well as i said your tires are greatkeep up the good work
and thanks for shareing.
Murdo
Visit this Community
Scotland, United Kingdom
Member Since: May 25, 2005
entire network: 2,218 Posts
KitMaker Network: 760 Posts
Posted: Monday, July 02, 2012 - 08:36 AM UTC
Basket case

okdoky
Visit this Community
Scotland, United Kingdom
Member Since: April 30, 2007
entire network: 1,597 Posts
KitMaker Network: 673 Posts
Posted: Monday, July 02, 2012 - 09:21 AM UTC

Quoted Text

Basket case


What are you inferring mate ?????????????? Ha ha ha ha ha !!!!!!!

Well I got some progress on the tire and I am quite chuffed with my first attempt !!!!!!!!!! Is not perfect, but I am not a perfectionist by any stroke of the imagination !!!!!!


I will chuck some lines on it for the side wall beading and cross banding. Will need to figure out how to add the lettering and tire sizing figures. I fancy buying some tiny etched brass numbers and letters but will see how the pennies go.

Hope you like

Nige

steph2102
Visit this Community
Isere, France
Member Since: April 23, 2011
entire network: 735 Posts
KitMaker Network: 80 Posts
Posted: Monday, July 02, 2012 - 09:34 AM UTC
nice work.steph
bat-213
Visit this Community
Canada
Member Since: December 30, 2011
entire network: 902 Posts
KitMaker Network: 93 Posts
Posted: Tuesday, July 03, 2012 - 12:29 PM UTC
very nice work Nige,all you have to do is 11 more.
Murdo
Visit this Community
Scotland, United Kingdom
Member Since: May 25, 2005
entire network: 2,218 Posts
KitMaker Network: 760 Posts
Posted: Wednesday, July 04, 2012 - 10:45 AM UTC

Quoted Text


Quoted Text

Basket case


What are you inferring mate ?????????????? Ha ha ha ha ha !!!!!!!


"Inferring"? Moi? Not a thing mate... Well I do think you're absolutely barking.

You're 'orribly skilled and I'm SOOOOO JEALOUS!

Have to admit, my patience would have run out making the first tire disk never mind the tread pattern round it!


okdoky
Visit this Community
Scotland, United Kingdom
Member Since: April 30, 2007
entire network: 1,597 Posts
KitMaker Network: 673 Posts
Posted: Friday, July 06, 2012 - 12:31 PM UTC
Yeh Murdo ,,,,,,,,,,,,,,,,,,,, orribly summit !!!!! Or more probably summit orrible as my dear Mrs would likely say !!!!!!!

But still always learning !!!!!

Added some side wall banding to the tires !!!!!!


Still got the inner side wall banding to do !!!!!!!

Hunt for sprue off cuts as well tomorrow for letter and numbers !!!!!!!!!!!!!!!!

Nige

okdoky
Visit this Community
Scotland, United Kingdom
Member Since: April 30, 2007
entire network: 1,597 Posts
KitMaker Network: 673 Posts
Posted: Sunday, July 08, 2012 - 10:21 AM UTC
Trying to do the letters on the cheap. A bit of faffing about trying to get the side wall banding and lettering. Had a couple of total disasters that had me sanding back a couple of times. Main problem was oversizing of the lettering.

Here is where it is at now.

Hand cut letters


Dunno if I am happy yet though !!!!!!!! Not sure how much detail will be kept when the master is cast !!!!!!!

Nige
bat-213
Visit this Community
Canada
Member Since: December 30, 2011
entire network: 902 Posts
KitMaker Network: 93 Posts
Posted: Wednesday, July 11, 2012 - 07:30 AM UTC
hi Nige,for some reason i dont see any pis now?all it says is
look who is popular,ans phtobucket.
okdoky
Visit this Community
Scotland, United Kingdom
Member Since: April 30, 2007
entire network: 1,597 Posts
KitMaker Network: 673 Posts
Posted: Wednesday, July 11, 2012 - 08:29 AM UTC
Hi Roy

The problem with photobucket is that, unless you pay a subscription, you are limited to the amount of uploading to and from, and possibly, others viewing the photos in your account.

I started my account on the thirteenth day of a month, and my allowance seems to renew on the thirteenth !!!!!!!! So normal service should be resumed on the thirteenth and all photos I have posted should magically reappear.

Unfortunately money is too tight to splash out on annual subs for this sort of thing, so I am stuck with the hassle for now until I can think of a better plan !!!!!!!!!!

Keep the faith. Not got any new pics up of the latest attempt with a second blank that I am working on and am away to do some fettling on right now !!!!!!!!

Nige