Scratchbuilders!: Armor/AFV
This is a group for armor scratchbuilding questions, topics and projects.
Hosted by Mike Kirchoff
1/24 Bedford TM Scratchbuild
okdoky
Visit this Community
Scotland, United Kingdom
Member Since: April 30, 2007
entire network: 1,597 Posts
KitMaker Network: 673 Posts
Posted: Tuesday, December 16, 2014 - 06:03 AM UTC
Oh ,,,,,,,,,,,,,,,,,,,,,,, has anybody seen a TM hiding in a corner ??????????? AH ,,,,,,,,,,,,,,,,,, FOUND IT !!!!!!!!!!!!!!!!!!

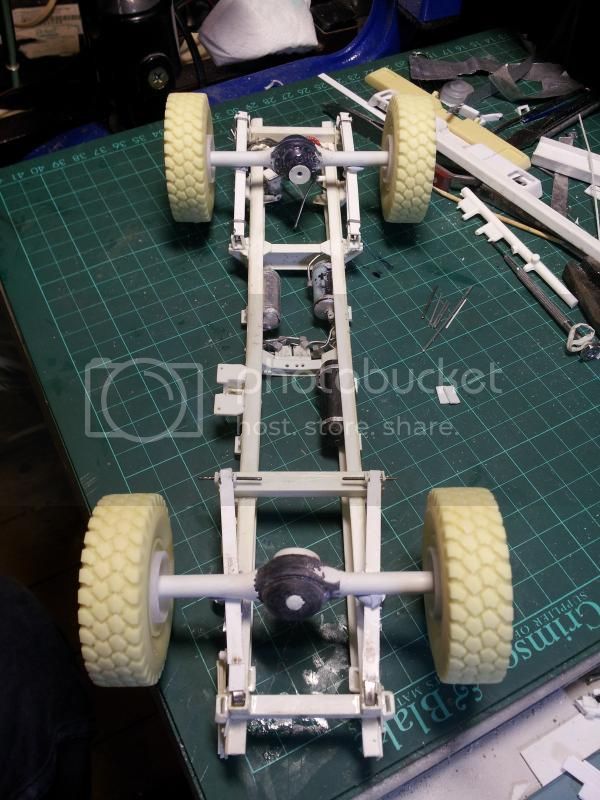
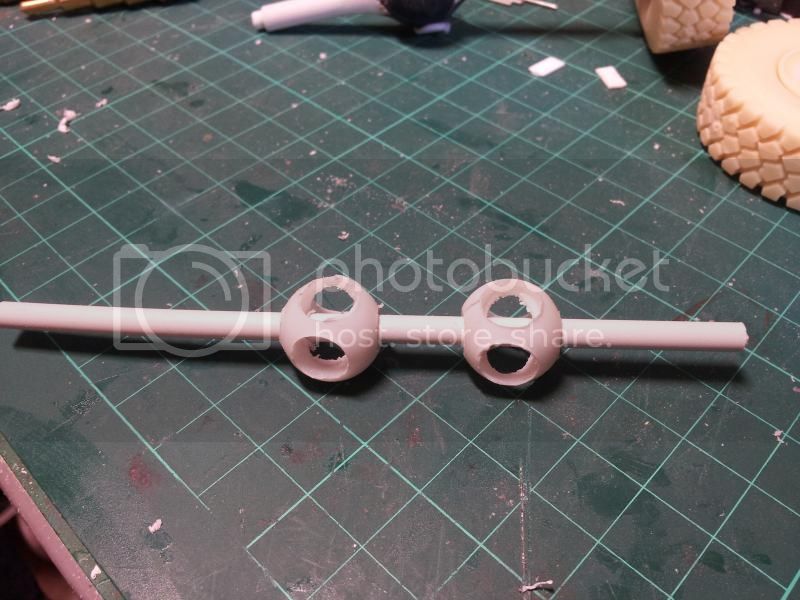
And hopefully my mojo again !!!!!!!!!!!!

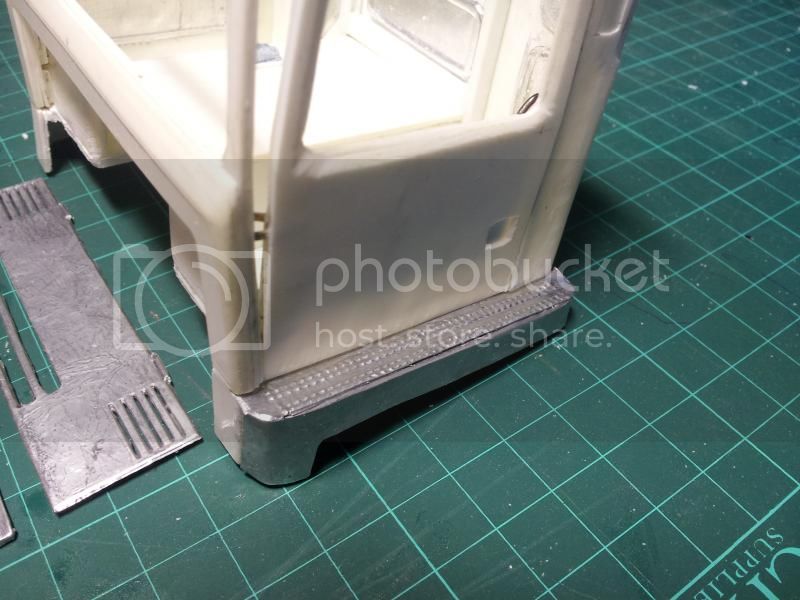
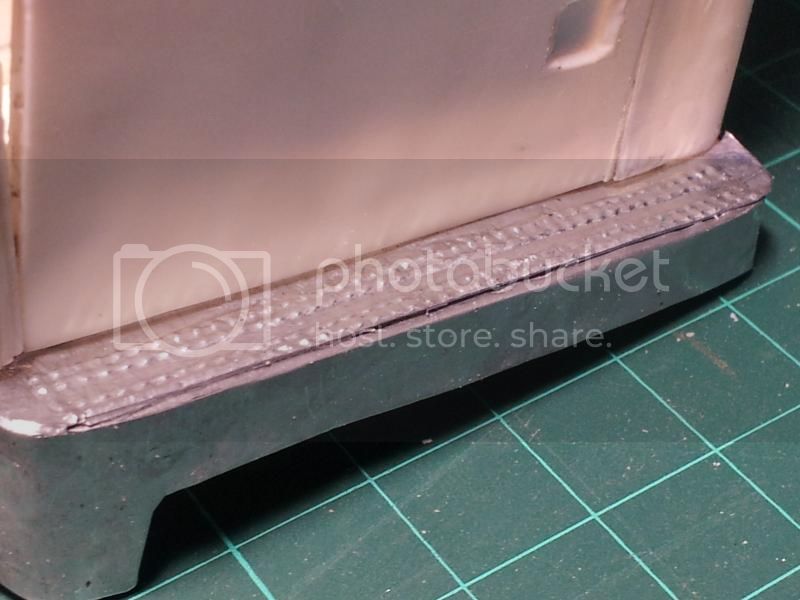
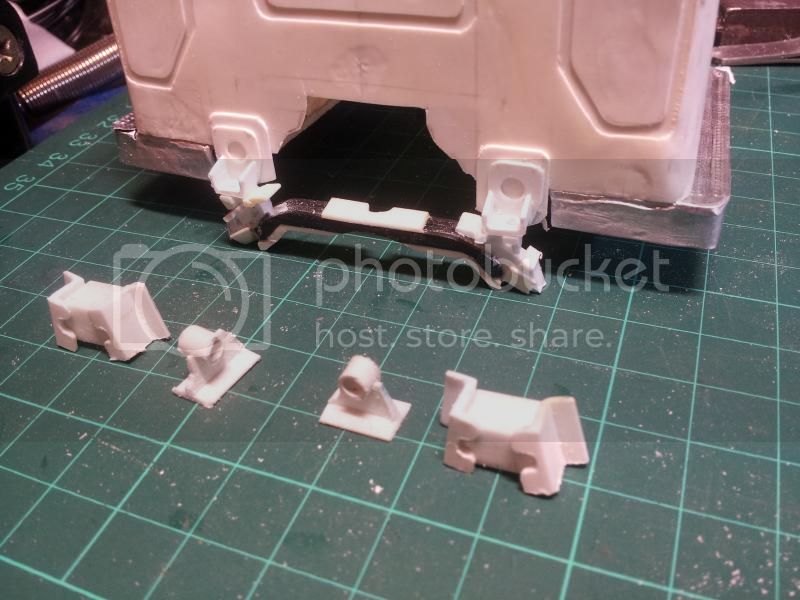
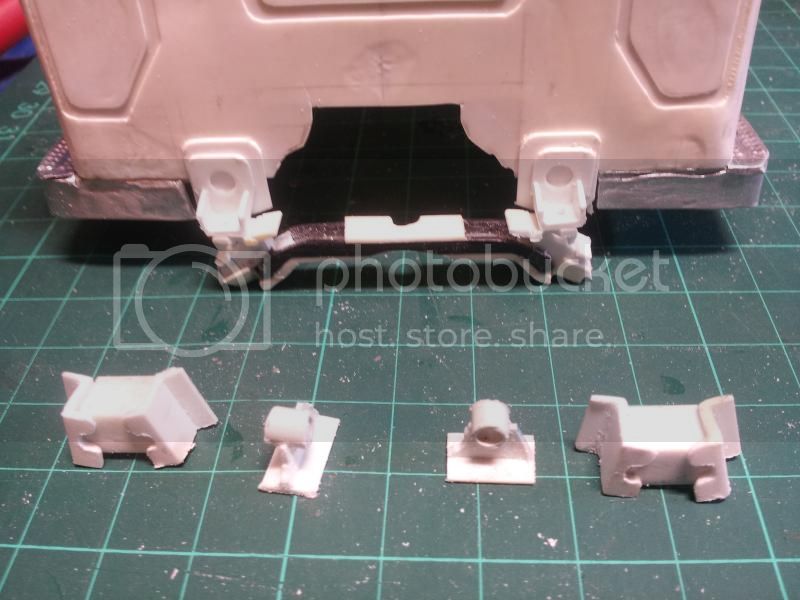
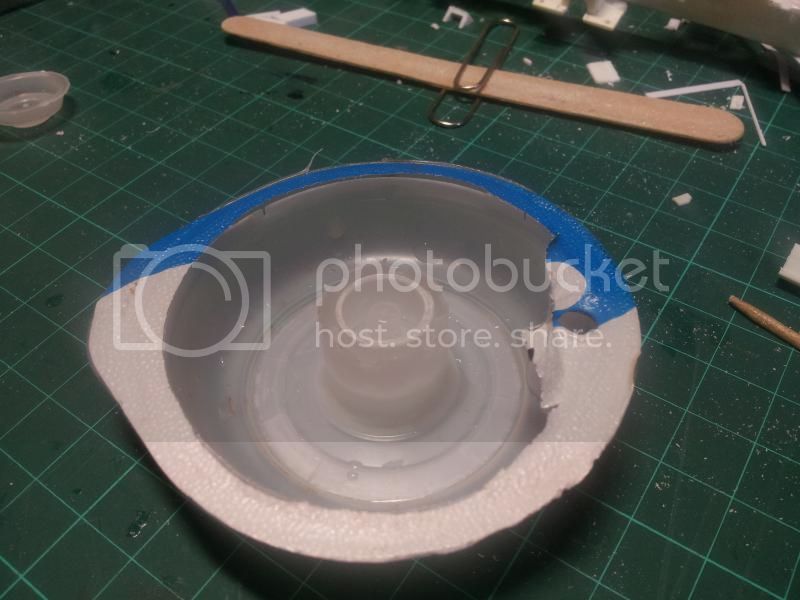
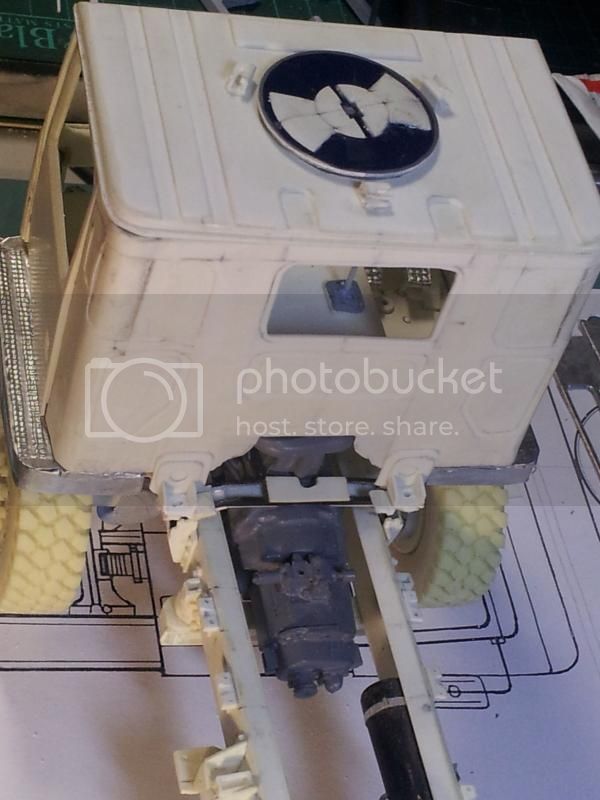
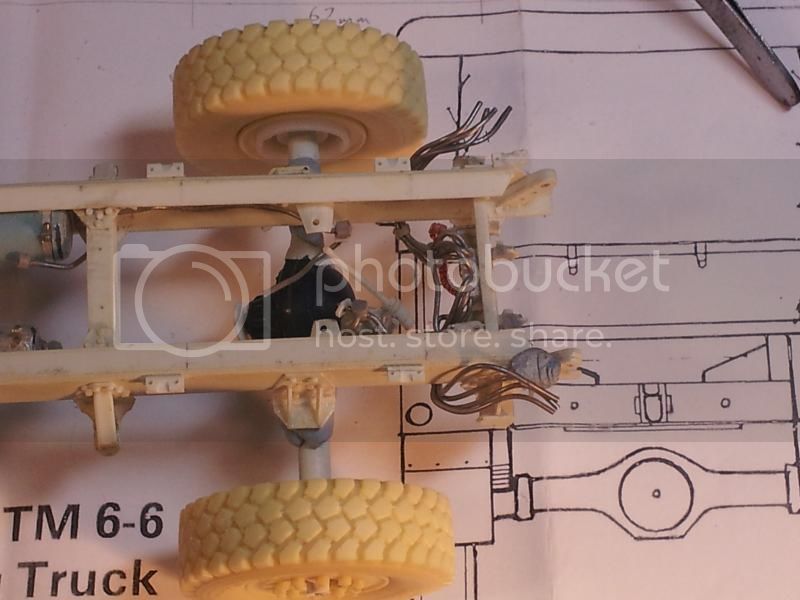
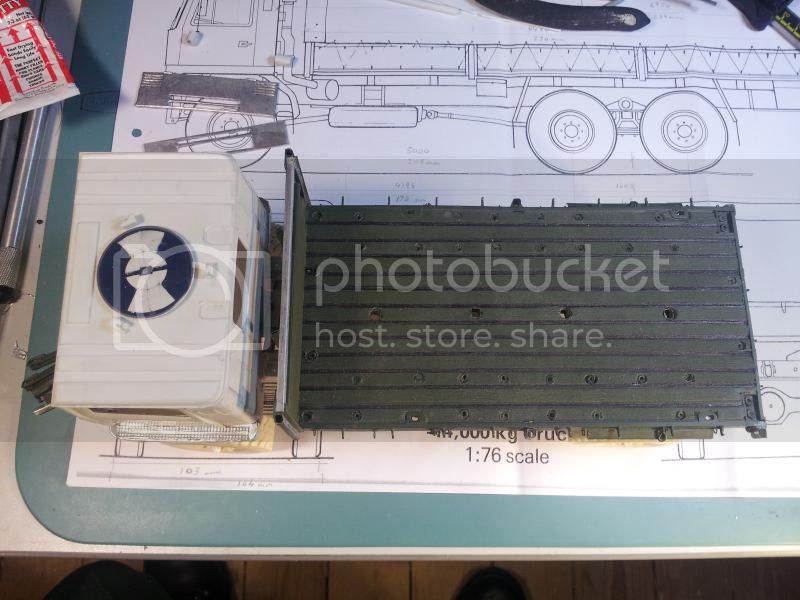
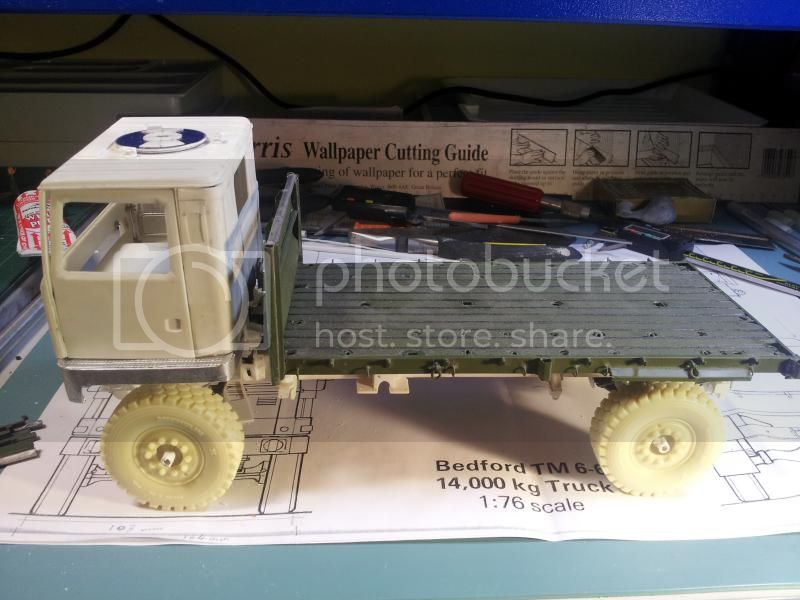
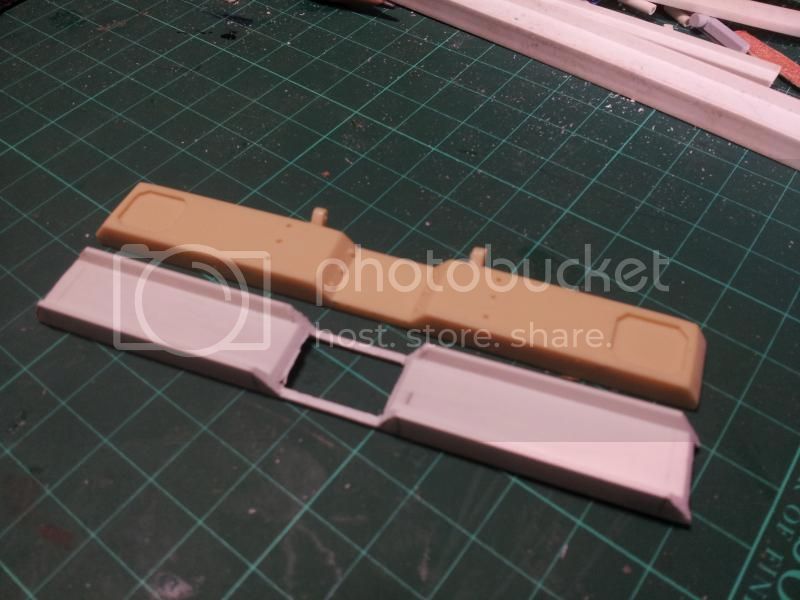
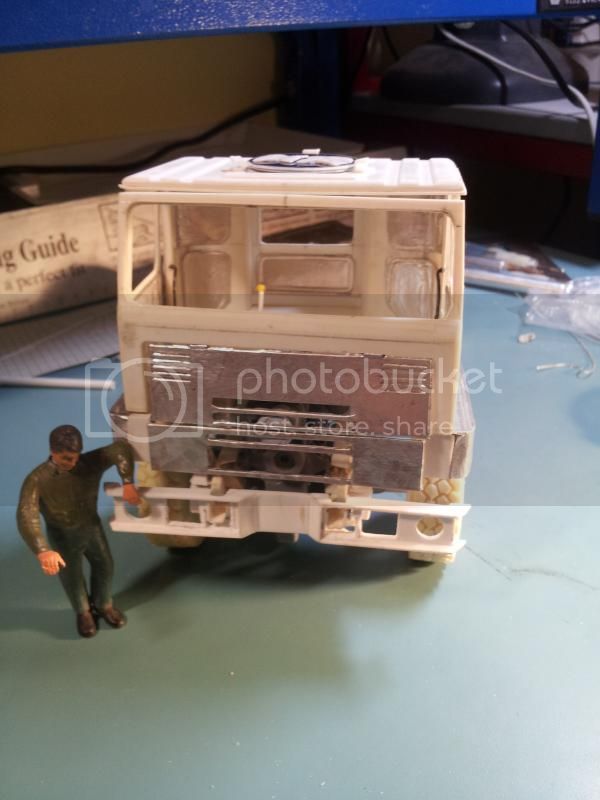
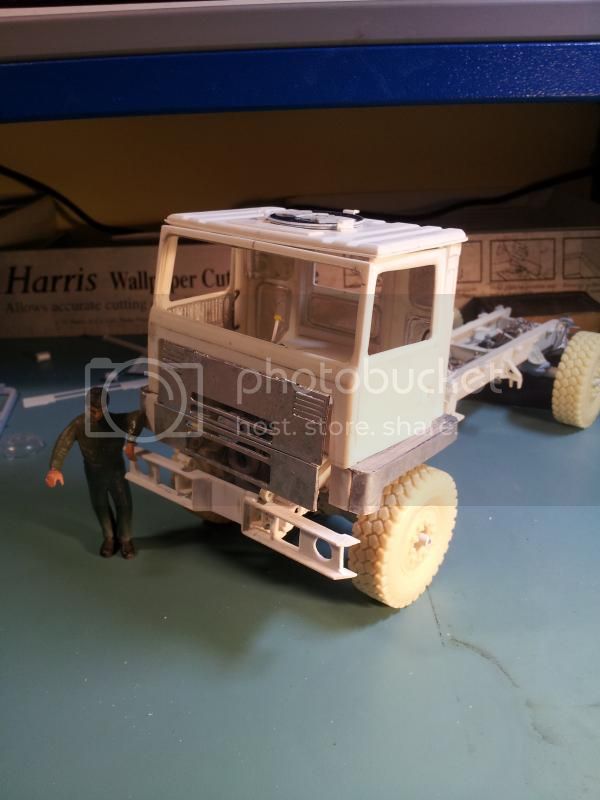
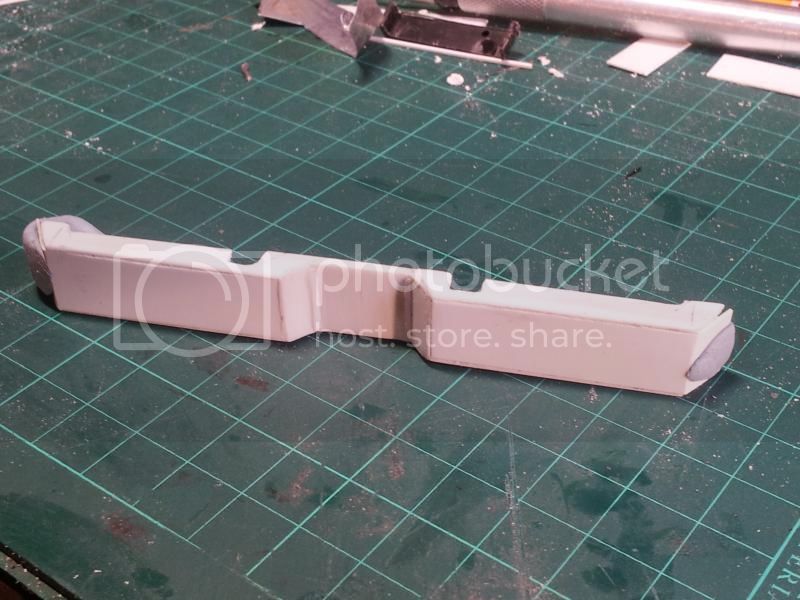
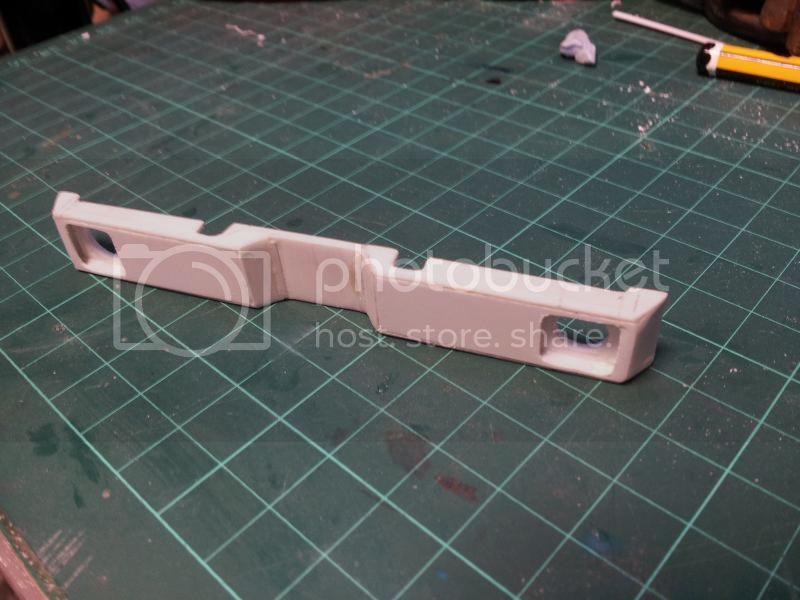
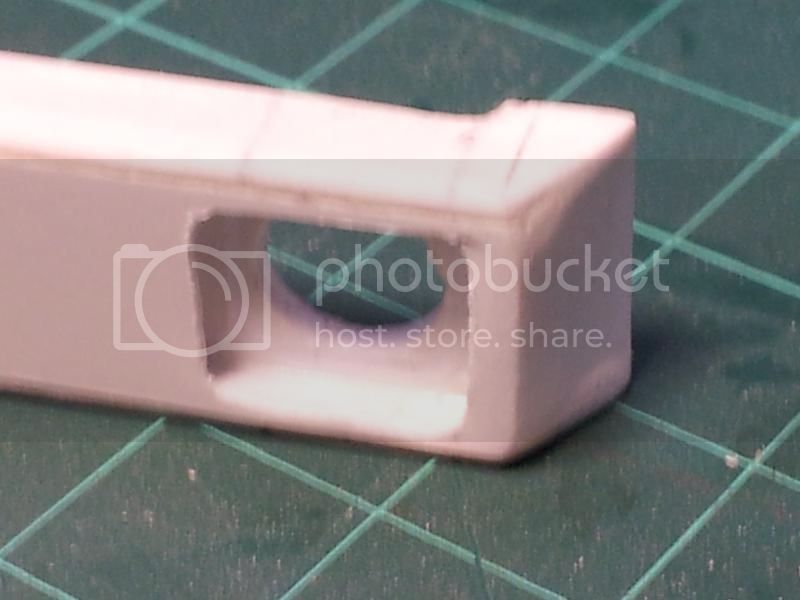
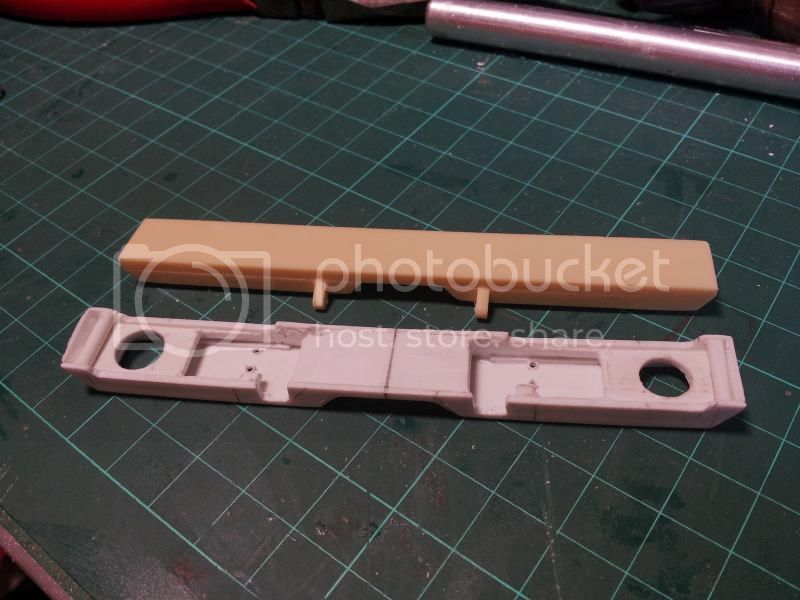
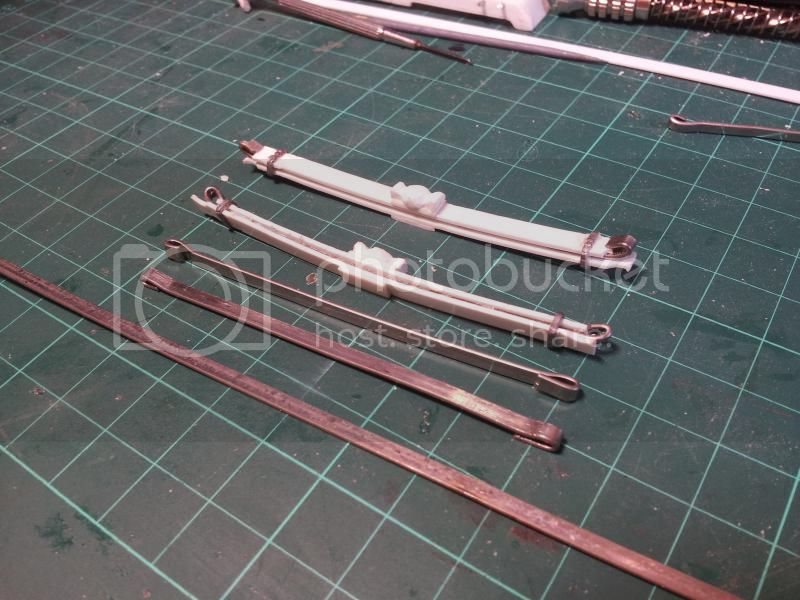
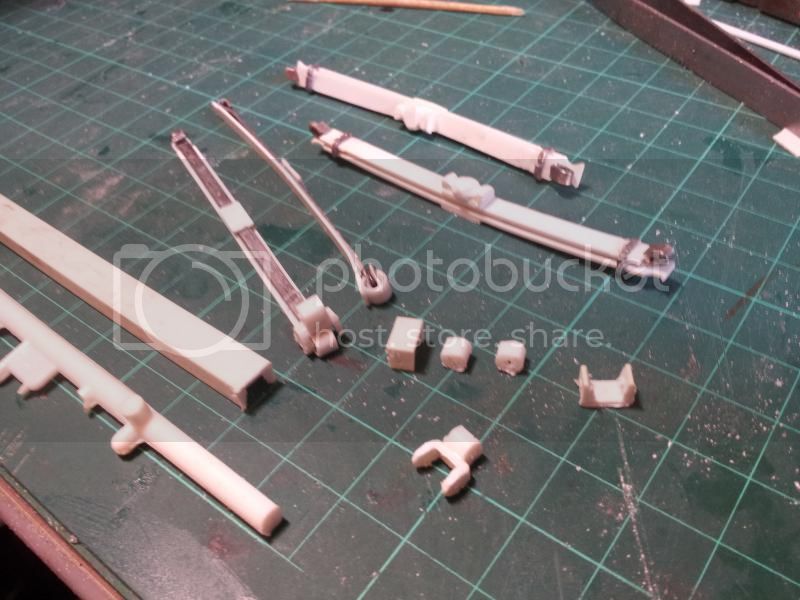
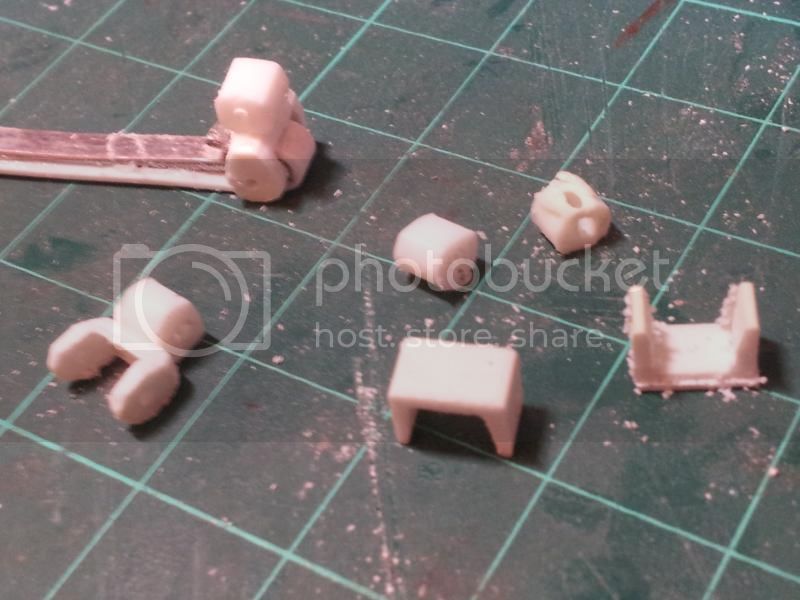
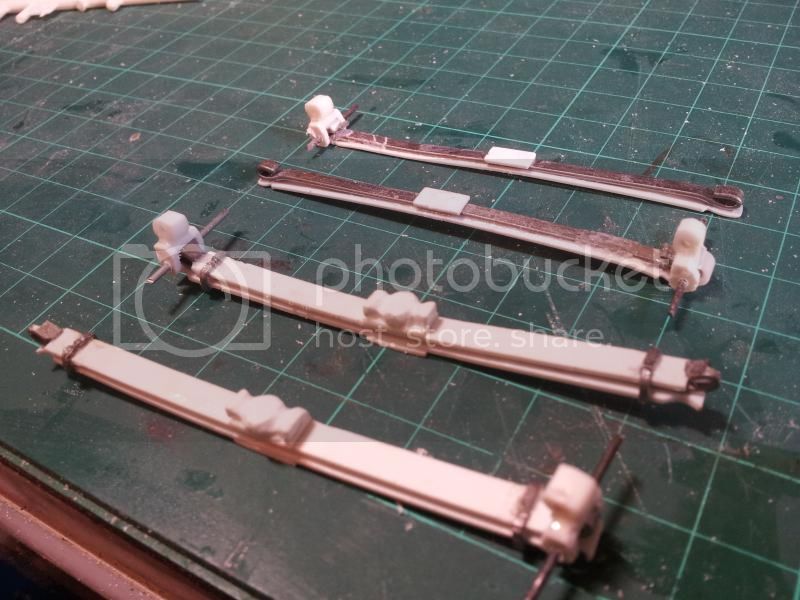
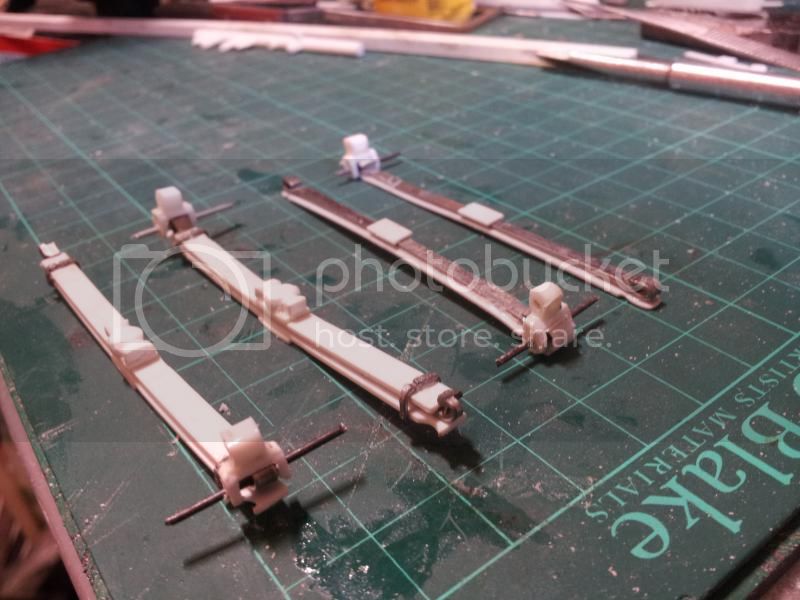
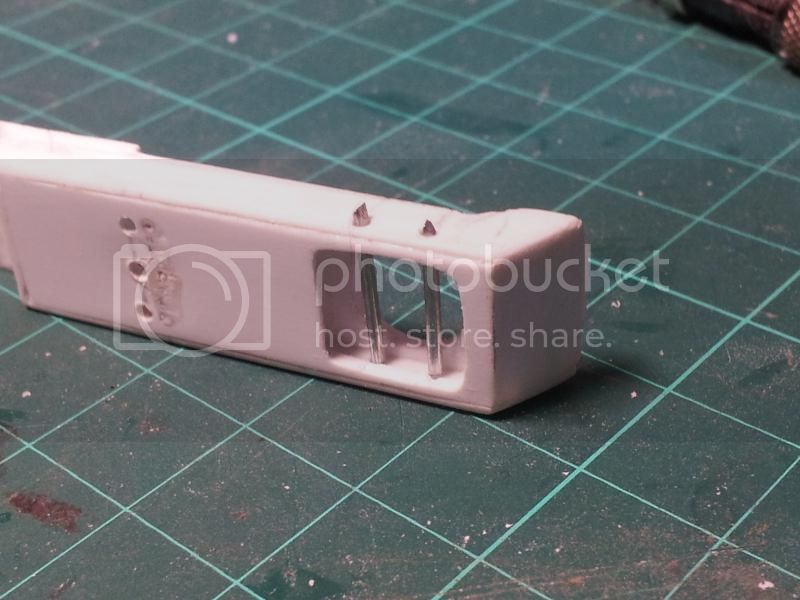
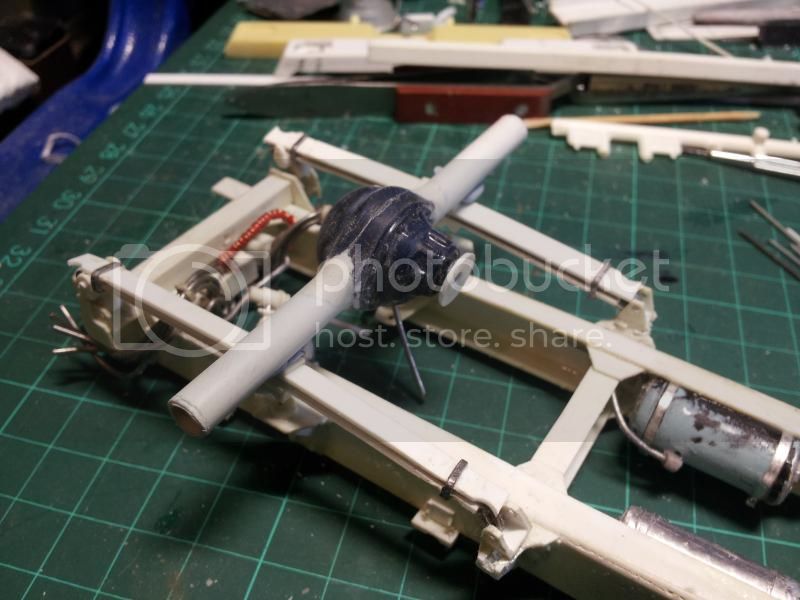
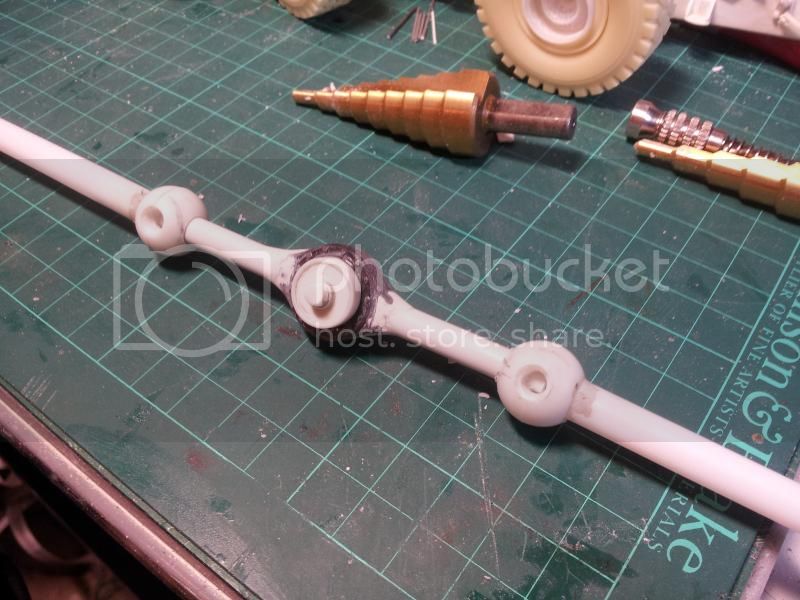
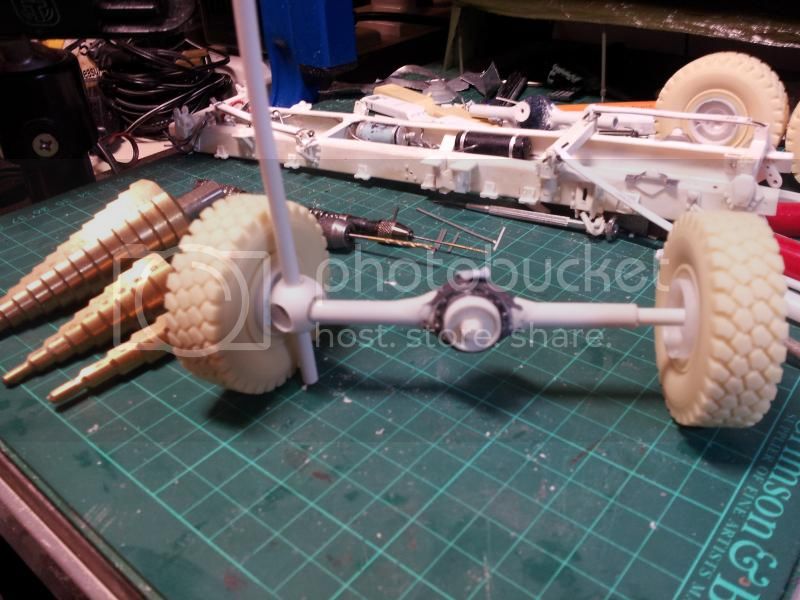
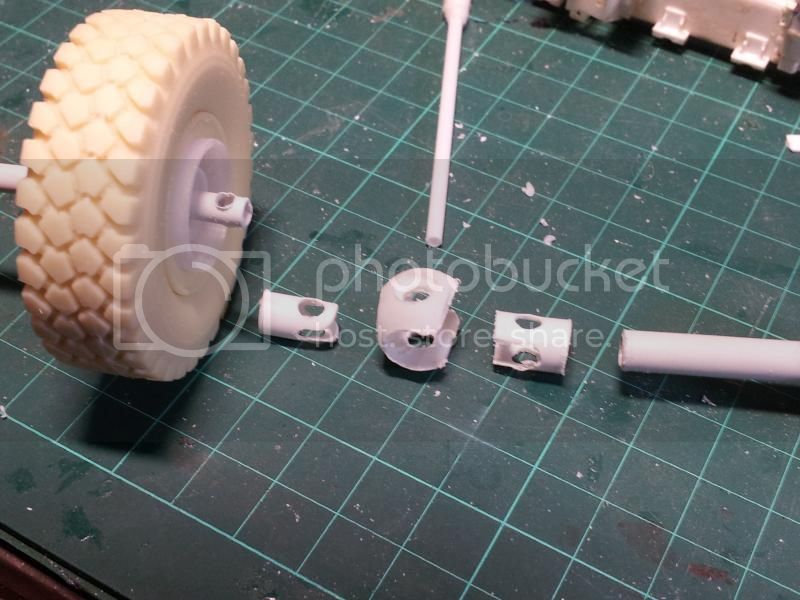
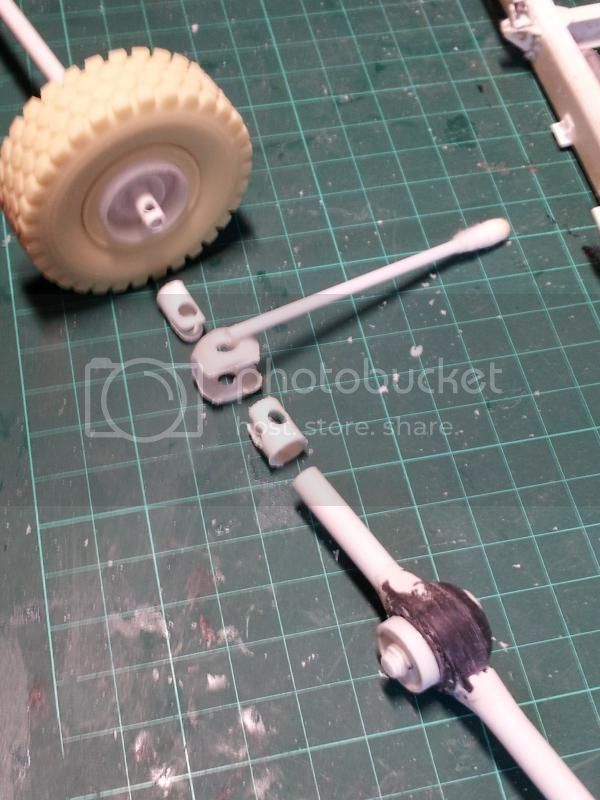
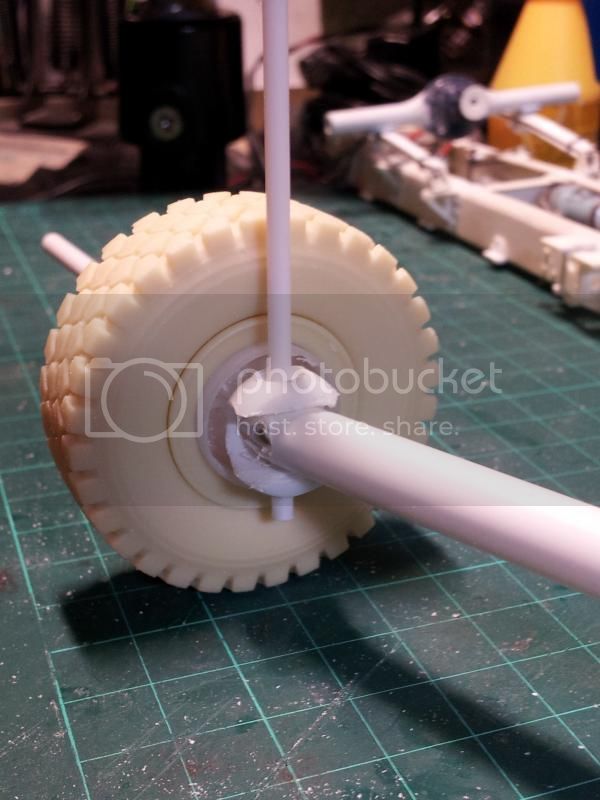
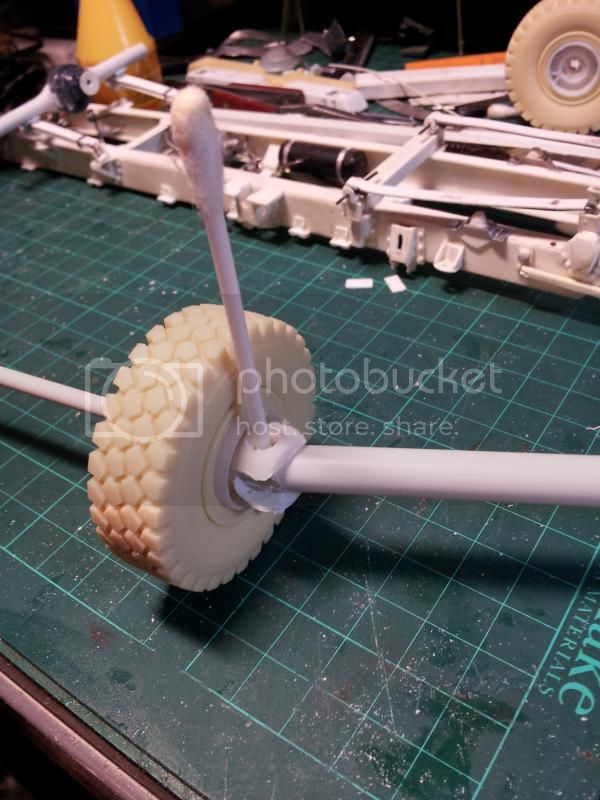
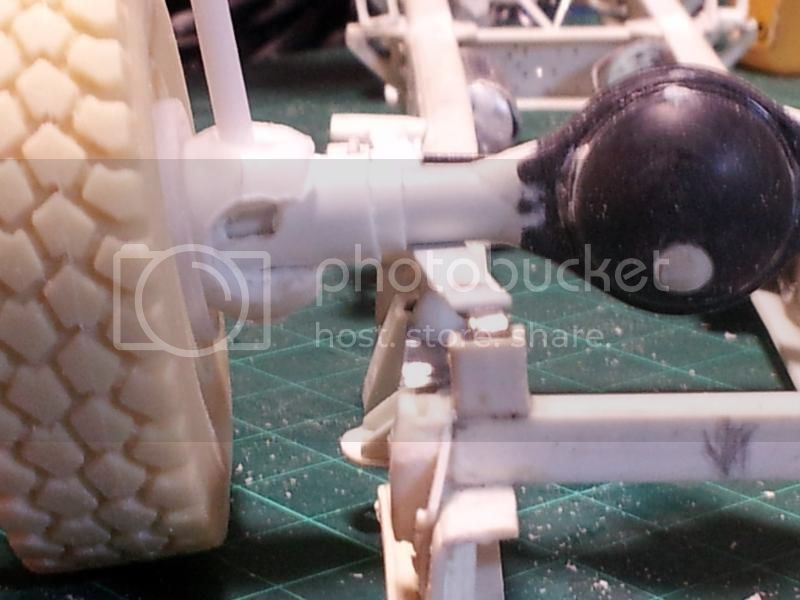
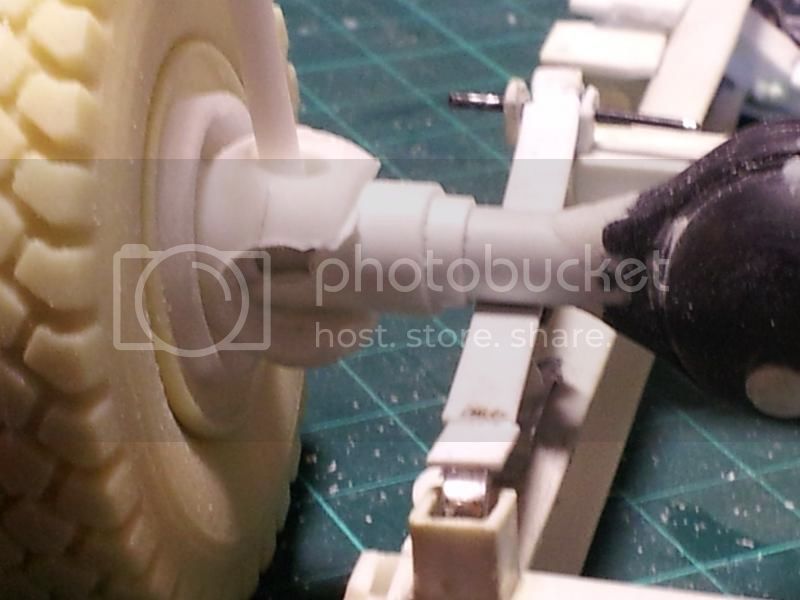
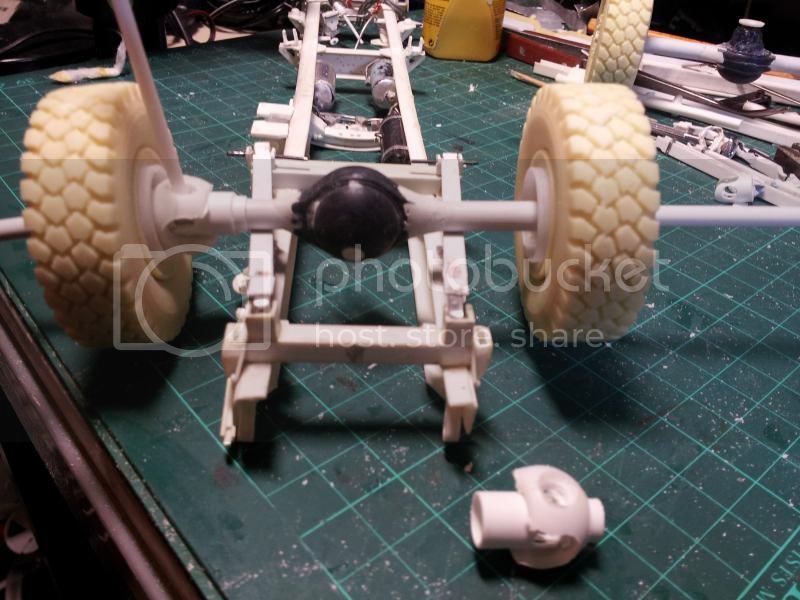
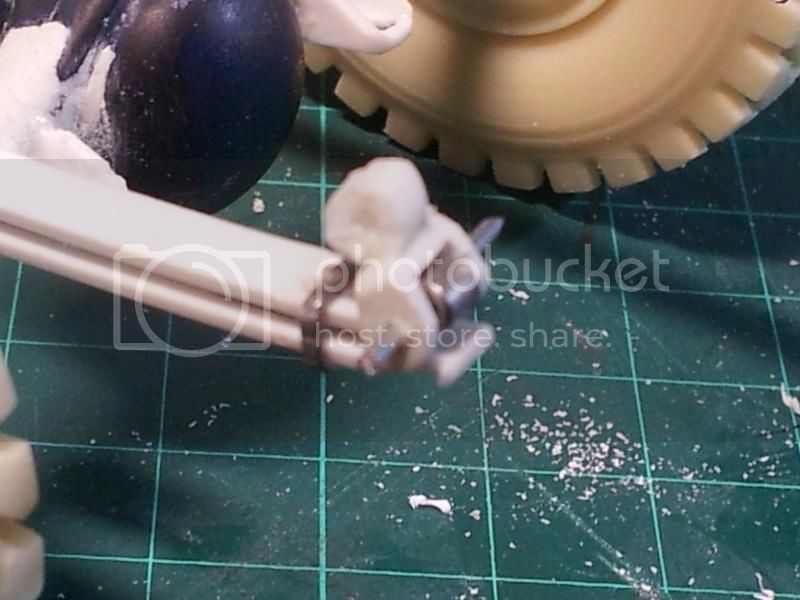
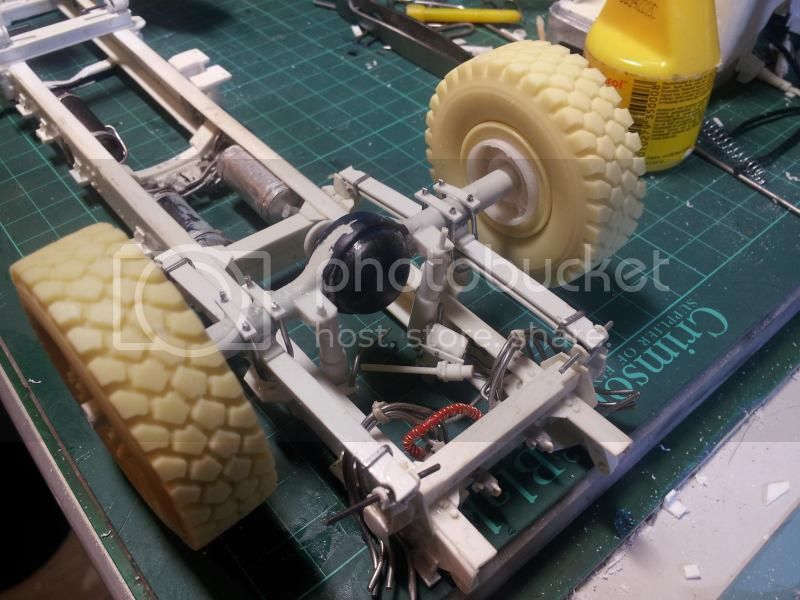
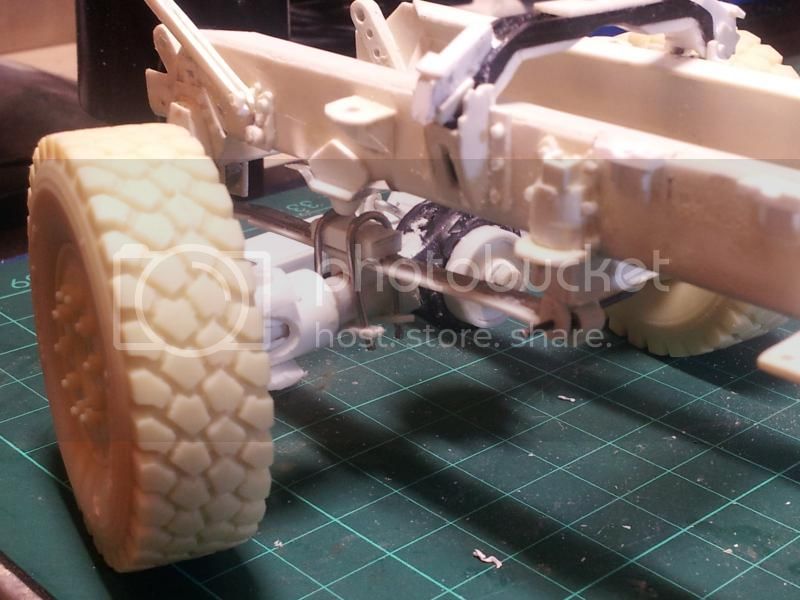
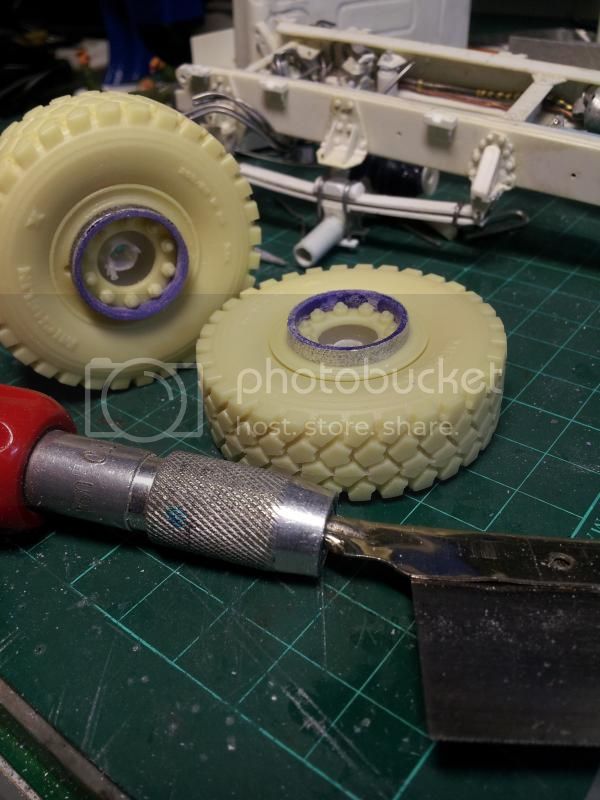
Hi there folks hope you have kept the faith in me to get this one going again after such a bloody long model block !!!!!!!!!! Not much to show other than a couple of corrections to the front cab access panels to attempt to give them a bit of depth that was missing !!!!!!!!! Also working on the valance around the cab at floor level !!!!!!

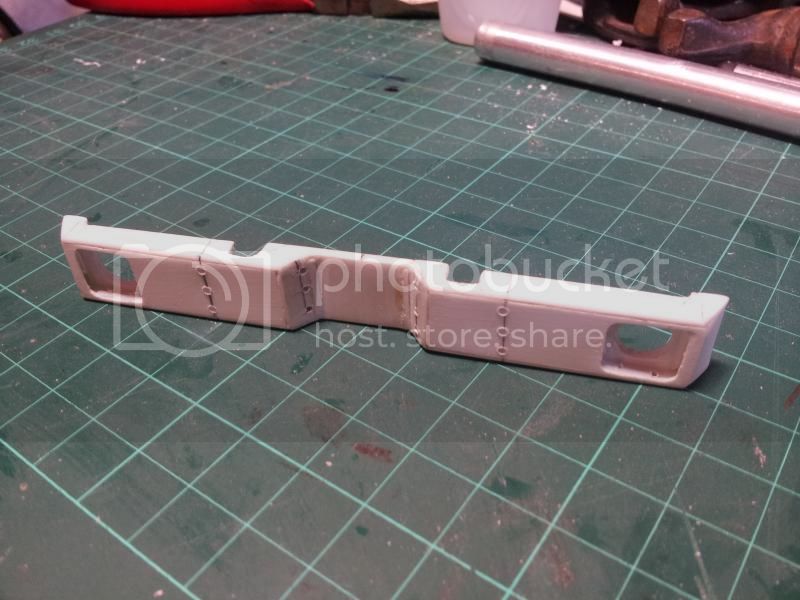
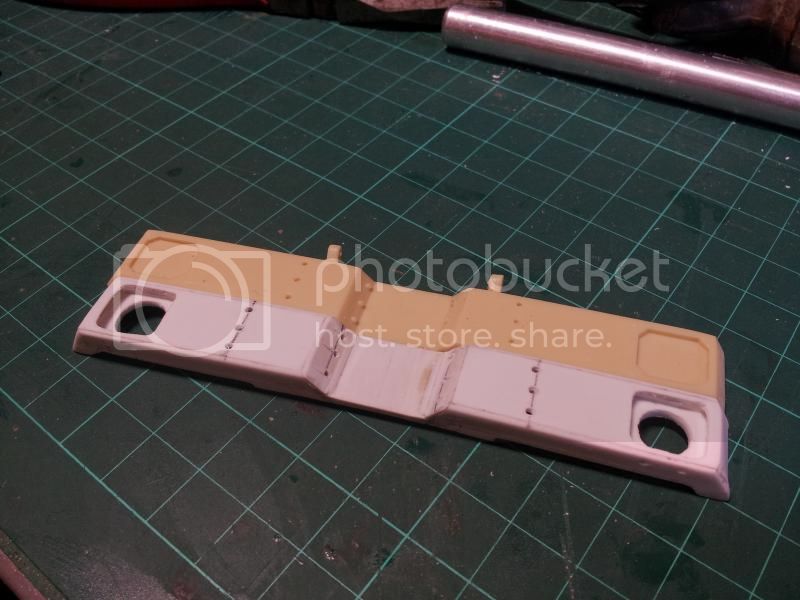
Used plasticard to form the shape then embossed aluminium foil from roasting tins over to give the panels that pressed panel look


jimb
Visit this Community
New York, United States
Member Since: August 25, 2006
entire network: 2,539 Posts
KitMaker Network: 263 Posts
Posted: Thursday, December 18, 2014 - 07:54 AM UTC
Nice looking grill.

Jim
okdoky
Visit this Community
Scotland, United Kingdom
Member Since: April 30, 2007
entire network: 1,597 Posts
KitMaker Network: 673 Posts
Posted: Friday, December 19, 2014 - 02:41 AM UTC
Then I added the anti-slip rubber surface over the cab valance above the front wheels !!!!!


I have also made a start on the cab mounts front and rear but am leaving these to set hard before I do some sanding and drilling of detail that won't likely be seen !!!!!


okdoky
Visit this Community
Scotland, United Kingdom
Member Since: April 30, 2007
entire network: 1,597 Posts
KitMaker Network: 673 Posts
Posted: Tuesday, December 23, 2014 - 01:32 AM UTC


As most folks know I try to build on a very tight budget and with no local hobby shop for supplies nearby my builds incorporate much recycling !!!! Even the family get in on the act by asking me before they dump the smallest of plastic scrap !!!! I thought I had been given gold by the mother in law in the form of a plastic tube that might have been suited to make brake drums !!!! But was just too large a diameter by mm's, from of all things ,,,,,,,,,,,,,,,,, a roll of puff pastry !!!!

Last night I was over at the mother in laws and was offered hot chocolate mate in a Tasimo machine !!!! I noticed the sachets of choc, cofffee and cream were plastic !!!! Out with a knife and cut off the foil lid !!!!


After a little cutting


And I will have to thin out the wheel parts just a fraction to allow the new drum to fit snug inside


Due to the way the sachet is formed there is a very nice centre tube which accepts a styrene tube in a very secure friction fit without any assistance which means I can form these as half axles to fit inside the proper axle !!!!

NOW FOR ANOTHER 11 HOT CHOCOLATES !!!!!!!!! MMMMMMMMMMMMMMMMMM
okdoky
Visit this Community
Scotland, United Kingdom
Member Since: April 30, 2007
entire network: 1,597 Posts
KitMaker Network: 673 Posts
Posted: Saturday, December 27, 2014 - 04:25 AM UTC
Have spent tonight roughing out the axles and getting the diffs formed. Waiting for the white putty to set hard on joints before I add any more bits like the diff lock actuators, spring hangers and the like to them !!! Also got to figure out the front stearing hubs and try to add a bit of life there too with hopefully a robus, poseable joint !!!!

Meanwhile popped the fantastic Gerry Mos Cad / KFS cast wheels and tyres on to get a feel for the poise of the truck !!!!! It starts to take life and makes me feel I want to keep going again !!!!


turtle65
Visit this Community
Dunedin, New Zealand
Member Since: September 17, 2012
entire network: 266 Posts
KitMaker Network: 69 Posts
Posted: Sunday, December 28, 2014 - 04:15 AM UTC
Think we might have to change your callsign to Womble .
Creative use of discards
okdoky
Visit this Community
Scotland, United Kingdom
Member Since: April 30, 2007
entire network: 1,597 Posts
KitMaker Network: 673 Posts
Posted: Thursday, January 01, 2015 - 01:30 AM UTC
Thanks Roger !!!!!!!!!!!! Happy wee Womble I am !!!!!!!!!!

I have been a good boy and kept of the hard stuff over Xmas and New Year !!!!!!!! Locked myself away tonight and got some work done !!!!!!!

I wanted to improve a little on the bumper from the KFS one !!!!!!! Partly as my one to one dimensions did not fully tie in around the chassis sizes, the bolt holes and the lights !!!!!!! Minor tweeks on the front that might be due to the fact this is geared for a Trans kit using a typical truck kit chassis !!!!!!


okdoky
Visit this Community
Scotland, United Kingdom
Member Since: April 30, 2007
entire network: 1,597 Posts
KitMaker Network: 673 Posts
Posted: Friday, January 02, 2015 - 04:17 AM UTC
This where I am for now !!!!!!!! Strip of tough steel that I cannot remember where I got from but is bent round at the ends to accept shackle pins to hang from the chassis brackets !!!!! Laminated up with plastic strip for three leaf at rear and only two at the front !!!!!!!! Front springs to be laminated up yet !!!!!!!


Next to try is some shackles for the leaf to chassis bracket connections using U channel and off cuts of sprue


Problem is kit parts can't really be cut and added to the scratch stuff as they tend to be either part of the chassis or part of the leaf springs !!!!!!! I also need to support the weight of four resin wheels and tyres when built !!!!!!!!!!!!!!!


Also did some headlight guards


Removed by original poster on 01/03/15 - 01:51:33 (GMT).
2002hummer
#257
Visit this Community
Ontario, Canada
Member Since: October 11, 2011
entire network: 812 Posts
KitMaker Network: 105 Posts
Posted: Friday, January 02, 2015 - 07:31 AM UTC
Just found your blog. Great stuff. I started at the beginning and am wowed st your skills. Scratch building to this extent is beyond me. I will follow with interest.
PS where do you get the bolt and nut heads from. Recycling coffee maker cups etc is an art and easily adapted to modeling.
okdoky
Visit this Community
Scotland, United Kingdom
Member Since: April 30, 2007
entire network: 1,597 Posts
KitMaker Network: 673 Posts
Posted: Saturday, January 03, 2015 - 07:02 PM UTC

Quoted Text

Just found your blog. Great stuff. I started at the beginning and am wowed st your skills. Scratch building to this extent is beyond me. I will follow with interest.
PS where do you get the bolt and nut heads from. Recycling coffee maker cups etc is an art and easily adapted to modeling.


Darrell

The nuts n bolts are chopped plastic rod !!! I also have some resin bolts that are meant for 1/35 which are quite small that I am keeping for more obvious locations as they are really neat !!!

Nige
Removed by original poster on 01/07/15 - 00:02:19 (GMT).
okdoky
Visit this Community
Scotland, United Kingdom
Member Since: April 30, 2007
entire network: 1,597 Posts
KitMaker Network: 673 Posts
Posted: Tuesday, January 06, 2015 - 04:32 AM UTC
Some time in my fave office tonight working on my stearing for the Bedford TM !!!! Nicked a couple of plastic rods from my kids that had flags stuck to them !!!!!!!!! There were lovely plastic balls already stuck on the end !!!!!!!!! Bad Daddy ,,,,,,,,,,,,,,, Ha ha ha ha !!!!!!!!!!!!!


Stopped for the night as there is a programme I want to watch and also felt I was going to give myself another bloody finger !!!!!!!!
okdoky
Visit this Community
Scotland, United Kingdom
Member Since: April 30, 2007
entire network: 1,597 Posts
KitMaker Network: 673 Posts
Posted: Friday, January 09, 2015 - 12:34 AM UTC
This is what I am trying to work towards if I can


But my fence has blown down last night so guess what job has to take precedence over the weeekend ?????
okdoky
Visit this Community
Scotland, United Kingdom
Member Since: April 30, 2007
entire network: 1,597 Posts
KitMaker Network: 673 Posts
Posted: Monday, January 12, 2015 - 04:42 AM UTC
Hoping this passes muster to give enough of the look needed when break actuators, leaf spring hanging brackets and other wee bits are added !!!!!!


Adjustments required to get the wheel track dimensions and accommodate leaf spring hanging brackets, etc !!!!!!!!!
okdoky
Visit this Community
Scotland, United Kingdom
Member Since: April 30, 2007
entire network: 1,597 Posts
KitMaker Network: 673 Posts
Posted: Tuesday, January 13, 2015 - 03:26 AM UTC
Been adjusting the stearing ball joint and axle !!!!


turtle65
Visit this Community
Dunedin, New Zealand
Member Since: September 17, 2012
entire network: 266 Posts
KitMaker Network: 69 Posts
Posted: Tuesday, January 13, 2015 - 12:03 PM UTC
Nige,
Good to see you making progress once again after the 'dry-spell'.
Hmmmm maybe I should have another go at this scratch building lark , I think the C-65 crawler is calling again - nope that was just the other voices in my head .
okdoky
Visit this Community
Scotland, United Kingdom
Member Since: April 30, 2007
entire network: 1,597 Posts
KitMaker Network: 673 Posts
Posted: Friday, February 13, 2015 - 02:14 AM UTC
Axles and Leaf Springs getting attention


http://i212.photobucket.com/albums/cc229/okdoky/1-24%20Bedford%20TM%20Build/20150213_004452.jpg
JPTRR
Staff MemberManaging Editor
RAILROAD MODELING
#051
Visit this Community
Tennessee, United States
Member Since: December 21, 2002
entire network: 7,772 Posts
KitMaker Network: 802 Posts
Posted: Friday, February 13, 2015 - 03:22 AM UTC
Nige,

Super work!
okdoky
Visit this Community
Scotland, United Kingdom
Member Since: April 30, 2007
entire network: 1,597 Posts
KitMaker Network: 673 Posts
Posted: Friday, February 13, 2015 - 03:27 AM UTC
Thanks Roger and Fredrick for looking in from time to time !!!

Nige
okdoky
Visit this Community
Scotland, United Kingdom
Member Since: April 30, 2007
entire network: 1,597 Posts
KitMaker Network: 673 Posts
Posted: Monday, February 16, 2015 - 05:33 AM UTC
Morning Folks

I have to say that I am getting heaps of help from all directions on the TM which is fantastic !!!!!! And more offers of pics under the cab due soon !!!!!!! ,,,,,,,,,,,,,,,,,,,,,, Can't thank them enough !!!!!!!

Spent a couple of hours in the office pinning the leaf springs in place ready to tackle the brake actuators, stearing links and other bits and bobs !!!!!! Then had a go at making the step rings for the front wheels !!!!!

Plastic tube from an old marker pen was the perfect outer diameter, still to be thinned out inner face a little more !!!!! Took the tin foil from Coffee Mate tub seal and embosed the detail from the saw blade thumb tightener !!!!!! Then wrapped around !!!!!!!

Will add the tiny plates that the nuts lock the step rings to the wheel much later !!!!


Nige
2002hummer
#257
Visit this Community
Ontario, Canada
Member Since: October 11, 2011
entire network: 812 Posts
KitMaker Network: 105 Posts
Posted: Monday, February 16, 2015 - 06:22 AM UTC
Looks great Nige. Keep up the great work. Fantastic scratch building.
jimb
Visit this Community
New York, United States
Member Since: August 25, 2006
entire network: 2,539 Posts
KitMaker Network: 263 Posts
Posted: Thursday, February 19, 2015 - 08:25 PM UTC
Fantastic work, Nige. You have a great attention to detail & scratch building skills.

Jim
noddy927
Visit this Community
Scotland, United Kingdom
Member Since: February 15, 2013
entire network: 1,273 Posts
KitMaker Network: 149 Posts
Posted: Sunday, April 26, 2015 - 09:49 PM UTC
Hi Nige
Found your TM blog at last. Wow man that is some major work, and I am in awe. I will follow this to the finish now, oh the tyres amazing! Nice to meet you at Perth, and I now wait on your scratch built Lany


Pete
DickyF
Visit this Community
England - South East, United Kingdom
Member Since: February 01, 2010
entire network: 54 Posts
KitMaker Network: 29 Posts
Posted: Monday, April 27, 2015 - 03:05 AM UTC
Long time observer, VERY casual poster but just gotta say I've spent some enjoyable minutes catching up on this one Nige - great modelling, true scratch-building in every sense....keep it comin' sir!