Scratchbuilders!: Armor/AFV
This is a group for armor scratchbuilding questions, topics and projects.
Hosted by Mike Kirchoff
1/24 Bedford TM Scratchbuild
bat-213
Visit this Community
Canada
Member Since: December 30, 2011
entire network: 902 Posts
KitMaker Network: 93 Posts
Posted: Wednesday, July 11, 2012 - 05:55 PM UTC
thanks for the info Nige,i will be waiting.
bat-213
Visit this Community
Canada
Member Since: December 30, 2011
entire network: 902 Posts
KitMaker Network: 93 Posts
Posted: Sunday, July 15, 2012 - 12:03 PM UTC
Nige,that tire looks great.i like the letering,sorry i cant speel today
keep the great work.
HEINE-07
Visit this Community
Ohio, United States
Member Since: February 28, 2007
entire network: 392 Posts
KitMaker Network: 35 Posts
Posted: Friday, November 09, 2012 - 05:01 AM UTC
Nige! You are awesome. This is the first I have seen tire treads modeled.
okdoky
Visit this Community
Scotland, United Kingdom
Member Since: April 30, 2007
entire network: 1,597 Posts
KitMaker Network: 673 Posts
Posted: Friday, November 09, 2012 - 09:28 AM UTC

Quoted Text

Nige! You are awesome. This is the first I have seen tire treads modeled.


Hi Rick

Ha ha ha ha ha ha ,,,,,,,,,,, awesome ,,,,,,,,,, I wish !!!!!!!

I am still battling these tyre treads and am onto version 4 already which is still not perfect, but is better than three previous !!!!!!!!!!

I will try to post some pics up !!!!!!!! I have also made a start on suspension parts too and will be attempting to get time on plastic over the weekend !!!!!!!!!!! If I get peace from the wife and kids !!!!!!!

Nige
radish1us
Visit this Community
Queensland, Australia
Member Since: June 29, 2010
entire network: 8 Posts
KitMaker Network: 4 Posts
Posted: Friday, November 09, 2012 - 11:34 PM UTC
Hmm, very strange definition of scratchbuilding that YOU seem to have.

Correct me if I'm wrong, but doesn't scratchbuilding mean that you start with the basic bits and pieces, like bare timber/plastic/steel/brass/whatever, then proceed to work it into whatever you want to make ?

Correct me if I'm wrong again, but didn't you actually say you bought finished pre-moulded resin bits as well as all the other accoutrements that go with this bit of resin, from a certain Howard Whitehead, KFS ?

So, how in the #ell, can you even contemplate, calling this model a scratchbuilt model ?

There seems to be something wrong with a lot of persons ( possibly some of them have a very low IQ ) who do a tad of scratching/modifying/making the odd bits and pieces, then getting a swelled head and calling the model a scratchbuilt model.

It really does degrade those who actually do make scratchbuild models, don't you think ?

I call a spade, a bloody shovel and when something aint quite right, I say so.

regards radish

should get a few negative comments from this posting, eh.
okdoky
Visit this Community
Scotland, United Kingdom
Member Since: April 30, 2007
entire network: 1,597 Posts
KitMaker Network: 673 Posts
Posted: Saturday, November 10, 2012 - 06:03 AM UTC

Quoted Text

Hmm, very strange definition of scratchbuilding that YOU seem to have.

Correct me if I'm wrong, but doesn't scratchbuilding mean that you start with the basic bits and pieces, like bare timber/plastic/steel/brass/whatever, then proceed to work it into whatever you want to make ?

Correct me if I'm wrong again, but didn't you actually say you bought finished pre-moulded resin bits as well as all the other accoutrements that go with this bit of resin, from a certain Howard Whitehead, KFS ?

So, how in the #ell, can you even contemplate, calling this model a scratchbuilt model ?

There seems to be something wrong with a lot of persons ( possibly some of them have a very low IQ ) who do a tad of scratching/modifying/making the odd bits and pieces, then getting a swelled head and calling the model a scratchbuilt model.

It really does degrade those who actually do make scratchbuild models, don't you think ?

I call a spade, a bloody shovel and when something aint quite right, I say so.

regards radish

should get a few negative comments from this posting, eh.


Well Mr Green

Firstly, I would like to thank you for contributing to the blog as at least it means someone is looking in from time to time and that is encouraging (for me anyway) !!!!!

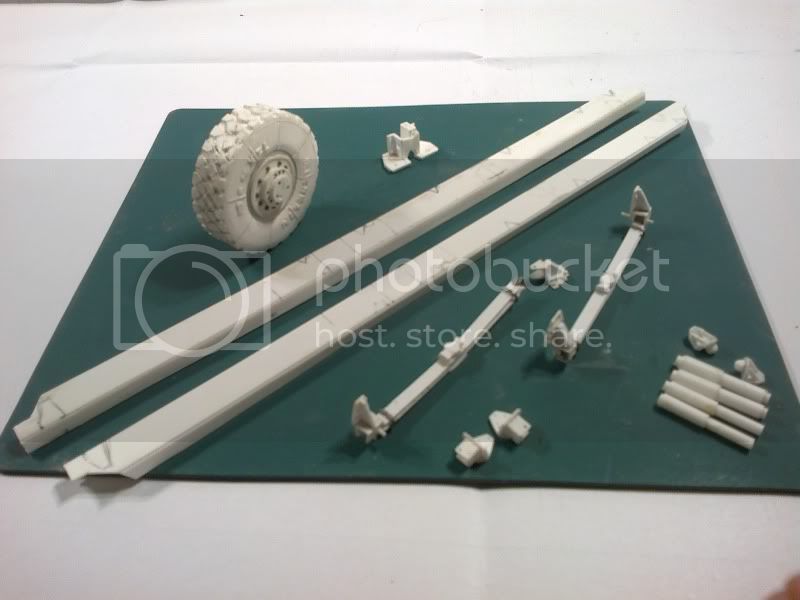
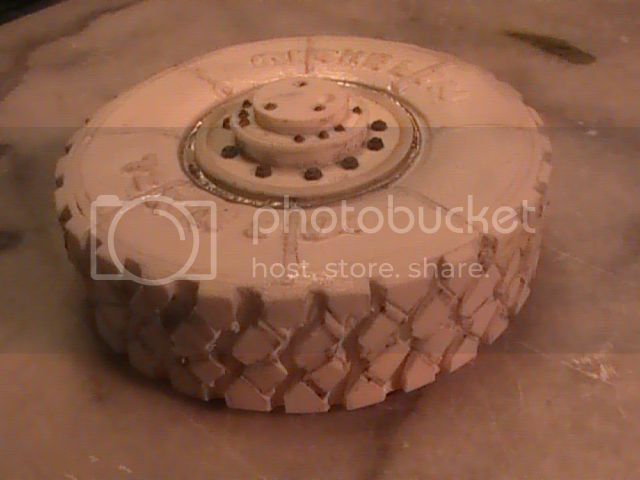
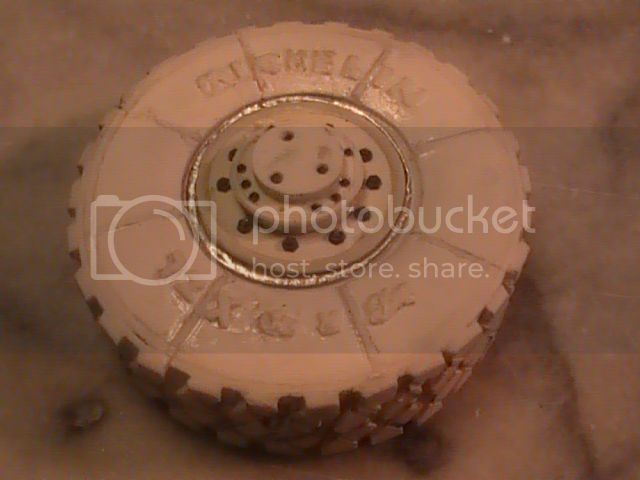
Secondly, I get the impression that you seek to provoke a reaction about what ever skills I have or my own personal IQ in describing my own work as scratchbuilding !!!!! Well you have, but I am the first to admit that Howard Whitehead's work is truly amazing and my previous build, the DROPS truck, did indeed incorporate his cab and wheels with modifications to suit my own build.

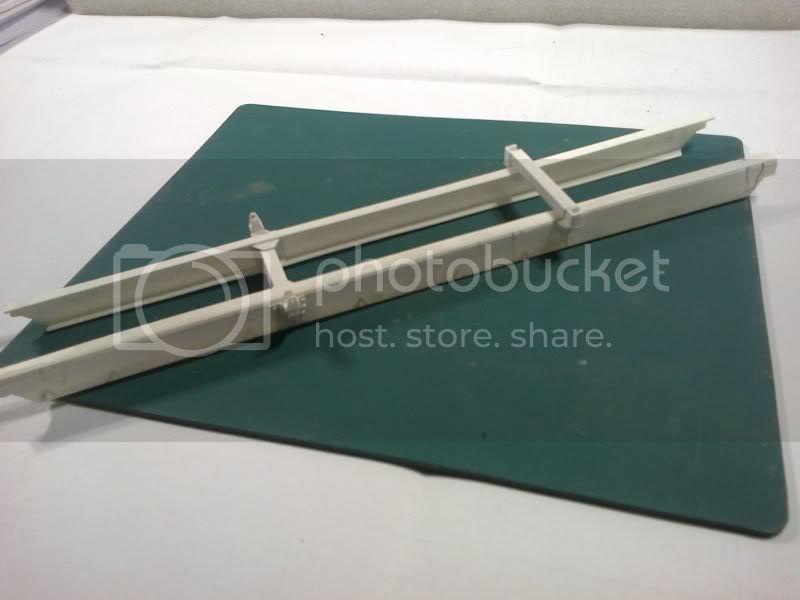
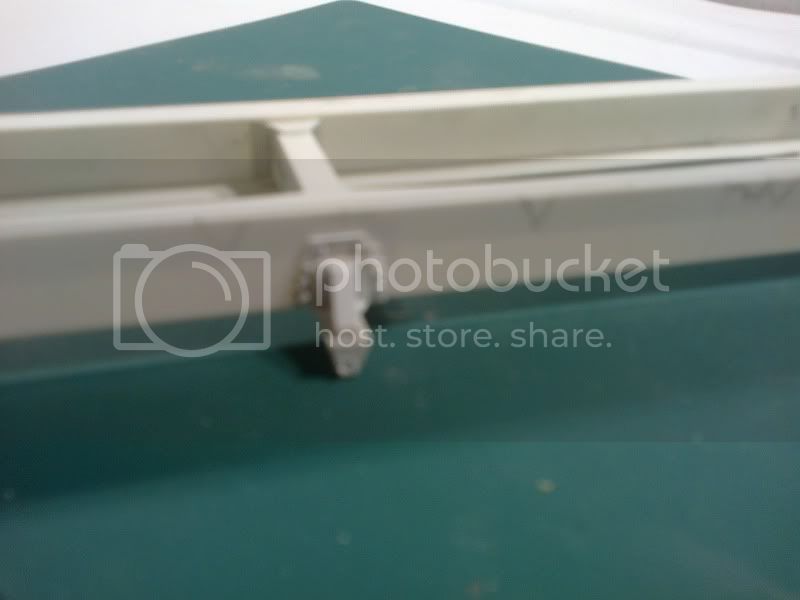
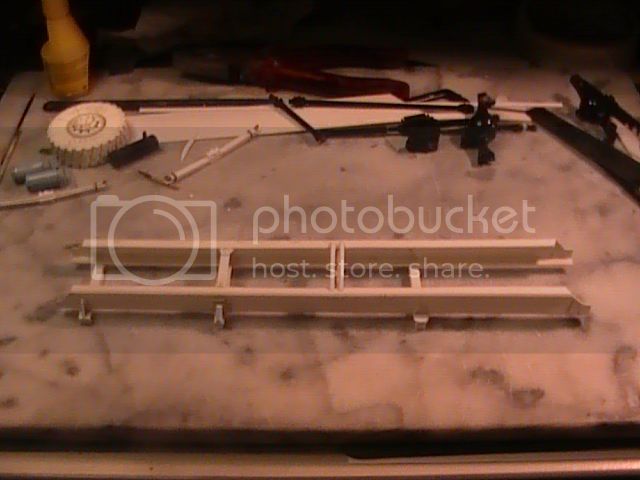
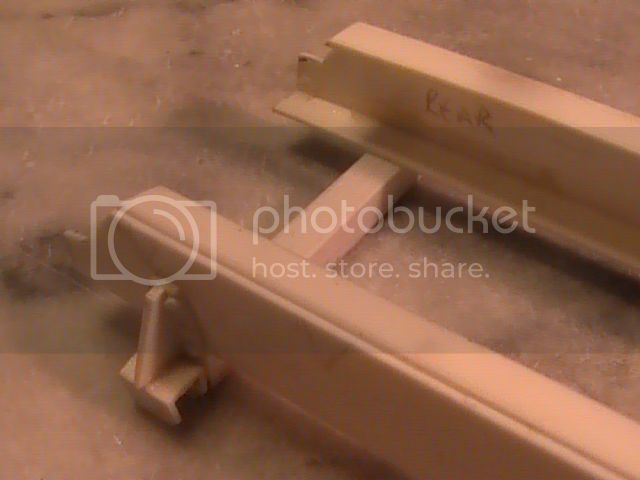
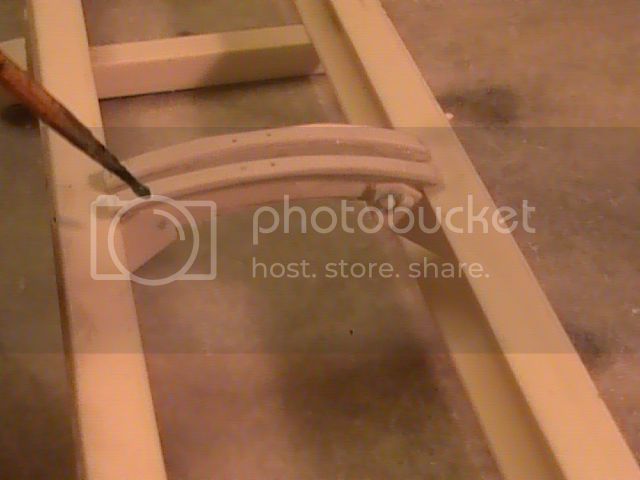
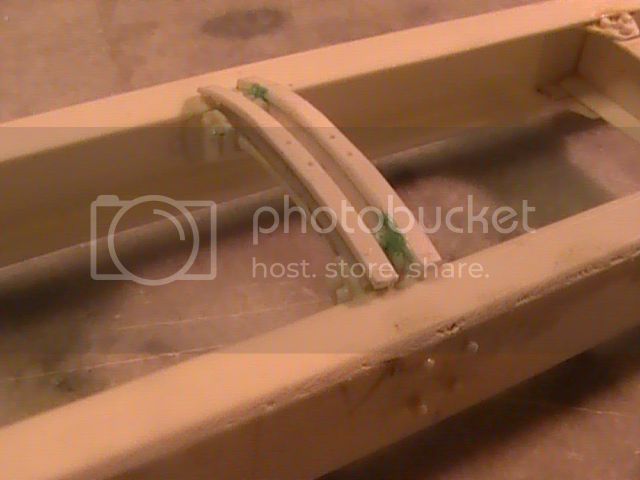
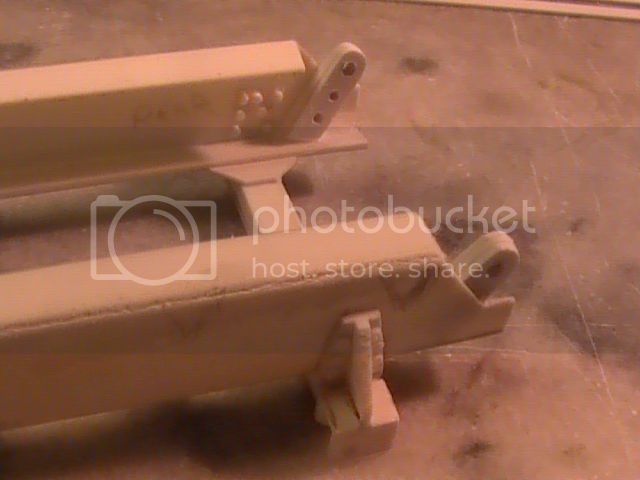
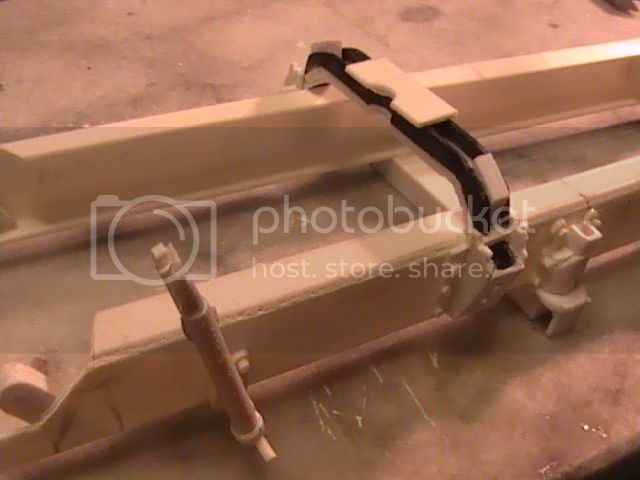
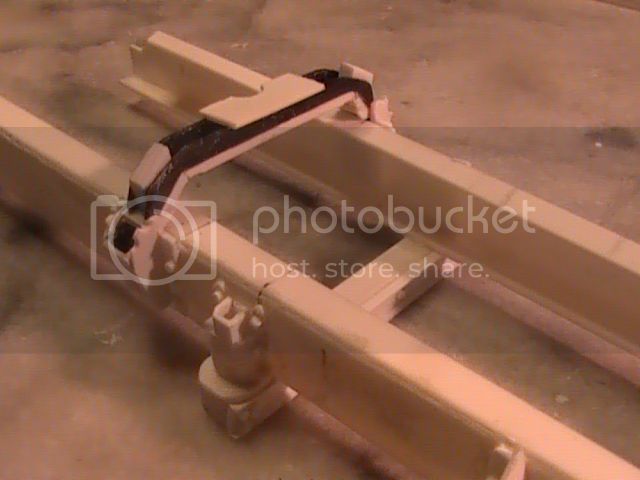
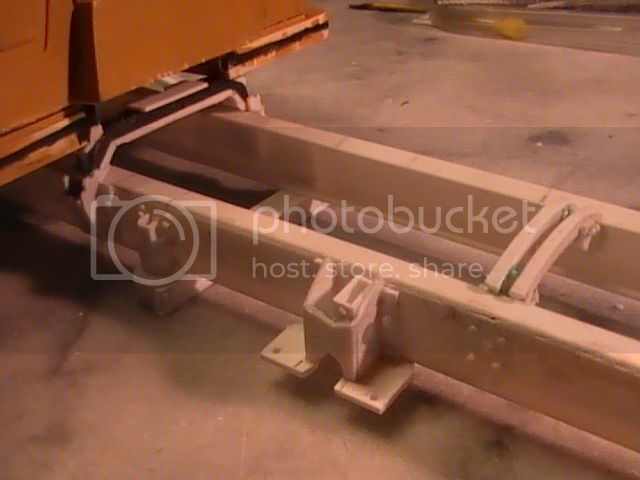
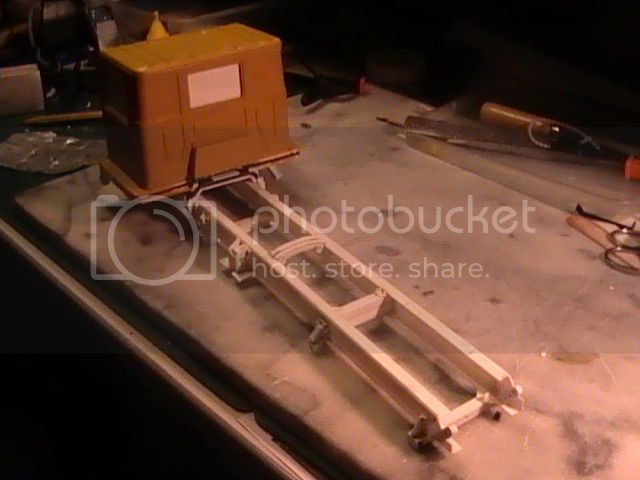
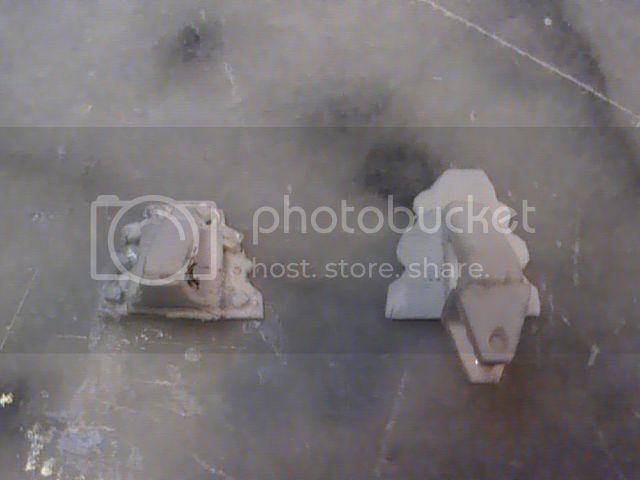
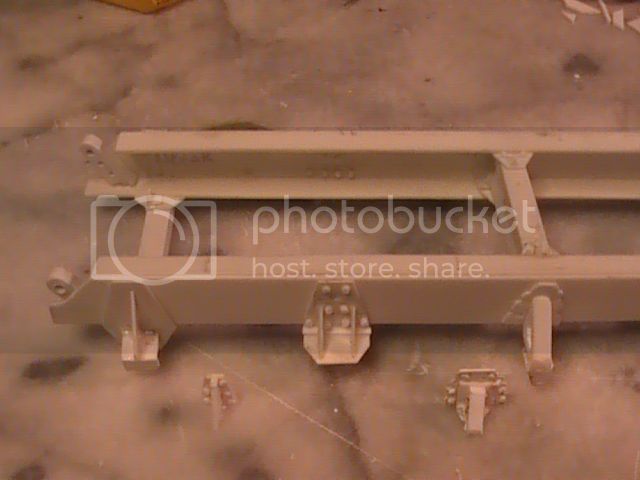
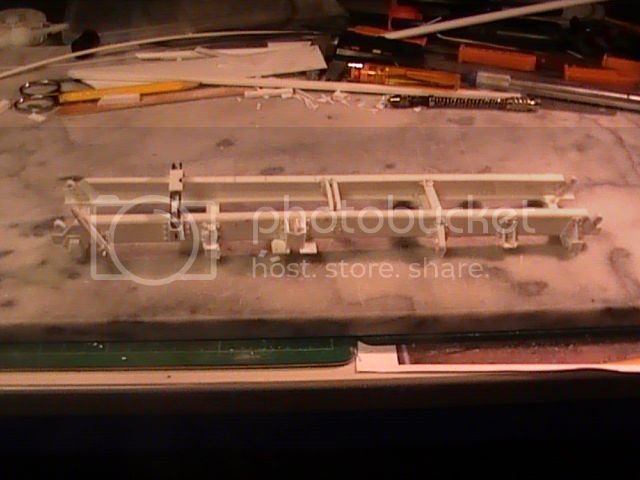
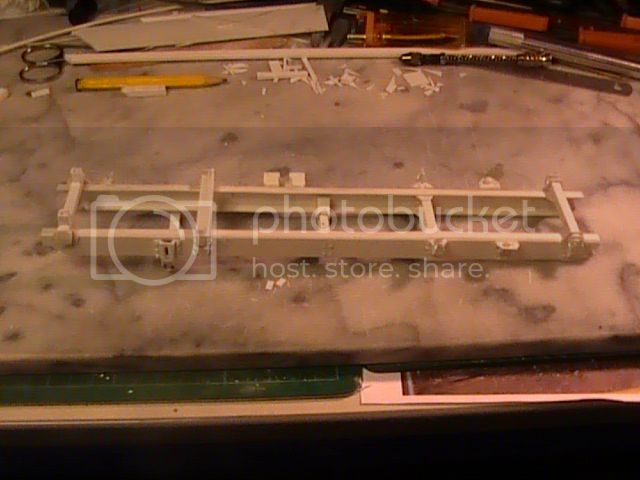
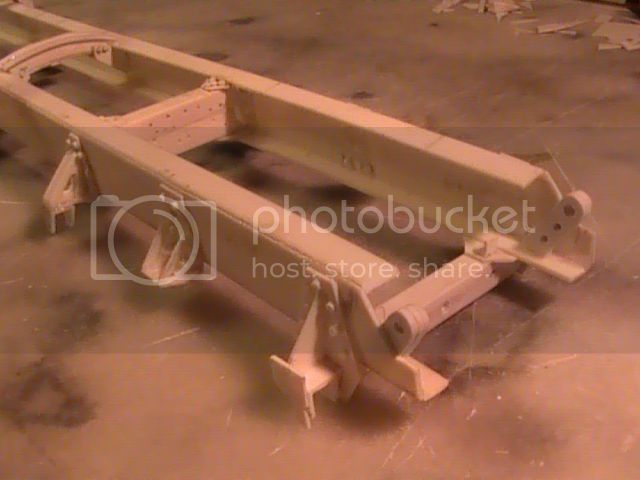
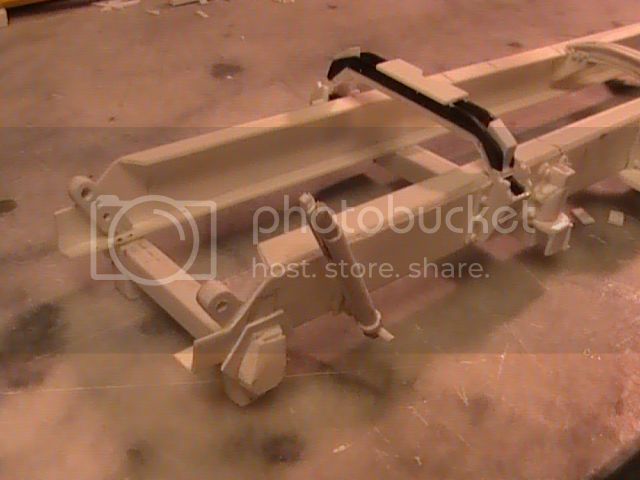
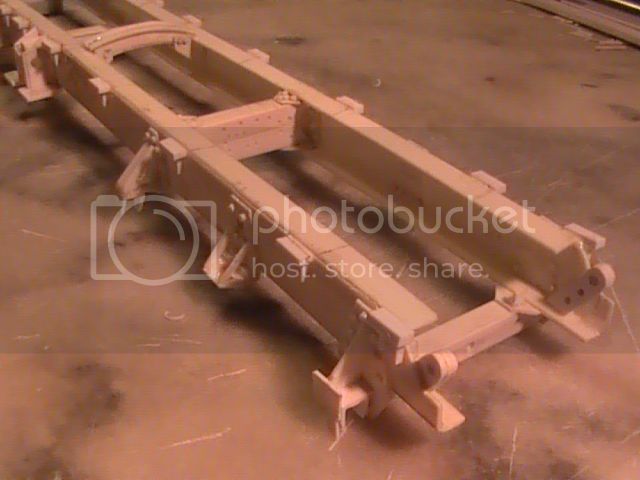
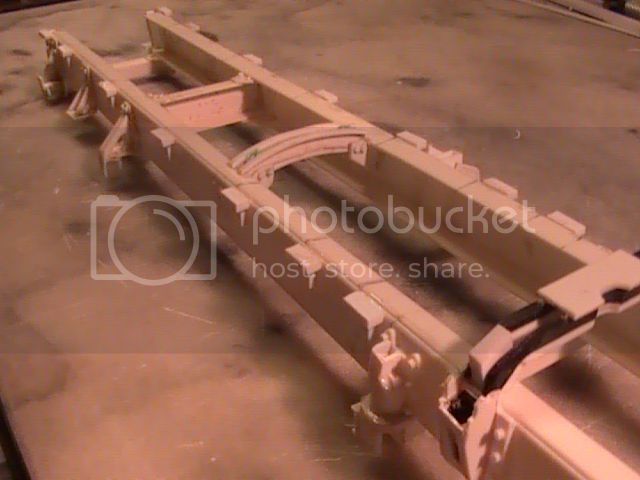
If you take the cab and wheels out of the equation, the remaining structure, was in the main SCRATCHBUILT !!!!!!!!!!!!!!! Hence the reason the blog was in the scratchbuild forum.

I have already mentioned that I am hoping to build two trucks as a parallel build project. Indeed I mentioned before that I am hoping to use Howard's cab as a guide to SCRATCHBUILDING two cabs, as I do not want to incorporate Howards into my build. I understood from Howard that the cab I received was mold for the casting that then produced the resin cabs from. This is born out from the fact that the cab I have is plasticard and not resin.

Howard knows of my intentions to attempt (in my own ham- fisted fashion) to build out of plasticard the two cabs learning from Howard's cab how to put the pieces together. I have not heard any disapproving comments from him to suggest that he is unhappy with my intentions.

As for swelled head, yes I will admit to having a SWELLED head from the positive reactions I had from my build !!!!!!!! But with that in mind, I am sure everyone, including your good self WILL admit to having a swelled head from any positive reaction to their personal work, however great or small these are.

I go on the basis that if someone like my work, fantastic, IF THEY DON'T, then they know where the button is to JOG ON BY !!!!!!!!!!

I spend most of my time fighting time, work, family and procrastination to get on with my own modelling. A good part of my time is taken up with admiring all the fine work AT ALL LEVELS of ability and subject matter !!!!!!!!!! I am constantly amazed by the level of detail that greater modellers than I (SWELLED HEAD INCLUSIVE) get into there work and the love and attention they pay to their hobby !!!!!!!!!!

I certainly am not going to be offended by your comments Graham as you are indeed welcome to comment and suggest how I might better my efforts !!!!!!!! Whether I take on board your comments or advice is totally my prerogative !!!!!!!!

Indeed, I see that your profile has you SCRATCHBUILDING horse drawn vehicles !!!!! Perhaps there is a lot I can learn from your fine models. I would love to see your work and see the level of detail you achieve and how you go about it !!!!!!!!!!

Happy to hear your comments, good or bad, and those on the forum !!!!!!!!!!! I have always found this forum to be a very friendly environment to display, discuss and to learn from !!!!!!!!!!! Apart from the very few idiots that troll forums seeking a good fight, I have never taken any comment personally, as I am the first to admit that my own skill level is that, my own.

It is not perfect by any stretch of the imagination, and my results are themselves not 100% perfect. I build for my own enjoyment. Others have said they like it !!!!!!!!!!!!!!

IF YOU DON'T ,,,,,,,,,,,,,,,,,,,,,,,,,,,,,,,,,,,,,,, JOG ON BY !!!!!!!!!!!

Ha ha ha ha ha ha ha ,,,,,,,,,,,,,,,,,, quite therapeutic to look in on your self from time to time !!!!! Keeps the head from SWELLING TOO MUCH !!!!!!!!!

Nigel PART SCRATCHBUILDER ,,,,,,,,,,,,,,,,,,,,,, PART MODEL BUILDER (When I can)


HEINE-07
Visit this Community
Ohio, United States
Member Since: February 28, 2007
entire network: 392 Posts
KitMaker Network: 35 Posts
Posted: Saturday, November 10, 2012 - 01:43 PM UTC
There are conversions, and there are scratch-builds. Conversions are rated by how much of the manufactured part of the model remains after the scratch building has enhanced the model. Our model club has this sort of 'formalized' for judging purposes, but, such purposes are not of my concern.

There is a member of our club who has a wall and a half of awards from his scratch-built 1/16th scale armor. He is not present on Armorama. I must say, his scratch-building is extensive and impressive. However, he has never scratch-built a rubber tire. He takes a kit tire as the foundation, around which all the rest is scratch-built [presently an M3 half-track].

When I see Nige here, take on such an endeavor as to scratch-build the tread-pattern of a tire, I have to accept this as scratch-building. What did Nige say...he is working out the fourth go round now, this weekend, as we blather hot air...certainly a skill level is growing in Nige, with that precious internal life that blooms the glow of good feeling, as the work improves day-by-day. So 'what' about the rest of the model. The tire is scratch-built, and is generously shared here for what it is. This forum is honored by Nige's work. Poring over the record of his diligence year after year keeps one's mind from straying into circular or inane diversions elsewhere. With Nige, I can see my own possibilities, and it feeds the soul with the essential food of inspiration.
youngtiger1
Visit this Community
California, United States
Member Since: May 14, 2008
entire network: 534 Posts
KitMaker Network: 77 Posts
Posted: Monday, November 26, 2012 - 04:50 PM UTC
Wow, some serious scratch building going on around here. I like how those tires are looking. I'm still learning the ropes of the art of scratch building and looks like I better keep an eye on here cause I'll be picking up some crazy new basket of tricks

Mike
bigmal
Visit this Community
England - East Midlands, United Kingdom
Member Since: February 21, 2011
entire network: 211 Posts
KitMaker Network: 36 Posts
Posted: Tuesday, November 27, 2012 - 06:59 AM UTC
Nige, it would seem that our friend from down under has got a boomerang stuck up his a*se that is causing some discomfort, which could explain his waffling post.

It would be interesting to see his own scratch building to see if he walks the walk as well as he talks the talk.

I think that as at least 90% of your models are self made then they qualify as scratch built.

Our friend should crawl back into which ever Kangaroo pouch he came out of and stay off the forum unless he has some thing worthwhile to say.

Just my opinion.

Keep up the good work, Nige, as there are plenty of people who appreciate what you do, even if that Drongo doesn`t.

Malc
okdoky
Visit this Community
Scotland, United Kingdom
Member Since: April 30, 2007
entire network: 1,597 Posts
KitMaker Network: 673 Posts
Posted: Tuesday, November 27, 2012 - 07:12 AM UTC
Rick ,,,,,,,,,,,,, Mike ,,,,,,,,,,,, Malcolm

Thanks for all the support guys ,,,,,,,,,,,,,,,,,,,,,, greatly appreciated as always !!!!!! As my own post states though, it is good to look in on one's self, from time to time, to realise your own limitations and to remember to ask advise or see how others do their work !!!!!!!!!

Always glad to receive feedback on the builds when possible and constructive criticism is something that often sets you back on track when things not going quite to plan !!!!!!!!!!!!!!!

Thanks for keeping the faith, and since I am now officially on annual leave till the 13th Dec, I will be fobbing the kids off to granny and taking time out to get some plastic fettled !!!!!!!!!

My round at the bar !!!!!!!!

Nige
bat-213
Visit this Community
Canada
Member Since: December 30, 2011
entire network: 902 Posts
KitMaker Network: 93 Posts
Posted: Tuesday, November 27, 2012 - 12:59 PM UTC
Nige,i dont caer what that fellow thinks,i think you great work.
KoSprueOne
Visit this Community
Myanmar
Member Since: March 05, 2004
entire network: 4,011 Posts
KitMaker Network: 879 Posts
Posted: Tuesday, November 27, 2012 - 01:30 PM UTC
Wow, that's a lot of tedious progress work, Nige. True dedication to a scratch build. This is going to be a fantastic looking model


7505
Visit this Community
New Hampshire, United States
Member Since: February 03, 2002
entire network: 176 Posts
KitMaker Network: 29 Posts
Posted: Wednesday, November 28, 2012 - 04:05 AM UTC
Just noticed this build. I must applaud you for the mind bending eye crippling work. I have thought of doing the very same thing for 1/25th scale truck tires, and this, is why I have as yet committed myself,LOL, to starting them. KUDOS my man, and continue the great work you have done. Fabulous !!
okdoky
Visit this Community
Scotland, United Kingdom
Member Since: April 30, 2007
entire network: 1,597 Posts
KitMaker Network: 673 Posts
Posted: Thursday, December 06, 2012 - 02:51 AM UTC
Thanks all for looking in as always !!!!!!!

Nice and cosy collating the pics and dimensions for the Bedford in the comfort of my snug new workspace !!!!! Much more conducive for getting things done in comfort !!!!!!!

Pics to follow

Nige
okdoky
Visit this Community
Scotland, United Kingdom
Member Since: April 30, 2007
entire network: 1,597 Posts
KitMaker Network: 673 Posts
Posted: Thursday, December 06, 2012 - 01:49 PM UTC
After a long break away from the TM and having struggled to get the tyres to look the part, I am now far better off with info, photos and dimensions for the 4x4 that it is time to make a dent in this build.

Transferred main dimensions and scaled equivalent to my drawings


Chassis rails cut and formed, rear axle hangers, shocks and leaf springs


This is the fifth and probably final version of the tyre with a try at the spare wheel hanger


Chassis rails going together at last with the first of the cross members


Cheers

Nige
okdoky
Visit this Community
Scotland, United Kingdom
Member Since: April 30, 2007
entire network: 1,597 Posts
KitMaker Network: 673 Posts
Posted: Friday, December 07, 2012 - 11:36 AM UTC
Thanks guys for the push !!!!

Works so far

Better close ups of the tyre


Need to purchase and attempt molding and casting of minimum 12.

Chassis rails going together


Convinced the Mrs to allow me to work through the night and get some me time on this !!!!! No kids to distract as in bed !!!!! Great !!!!!

Nige
okdoky
Visit this Community
Scotland, United Kingdom
Member Since: April 30, 2007
entire network: 1,597 Posts
KitMaker Network: 673 Posts
Posted: Friday, December 07, 2012 - 04:16 PM UTC
Found a new way by accident to add the bolt heads which helps me a little. I had been tinting the glass of the tiny 1/144 Revell chinook with the green tamiya acrylic clear green using a tooth pick.

Out of lazy ness to find a fresh one, I used the same one to dip in the liquid cement from a puddle. The green transferred nicely with the glue to locate where I wanted the bolt head placed and I could still use the clean end of the tooth pick, with a light dab on my tongue to pick up a slice of rod over to the green spot.

Also, with one end of tooth pick bright green, I knew not to stuff that end with glue on my tongue. I did not have to add any fesh green during the process.


Also lets me see where I am missing bolt heads as there is no green around where it should be. Maybe not for those who want to show pristine white plastic through their build, but I battle glue and finger prints all the time and it is getting painted anyhow.

I have noticed I waste less time and glue trying to find where I placed the glue on small points. Maybe it will help reduce the amount of glue finger prints too.

Rear chassis pivot point for tipper or other accessories to be affixed to


Nige
bat-213
Visit this Community
Canada
Member Since: December 30, 2011
entire network: 902 Posts
KitMaker Network: 93 Posts
Posted: Friday, December 07, 2012 - 07:17 PM UTC
looking good Nige.
okdoky
Visit this Community
Scotland, United Kingdom
Member Since: April 30, 2007
entire network: 1,597 Posts
KitMaker Network: 673 Posts
Posted: Sunday, December 09, 2012 - 07:38 PM UTC
Here is where I am at this morning !!!!!!!!!!

Rear hanger for the front leaf spring, the rear cab mount, and the cab tilt ram and restraining strap added to chassis


The front lifting point and the cab tilt


The spare wheel hanger


When I build my copies of the cab using Howard's KFS cab as a guide, I will correct a few points and add my own detailing gleaned from the many photots.For example, the step valance is built by Howard wrapping around the back of the cab, meeting with the shroud over the rear cab mount.

On the real cab the valance stops earlier


The cab lock downs require to be located in the spaces that are taken up by the simplified and longer valances.

This is how the KFS cab looks on the chassis at this time. I will be making my own full cab from scratch with as many correctionsand improvements as I can reasonably achieve.


Nige
casper
Visit this Community
Nelson, New Zealand
Member Since: August 01, 2005
entire network: 395 Posts
KitMaker Network: 152 Posts
Posted: Monday, December 10, 2012 - 08:53 PM UTC
Nige,
Sorry but I have to make a few comments regarding radish1us posting. While I have no intention to get into the whole scratch/mod debate it seems that he may have been trying to open the 'scratch/mod' debate - whereas it would have been more approriate to conduct this in a dedicated thread rather than via someones blog.
That said, I would request that certain members refrain from mudslinging and name calling just because some else may have a different perspective or view or interpretation on things.These threads are for sharing/learning how others approach areas of their builds.
And to those that question radish1us skill level, I can only state that he is most definately a Master of his craft, his 1:8 Sulky is beautifully crafted with a skill level many of us can only dream of having.

Sorry about this interuption Nige. Now please continue with the build .
okdoky
Visit this Community
Scotland, United Kingdom
Member Since: April 30, 2007
entire network: 1,597 Posts
KitMaker Network: 673 Posts
Posted: Monday, December 10, 2012 - 10:45 PM UTC

Quoted Text

Nige,
Sorry but I have to make a few comments regarding radish1us posting. While I have no intention to get into the whole scratch/mod debate it seems that he may have been trying to open the 'scratch/mod' debate - whereas it would have been more approriate to conduct this in a dedicated thread rather than via someones blog.
That said, I would request that certain members refrain from mudslinging and name calling just because some else may have a different perspective or view or interpretation on things.These threads are for sharing/learning how others approach areas of their builds.
And to those that question radish1us skill level, I can only state that he is most definately a Master of his craft, his 1:8 Sulky is beautifully crafted with a skill level many of us can only dream of having.

Sorry about this interuption Nige. Now please continue with the build .


Hi Roger

I did a browse to check out his credentials before I posted my riposte, and found the reference to the scratchbuilt horse drawn wagons, and did see that he is indeed a master craftsman, Roger.

Lots to learn from anyone who is happy to post on the forum.

Hopefully normal service has resumed

All the very best from a cold, wintery but sunny Scotland !!!!!!!!!!!

Nige
bigmal
Visit this Community
England - East Midlands, United Kingdom
Member Since: February 21, 2011
entire network: 211 Posts
KitMaker Network: 36 Posts
Posted: Tuesday, December 11, 2012 - 07:07 AM UTC
Have you thought of casting your wheels to sell on to interested parties, Nige?


Malc.
okdoky
Visit this Community
Scotland, United Kingdom
Member Since: April 30, 2007
entire network: 1,597 Posts
KitMaker Network: 673 Posts
Posted: Tuesday, December 11, 2012 - 07:47 AM UTC

Quoted Text

Have you thought of casting your wheels to sell on to interested parties, Nige?


Malc.


Hi there Malc

If I could master the perfect master, then I would consider it, but my work is no where near that good yet. I managed to get 28 nibs in the circumference rather than the real 32, I am not 100% happy with the quality of the nibs as cut and placed either.

Happy to consider copies at cost if I do get casting what I have to work out ok. Folks would have to be fully aware of the shortcomings of what is there though This is not meant to be for any commercial product ,,,,,,,,,,,,,,,,,,simply a means to getting ME what I need. 12 tyres that I can be happy with.

I am also going to be faced with a lot of trial and error learning to cast a mold and then casting resin. So not likely to be able to offer anything, even what I have as copies.

If I could have sourced a supplier of scaled, laser cut tyre treads that could be placed on the simple wheel blank, I would have what I would be happy to cast and sell on.

The wheel blank seems to me to be the easier part to turn on any cheap drill or lathe. It is getting a repeatable tread,evenly sized and spaced that is the really hard and time consuming part.

There must be a market for lazer cut tyre treads out there that someone could fill.

Nige
okdoky
Visit this Community
Scotland, United Kingdom
Member Since: April 30, 2007
entire network: 1,597 Posts
KitMaker Network: 673 Posts
Posted: Wednesday, December 12, 2012 - 04:39 AM UTC
Added a ring for the wheel hub outer edge and shaved off a good bit from the hub lubrication face plate.


Also cut off my awful first attempt at leaf spring hangers that were far too small and out of proportion. DImensions from the photos helped.


Awaiting the bolts through using Roger's drill method


Uploaded more reference pics of the gargo bed to photobucket thanks to Tony on the HMVF who put one on its side using an excavator so he could photograph the bed frame structure for me.

First time I have had a real truck turned over on its side intentionally (OK just the cargo bed) for reference.

Nige
okdoky
Visit this Community
Scotland, United Kingdom
Member Since: April 30, 2007
entire network: 1,597 Posts
KitMaker Network: 673 Posts
Posted: Wednesday, December 12, 2012 - 11:38 AM UTC
Thanks for looking in on the build and glad you like so far !!!!

Bit more of the chassis in place with the corrections of the proportions of the spring hangers and the addition of the front leaf front hanger that now has all the main cross members in place with the chassis only trying to spring a fraction out of shape. I think that will get taken up by the weight of everything on its back as long as I get the suspension and axles fitted on the jig correctly.


Tonight I added the body mounting brackets to the chassis with the chopper coming in very handy for these repetative chunks to cut.


Back to work tomorrow so likely be chasing my tail before my Xmas break starting 24th, but having blazed a trail on the research, photos and info, plus got such a load done on the chassis already, I am determined that I am going to keep the momentum going on this one and see if I can churn it out in record time !!!!!!!!

Hope you like

Nige