

Signup if you haven't yet!
Please post in this thread for credit.
Thanks!
Tools & Supplies
Discussions on the latest and greatest tools, glues, and gadgets.
Discussions on the latest and greatest tools, glues, and gadgets.
Hosted by Matt Leese
Build-a-Tool 3 Campaign Thread

matt

Member Since: February 28, 2002
entire network: 5,957 Posts
KitMaker Network: 2,626 Posts
Posted: Saturday, March 01, 2014 - 10:00 PM UTC

retiredyank
Member Since: June 29, 2009
entire network: 11,610 Posts
KitMaker Network: 3,657 Posts
Posted: Saturday, March 01, 2014 - 11:28 PM UTC
Already enlisted.


ejhammer
Member Since: June 10, 2008
entire network: 230 Posts
KitMaker Network: 59 Posts

Posted: Sunday, March 02, 2014 - 03:26 AM UTC
Building a spray booth large enough for 1/350 scale carriers that will vent to the outdoors. This has been a tough winter in Michigan and spraying indoors safely will be great.
EJ
EJ

DeskJockey
Member Since: July 17, 2006
entire network: 1,558 Posts
KitMaker Network: 376 Posts
Posted: Sunday, March 02, 2014 - 03:34 AM UTC
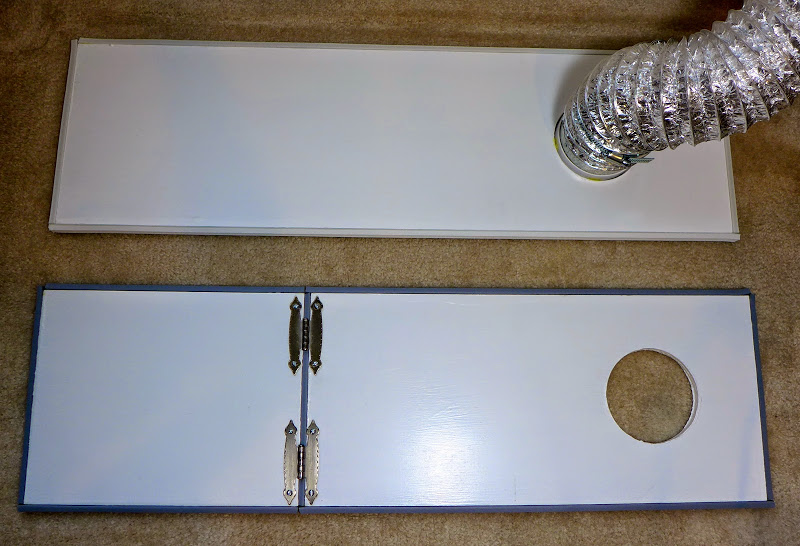
I'm going to build a replacement wood exhaust vent plate for my spray booth. I vent the hood through a dryer duct and out the window of the upstairs room I use. Since I can't leave it in place permanently, I'm currently using a cardboard piece to hold the duct and help block out the elements whenever I airbrush. Needless to say, it's not optimal. Here's what the current setup looks like (next to the window I use it in).
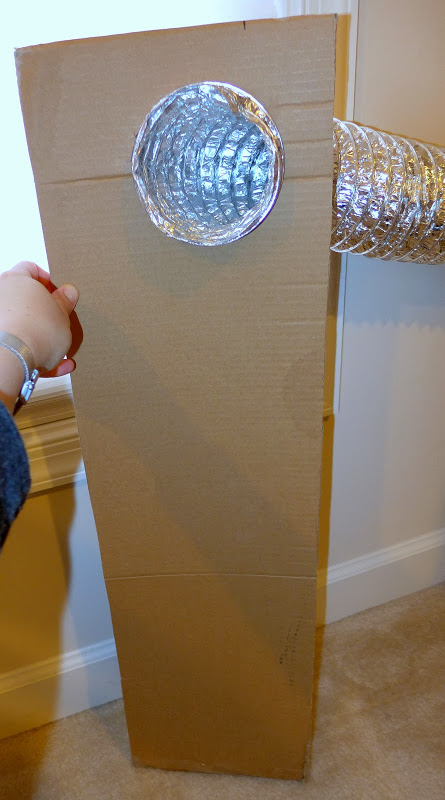
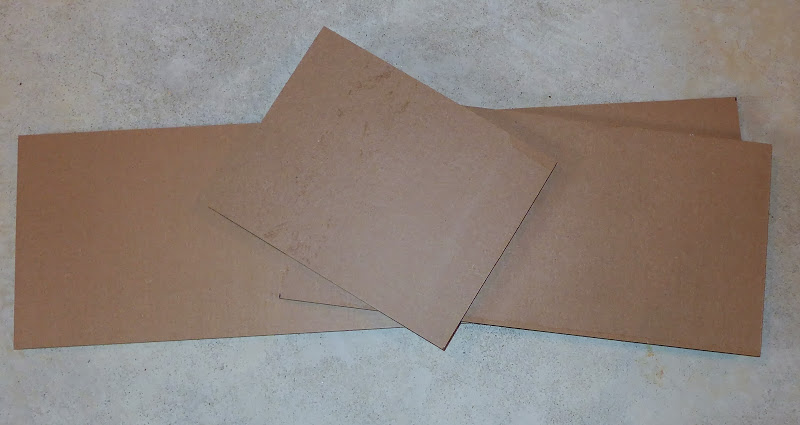
I'm going to replace this cardboard, which has now soldiered on for more than three years, with a wooden version that is either one solid piece (like the cardboard), or hinged to allow it to fit more easily. Here are the materials I'll use.
Some MDF I got at Home Depot and asked them to cut to size, since I don't have the tools to do so:
Window gaskets, some cabinet hinges, an exhaust outlet, and a duct collar:

I also got a 4 and 1/8" hole saw to drill a hole in the MDF. I'll draw a picture of what I'm thinking of doing later on and post it.
I'm going to replace this cardboard, which has now soldiered on for more than three years, with a wooden version that is either one solid piece (like the cardboard), or hinged to allow it to fit more easily. Here are the materials I'll use.
Some MDF I got at Home Depot and asked them to cut to size, since I don't have the tools to do so:
Window gaskets, some cabinet hinges, an exhaust outlet, and a duct collar:
I also got a 4 and 1/8" hole saw to drill a hole in the MDF. I'll draw a picture of what I'm thinking of doing later on and post it.
DeskJockey
Member Since: July 17, 2006
entire network: 1,558 Posts
KitMaker Network: 376 Posts
Posted: Monday, March 03, 2014 - 10:58 AM UTC
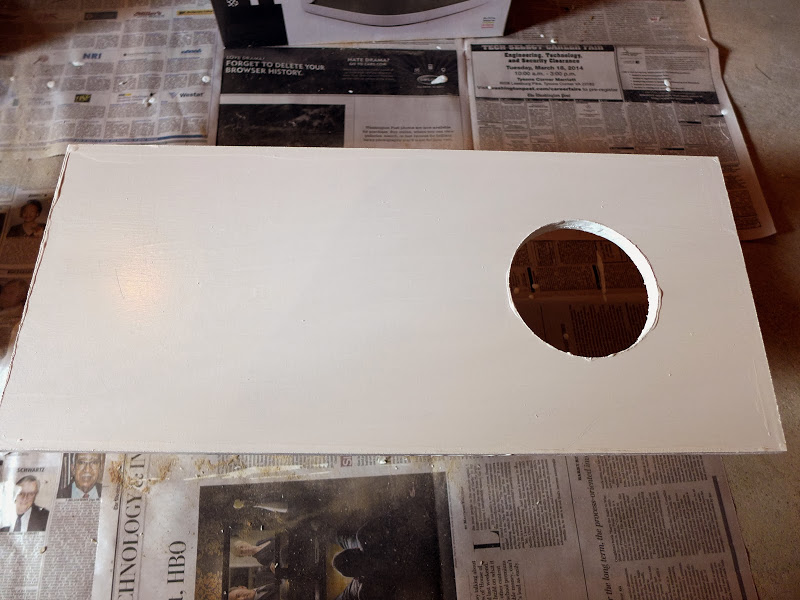
Well, we were snowed in today, so I didn't have to go to work and made good progress on my exhaust vent plate over the course of the impromptu three day weekend. I drilled the holes in the MDF with the hole saw on Saturday (incidentally, I discovered I need a new drill, as my batteries are not holding much of a charge). Here's what they looked like:
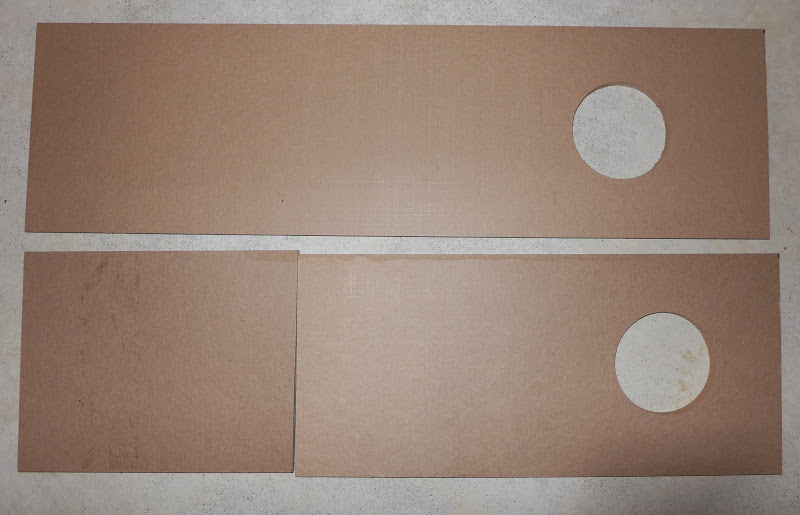
Drilling the holes was a new experience for me, as I had never used a hole saw before. The torque on those things is quite something--you definitely get a kick if the saw seizes up.
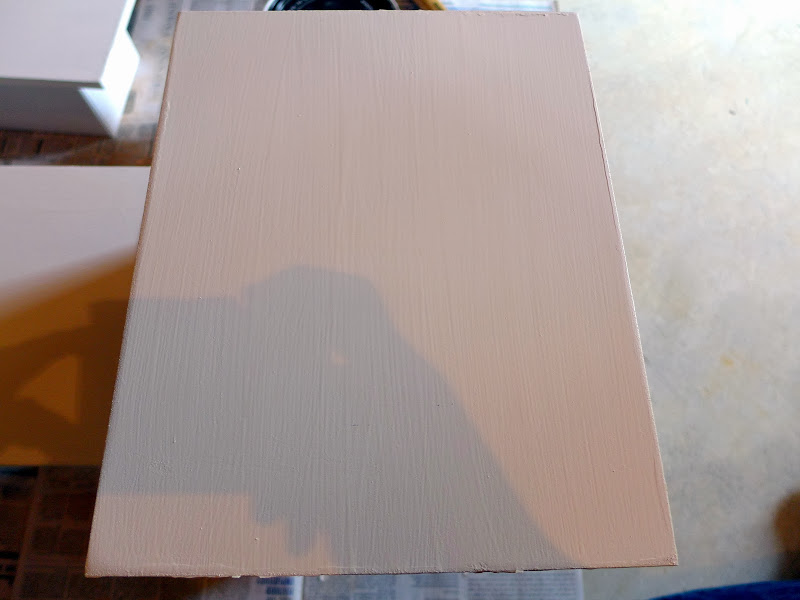
I then started the painting process pretty much right away. I used leftover paint for house exteriors. I decided to paint the vent plates because they'll be exposed to moisture, and I don't want them to warp or get soggy or moldy.
I finished putting two coats on all sides early today and let it cure until this afternoon. Here's what the panels looked like just a couple of hours ago.
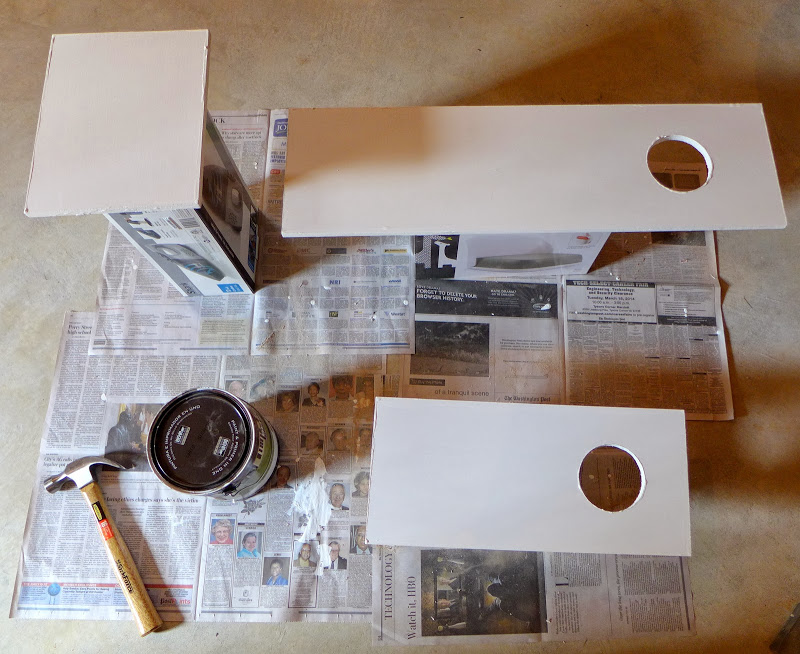
I waited four hours between coats to make sure I was doing it right, but was not terribly neat and did not try to even out my brush marks. This won't be winning any prizes for beauty!
Next, I'll be putting the gaskets on the panels (and getting around to drawing a diagram of how the hinged one will work).
Drilling the holes was a new experience for me, as I had never used a hole saw before. The torque on those things is quite something--you definitely get a kick if the saw seizes up.
I then started the painting process pretty much right away. I used leftover paint for house exteriors. I decided to paint the vent plates because they'll be exposed to moisture, and I don't want them to warp or get soggy or moldy.
I finished putting two coats on all sides early today and let it cure until this afternoon. Here's what the panels looked like just a couple of hours ago.
I waited four hours between coats to make sure I was doing it right, but was not terribly neat and did not try to even out my brush marks. This won't be winning any prizes for beauty!
Next, I'll be putting the gaskets on the panels (and getting around to drawing a diagram of how the hinged one will work).
DeskJockey
Member Since: July 17, 2006
entire network: 1,558 Posts
KitMaker Network: 376 Posts
Posted: Sunday, March 09, 2014 - 07:34 AM UTC
Here's the diagram I drew of how the hinged version of the plate will work. I'm still not sure whether to put a gasket between the two hinged boards.

matt
Member Since: February 28, 2002
entire network: 5,957 Posts
KitMaker Network: 2,626 Posts
Posted: Monday, March 10, 2014 - 12:06 AM UTC
looking good!! I spent the weekend in bed Sick. UGH
matt
Member Since: February 28, 2002
entire network: 5,957 Posts
KitMaker Network: 2,626 Posts
Posted: Monday, March 10, 2014 - 10:38 PM UTC
I managed to get the Metal out of the shipping tube last night.... I guess it's a step in the right direction.

majjanelson
Member Since: December 14, 2006
entire network: 1,355 Posts
KitMaker Network: 336 Posts
Posted: Tuesday, March 11, 2014 - 04:09 AM UTC
Signed up. I should be able to come up with a few things to share. 

HARV

#012
Member Since: November 07, 2003
entire network: 3,098 Posts
KitMaker Network: 899 Posts
Posted: Saturday, March 15, 2014 - 03:19 AM UTC
I am glad that this campaign is up and running. Been trying awhile haven't we Matt. 
I have lots of ideas......I just need to get started on them.
I created a banner for the campaign, if that is okay with you Matt, as you can see below at the bottom of my profile. If it is liked please feel free to use it.
Thanks,
Randy
I have lots of ideas......I just need to get started on them.
I created a banner for the campaign, if that is okay with you Matt, as you can see below at the bottom of my profile. If it is liked please feel free to use it.
Thanks,
Randy


2002hummer

#257

Member Since: October 11, 2011
entire network: 812 Posts
KitMaker Network: 105 Posts

Posted: Saturday, March 15, 2014 - 03:40 AM UTC
Love the banner, its got my vote for the campaign banner.

hofpig

Member Since: March 04, 2007
entire network: 1,330 Posts
KitMaker Network: 56 Posts

Posted: Monday, May 19, 2014 - 11:41 PM UTC
Hi all,
I just started bashing together my new hobby room yesterday so I'll post up some pics later. It's a tiny room hardly enough room to swing the cat but it will do until I demolish half the house and build a whole new wing lol.
Paul
I just started bashing together my new hobby room yesterday so I'll post up some pics later. It's a tiny room hardly enough room to swing the cat but it will do until I demolish half the house and build a whole new wing lol.
Paul

hofpig
Member Since: March 04, 2007
entire network: 1,330 Posts
KitMaker Network: 56 Posts
Posted: Friday, May 30, 2014 - 09:08 PM UTC
Well I decided that the entire room would be ac little big for an entry so I will use just one item I am building for this campaign.
I am building a board with space to hold some small bits and pieces along with an area to hold the current kit instructions. I may include a little space on the bottom to place up a few reference pics.
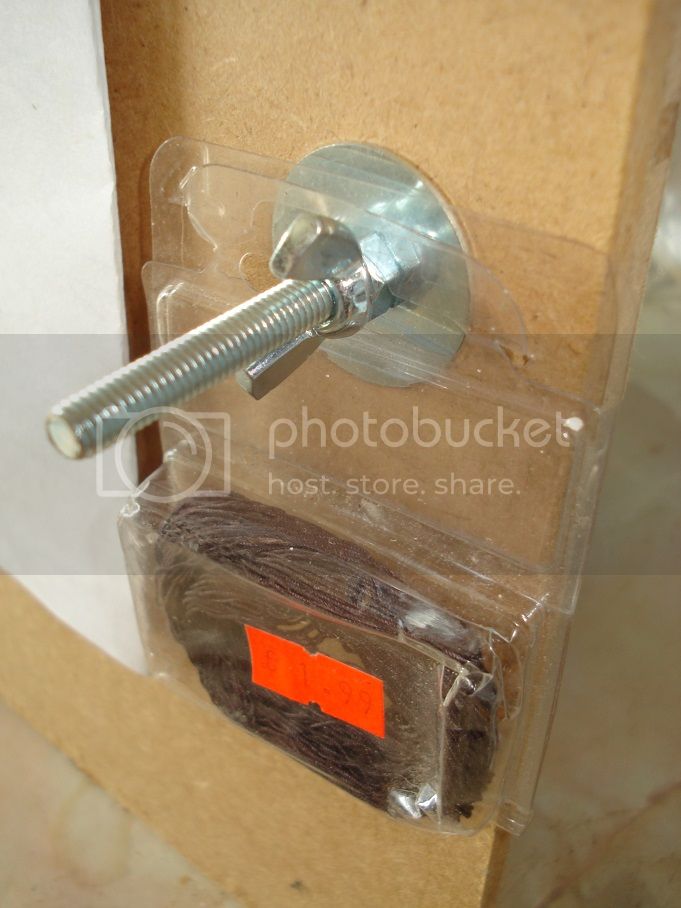
I am using offcuts from my desk as it is around the right size so as it stands it will be.... roughly 13 inches wide by 16 inches high. I will be mounting the clip centrally(a large bulldog type clip) held on by a large washer, nuts and bolt. The 4 bolts to hold the bits will be 6mm and attached in a similar fashion with a wing nut used to retain the packets. I will post some pics later in the weekend as I don't expect it to take too long to build.
Paul
I am building a board with space to hold some small bits and pieces along with an area to hold the current kit instructions. I may include a little space on the bottom to place up a few reference pics.
I am using offcuts from my desk as it is around the right size so as it stands it will be.... roughly 13 inches wide by 16 inches high. I will be mounting the clip centrally(a large bulldog type clip) held on by a large washer, nuts and bolt. The 4 bolts to hold the bits will be 6mm and attached in a similar fashion with a wing nut used to retain the packets. I will post some pics later in the weekend as I don't expect it to take too long to build.
Paul

Sarge137
Member Since: November 13, 2005
entire network: 7 Posts
KitMaker Network: 7 Posts
Posted: Saturday, May 31, 2014 - 01:53 PM UTC
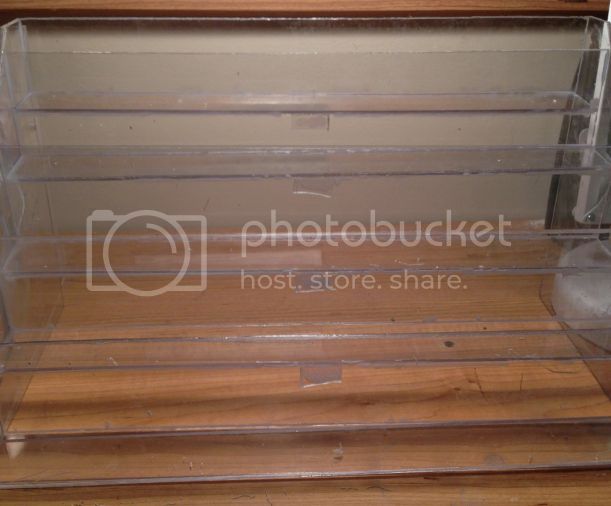
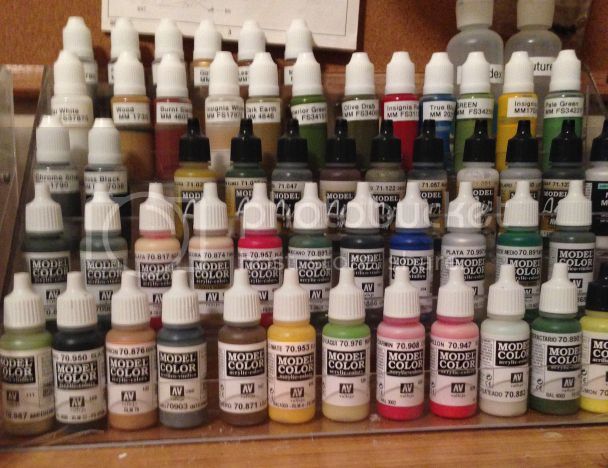
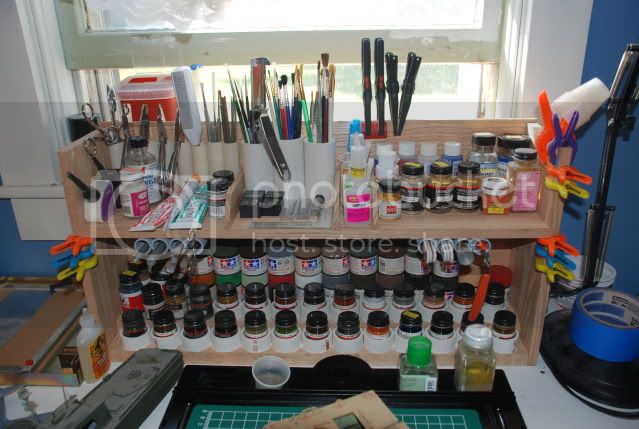
Here is a couple of pics of the Paint rack I built. It may not be pretty but its extremely functionable. Its based of a nail polish rack I had seen online.


hofpig
Member Since: March 04, 2007
entire network: 1,330 Posts
KitMaker Network: 56 Posts
Posted: Monday, June 09, 2014 - 04:01 AM UTC
A few pics....
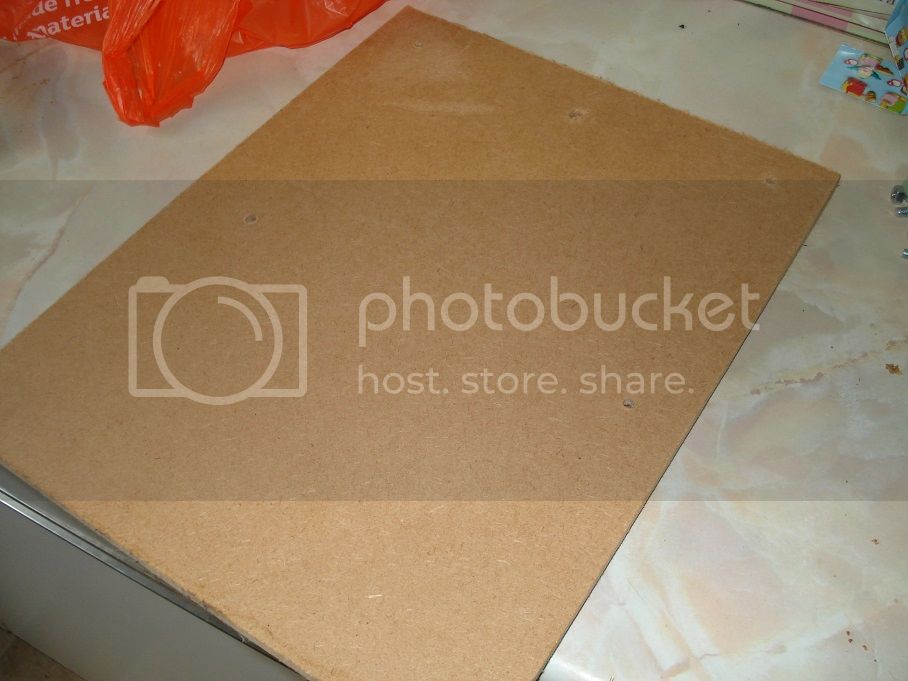
The board
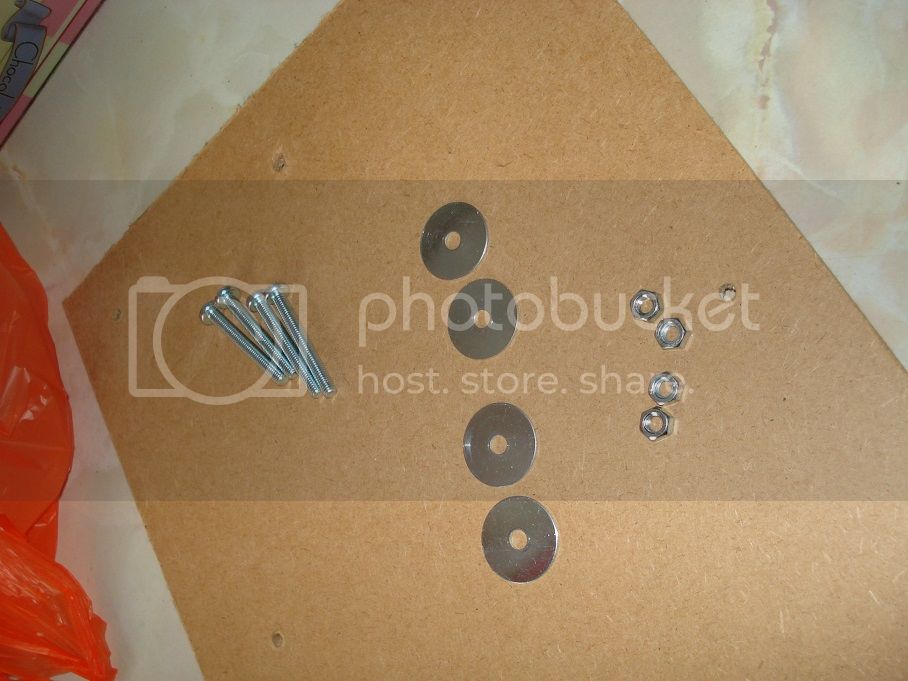
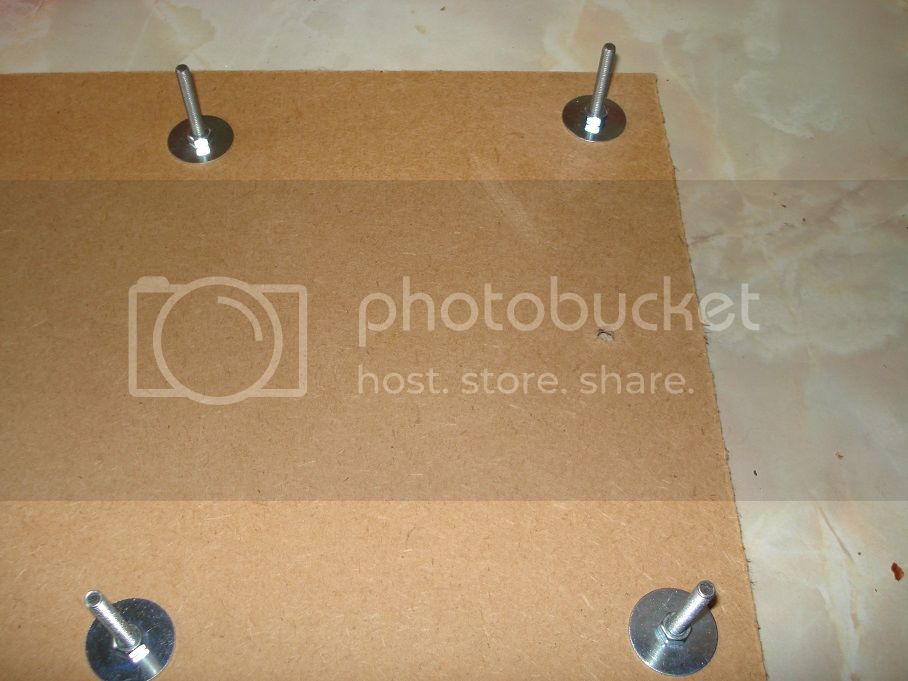
Fixings, holes having been drilled earlier. I added a second piece of MDF at the rear to allow me to recess the set screws.
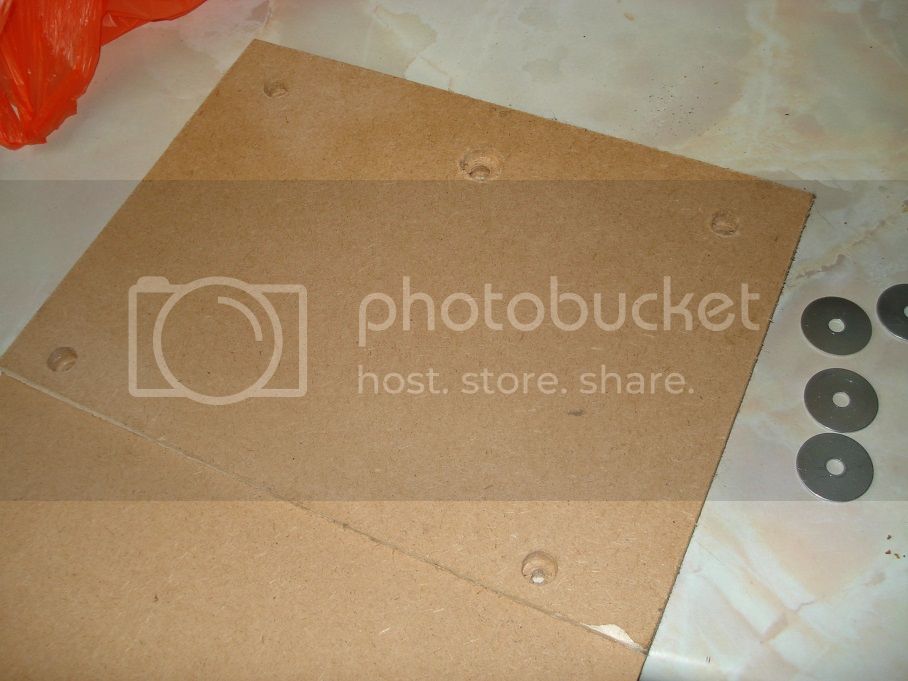
The recessed holes.
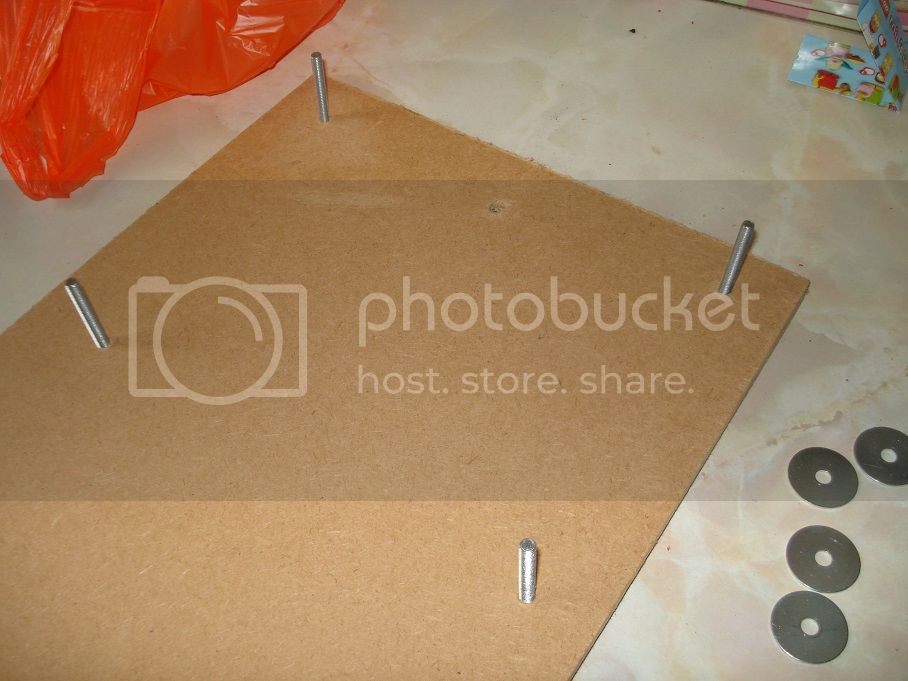
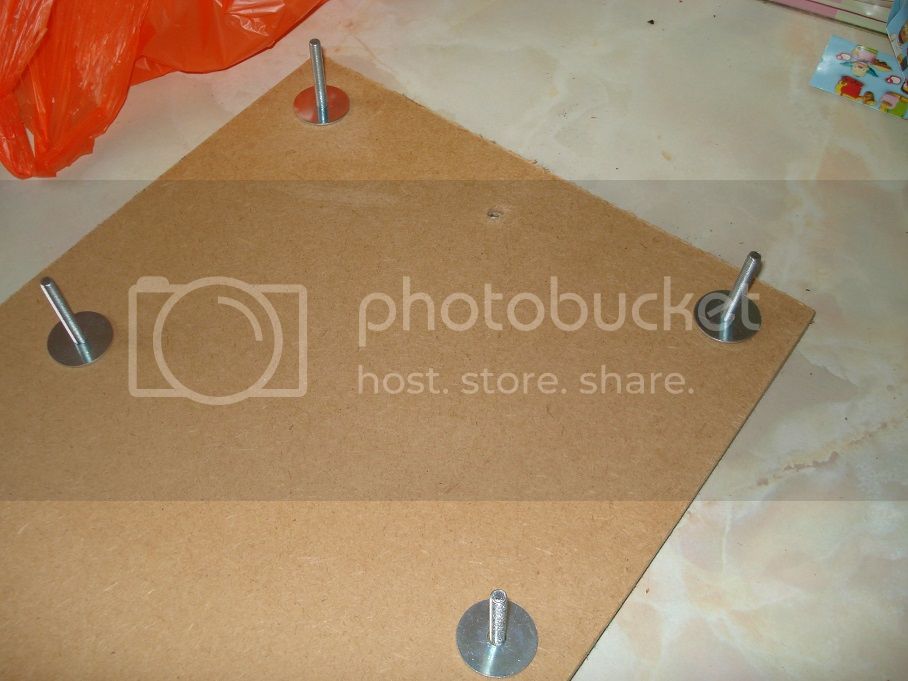
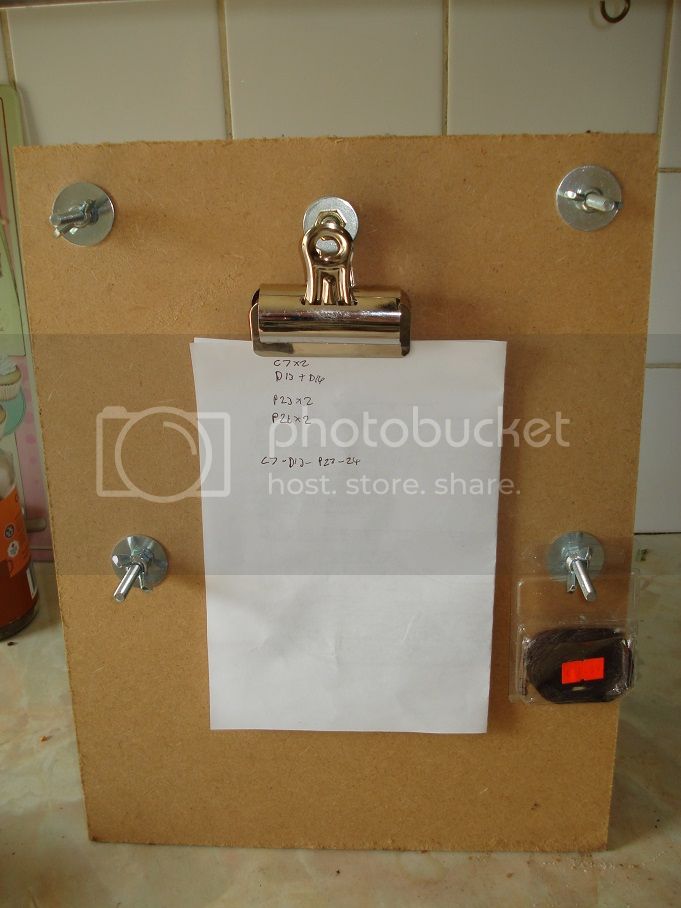
With the M6 bolts fitted just needs washers and nuts.
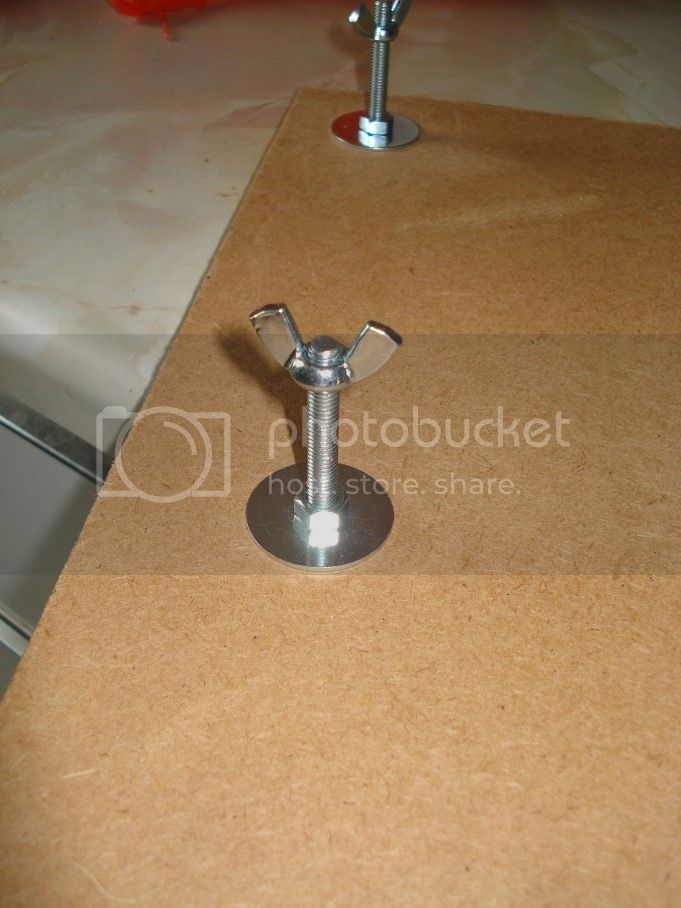
Wit the wing nuts added to hold bags onto board. Just need to shorten an M8 bolt for the main item and then I will be pretty much done.
Paul
The board
Fixings, holes having been drilled earlier. I added a second piece of MDF at the rear to allow me to recess the set screws.
The recessed holes.
With the M6 bolts fitted just needs washers and nuts.
Wit the wing nuts added to hold bags onto board. Just need to shorten an M8 bolt for the main item and then I will be pretty much done.
Paul

EHAM0624

Member Since: January 27, 2014
entire network: 200 Posts
KitMaker Network: 12 Posts
Posted: Sunday, June 15, 2014 - 10:09 AM UTC
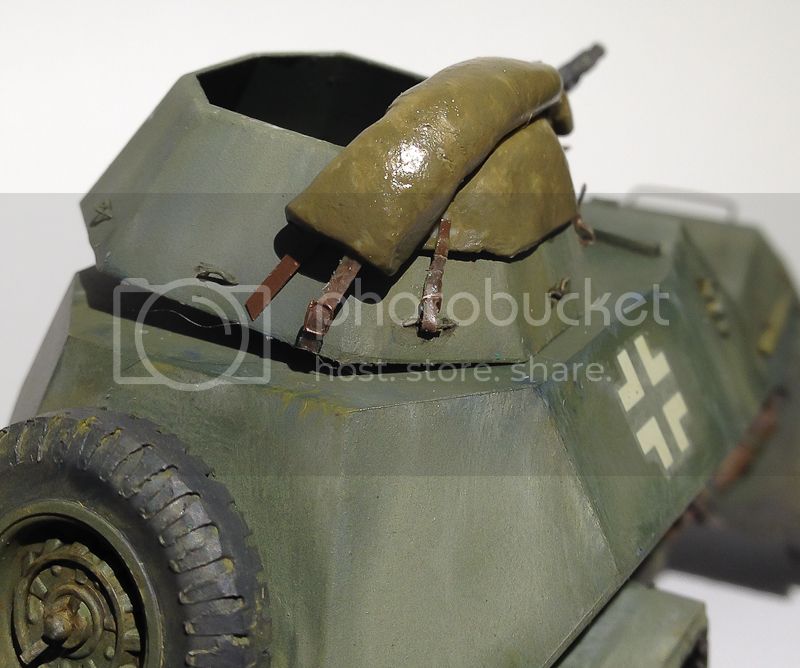
I whas working on my BA-64 in the lightweight armour campaign and thought I needed to have some strap belts. so I used my tweezers to make a strap buckles however it did not really whas to my liking so with some metal and some tools in the shed I made an strap buckle tweezers.
This is the result of the 10min workout (not sure if this has been thought off already as I did not really shearched for it) I just needed it!
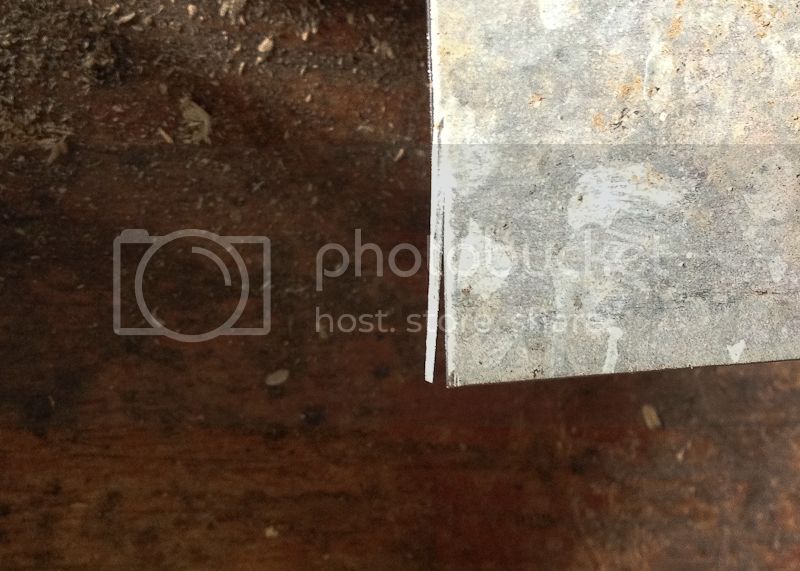
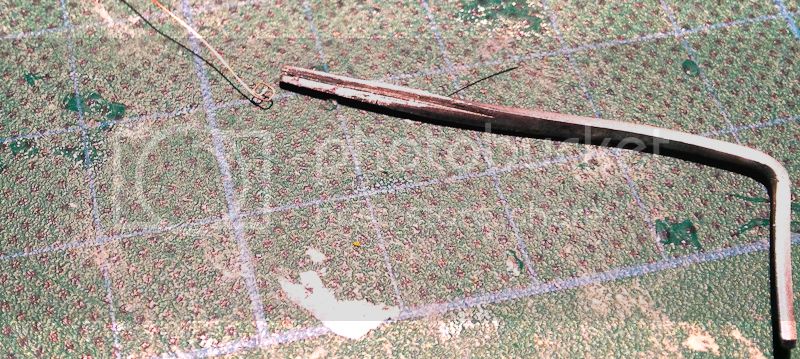
Take a pice of scheet metal
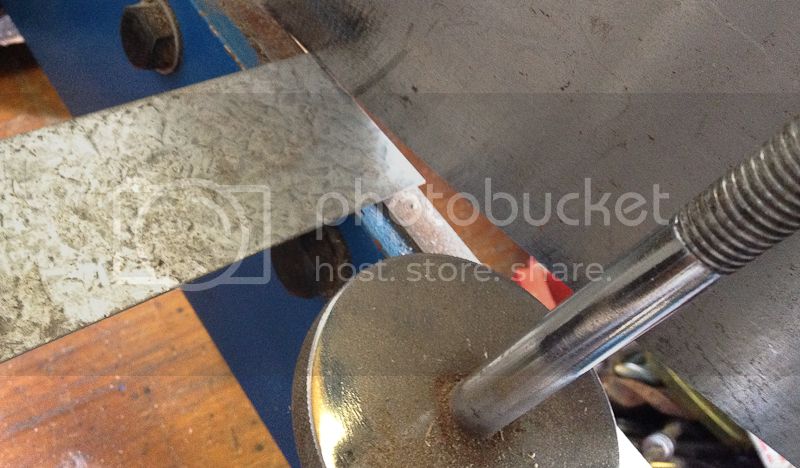
Cut it! (first half and then all the way you need)
Grind it so it's not to round in the edges
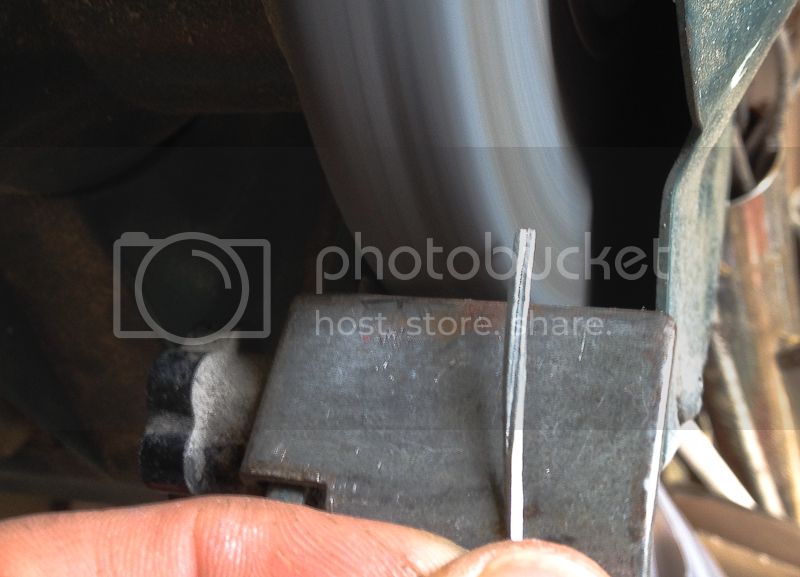
I made a bent in the pice so it's better to handel
So, stick a pice of really fine copper wire into the home made tweezer
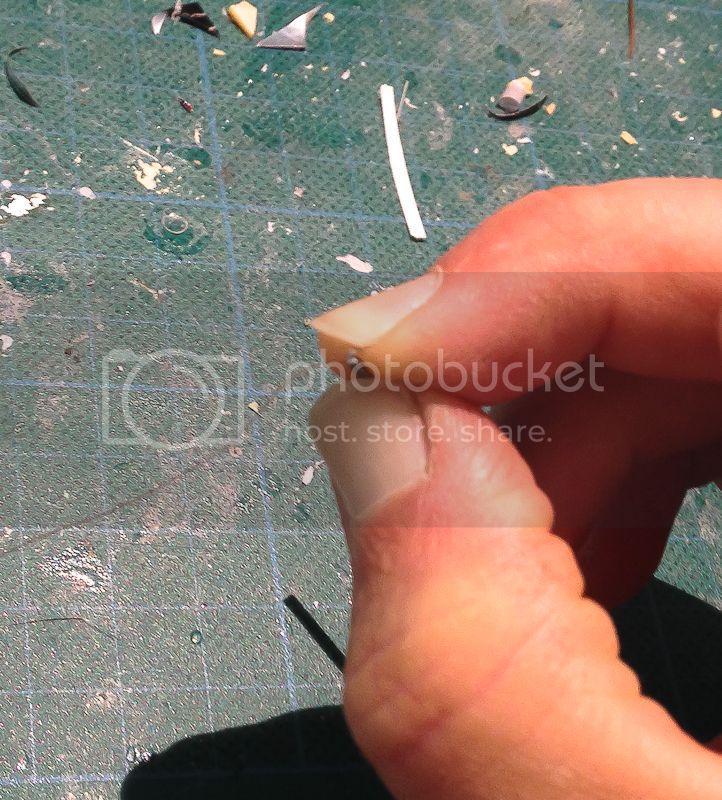
(hazy picture, sorry for this)
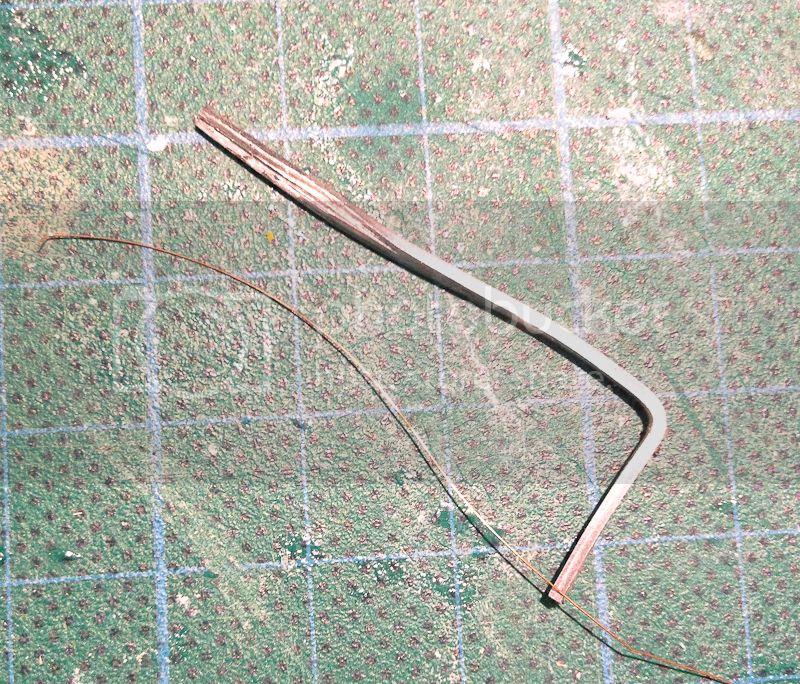
And bent the wire all around the tweezer
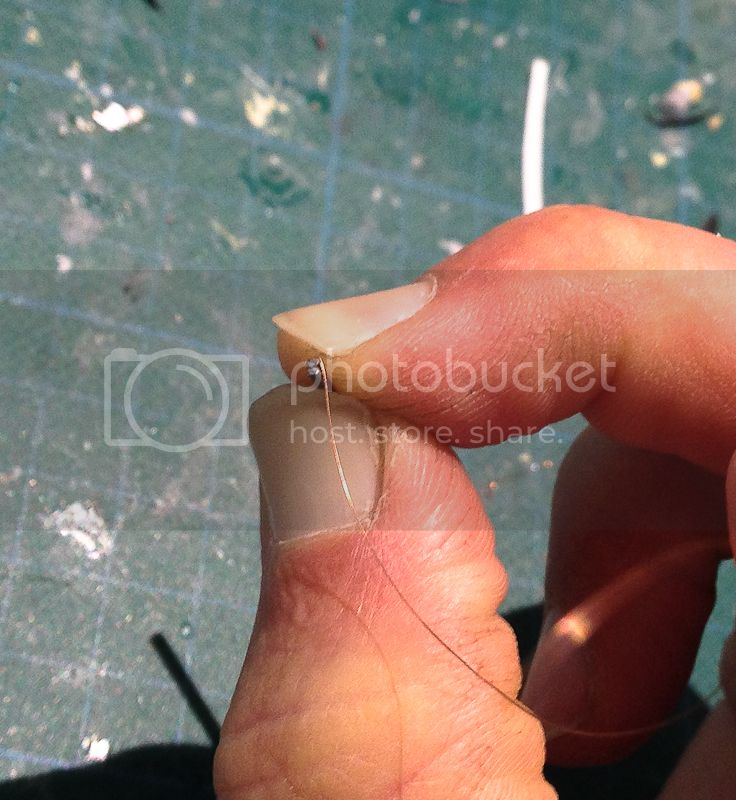
Dip the joining side into the super glue to prevent it from getting out of shape and gut it from the wire
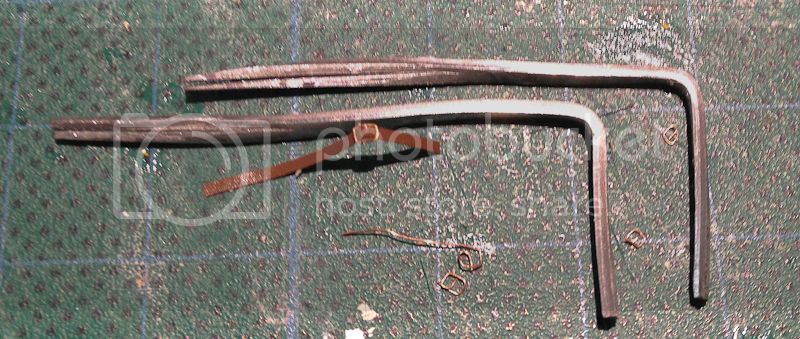
The tool with the end result
And the final result on the model (the left one), maybe not the best that you can get but it's cheaper that PE
This is the result of the 10min workout (not sure if this has been thought off already as I did not really shearched for it) I just needed it!
Take a pice of scheet metal

Cut it! (first half and then all the way you need)

Grind it so it's not to round in the edges

I made a bent in the pice so it's better to handel

So, stick a pice of really fine copper wire into the home made tweezer

(hazy picture, sorry for this)
And bent the wire all around the tweezer

Dip the joining side into the super glue to prevent it from getting out of shape and gut it from the wire

The tool with the end result

And the final result on the model (the left one), maybe not the best that you can get but it's cheaper that PE

matt
Member Since: February 28, 2002
entire network: 5,957 Posts
KitMaker Network: 2,626 Posts
Posted: Wednesday, June 18, 2014 - 11:08 PM UTC
How are everyone's projects going??? Life's been kicking my butt outside of work so I haven't gotten much done, But I'm hoping to here shortly again!
DeskJockey
Member Since: July 17, 2006
entire network: 1,558 Posts
KitMaker Network: 376 Posts
Posted: Wednesday, June 18, 2014 - 11:55 PM UTC
I've finished my exhaust vent plate! Here's a pic of the one I went with and the articulating one I built as an option.
hofpig
Member Since: March 04, 2007
entire network: 1,330 Posts
KitMaker Network: 56 Posts
Posted: Friday, June 20, 2014 - 01:19 AM UTC
Quoted Text
How are everyone's projects going??? Life's been kicking my butt outside of work so I haven't gotten much done, But I'm hoping to here shortly again!
Hi Matt,
I think I'm done on this one. Here are a few last pics...
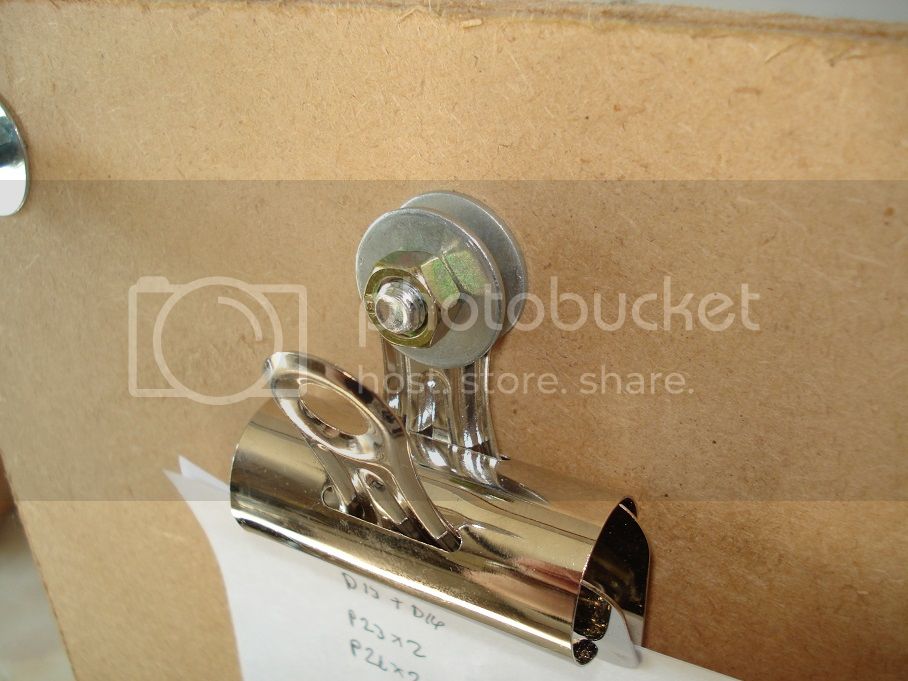
The central clip to hole kit instructions, notes etc.(list od parts to borrow from one of my other kits at the moment.
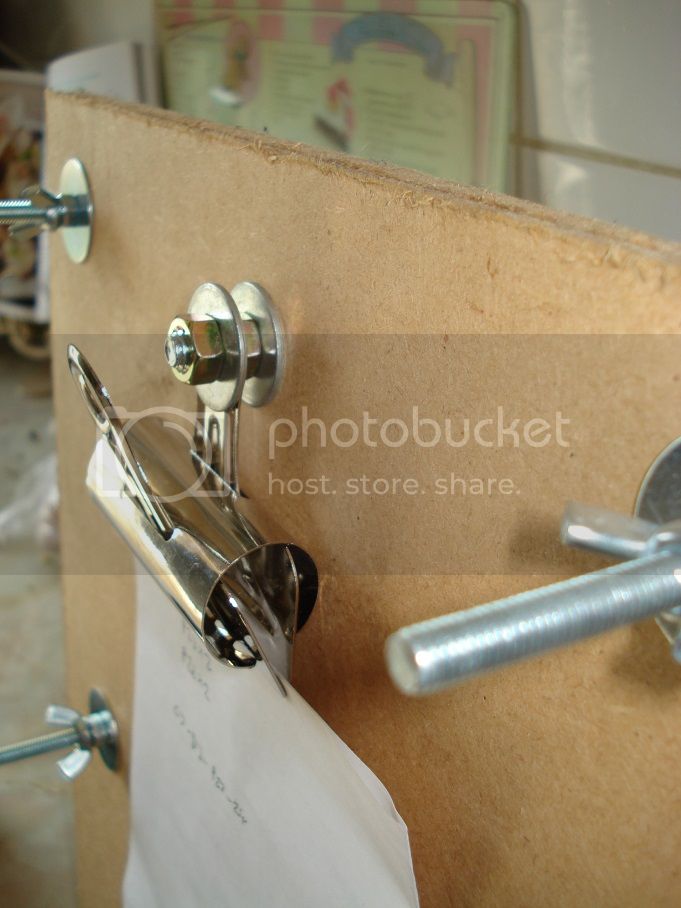
The part retain clip system in operation.
Cheers it was great to build something in 1:1 scale for a change.
Paul
retiredyank
Member Since: June 29, 2009
entire network: 11,610 Posts
KitMaker Network: 3,657 Posts
Posted: Friday, June 20, 2014 - 02:15 PM UTC
Will this do?


I'm also in the process of making a spout, for Tamiya paints.
I'm also in the process of making a spout, for Tamiya paints.

fhvn4d
#159
Member Since: April 07, 2008
entire network: 803 Posts
KitMaker Network: 132 Posts

Posted: Friday, June 20, 2014 - 09:38 PM UTC
built two tools in the last year, one was a multi gripper paint stand and one was a bench organizer.
Started out with a lazy suzan bought at bennys for like 4 dollars....
added some pieces of 12/3 wire and aligator clips....
and ended up with more hands than I will ever need hopefully

Started out with a lazy suzan bought at bennys for like 4 dollars....

added some pieces of 12/3 wire and aligator clips....

and ended up with more hands than I will ever need hopefully


fhvn4d
#159
Member Since: April 07, 2008
entire network: 803 Posts
KitMaker Network: 132 Posts
Posted: Friday, June 20, 2014 - 09:57 PM UTC
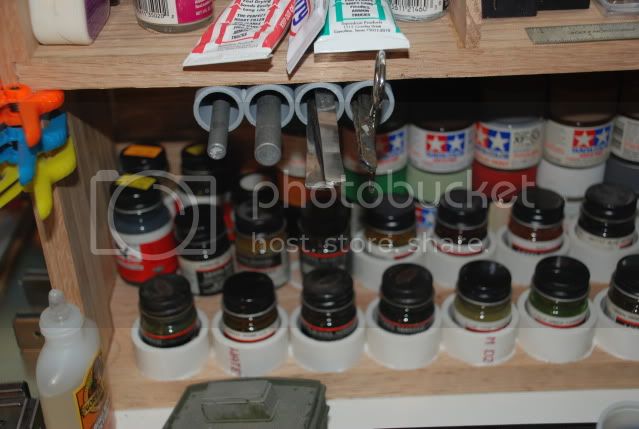
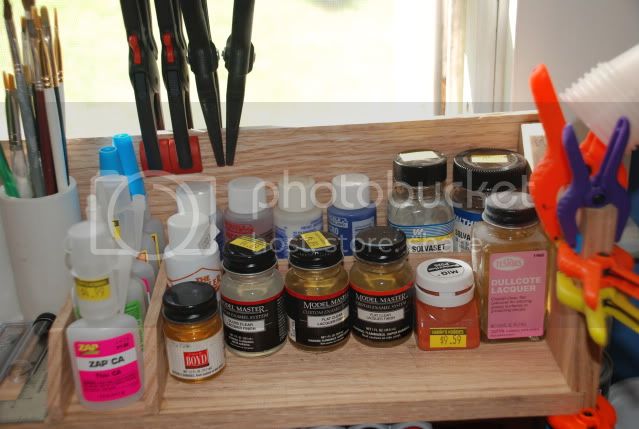
My second project was even more useful, and almost as simple to build. It is a paint stand, tool stand, glue and everything stand that takes up about 6 inches in depth of space, by about 2 feet. Its 18 inches high. 20 dollars at local hardware store paid for it all with some pieces of leftover pvc rounding it out. Unfortunately I did not take in progress pics, but its come in quite handy. One 6 foot piece of half in oak and a couple of pieces of quarter inch oak make the frame.


EHAM0624
Member Since: January 27, 2014
entire network: 200 Posts
KitMaker Network: 12 Posts
Posted: Saturday, August 30, 2014 - 07:51 AM UTC
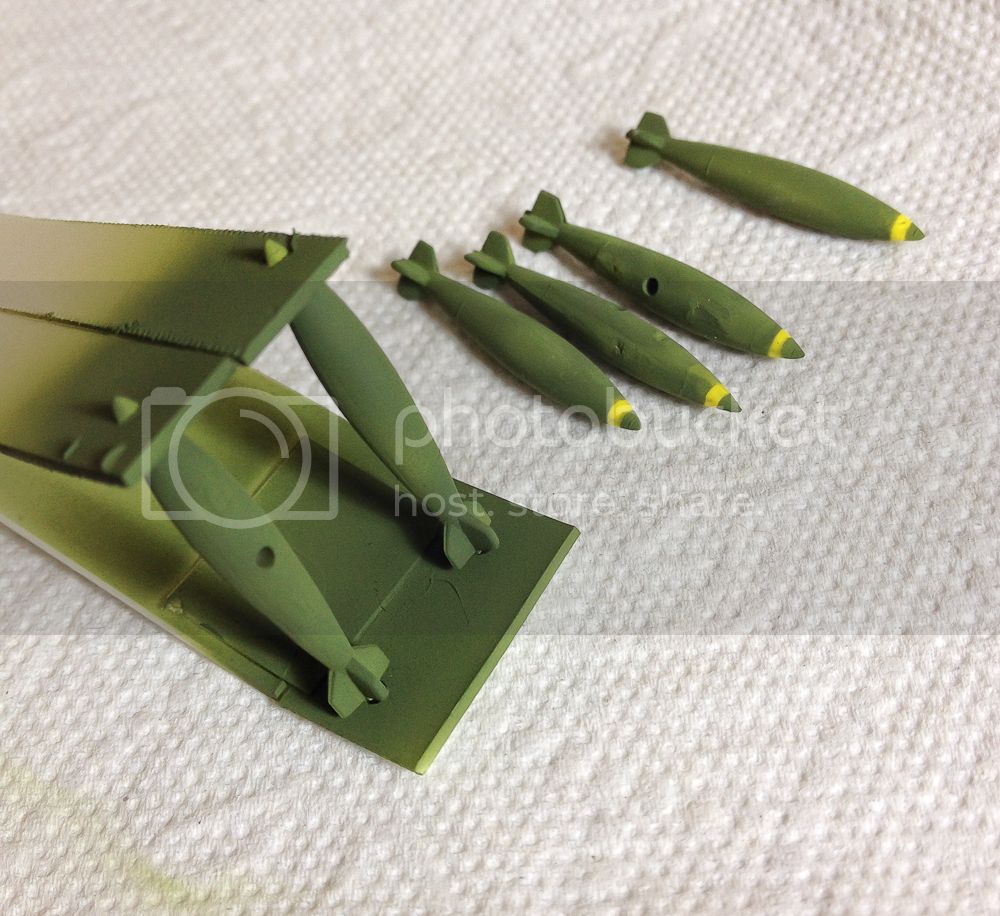
For some underwing ordnance I needed to paint some bombs with such a annoying yellow line (I do not have a steady hand and I don't like masking tinny lines) so quick and easy,..please
Being creative I used 2 plastic pieces of polystyrene glued together with 4 holes in it, 2 small and 2 roughly the same size as the diameter of where the yellow line is required to be, also cut the above strip roughly till half way in 2 this so you can set 1 piece before the other more easily.
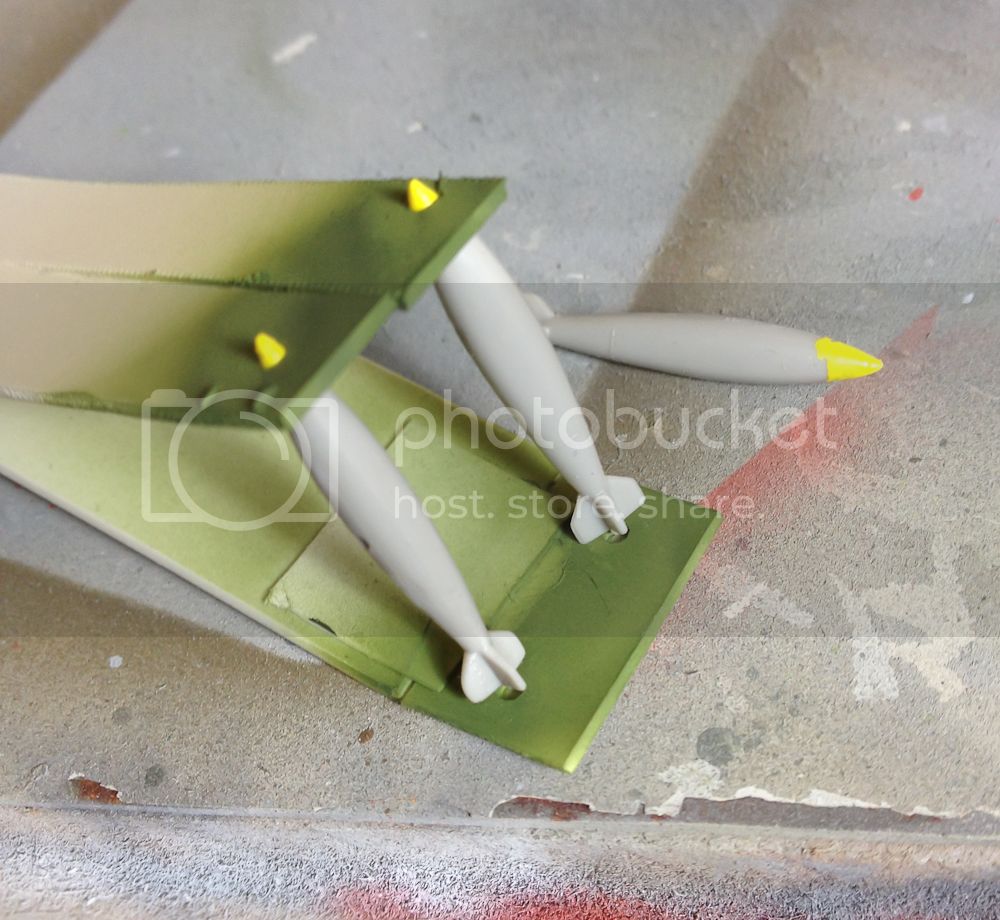
Paint the ordnance yellow and after drying place in to the fixture,...
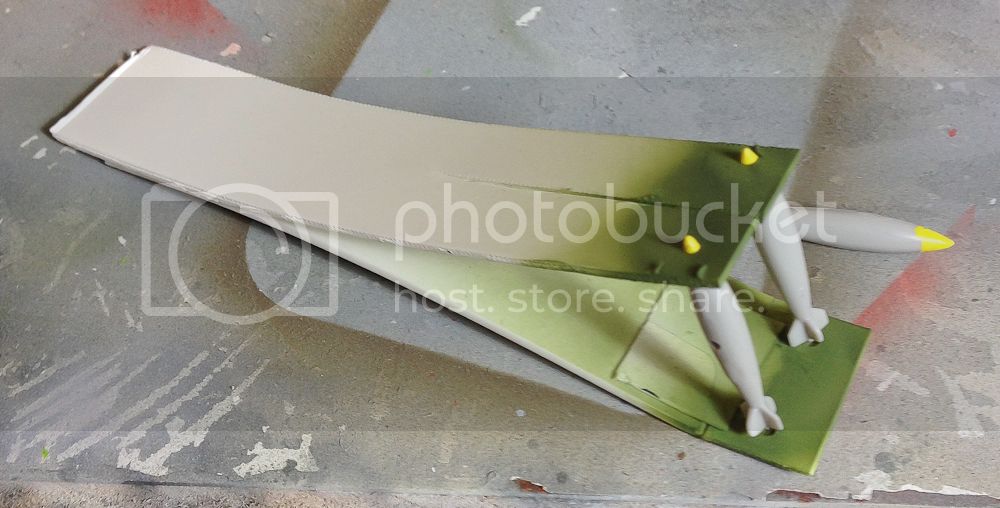
2 seconds after your favorite green color of choice,..Voilà, ready (except the bottom which needs a little patch-up)

2002hummer
#257
Member Since: October 11, 2011
entire network: 812 Posts
KitMaker Network: 105 Posts
Posted: Monday, September 01, 2014 - 05:01 AM UTC
I enlisted a while ago so now I should come up with an idea to build something useful. I was thinking of a painting rack of sorts to hold a model while being painted.

Mcleod
Member Since: April 07, 2010
entire network: 1,028 Posts
KitMaker Network: 41 Posts
Posted: Sunday, September 14, 2014 - 07:23 AM UTC
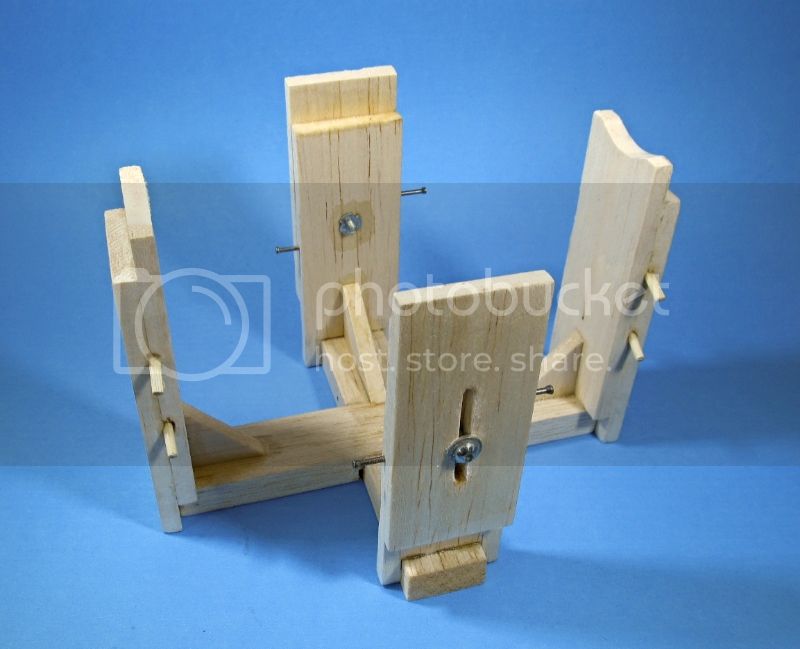
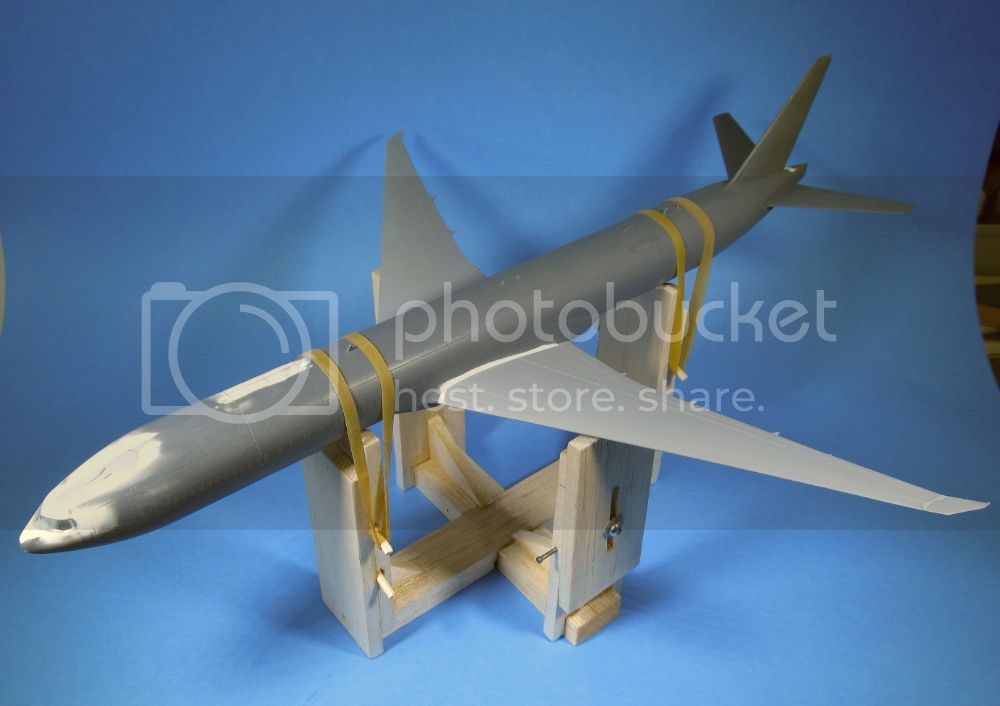
There's always a solution:


And I built this simple dihedral jig out of balsa earlier this year, during a Boeing 777 Dual Build. I still use it as a jig and a painting stand.
Sorry, no plans; but, its simple if you look at it. Took me a Sunday afternoon.
Ben
And I built this simple dihedral jig out of balsa earlier this year, during a Boeing 777 Dual Build. I still use it as a jig and a painting stand.
Sorry, no plans; but, its simple if you look at it. Took me a Sunday afternoon.
Ben
 |

WEB HOSTING BY


Copyright ©2021 KitMaker Network and Kitmaker Network, a subsidiary of Silver Star Enterprises
All Rights Reserved. Please read our Conditions of Use and Privacy Policy.
All Rights Reserved. Please read our Conditions of Use and Privacy Policy.