_GOTOBOTTOM
Scratchbuilders!
Built a model or part from your own materials lately?
Hosted by Mike Kirchoff
1/24 Leyland DAF DROPS Update
okdoky
Visit this Community
Scotland, United Kingdom
Member Since: April 30, 2007
entire network: 1,597 Posts
KitMaker Network: 673 Posts
Posted: Saturday, February 16, 2008 - 05:47 AM UTC
Have been trying to get my shed back in to some useful state since I aquired a few handy items and have just got some gas to keep me warm.

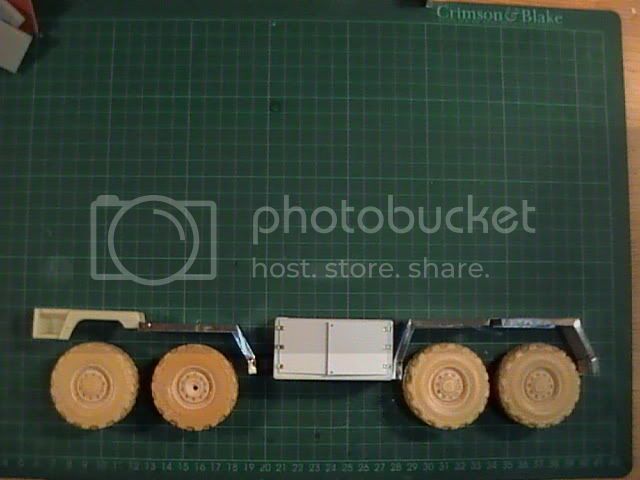
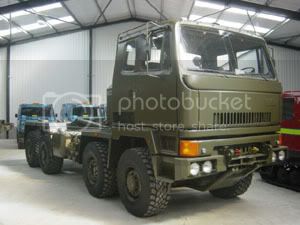
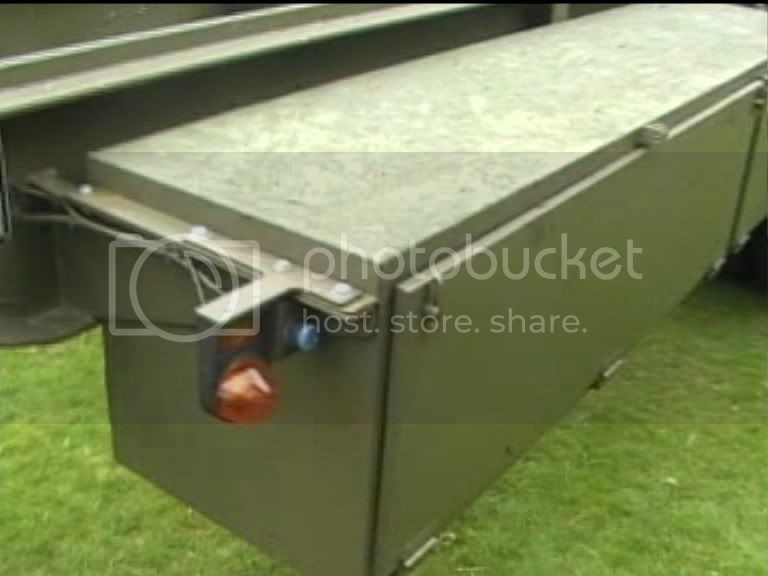
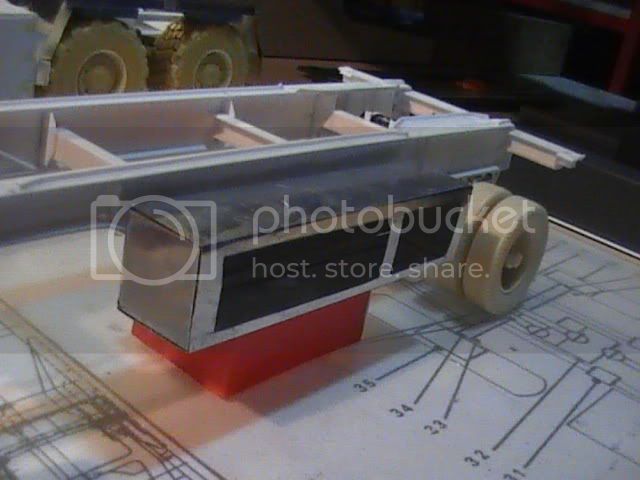
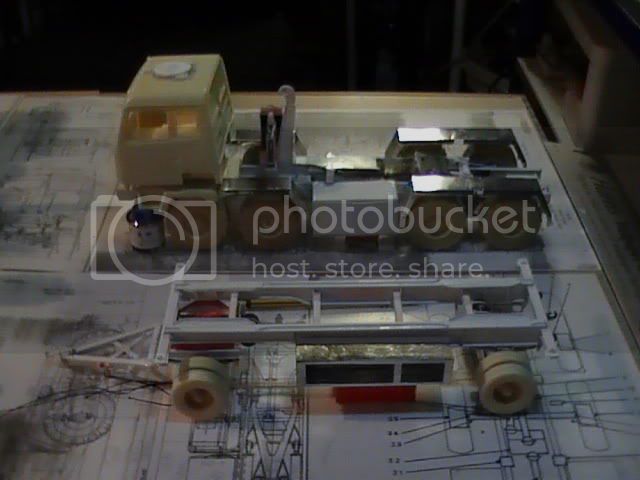
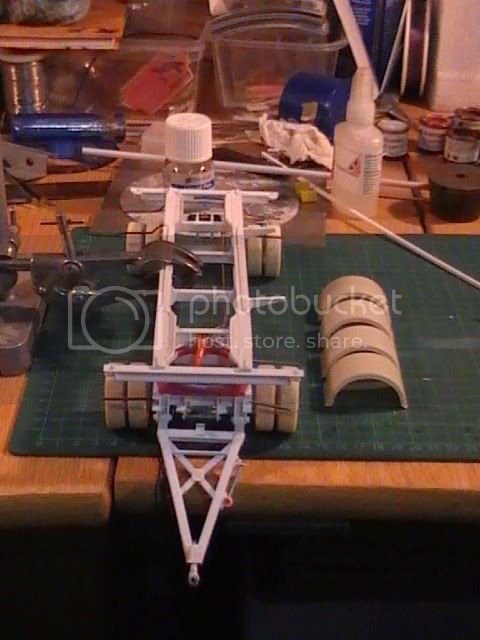
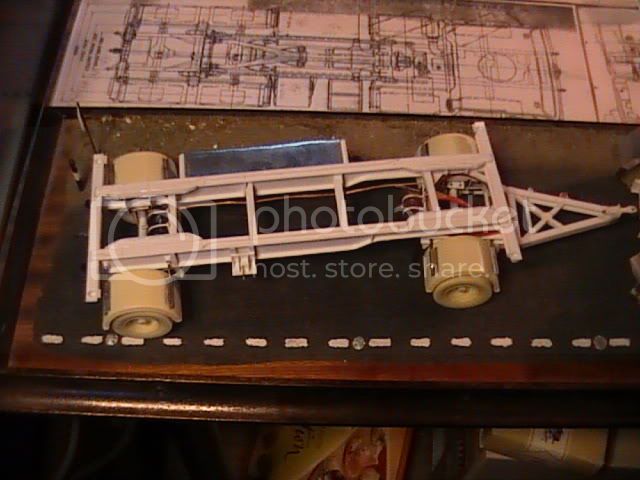
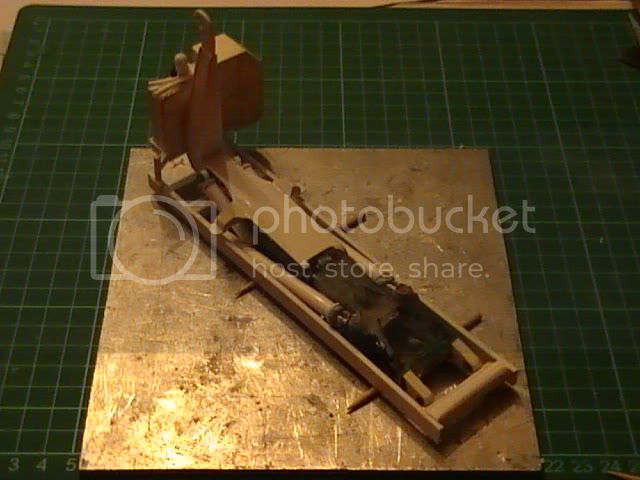
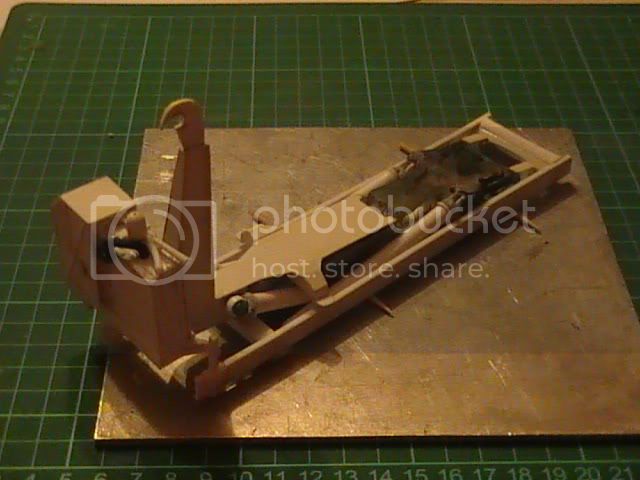
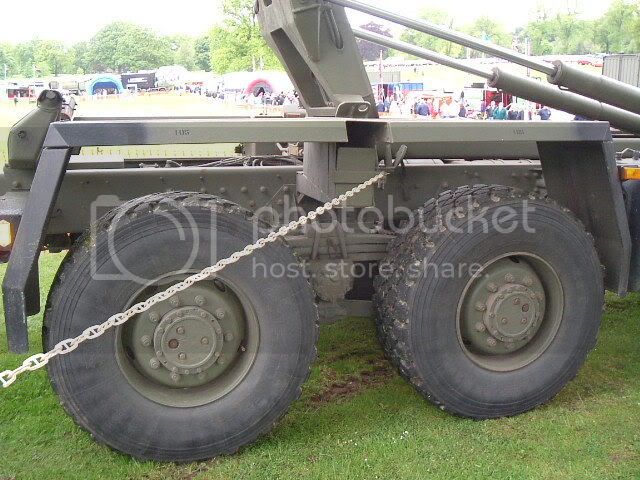
Was so cheesed off that I had not built anything on the DROPS in ages that I cleared a little space and set to work on the mudguards over the rear pair drive axles

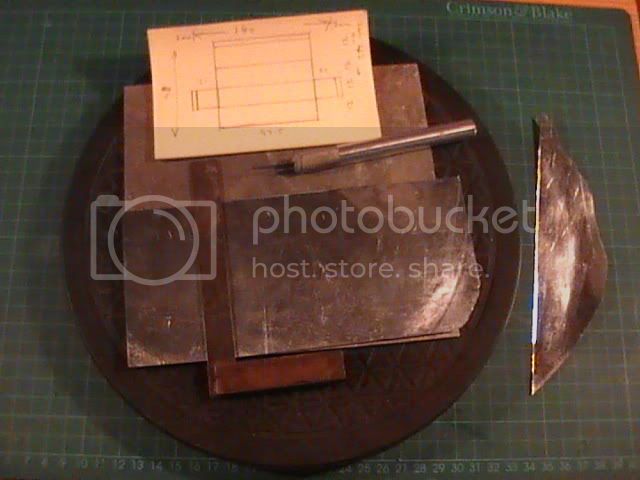
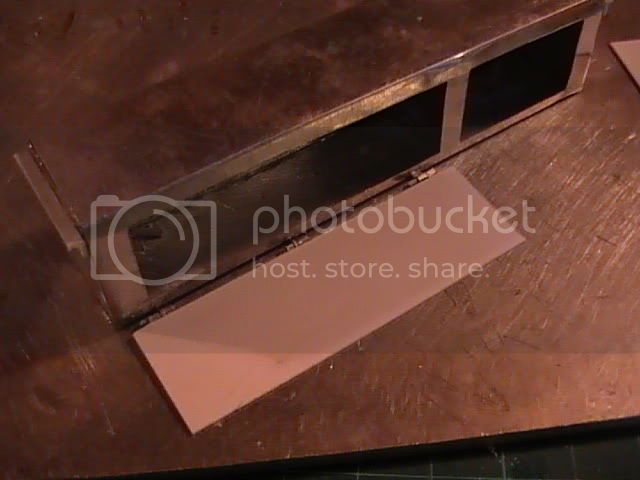
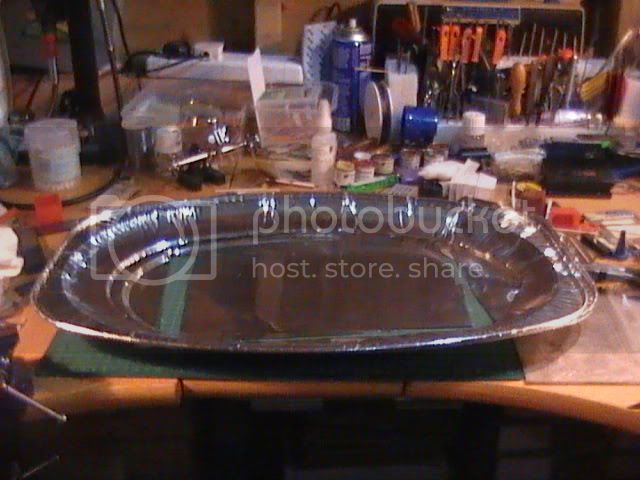
I thought about using brass sheet but couldn't find a source for large sheets of a thickness I liked. The model shops and electrical stores locally only had thin, les than A5 sized sheets. During a visit to the local one pound shop I came across some large oven roasting tins for the xmas turkeys. I got an A4 sized sheet out of each at a pound a sheet.

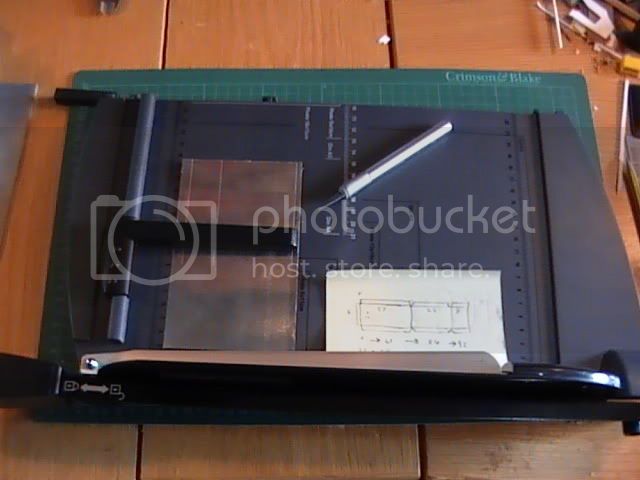
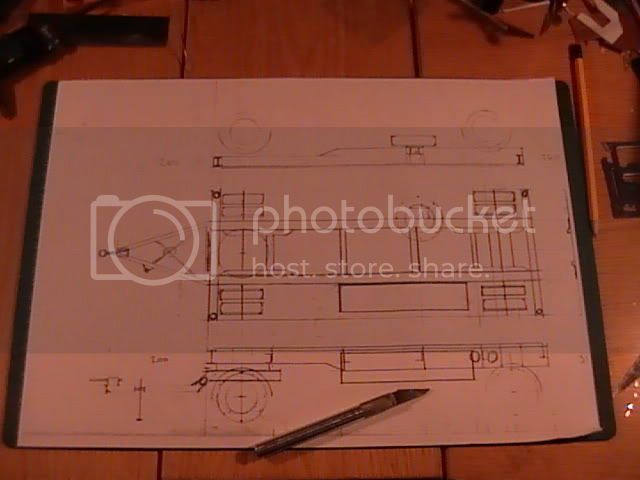
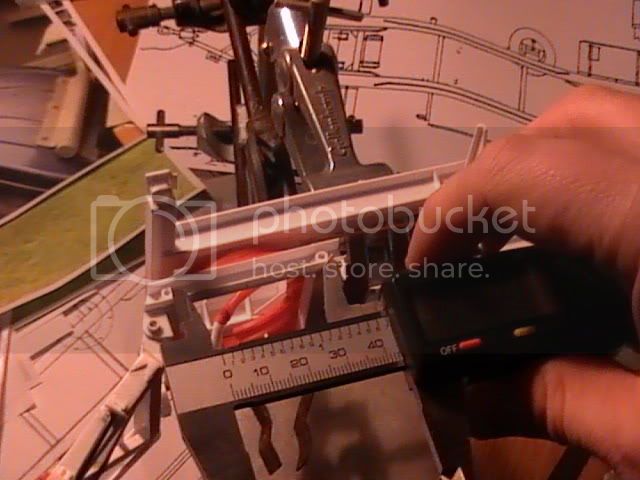
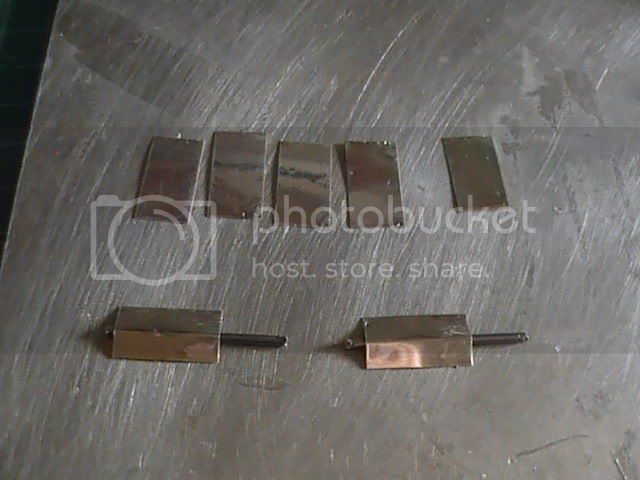
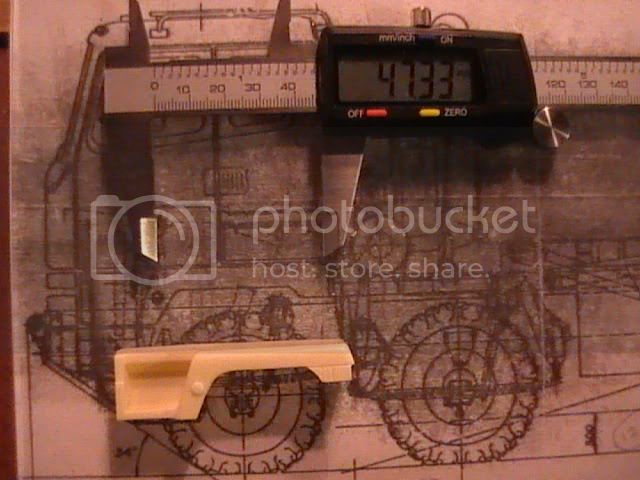
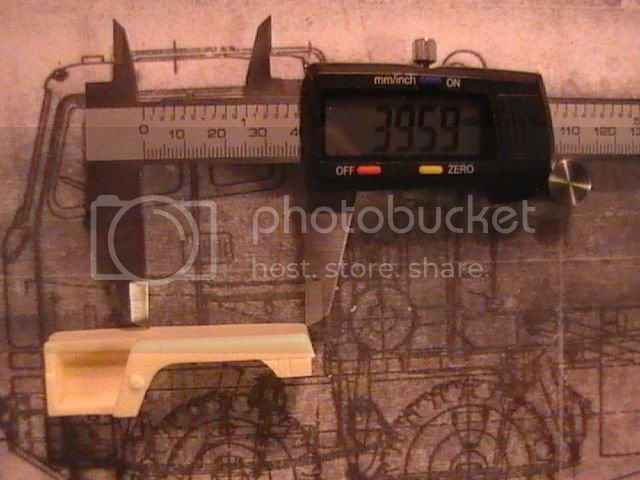
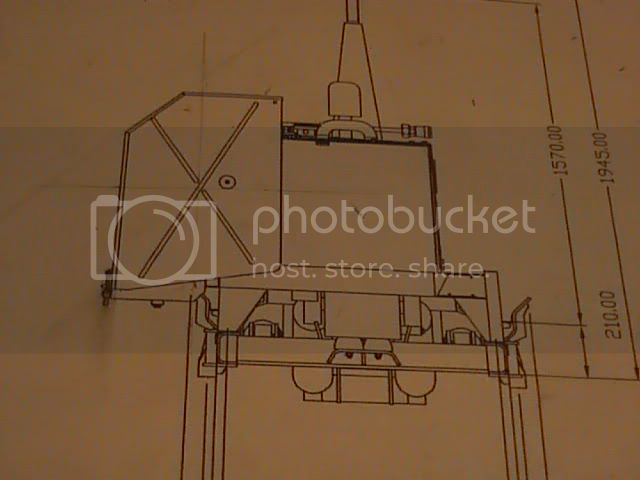
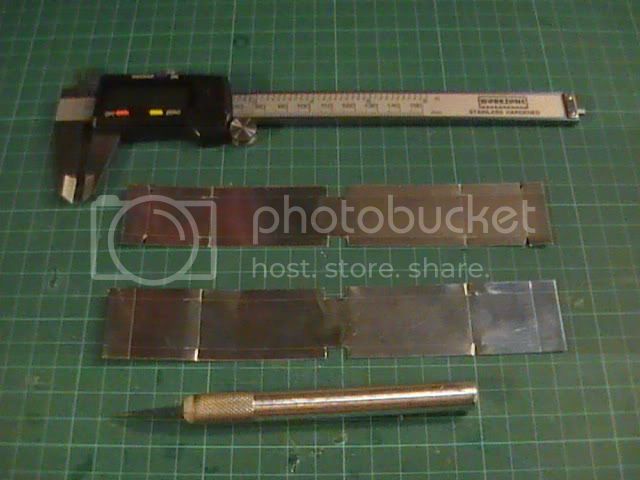
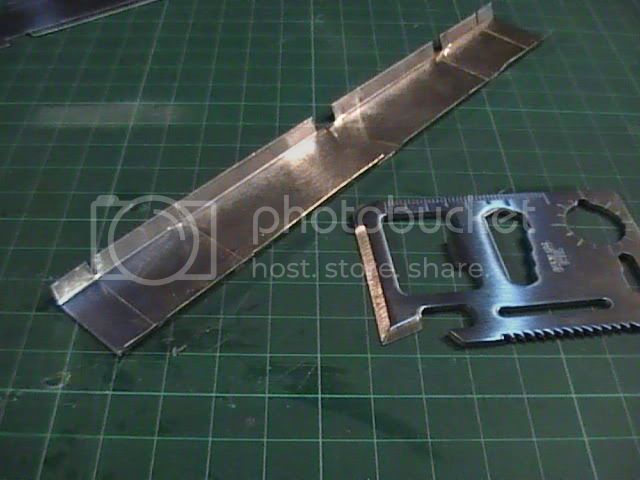
I trimmed the sheets square on a guiotine from ALDIS that has a nice measuring guage that I could use to pre score the lines of the bends very accurately for both mudguards while still on the single sheet using the measurements scaled off the drawings

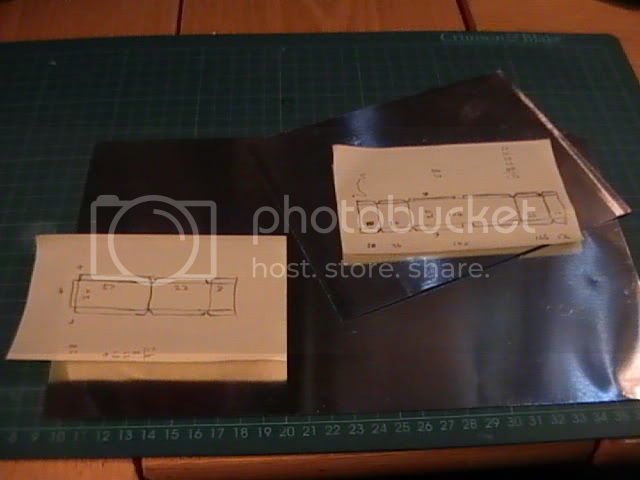
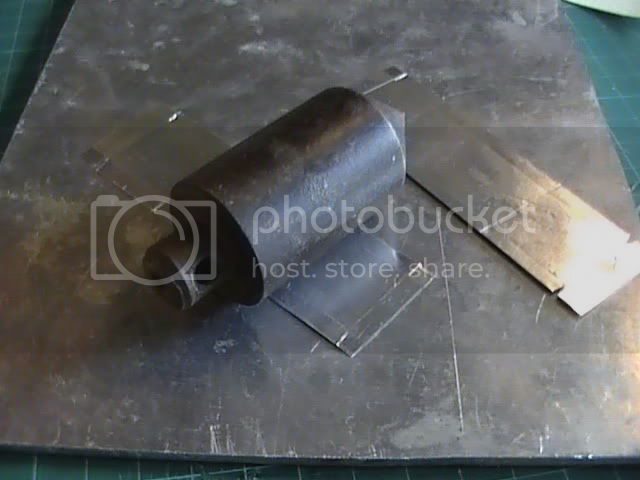
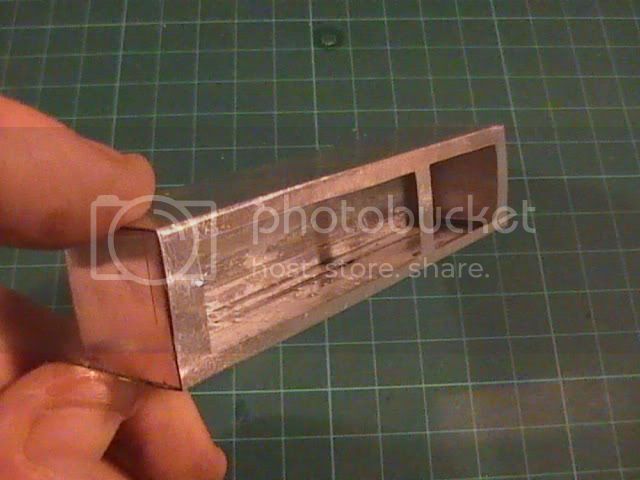
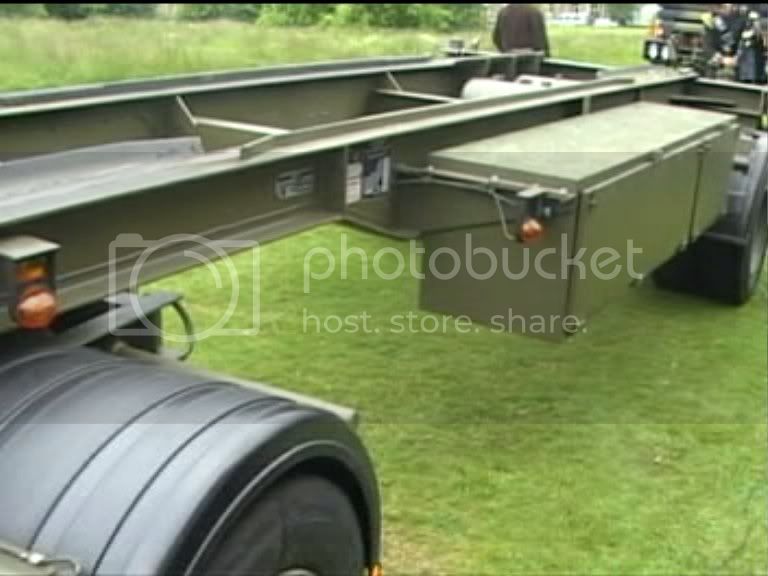
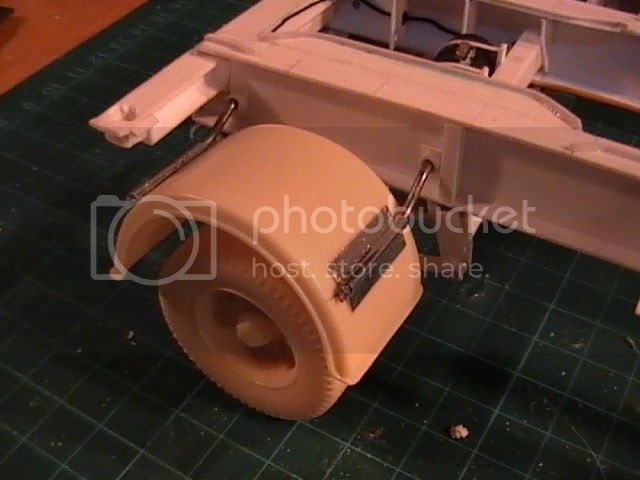
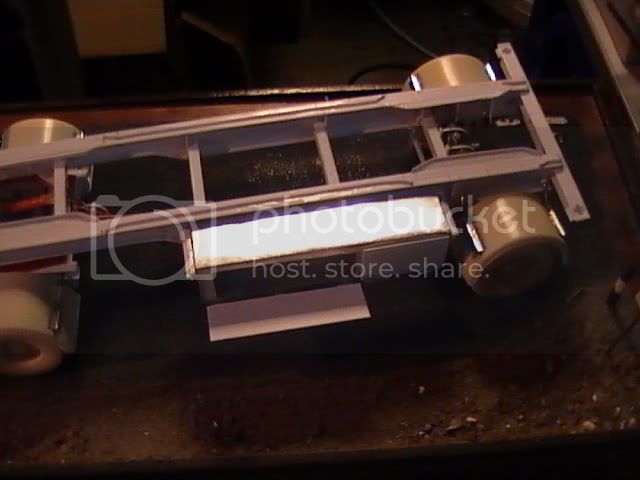
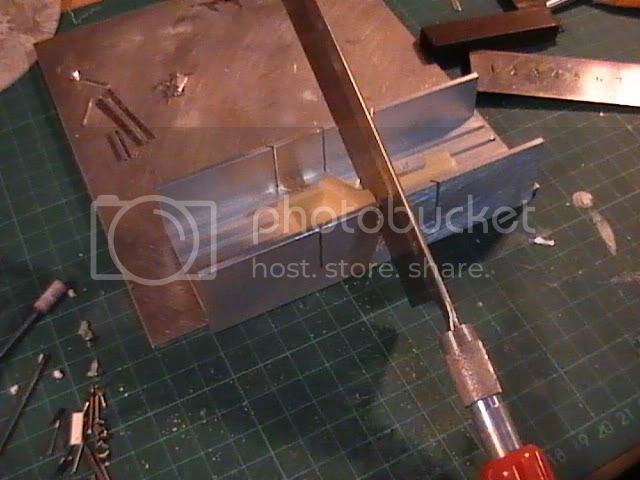
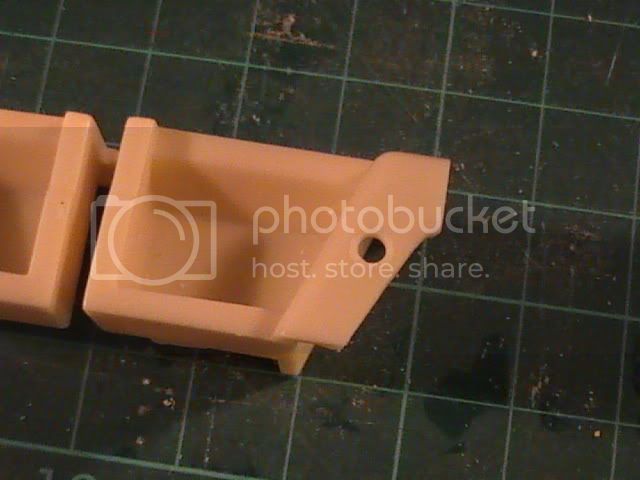
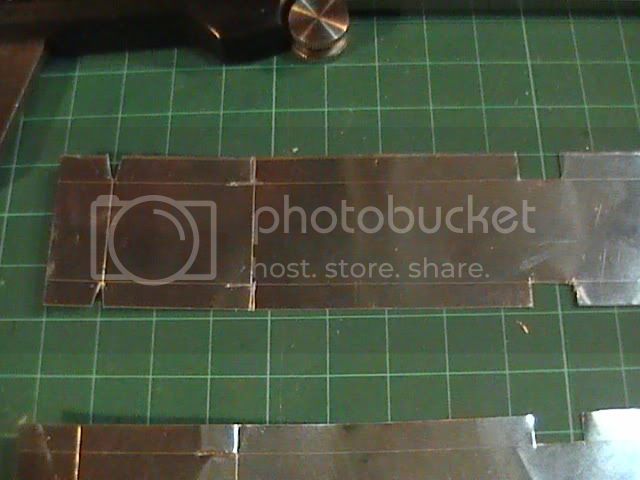
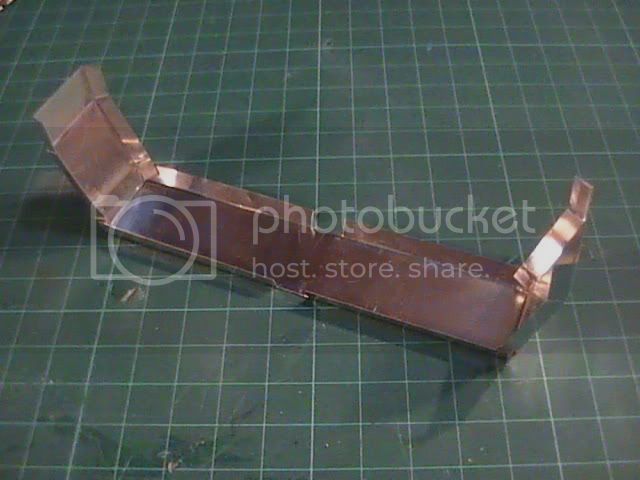
I only required to cut the two pre-scored patterns from the sheet and cut out the knotches to allow the angled joints to be formed, also for the cut outs where the jerrycan racks sit between the pair of wheels


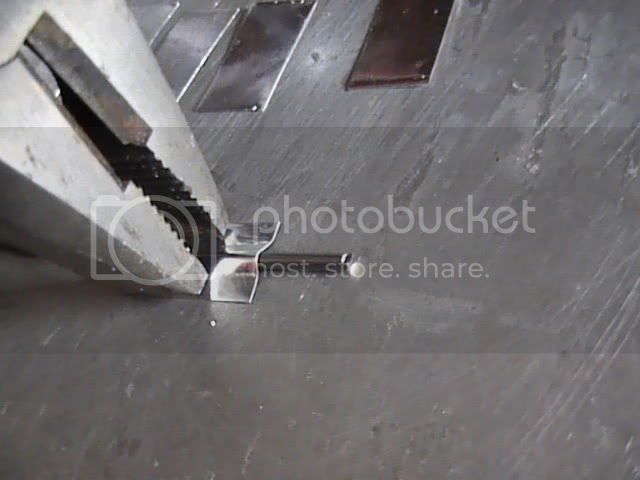
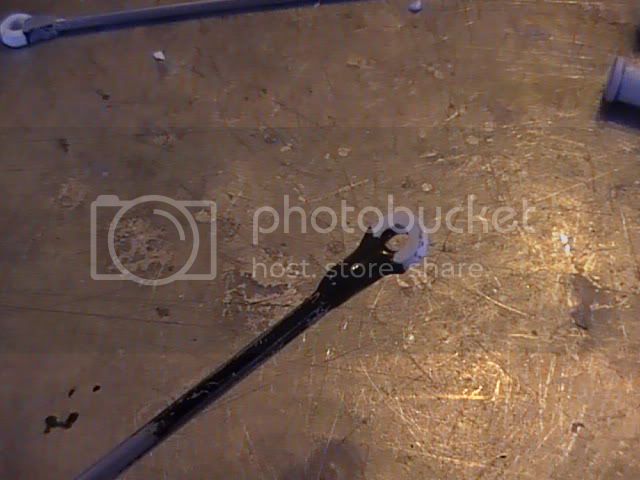
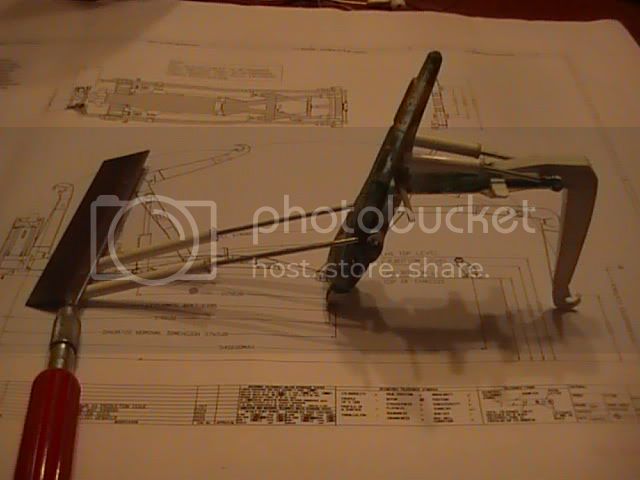
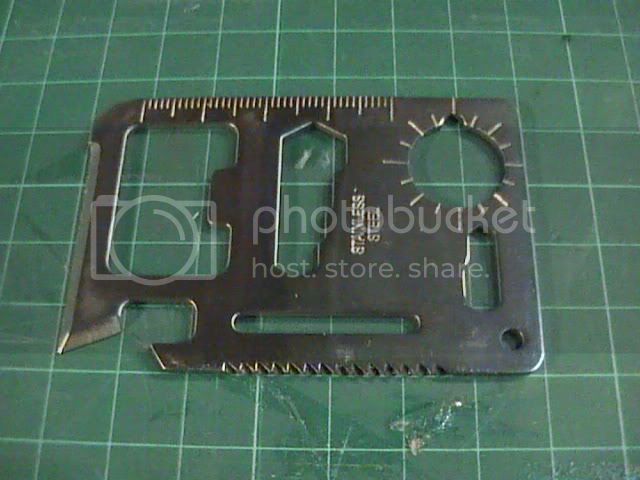
Another useful tool I found at the pound shop was this nifty credit card multi-tool. It has a chamferred edge that I can lift and bend with using basic metal rulers


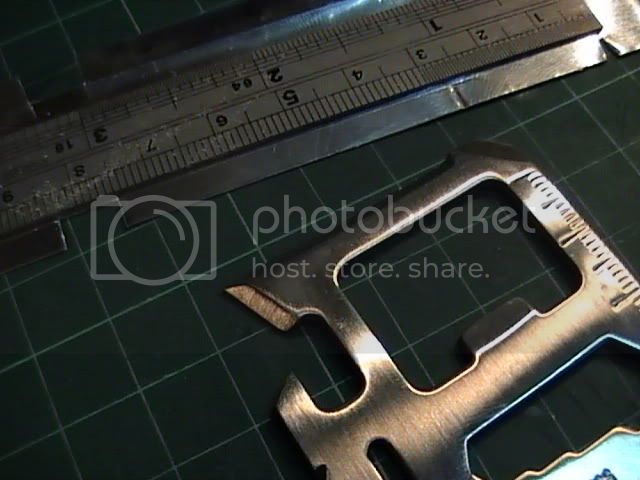
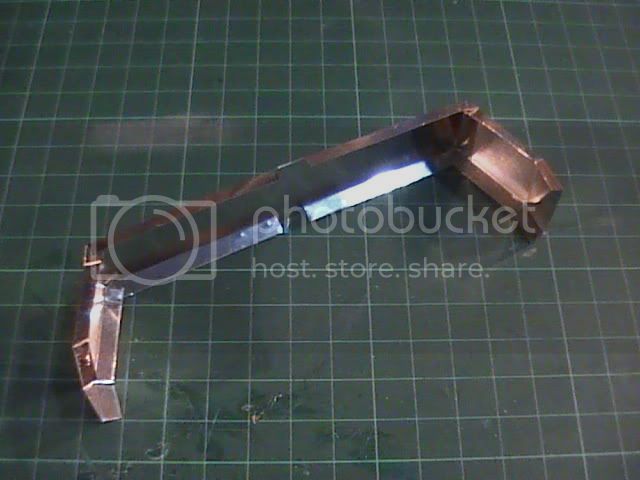
I have a nice thin, short ruler that allowed me to get a straight edge in between outer edges and when bending the final angles


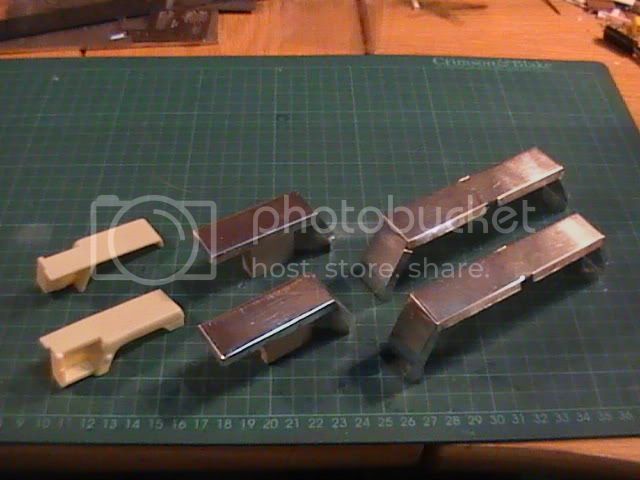
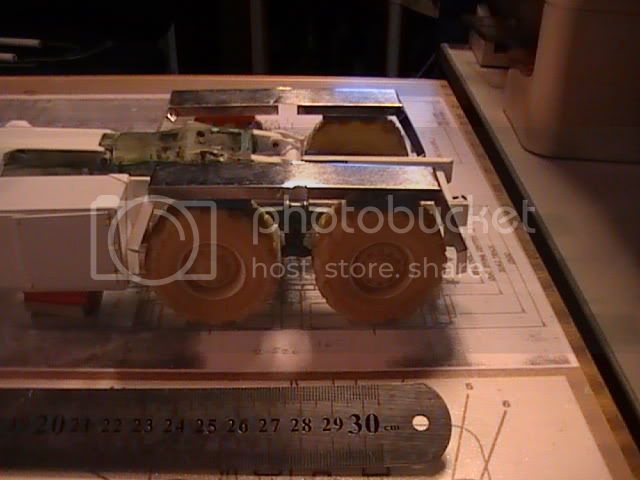
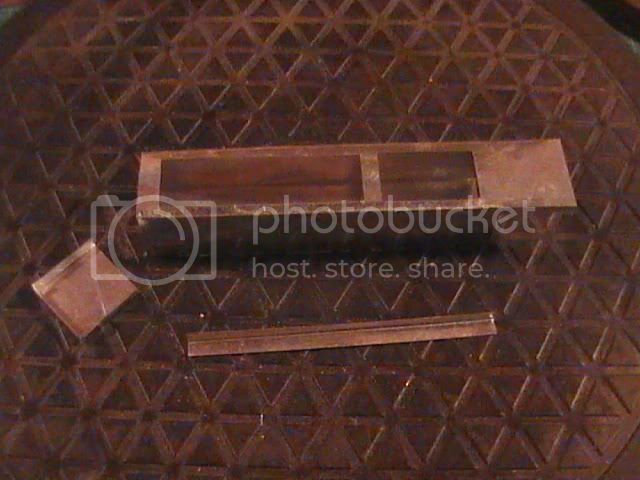
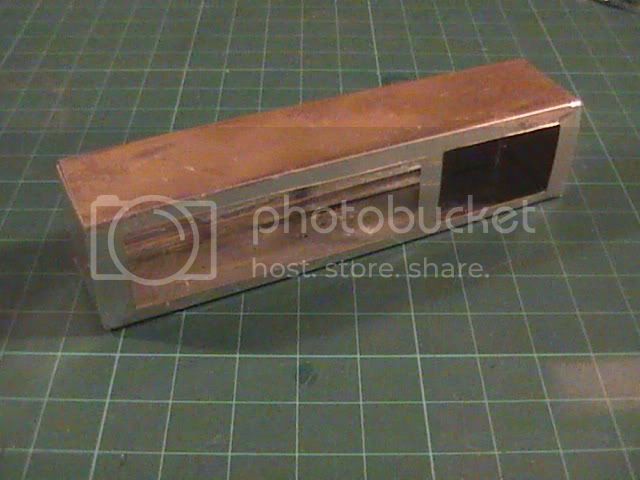
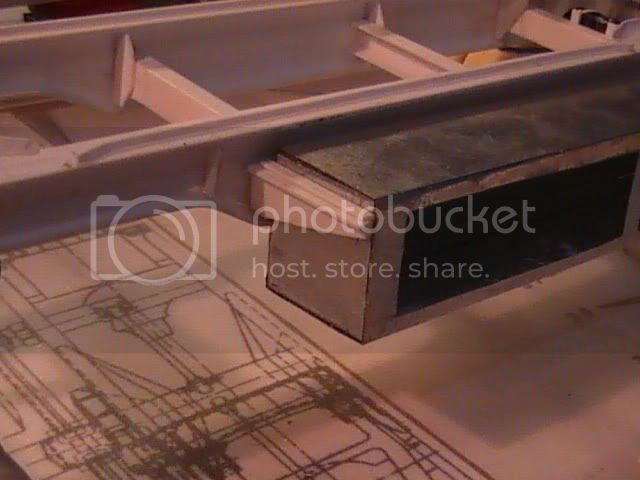
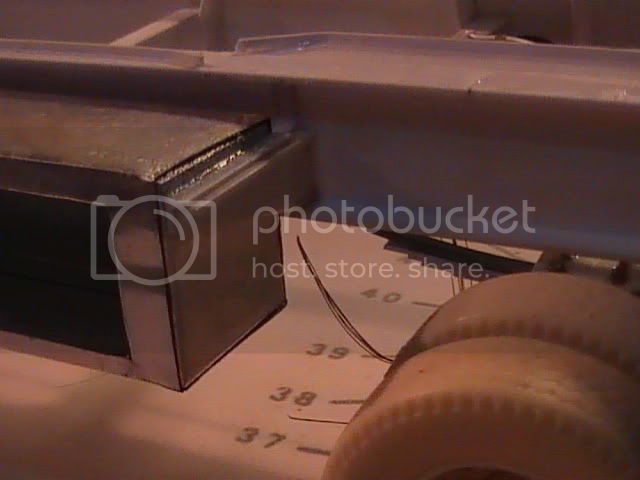
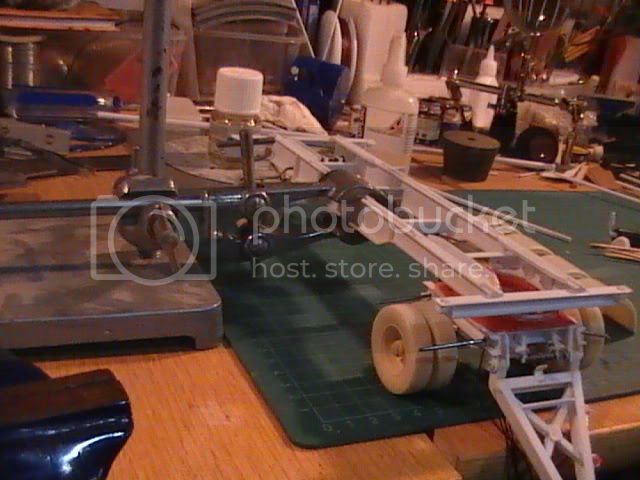
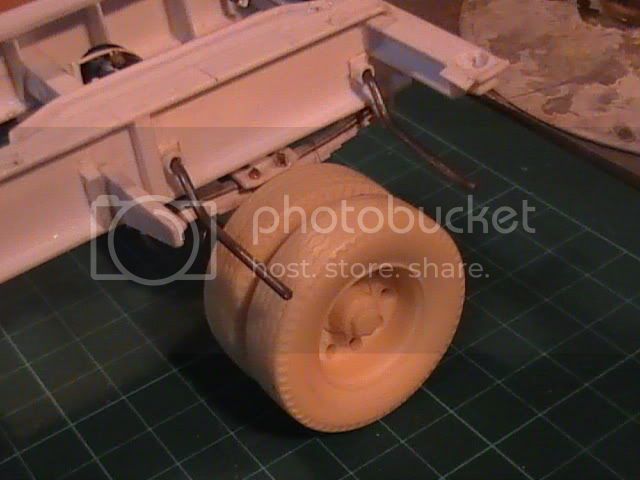
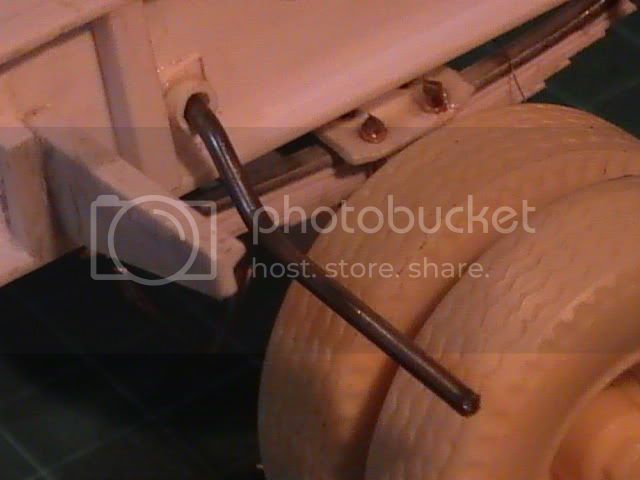
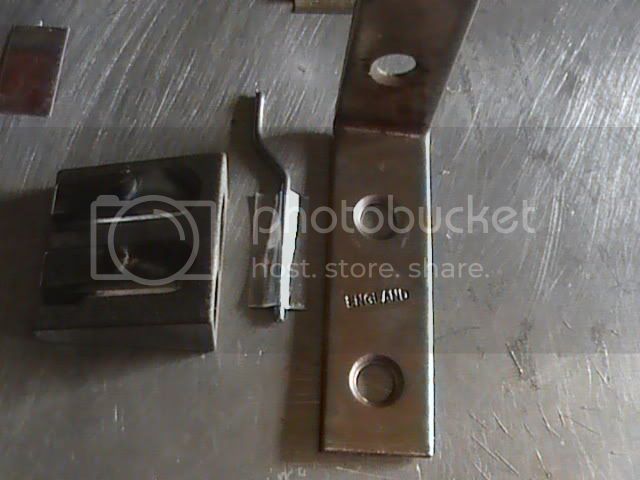
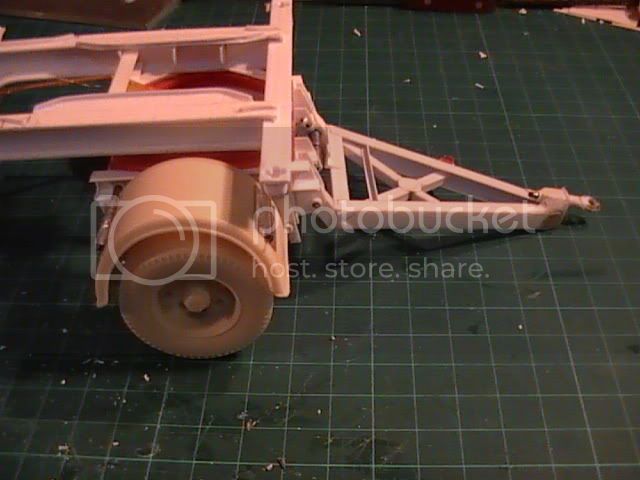
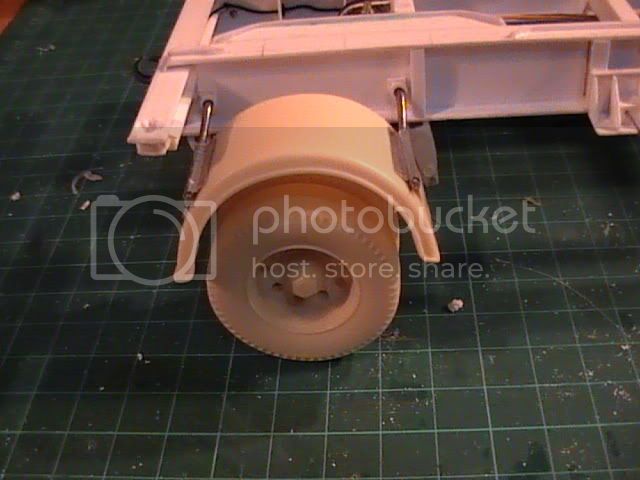
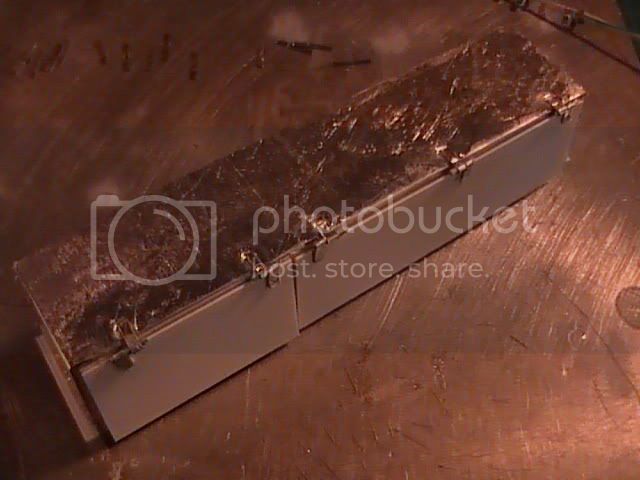
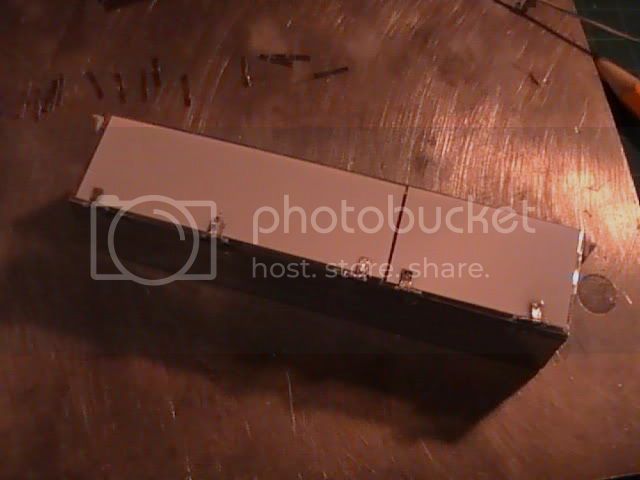
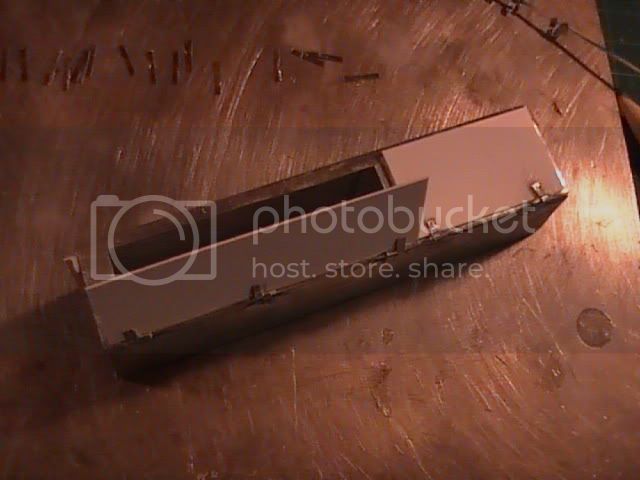
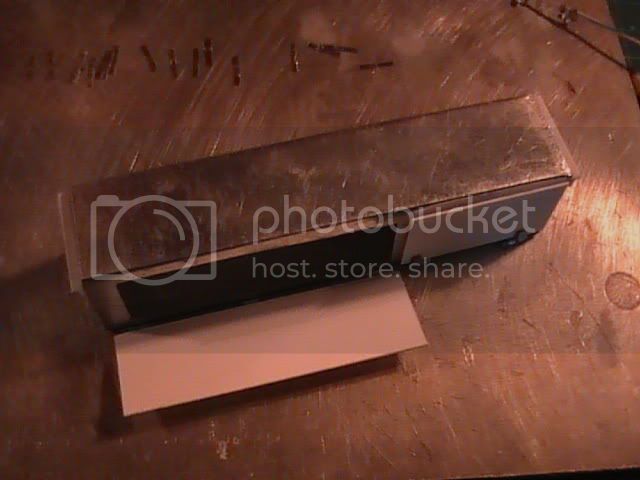
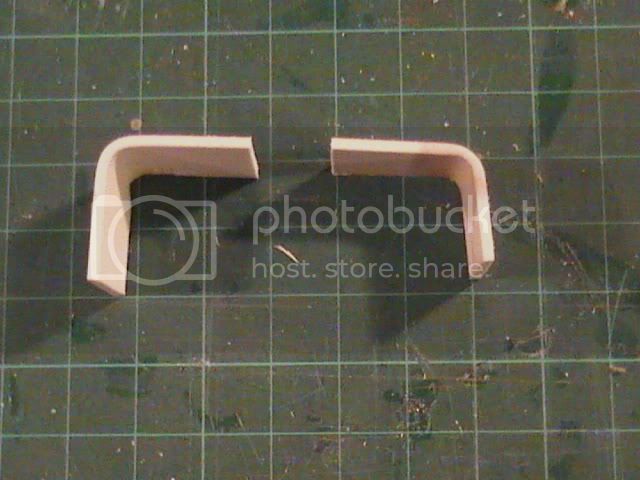
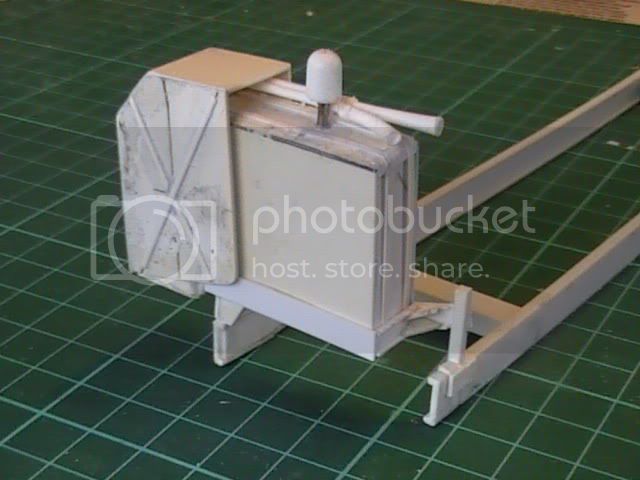
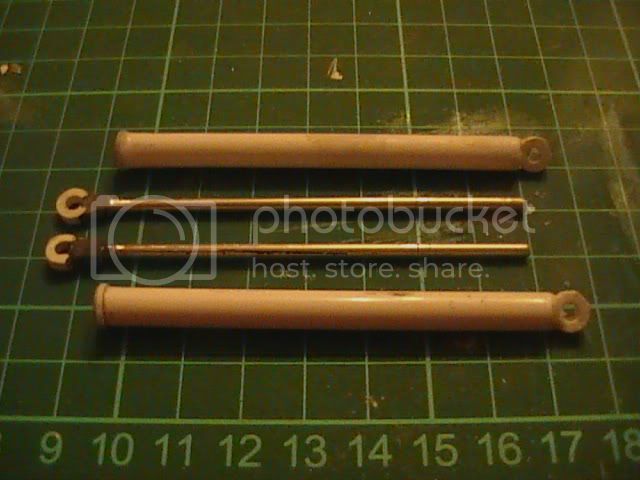
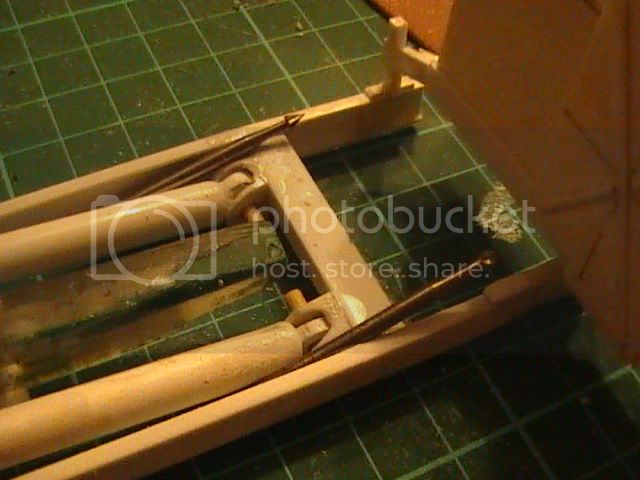
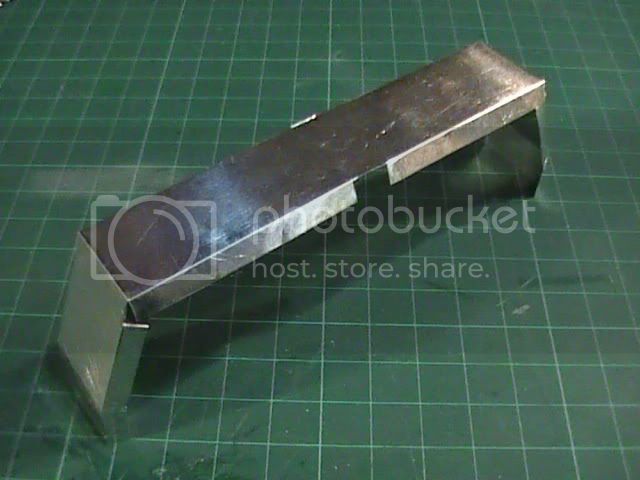
The finished articles


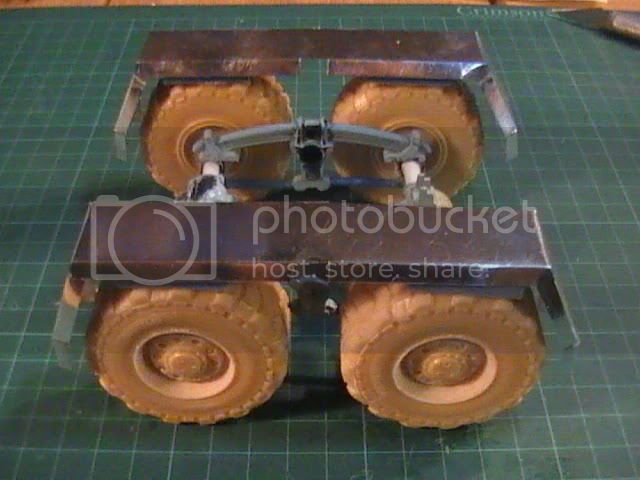
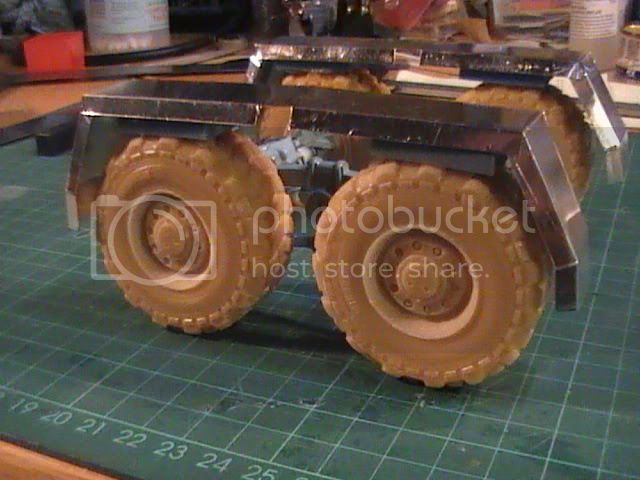
The second steer non-drive axle needs a pair of guards too but these should be a doddle now I have sussed out how to bend and shape.

Thanks to you guys for your advice


Nige
okdoky
Visit this Community
Scotland, United Kingdom
Member Since: April 30, 2007
entire network: 1,597 Posts
KitMaker Network: 673 Posts
Posted: Sunday, February 17, 2008 - 06:17 AM UTC
More work done on the second steer mudguards today

Got rid of some dimples and ripples in the tin foil using a heavy plumb bob and the metal plate

First mudguard of the day

All the mudguards together


Bodywork really taking shape now


How the combination looks tonight

:-H
Nige
okdoky
Visit this Community
Scotland, United Kingdom
Member Since: April 30, 2007
entire network: 1,597 Posts
KitMaker Network: 673 Posts
Posted: Monday, February 18, 2008 - 09:10 AM UTC

okdoky
Visit this Community
Scotland, United Kingdom
Member Since: April 30, 2007
entire network: 1,597 Posts
KitMaker Network: 673 Posts
Posted: Thursday, February 21, 2008 - 12:32 PM UTC
High winds again here in Scotland but I was snugg in my wee huffin hoose tonight.

Tackled the King trailer's locker this time taking my dimensions from my own, hand drawn set of plans again.


Thought about using plasticard again but I decided to use more of the tin foil as I like the thinness of it.


Scribed the bend lines then cut out all the sides together as one. This did not work out well for getting all sides to fit properly though.


Luckily one end piece fractured off due to over bending trying to make the ends fit in. After a wee bit pondering, I figured I should just cut out new end squares 1mm shorter all round but with folding tabs to all four sides to glue in the square tube of the locker. An angle piece formed from the foil was added to make the junction and reinforce the long rear face to the floor.


The locker needs doors and hangers to each end which I think I will use plasticard to get a bit of rigidity where it joins the chassis rails


Locker in position for dry fit. Will fill and sand the end cap junctions with the tube to blend it all in


Hope you like

Nige
okdoky
Visit this Community
Scotland, United Kingdom
Member Since: April 30, 2007
entire network: 1,597 Posts
KitMaker Network: 673 Posts
Posted: Tuesday, February 26, 2008 - 12:21 PM UTC
My new third hand from the school chemistry lab came in handy for holding the trailer at just the right hight and angle. This was thrown in for nothing with all the other bits i bought


It is steady enough to take the weight of kit plus metal square to set locker hangers

Locker placed only to set distance and will only be fixed once everything is painted.


It is certainly a handy tool that can be set to varied heights and angles and is quite tall to handle large 1/24 models but yet is very compact to store away


Nige
CombatKrieg
Visit this Community
Singapore / 新加坡
Member Since: January 19, 2008
entire network: 517 Posts
KitMaker Network: 71 Posts
Posted: Tuesday, February 26, 2008 - 12:43 PM UTC
Ah... Finally, the latest update...
okdoky
Visit this Community
Scotland, United Kingdom
Member Since: April 30, 2007
entire network: 1,597 Posts
KitMaker Network: 673 Posts
Posted: Wednesday, February 27, 2008 - 12:31 PM UTC
Started thinking how I am going to hang the mudguards from KFS and looked out several thicknesses of sprue, stiff wire and finally chose a length of metal rod that I could bend in the vice but will not bend out too easily.


It will be very much trial and error till I get the hangers secured by their fixing plates onto the guards. Going to also set out the ride height of the chassis at this time too so that I can get the mudguards looking right.

I made up small tube sections with their fixing brackets for the hangers to sit into secured to the chassis rails

Set them out with the micrometer to get them spaced equally on each side with the rear set spaced closer than the front set


Since I haven't fixed the leaf springs or fully built the leaf hangers yet my chemistry third hand came in handy to hold up the trailer at just the right height and very steady too

Hangers dry fitted rear


And front


Next will be to set the ride height and finish the axle hangers and secure the axles.


Nige
okdoky
Visit this Community
Scotland, United Kingdom
Member Since: April 30, 2007
entire network: 1,597 Posts
KitMaker Network: 673 Posts
Posted: Saturday, March 01, 2008 - 10:03 AM UTC
Apart from having a dose of pharoe's revenge, managed to get some work done on the trailer today.

Added the plates to the mudguard hangers using more of the tin foil

Pliers used to crease the foil round the rod

Then flattened and shaped


Made the remainder of the axle hangers for the trailer


An anti-roll bar was connected through the hangers


Finished rear axle hangers (restraint cables still to be added)


Front, dolly axle


The front axle has some form of adjuster mechanism (tracking possibly)


Hope you like
;D
Nige
okdoky
Visit this Community
Scotland, United Kingdom
Member Since: April 30, 2007
entire network: 1,597 Posts
KitMaker Network: 673 Posts
Posted: Thursday, March 06, 2008 - 11:20 AM UTC
Got around to adding the axle travel limit restraint cables and fitting the mudgaurd hangers to the mudguards tonight

The restraint cables were made using braded wire with cable sheathing for the fixing ends


The dolly axle turntable is getting crowded now and I still have to fit the braking system and plumbing. With hind sight I should have added the braking before I fitted the axles, but as they are solid and fit nicely I will shoe-horn it in


I missjudged the spacing of the front hangers having taken the sizes off the drawings, but this did not take account of very slight difference in KFS mudguard size from drawings size (only slight but enough). Front set were easier to adjust being straight bars


Rear set were a bugger to set up as they have the cranked bars and are also set closer. I had to fiddle about to get them to sit right and I am still left with the guards sitting outboard of the rails afraction too far yet. Either I will have to cut and bend new bars or I will have to ease the existing ones in closer somehow


>:( Nige
KoSprueOne
Visit this Community
Myanmar
Member Since: March 05, 2004
entire network: 4,011 Posts
KitMaker Network: 879 Posts
Posted: Thursday, March 06, 2008 - 12:42 PM UTC
Great ideas and problem solving. Very inspiring.


okdoky
Visit this Community
Scotland, United Kingdom
Member Since: April 30, 2007
entire network: 1,597 Posts
KitMaker Network: 673 Posts
Posted: Saturday, March 08, 2008 - 01:13 AM UTC
Cheers Ko

Henk
Visit this Community
England - South West, United Kingdom
Member Since: August 07, 2004
entire network: 6,391 Posts
KitMaker Network: 1,600 Posts
Posted: Saturday, March 08, 2008 - 04:43 AM UTC
I'm watching this come together in awe... your scratch building is superb, and yet you make it look so simple that it is tempting me to get out some foil and 'knock one up' myself...

beautiful work Nige.

Henk
slodder
Visit this Community
North Carolina, United States
Member Since: February 22, 2002
entire network: 11,718 Posts
KitMaker Network: 2,584 Posts
Posted: Sunday, March 09, 2008 - 03:00 AM UTC
Great thread, the small tool is really handy for sure. I've seen some similar ones here in the states. Now I have a reason to get one.
CombatKrieg
Visit this Community
Singapore / 新加坡
Member Since: January 19, 2008
entire network: 517 Posts
KitMaker Network: 71 Posts
Posted: Monday, March 10, 2008 - 01:05 AM UTC
Very nice Nige, you make it look sooooo simple.
okdoky
Visit this Community
Scotland, United Kingdom
Member Since: April 30, 2007
entire network: 1,597 Posts
KitMaker Network: 673 Posts
Posted: Monday, March 10, 2008 - 11:15 AM UTC
Time to add locker doors to the trailer

Hinges made from wire and tin foil


Superglue was a pain to get setting


Doors will hopefully open and close


Another bit closer to completion (trailer anyway)

Nige
okdoky
Visit this Community
Scotland, United Kingdom
Member Since: April 30, 2007
entire network: 1,597 Posts
KitMaker Network: 673 Posts
Posted: Tuesday, March 11, 2008 - 12:55 PM UTC
Something about the fit of the mudguards was bugging me and I have just got round to figuring out what is the problem.

On the DAF DROPS the length of the front mudguards and steps reach from the door hinge to the rear of the cab. The KFS mudguards are too short and require to be extended.


I spent tonight chopping up the mudguards and transplanting extension pieces and reinforcement under the mudguards


I also took the opportunity to alter the side indicator lamps that are actually set inside a hole rather than sitting fully proud of the sides


Extension pieces were matched side by side to ensure they match


Thick plastic sheet was chosen and bent over a lighter and metal angle to match curve of mudguards. They are slightly thicker so that I can sand down and blend in with resin pieces


The infill pieces still require to be blended in with one join line easily masked when I add a short checker plate step at the door.
Other join line will need filled and sanded smooth


Dry fit


Nige
okdoky
Visit this Community
Scotland, United Kingdom
Member Since: April 30, 2007
entire network: 1,597 Posts
KitMaker Network: 673 Posts
Posted: Saturday, May 03, 2008 - 04:47 PM UTC
Don't you just hate when life and mental blocks get in the way!!!!!!!!!!!


This is where I have got up to with the DROPS for the time being ,,,,,,,,,, still very much a work in progress! Took it to Perth show with a couple of my built ones just to prove that I do actually finish some. Some great guys at the show willing to part with words of wisdom, hints and tips.

Also loads of fine builds to show how it really should be done

Thanks for the ideas and encouragement guys! I promise I will try to move up a gear. No catching up with you lot though!

Nige
okdoky
Visit this Community
Scotland, United Kingdom
Member Since: April 30, 2007
entire network: 1,597 Posts
KitMaker Network: 673 Posts
Posted: Saturday, July 31, 2010 - 09:23 PM UTC
Hi folks ,,,,,,,,,,,,,,,,,,, am up at the caravan and have taken the DAF up with me. I was going to take the Leyland D/decker too but when Kaz saw me fill the boot of the car she gave me two choices. Take the bus and leave me or leave the bus and take me !!!!!!!!

Probably wise I have the DAF only so I will give it more attention it deserves.

Looking over the new photos I decided to revamp the load handling secondary control housing and hydraulic fluid resovior as I could pick faults in my first attempt.


I am much happier with this version as the hinged cover for the control box has more accurate shape and dimensions. Same with the fluid resovior.

More work to follow over the next two weeks.

Nige
okdoky
Visit this Community
Scotland, United Kingdom
Member Since: April 30, 2007
entire network: 1,597 Posts
KitMaker Network: 673 Posts
Posted: Sunday, August 01, 2010 - 03:37 PM UTC
A little more work while the wife and kids are sleeping.

Added some of the visible pipework around the fluid resovior breather filter


with the LHS hook arm and main frame to check fit


Then made a replacement roof hatch which I hope will have the hinge working

first the basic hatch of two layers plasticard


added the exterior fixings


hinge pin and brackets fitted


trying to remember the look of the closer that grips the hatch shut that would be visible when the hatch is open as in the last pic.

I am enjoying getting work done to this beasty again as it has been long over due.

Hope you like

Nige
AussieReg
Staff MemberAssociate Editor
AUTOMODELER
#007
Visit this Community
Victoria, Australia
Member Since: June 09, 2009
entire network: 8,156 Posts
KitMaker Network: 593 Posts
Posted: Sunday, August 01, 2010 - 03:59 PM UTC
Hi Nige,

Talk about a while between drinks !! I love this build, first time I've read throught he thread and there's some really great building going on there.

Cheers, D
okdoky
Visit this Community
Scotland, United Kingdom
Member Since: April 30, 2007
entire network: 1,597 Posts
KitMaker Network: 673 Posts
Posted: Sunday, August 01, 2010 - 11:06 PM UTC

Quoted Text

Hi Nige,

Talk about a while between drinks !! I love this build, first time I've read throught he thread and there's some really great building going on there.

Cheers, D


Hi Damian

It has been a good while between installments, but I got a heep of photos taken at the military day in Stirling with my coloured measuring sticks on areas that I had missed and on top of the cab. Hopefully this will keep me going for a long time as there loads I can build now.

I am also getting quality time with the family here at the caravan. Even going to buy the two girls their first models to see if the like model building too.

Hope you can enjoy a few drinks watching in on the build here.


Nige

okdoky
Visit this Community
Scotland, United Kingdom
Member Since: April 30, 2007
entire network: 1,597 Posts
KitMaker Network: 673 Posts
Posted: Tuesday, August 03, 2010 - 11:59 AM UTC
Made a start on the hydraulic arms for the LHS. These proved to be more fiddly than their content as nothing seemed to stick to the plastic tubing and I have still to figure out the pivot ends for the cylinders and the rams. The tube has a nice thick structure with small diameter hole that takes aluminium tube insert. It just needed a couple of thin plasticard shims in the tube to centralise and give a friction fit.

I have put these on the frame for test fit again while I figure out the end details.


The brackets for locating the rams on the main frame required a good strong fit and filler of JB Weld two part resin from a tube.


The pivot point for the rams of the hook arm consist of a wooden toothpick.


The rams are located just for test fit


Some bits still look a bit rough and ready as they need a bit of sanding and filling here and there. More to follow when I can figure out what bits I have and how I can use them.

Nige
okdoky
Visit this Community
Scotland, United Kingdom
Member Since: April 30, 2007
entire network: 1,597 Posts
KitMaker Network: 673 Posts
Posted: Thursday, August 05, 2010 - 03:06 PM UTC
I am enjoying getting the amount of free time to myself to do some serious effort on this long outstanding project. My lovely wife is allowing me to occupy the caravan dining table either on my own or with the girls doing their 1/76 Airfix builds. Real family quality time together.

Got a chance to cut and fit out the rams for the hydraulics on the LHS. I am hoping that the two part epoxy resin that joins the plastic pivot points to the aluminium rams will be able to take the repeated posing. I don't have much confidence in the super glue as appart from sticking my fingers together the plastic has already parted from plastic.


some more dry fit


Lots of filing of the resin main frame brackets to allow the degree of articulation I need.

Nige
okdoky
Visit this Community
Scotland, United Kingdom
Member Since: April 30, 2007
entire network: 1,597 Posts
KitMaker Network: 673 Posts
Posted: Saturday, August 07, 2010 - 12:02 PM UTC
Hi Jim

Thanks for the compliments but I am finding it hard to get the rams and pivot points to hold as secure as I would like just now. One of the pivot points has already popped off when test fitting. Am hoping the superglue has fixed the problem for now. Still got the hydraulic fluid pipes and valve fittings to set out but at least the extent of articulation about right.


The spacing on the hook arm rams which run immediately alongside the hook arm need a bit of adjusting to sit parallel with each other and allow the main frame rams to also sit parallel but adjacent to the LHS sub frame


I am now working on better fixings for the main frame pivot points and ram anchor points on the LHS subframe. Given the failure of one ram pivot point already I need to make these points as strong as possible if I am going to get any posing of the Flat racks


Slow progress but if the rams work in the end it will be worth it. I would love to know how everybody else gets their rams to fit and work so well and glue easily.

Nige
okdoky
Visit this Community
Scotland, United Kingdom
Member Since: April 30, 2007
entire network: 1,597 Posts
KitMaker Network: 673 Posts
Posted: Monday, August 09, 2010 - 03:55 AM UTC
Brackets for the sub frame made from rectangular hollow section tube shaped and sanded with the emphasis on keeping strength so not necessarily accurate to type.


Because the subframe cross member was scaled and shaped to look like the original I have had to cut into it slightly to make the brackets fit in. This is because they are a little over scale dimension wise but better strong than scale in this case.

Main frame pivots


Hydraulic arm pivots


Well it all fits in now

Nige
 _GOTOTOP