Scratchbuilders!
Built a model or part from your own materials lately?
Hosted by Mike Kirchoff
1/24 Leyland DAF DROPS Update
okdoky
Visit this Community
Scotland, United Kingdom
Member Since: April 30, 2007
entire network: 1,597 Posts
KitMaker Network: 673 Posts
Posted: Monday, February 06, 2012 - 01:49 AM UTC
Managed to cut out the front panel without any cuts, tears or cursing. Mainly down to taking my time and the fact that the lines of the KFS cab are very distinct and easy to follow without slippage.

May consider trying to make a thinner panel to match the cut out, either that or sanding down the cut off till I get a more appropriate thickness. Also got to consider how to hang the panel to allow it to be opened before cab tilting.


Also cut off the hinge brackets to start the process of re-sizing them. It should be a simple case of making them taller, and since they came off easily, I have them to judge the height much more easily.

Nige
okdoky
Visit this Community
Scotland, United Kingdom
Member Since: April 30, 2007
entire network: 1,597 Posts
KitMaker Network: 673 Posts
Posted: Monday, February 06, 2012 - 12:33 PM UTC
So much for it being an easy job to resize using the bits I already had !!!!!!!!!!!!!! Eh ,,,,,,,,,,,,, No !!!!!!!!!

After looking at the photos, I realised the real front supports are cranked forward to allow part of the front grill to turn under when tilting the cab. I thought this would be hard to get the strength to support the heavy cab, but it turned out to be just the fiddly bit of getting the bits in the right place to both look the part and make enough contact with the chassis rails to give it strength.


Will tidy it up a bit more tomorrow, but I am glad I changed it as it now looks far better.

Nige
okdoky
Visit this Community
Scotland, United Kingdom
Member Since: April 30, 2007
entire network: 1,597 Posts
KitMaker Network: 673 Posts
Posted: Saturday, February 11, 2012 - 03:35 PM UTC
Making real in-roads to constructing the mudguard mounts and having to make minor adjustments here and there to accommodate them. Decided to reinforce the aluminum by dripping superglue into the fold lines to reduce risk of premature fractures from all the minor adjustments I have doing to the angles. Also added a thin sheet of plasticard, superglued to the undersides. This will also assist in giving a good surface to glue the air cleaner


Made up the additional mud guards between the two steering axles


And added the first of these to the chassis. The mounting brackets are formed using a plastic coated thick wire that has a good strength but is easily bent with pliers.


Still got some detailing to add in the form of reinforcement to the mounting brackets on the real thin but is surprisingly strong as is


Nige
casper
Visit this Community
Nelson, New Zealand
Member Since: August 01, 2005
entire network: 395 Posts
KitMaker Network: 152 Posts
Posted: Saturday, February 11, 2012 - 05:44 PM UTC
Nige,
Good to see ya still plodding along with this build .
Must be time to start throwing some primer at it .
okdoky
Visit this Community
Scotland, United Kingdom
Member Since: April 30, 2007
entire network: 1,597 Posts
KitMaker Network: 673 Posts
Posted: Tuesday, February 14, 2012 - 12:02 PM UTC
These lucky Dutch bar-stewards have bought one from the auctions of UK Army vehicles !!!!!!!!!!!!

I want one too !!!!!!!!!!!

DROPS in civvy hands in Holland

Not many hills to go off roading in Holland though and the height restrictions on Dutch roads are very tight and strictly monitored by bridge monitoring equipment !!!!!

Nige
KoSprueOne
Visit this Community
Myanmar
Member Since: March 05, 2004
entire network: 4,011 Posts
KitMaker Network: 879 Posts
Posted: Saturday, February 18, 2012 - 02:19 PM UTC
True SB progress on this one or true madness


okdoky
Visit this Community
Scotland, United Kingdom
Member Since: April 30, 2007
entire network: 1,597 Posts
KitMaker Network: 673 Posts
Posted: Sunday, February 19, 2012 - 04:10 PM UTC

Quoted Text

True SB progress on this one or true madness


Hi Ko

I am getting to the madness stage as I keep looking to see the wee bits that will come back to bite my bum after I put the main coat of paint on as I keep finding bits. How the true masters do it in 1/35 or braille scale and keep track of what needs to be added first or last beats me.

Stuff that I have added starts getting in the way of stuff still to be added and especially if it is a mm out (in my case, even a good cm out).

I have the air cleaner to work out next along with bits to finish off the hydraulics tank of the LHS, then I can put on a primer coat.

Added the rear axle brake actuators and pipework


The four rear tires fouled the mudguards, being slightly out in track width so had to re-aline the rear two axles by cutting through the axles at the brake actuators and sanding them shorter. Then glued the parts all back together

Also wasn't happy with the strip of grip on the side walls of the tires that gave them too sharp an edge. Was awkward sanding off this detail without making the other side wall lining and mitchelin legend too soft


Then added the slave power line and main battery power switch on the second mudguard


okdoky
Visit this Community
Scotland, United Kingdom
Member Since: April 30, 2007
entire network: 1,597 Posts
KitMaker Network: 673 Posts
Posted: Saturday, February 25, 2012 - 06:00 AM UTC
Added the cab tilt lock/unlock bar to the back of the cab


Unlike all the Italeri and Revell kits that have left hand drive cabs that need you to either chop the kit parts or buy aftermarket dash boards for British trucks, I have the KFS kit with right hand drive, geared up for the British market already !!!!!!!!!!!!

Only problem is that the DAF DROPS needs to be left hand drive, but not possible to chop the KFS part and don't think Howard has left hand drive copies.

The dash is easy to scratch though, especially having the original to work from. Used an 'I' beam to start off with and then built up the surfaces with varied thickness of card and sanded back.


Got a nice neat fit on the windscreen


Now need to work in all the detail under the front grill to fill in the gaps and save it looking like a toothless wonder


Nige
okdoky
Visit this Community
Scotland, United Kingdom
Member Since: April 30, 2007
entire network: 1,597 Posts
KitMaker Network: 673 Posts
Posted: Tuesday, February 28, 2012 - 09:49 AM UTC
I am having more problems building two front bumper sections than the rest of the build altogether ,,,,,,,,,,,,, christ they are only 31 mm each in length !!!!!!!! How ferkin hard can it be ????????? Three attempts and still not close !!!!!!!!!!!!

okdoky
Visit this Community
Scotland, United Kingdom
Member Since: April 30, 2007
entire network: 1,597 Posts
KitMaker Network: 673 Posts
Posted: Tuesday, February 28, 2012 - 02:49 PM UTC
One of the attempts was using the aluminum foil on plasticard which proved to awkward to get all the angles together


Fourth attempt with plasticard gets the angles this time I think and I just need to build in the lights and thin bars over them


Also tackled the sump guard with the exhaust box support


Hope to mount the bumpers and think about putting primer on the chassis as can't think of bits left to add

Nige
okdoky
Visit this Community
Scotland, United Kingdom
Member Since: April 30, 2007
entire network: 1,597 Posts
KitMaker Network: 673 Posts
Posted: Monday, March 05, 2012 - 10:18 AM UTC
Just about forgot to add the recovery eyes on the rear chassis rails


And finally into the fume cupboard for a lick of paint


First a coat of black base coat


Then a nice coat of Tamiya AS-9 Dark Green (RAF)


It is starting to look like the mean, green push and go machine !!!!!!!!!!!!!!!!!

Nige
alex50h
Visit this Community
Scotland, United Kingdom
Member Since: May 25, 2011
entire network: 6 Posts
KitMaker Network: 4 Posts
Posted: Thursday, March 08, 2012 - 10:29 AM UTC
Hi Nige, a long time since we spoke, just to let you know that the drops turned out great. alex
okdoky
Visit this Community
Scotland, United Kingdom
Member Since: April 30, 2007
entire network: 1,597 Posts
KitMaker Network: 673 Posts
Posted: Friday, March 09, 2012 - 12:07 AM UTC

Quoted Text

Hi Nige, a long time since we spoke, just to let you know that the drops turned out great. alex


Hi Alex

Any more progress on your truck and photos !!!!!!!!!! Will you be going to Perth show this year as I would love to see what you have done with your work ??????????

Been held up this week doing anything on the DROPS due to family commitments but am hoping that I can dedicate some time to it over the weekend.

I am thinking of consentrating on the cab interior and windows, as this has been overlooked so far. If I don't have the windscreen washer resovior and heater matrix area of the cab built, I can always display it with the front cover closed, but I do need to have an interior.

Hope to see soon

Nige
okdoky
Visit this Community
Scotland, United Kingdom
Member Since: April 30, 2007
entire network: 1,597 Posts
KitMaker Network: 673 Posts
Posted: Monday, March 12, 2012 - 02:02 PM UTC
Cocked up on inking the rubbers on the windscreen so had to give another coat of green. Realised I needed to add hooks to hang the anti glare screens over the windscreens


Also the rubber seal and grab handle on the roof hatch


Added some Revell filler to the roof and roughed it up for the anti slip coating to the roof


Rear step at the cab lockers was missing


Cab tilt lock can be seen but anti glare screen hooks still to be added to the rear windows


The windscreen I was dreading trying to get a fit is cut and held with blue tac for the moment. Windscreen rubbers and side window bottom rubber seals painted using a permanent marker. Worked second time round


Nige
KoSprueOne
Visit this Community
Myanmar
Member Since: March 05, 2004
entire network: 4,011 Posts
KitMaker Network: 879 Posts
Posted: Saturday, March 17, 2012 - 03:40 PM UTC
That dash board mod over to the left looks good. It looks like you also figured out the front bumper assembly. Looks fine from here


okdoky
Visit this Community
Scotland, United Kingdom
Member Since: April 30, 2007
entire network: 1,597 Posts
KitMaker Network: 673 Posts
Posted: Saturday, March 24, 2012 - 03:00 AM UTC
Thanks Ko. Still a bit of work to do on these areas yet.

A cracking day outside and I had time to put a coat of paint on the wheels !!!!!!!!!!!

Some pics with outdoor light to show off the paint !!!!!!!!!!


Hope you like

Nige
okdoky
Visit this Community
Scotland, United Kingdom
Member Since: April 30, 2007
entire network: 1,597 Posts
KitMaker Network: 673 Posts
Posted: Sunday, March 25, 2012 - 09:11 AM UTC
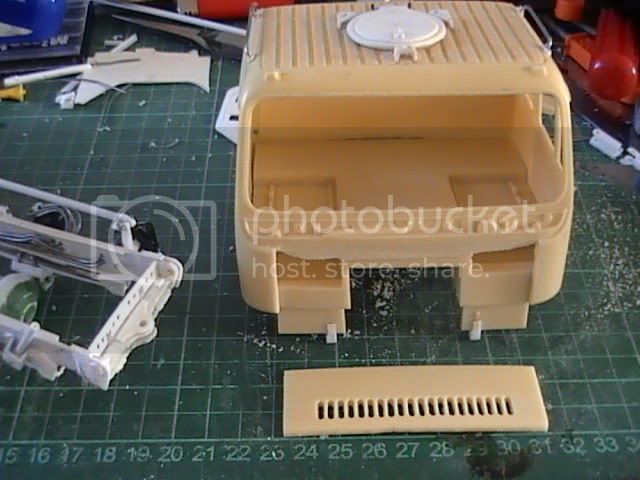
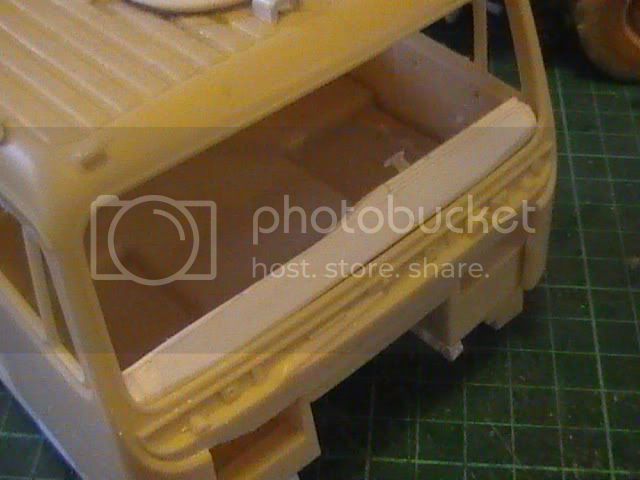
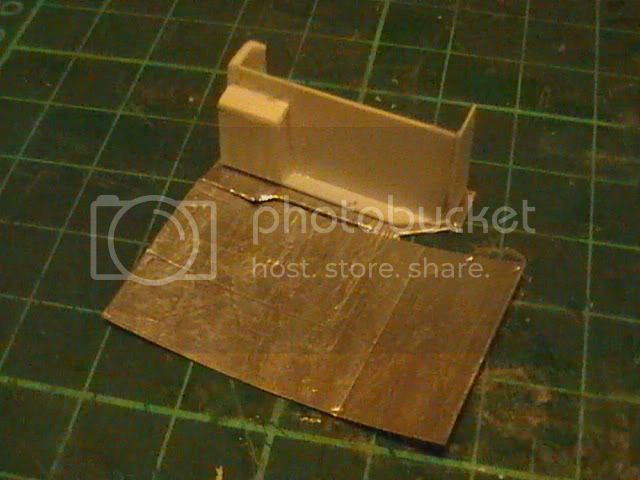
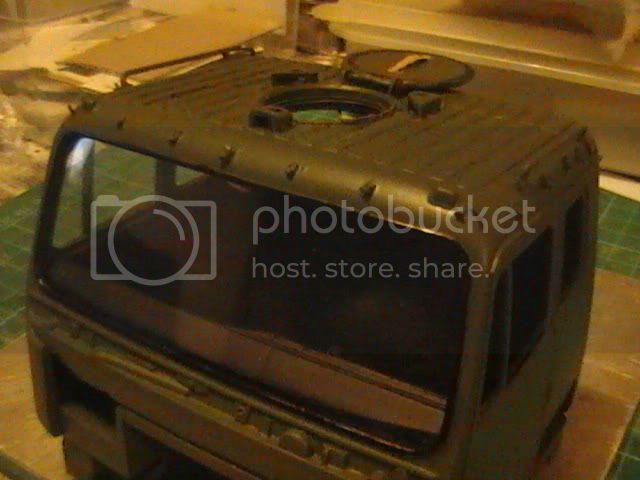
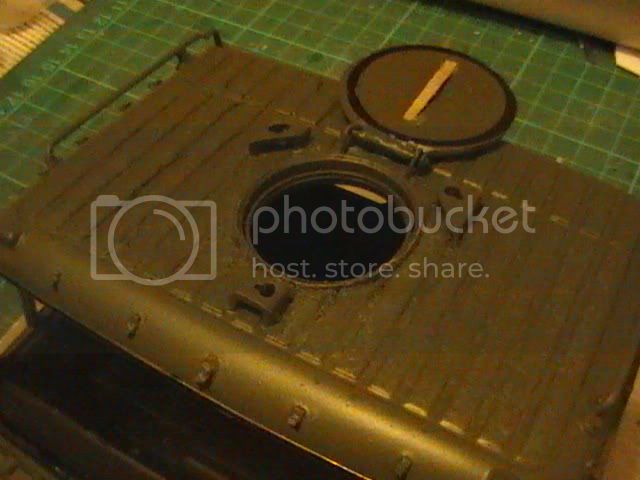
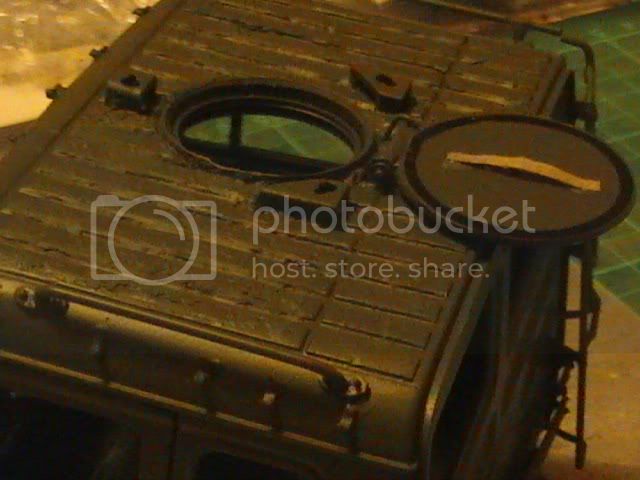
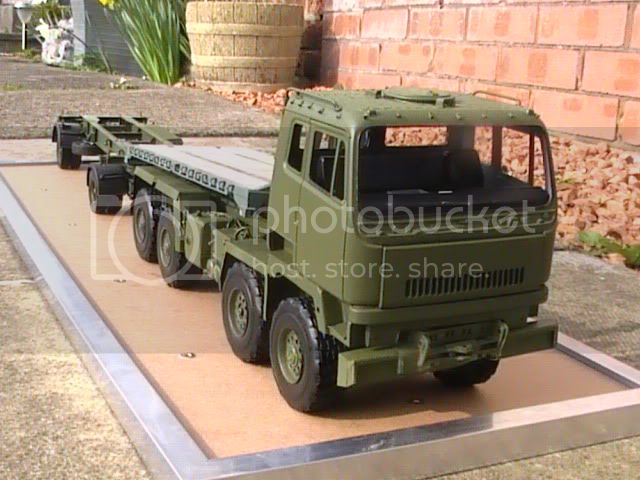
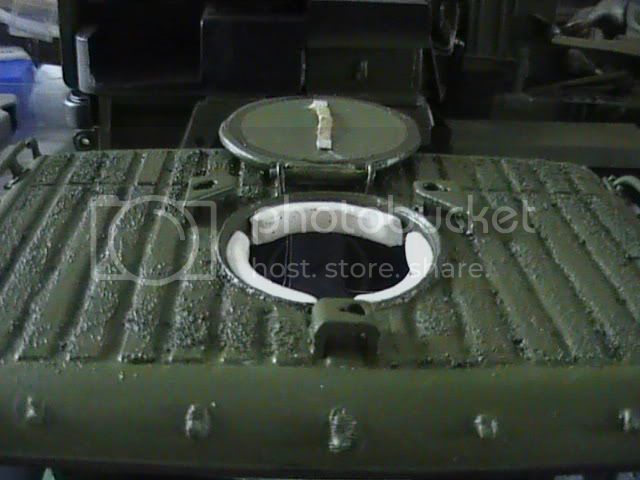
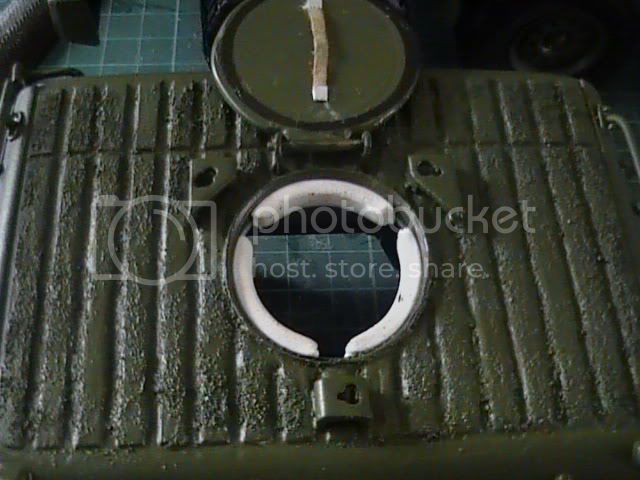
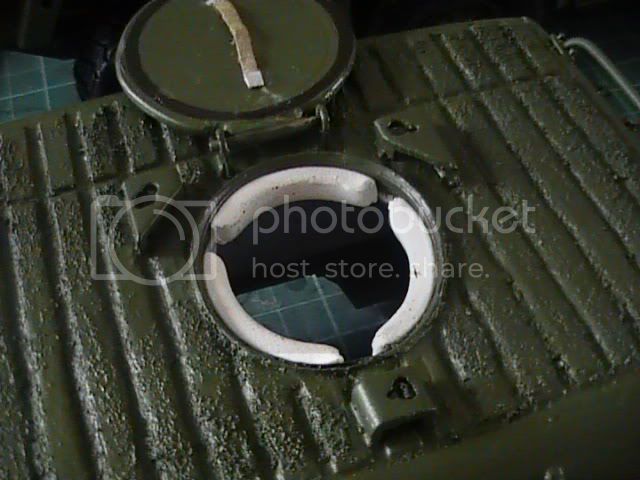
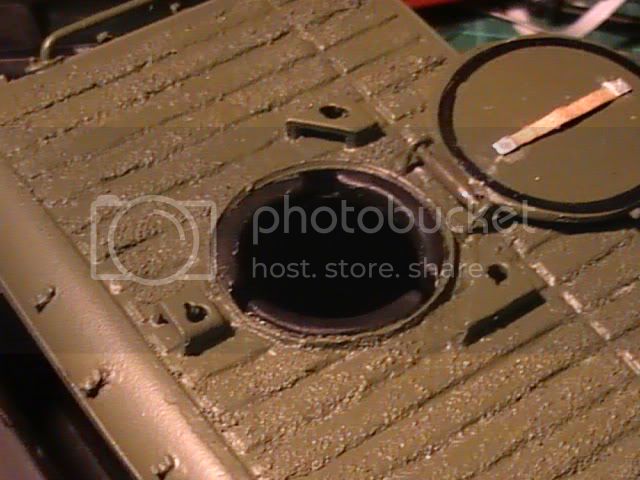
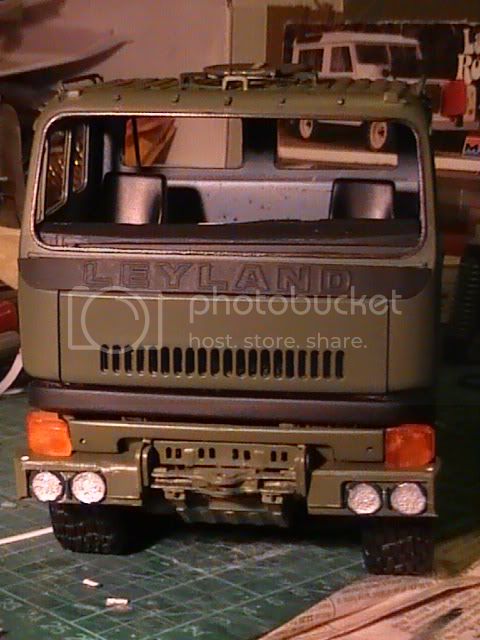
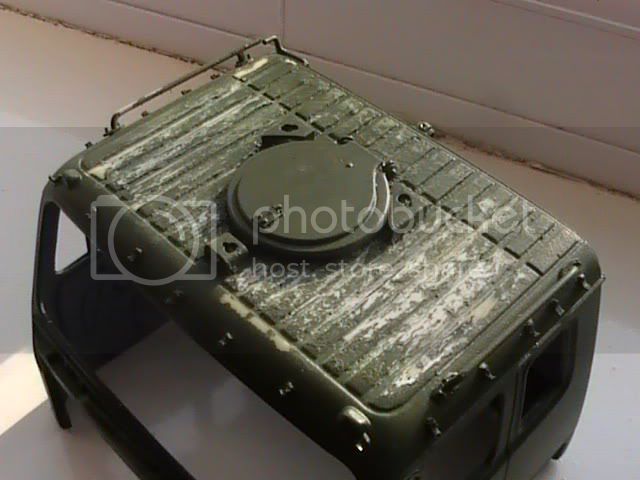
A few folk from other forums mentioned the roof straight off, so I bit the bullet and made a start at scraping the crap off ,,,,,,,,,,, ha ha ha ha ha !!!!!!!!!!!! It was a bit lumpier than I had hoped, so by popular request it is almost off !!!!!!!!!!! Took a break from it to let any thought processes get together on everybodies options put forward. That and to find some fine sand or flour !!!!!!!!


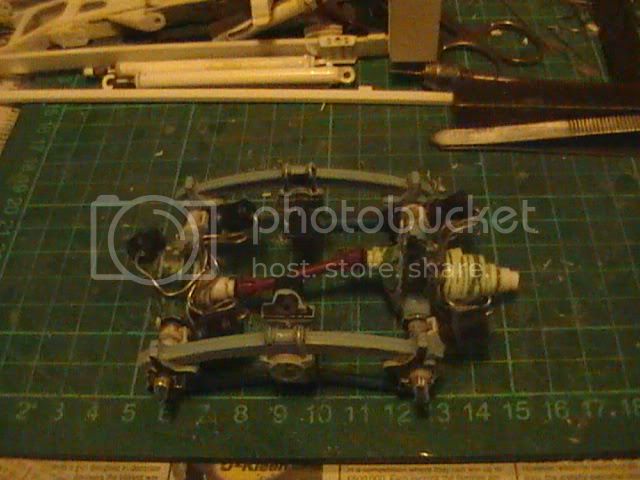
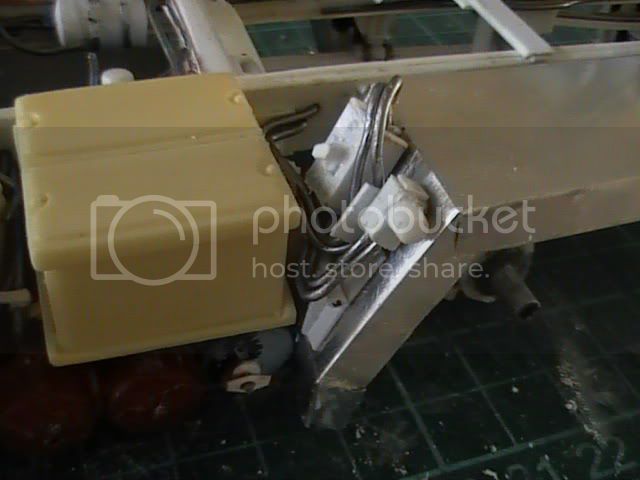
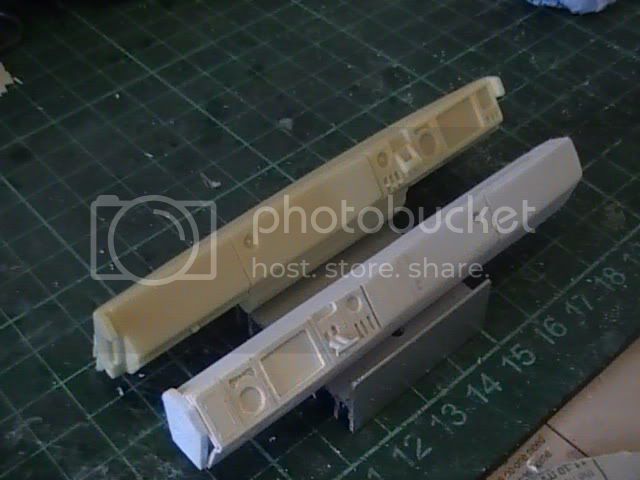
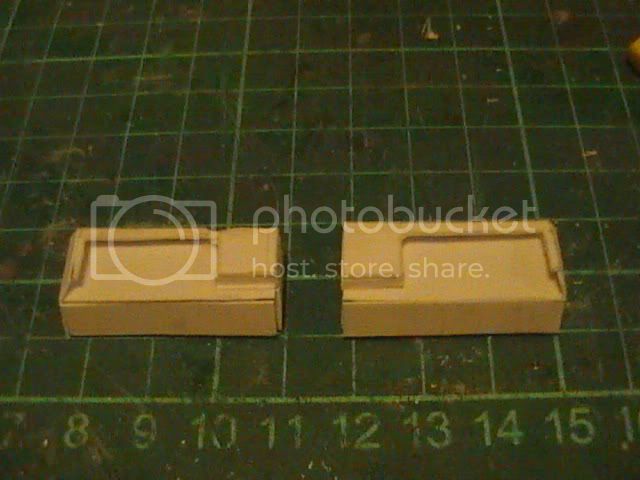
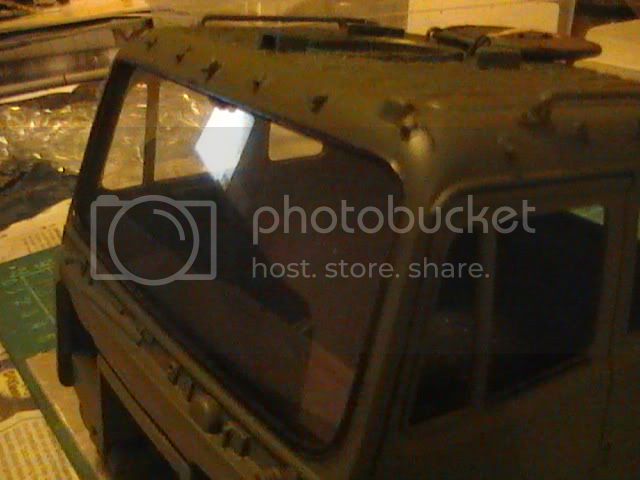
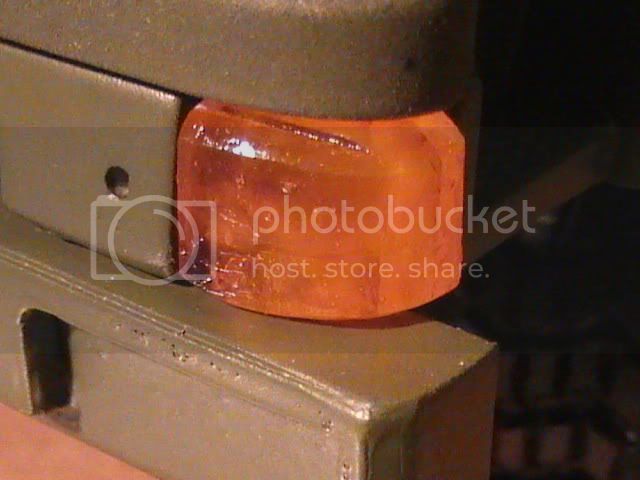
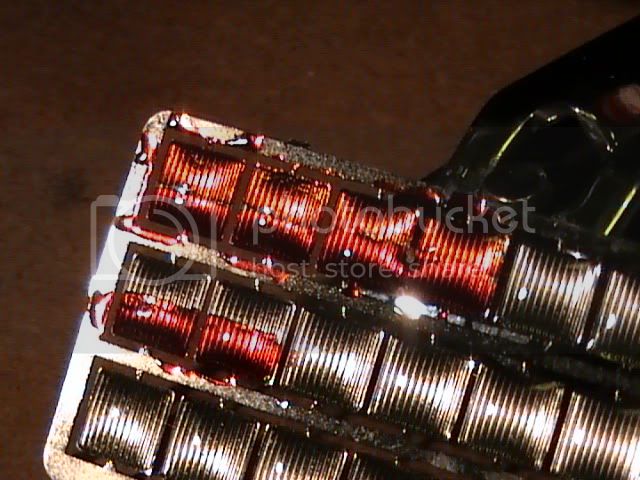
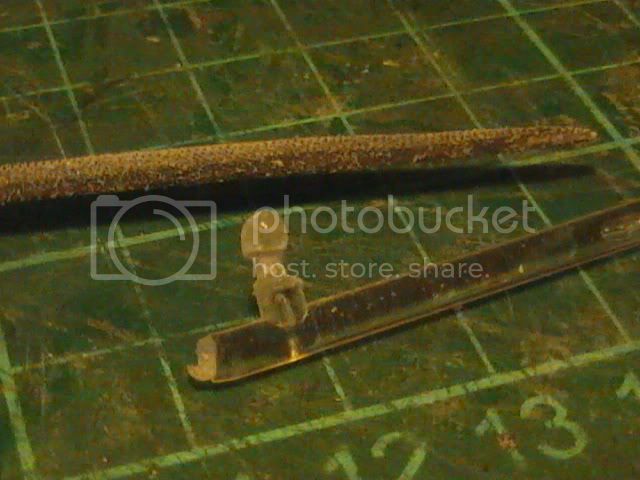
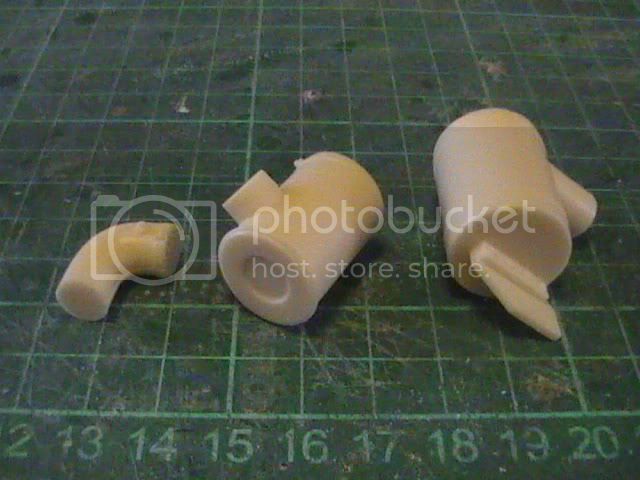
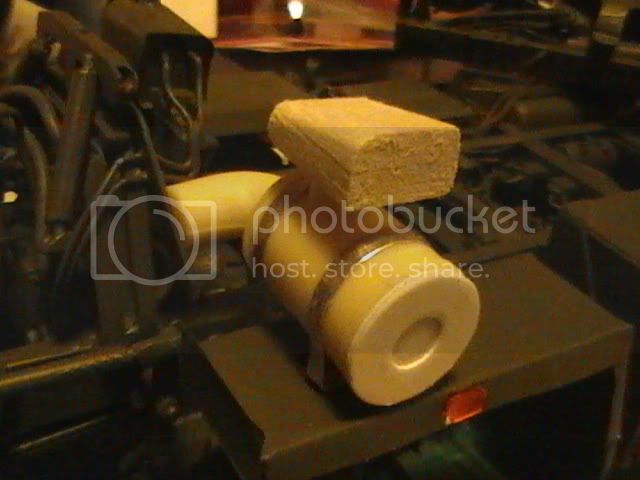
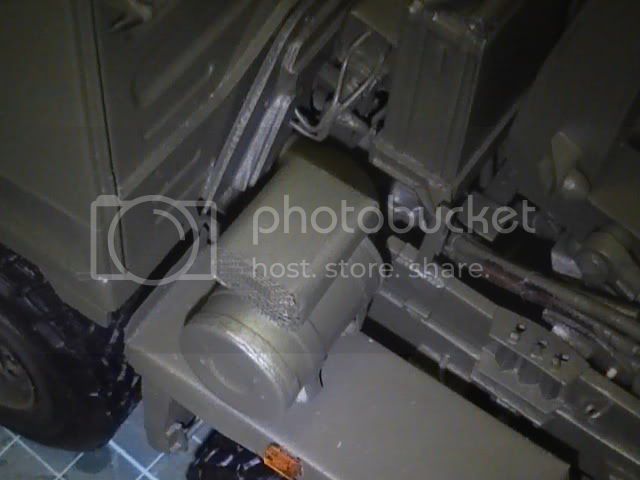
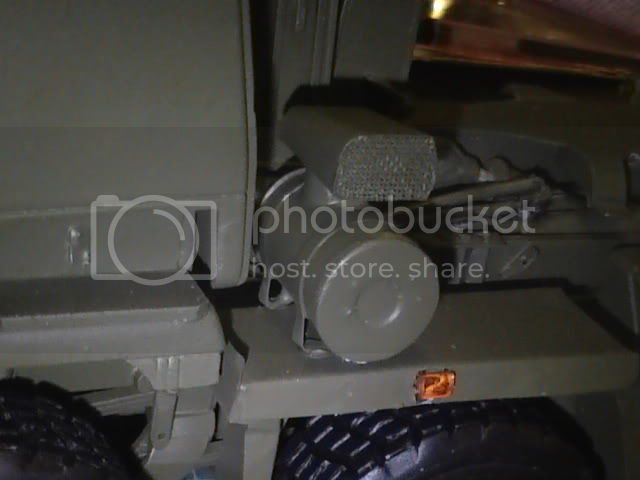
After finding out my KFS kit came without front indicators ,,,,,,,,,,,,,,,,,,,,,,,,,,,,, well not of clear plastic ,,,,,,,,,,,,,,,,,,,,,,, realised the two heavy, white metal bits were the indicators. Thought I might add some depth to them by remaking them in clear plastic. Needed thick plastic to laminate up to the thickness. Ferrero Rocher box has nice thick plastic.


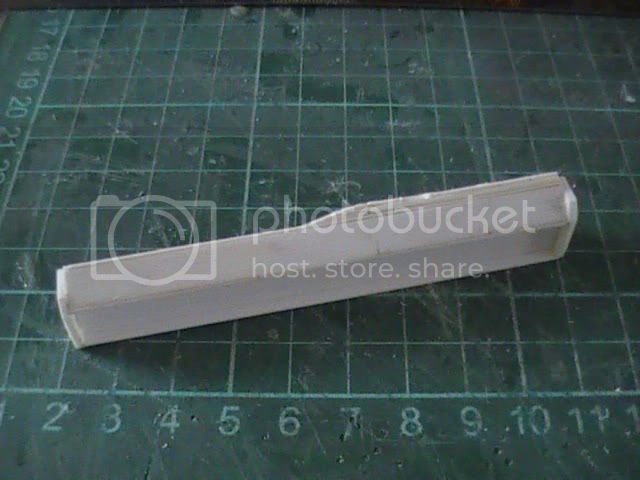
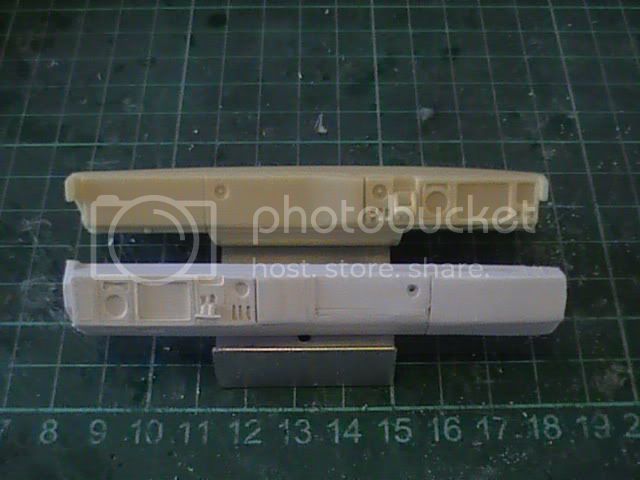
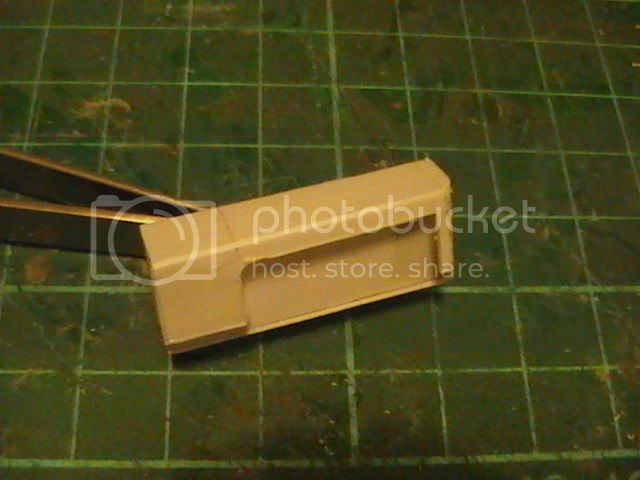
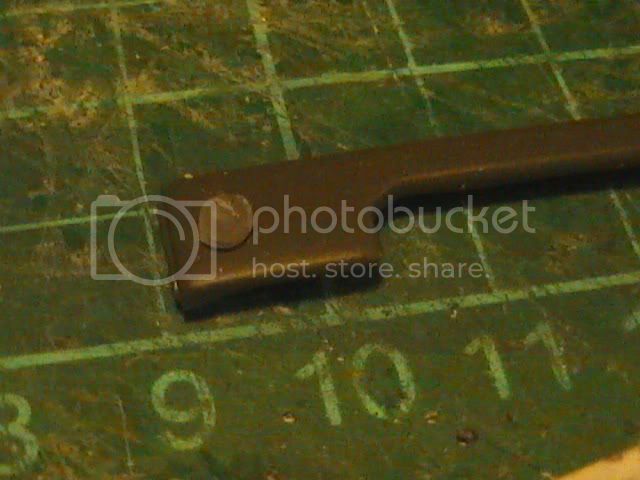
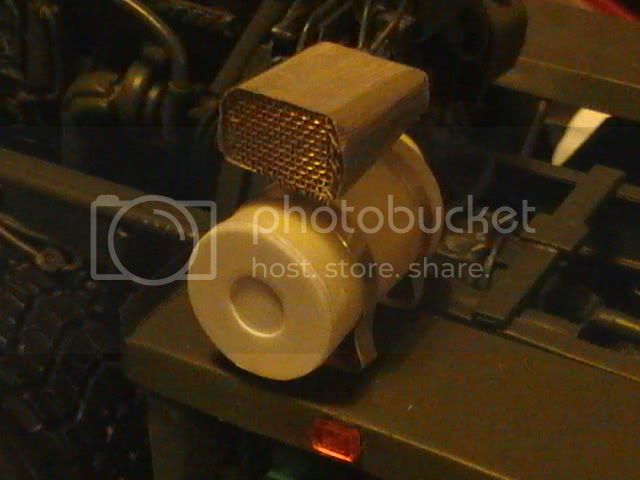
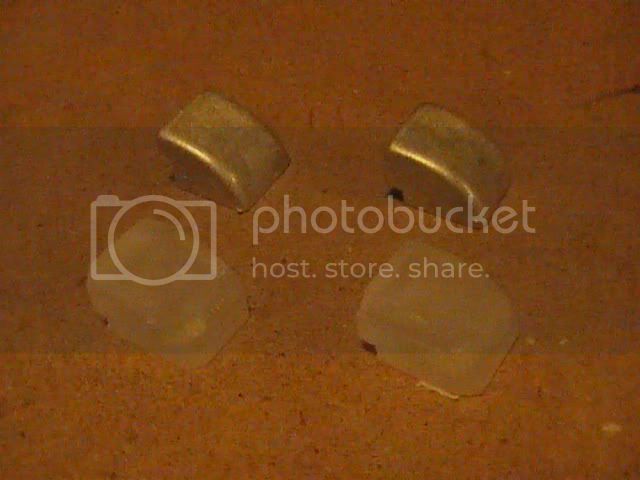
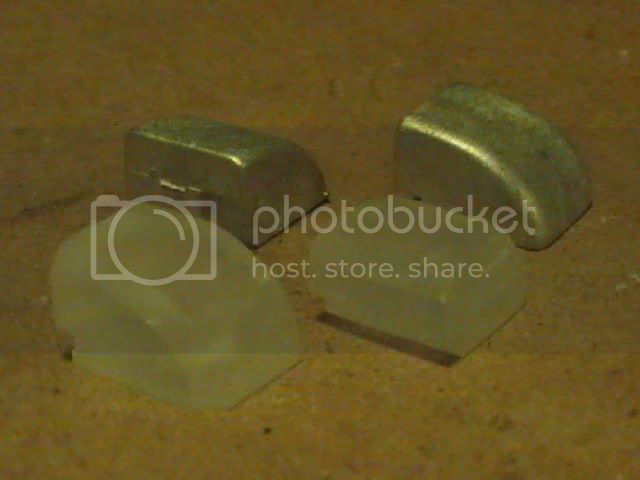
Cut the plastic to rough size and superglued the sections together (three ply) and then sanded to shape and size of KFS originals.


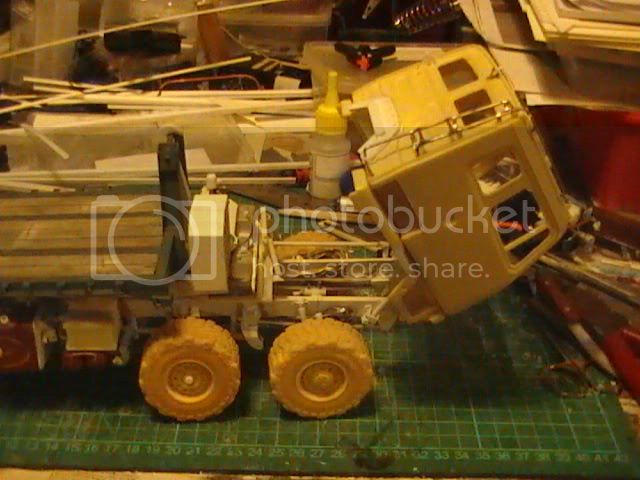
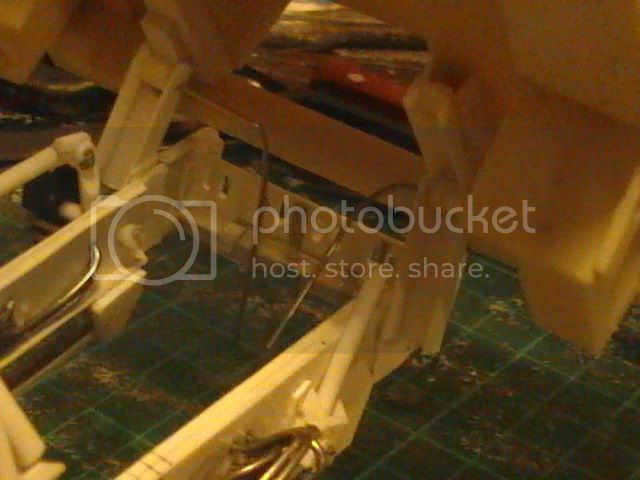
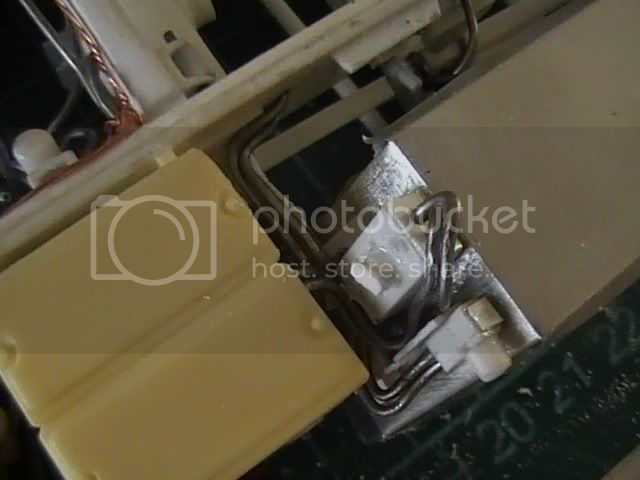
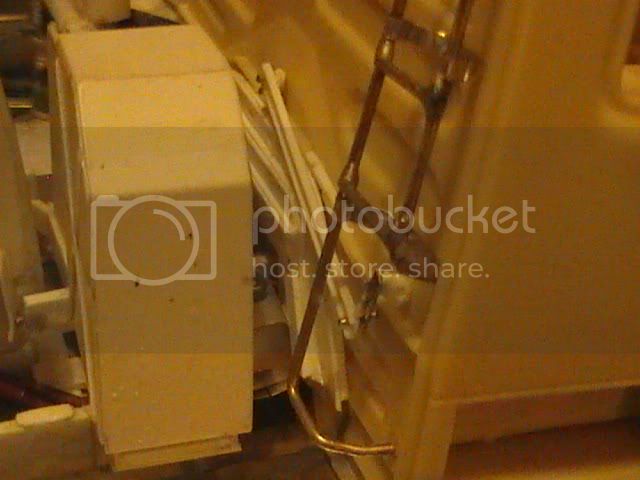
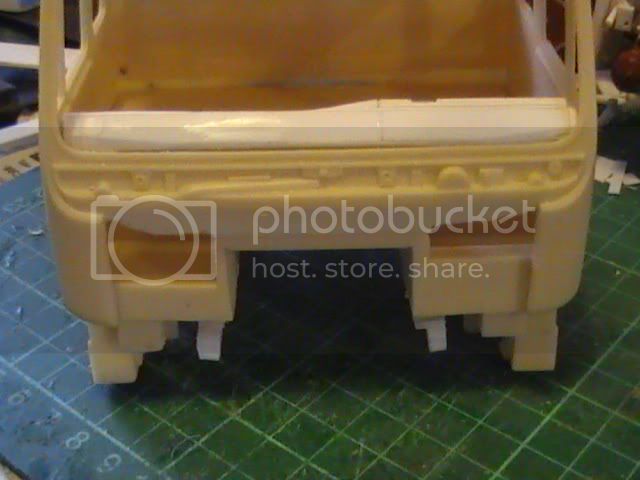
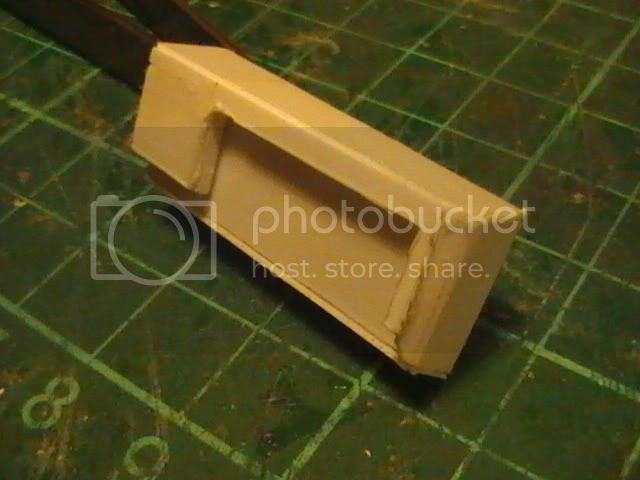
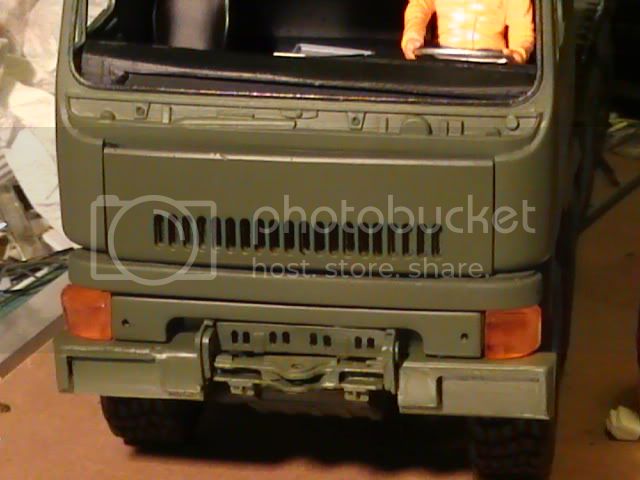
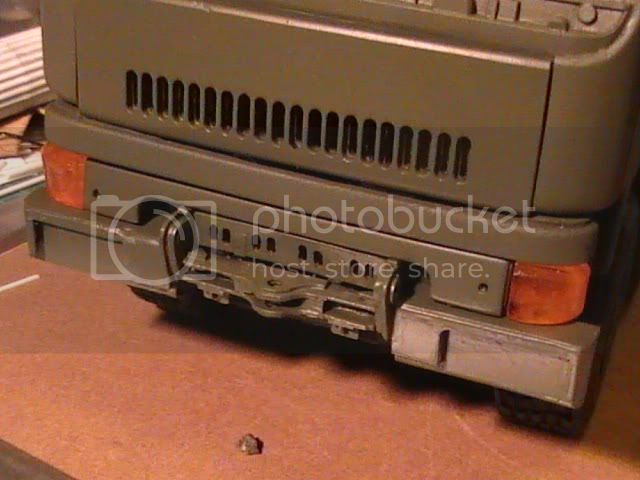
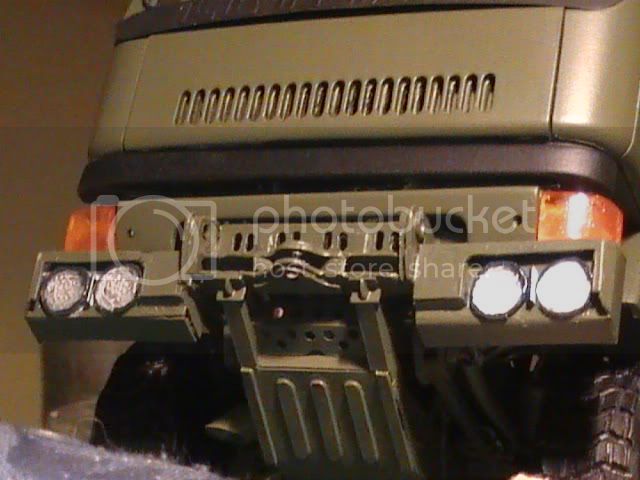
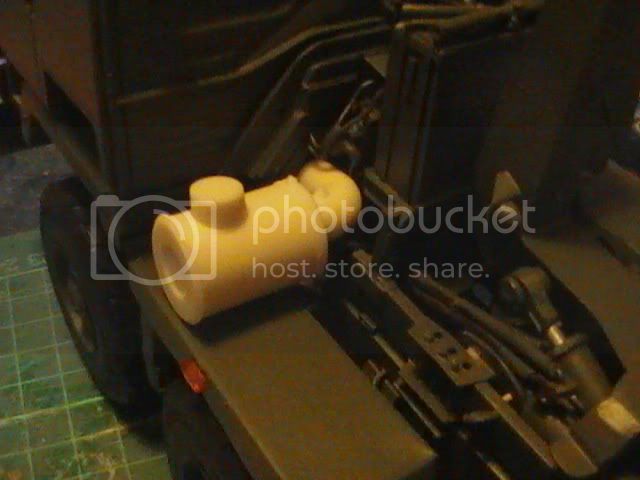
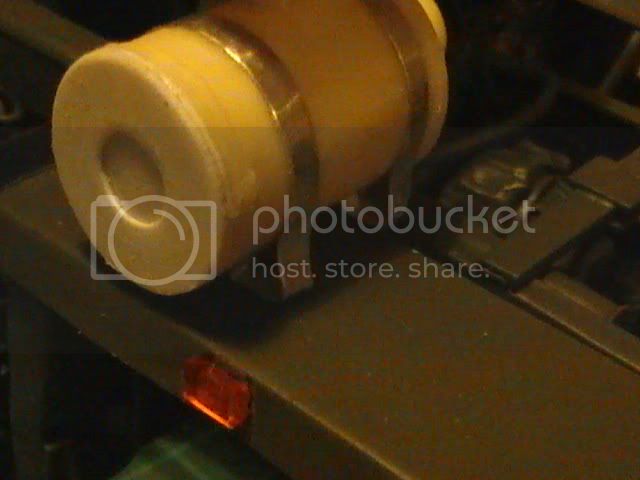
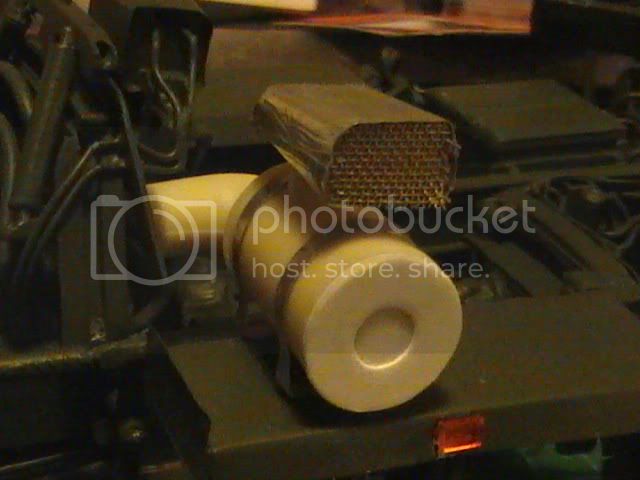
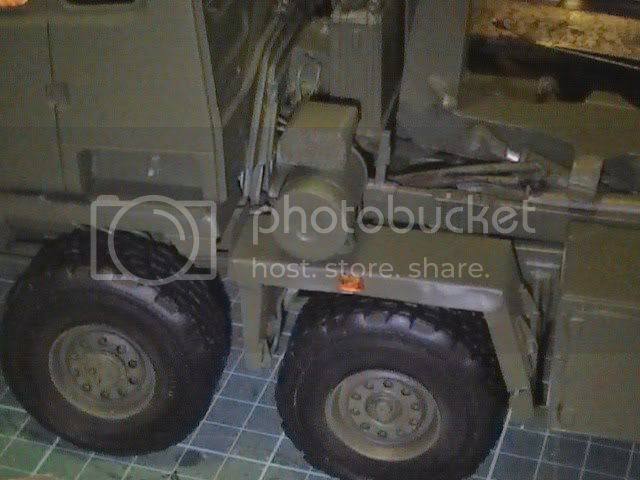
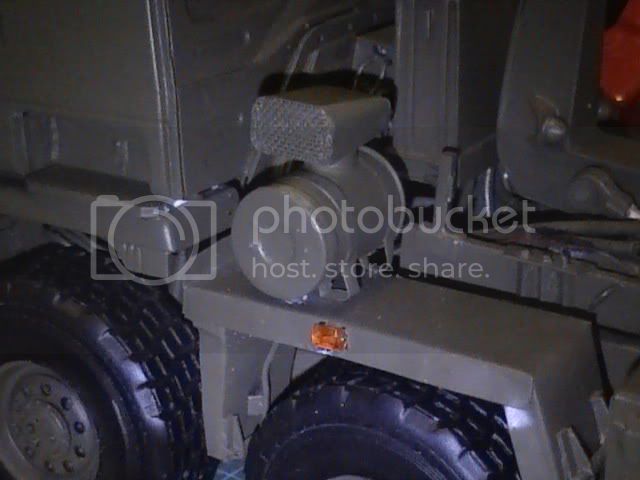
Here they are in place before I find my orange translucent paint. Will paint the KFS and mine to see how much difference they make.


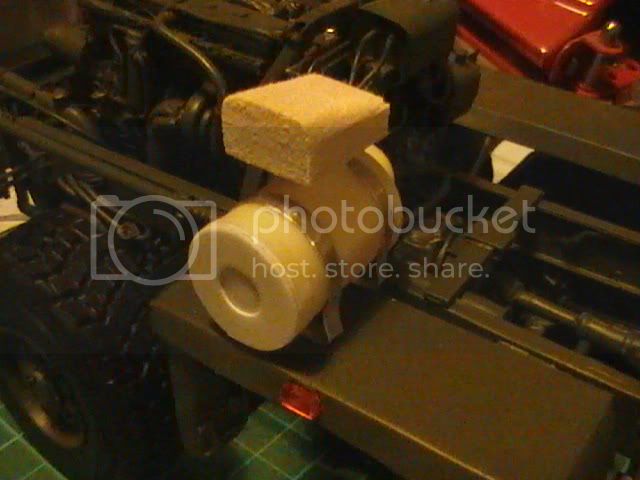
Having seen how this worked I might use the Ferrero box to try some circular headlights. Will tackle the roof during the week if I get peace.

Thanks Nick and others for pestering me to do the roof !!!!!!!!!!!!!!! You just trying to give me more work to do !!!!!!!!!!!!! Ha ha ha ha ha

Nige
okdoky
Visit this Community
Scotland, United Kingdom
Member Since: April 30, 2007
entire network: 1,597 Posts
KitMaker Network: 673 Posts
Posted: Tuesday, March 27, 2012 - 08:39 AM UTC
WHAT THE HELL IS IT WITH SOME GLUES AND SUCH PROMINENT PARTS ?????????????

Three days ,,,,,,,,,,,,,,,, four different glues ,,,,,,,,,,,,,,,,, ONLY TWO tiny BITS TO GLUE !!!!!!!!!!!!!!!!

Thick superglue ,,,,,,,,,,,,,,, thin superglue JB Weld two part epoxy ,,,,,,,,,,,,,,,,,,,, V- tech two part epoxy !!!!!!!!

And I am still struggling to get the F*****G parts to stay together !!!!!!!!!!!!!!!!!!!!!!!!

I am trying to join the hydraulic lines to the rams that are now suitably pinned in their mounts !!!!!!!!!!!!!!!! And the action of the rams is pinging valve boxes and the hoses off !!!!!!!!

Looks like the V-tech has done the job but gonna leave it overnight again !!!!!!!!!!!!!!

Anyone else had a part that just refuses to stay where it should ???????????

Nige
okdoky
Visit this Community
Scotland, United Kingdom
Member Since: April 30, 2007
entire network: 1,597 Posts
KitMaker Network: 673 Posts
Posted: Thursday, March 29, 2012 - 10:25 AM UTC
[quote author=turtle link=topic=2000.msg27227#msg27227 date=1332854164]
Nige,
For your thick indicator/brake lenses have you considered using the 1:1 stuff !.
Just go for a cruise through the local supermarket carpark on pension day - there's usually a few broken taillights from the old duffers playing dodgems :grin:.
The 1:1 stuff is actually quite easy to cut, sand & polish with the bonus that it already has the transparent colouring (orange/red/clear).
Anywho - thats Rogers handy tip for the week :cheesy:
[/quote]

Hi Roger

Went hunting the shed to find my Tamiya clear colour selection !!!!!!! What do you think I came across first !!!!!!!! A spare tail light cluster for my trailer that has been sitting in the shed gathering dust !!!!!!!!!!!!

However, I also eventually found all my clear colours so I went with my own scratch built indicators for the front.


I have to say I do prefer my own, partly cause they have a bit of depth to them ,,,,,,,,,,,,,,,,,,, and just cause I made them from scrap !!!!! Ha ha ha ha !!!!


Does add a nice bit of colour too


Took Howard's hint about adding the clear colours to the KFS clear square lenses to get a half red and half orange or half clear and half red clusters.

Just waiting for them to dry properly before mounting them
youngtiger1
Visit this Community
California, United States
Member Since: May 14, 2008
entire network: 534 Posts
KitMaker Network: 77 Posts
Posted: Sunday, April 15, 2012 - 05:57 PM UTC
Nige, I spent good part of an hour on your build and all I can say is a big WOW. Your skills are totally off the hock. I picked up a lot of tips and I thank you for sharing them.

Mike
okdoky
Visit this Community
Scotland, United Kingdom
Member Since: April 30, 2007
entire network: 1,597 Posts
KitMaker Network: 673 Posts
Posted: Monday, April 16, 2012 - 11:25 PM UTC

Quoted Text

Nige, I spent good part of an hour on your build and all I can say is a big WOW. Your skills are totally off the hock. I picked up a lot of tips and I thank you for sharing them.

Mike


Thanks Mike Glad you liked it.

I have still loads to learn myself and when you see the detail achieved in Richard's (DickyF) 1/35 Oshcosh, it really shows what can be done if you are willing to put that little bit more effort into it !!!!!!!!!!!!!!!!!!!

Hopefully more to follow soon

Thanks again

Nige
DickyF
Visit this Community
England - South East, United Kingdom
Member Since: February 01, 2010
entire network: 54 Posts
KitMaker Network: 29 Posts
Posted: Thursday, April 19, 2012 - 06:30 AM UTC
lol Nige - don't bring me into it!!!! This is tunning stuff Nigel YT is right it's taken me far longer to catch up on this than it should as I spend too long looking ateach piccie - spot on mush!!!!

BTW reference ya glue question I use Loctite 406 CA and very occasionally in conjunction with Loctite 7063 cleaner/degreaser - available in aerosol or brush-on - I've glued plastic-to-brass and ally, brass to ally, PVC, vinyl to everything and there is NOTHING this will not glue. Available from most good tool stores
okdoky
Visit this Community
Scotland, United Kingdom
Member Since: April 30, 2007
entire network: 1,597 Posts
KitMaker Network: 673 Posts
Posted: Thursday, April 19, 2012 - 08:39 AM UTC
Richard

Thanks for that ,,,,,,,,,,,,,,,,,,, !!!!!!!!!!!!!!!!!!!!!!!!!!!!!!!!!!!!!!! Glad you like the build !!!!!!!!!!!!

When I looked up the Loctite 406, the first hit was a set at £35 !!!!!!!!!!!!!

What size of bottle do you tend to buy, and how much does it tend to cost ???? Does it last long in the bottle and is the tip prone to blockage like some of the other glues I have used ?????????

Nige
okdoky
Visit this Community
Scotland, United Kingdom
Member Since: April 30, 2007
entire network: 1,597 Posts
KitMaker Network: 673 Posts
Posted: Sunday, April 22, 2012 - 10:30 AM UTC
Decided to add the cushions on the roof hatch.


Opened a fresh pack of white-tac which just looked the right thickness and only needed to measure three short strips of the same depth as the hatch itself.


And acrylic paint takes well to it


Also made the four headlights using clear plastic forks from my work's canteen for supplying the thickness of clear plastic.


I painted the back with Tamiya X11 chrome. Also built up a curvature on the fronts by adding blobs of clearfix.


I just need to add the two thin rails across the lights. Will let the clearfix set hard first


Hope you like

Nige
okdoky
Visit this Community
Scotland, United Kingdom
Member Since: April 30, 2007
entire network: 1,597 Posts
KitMaker Network: 673 Posts
Posted: Thursday, April 26, 2012 - 03:28 PM UTC
Carved a pair of side lights from clear sprue off cuts


Using the KFS air cleaner in the middle and the hose. Already carved off the hanging bracket similar to the right hand air cleaner


I started working on the air cleaner and realised I had the air inlet stack at the wrong end of the filter cylinder.


Then the wife pipes up and says "just turn it around". I said "can't ,,,,,,,,,,,,,,, I have made a bloody big whole in the other end" ,,,,,,,,,,,,,, She says "Just fill it in ,,,,,,,,, your good at filling holes " ,,,,,,,,,,,,,, oooooooooo errrrrrrrrrr Matron !!!!!!!!

Did as I was told and filled the hole, turned it around, made a fresh end to it in plasticard. Then added the support bracket feet onto the wing using thin strips of aluminum


Don't you just hate it when the wife is right and you are wrong ?????????????

Needed to form the air inlet and decided upon a block of balsa wood cut and sanded to shape. Then wrapped with a layer of aluminum superglued.


Cut a piece of fine mesh for the opening


And with a lick of paint


Getting there !!!!!!!!!!!! Still bits to do but looks like these will get fitted while at the table in Perth

Nige