

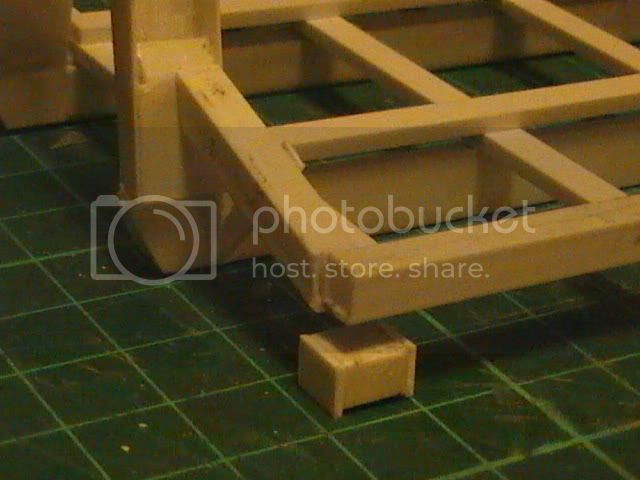
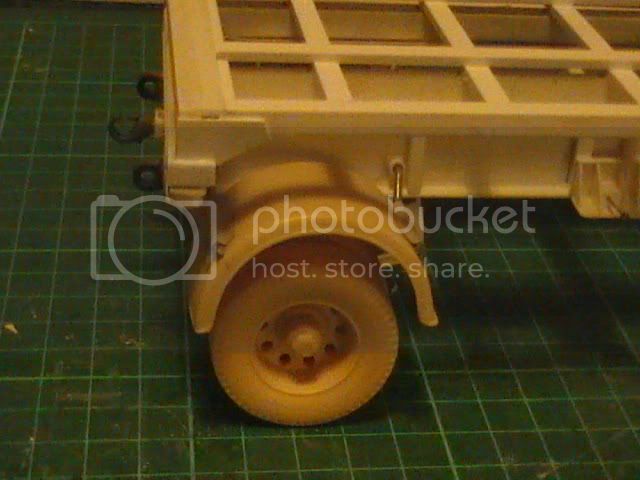
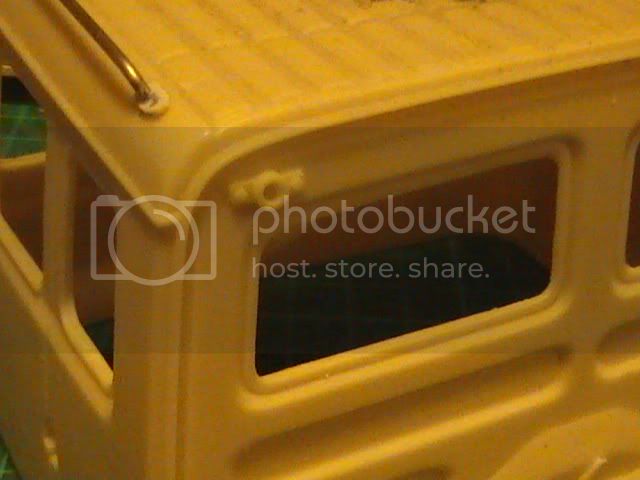
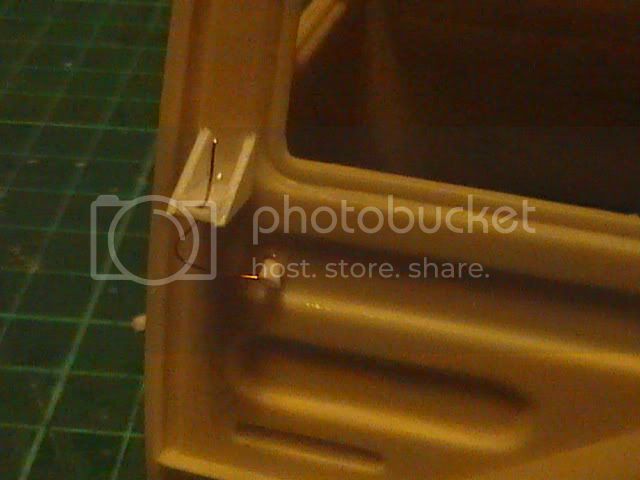
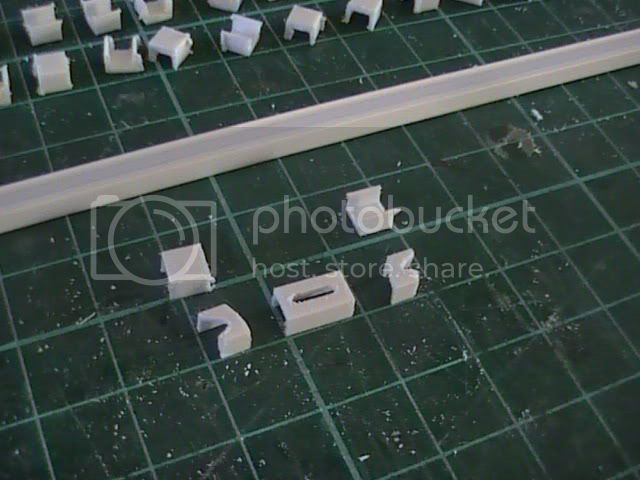
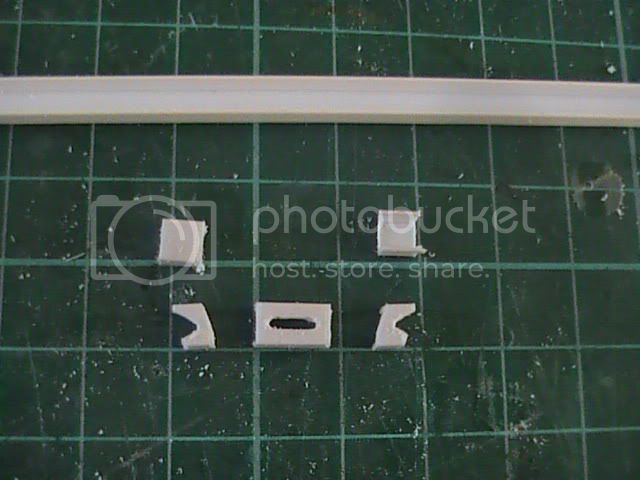
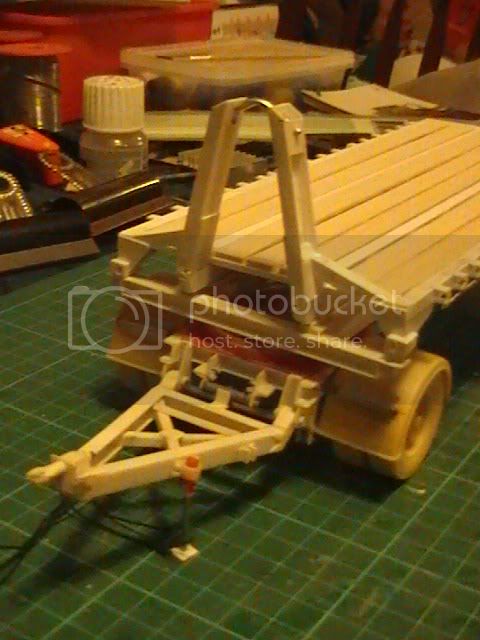
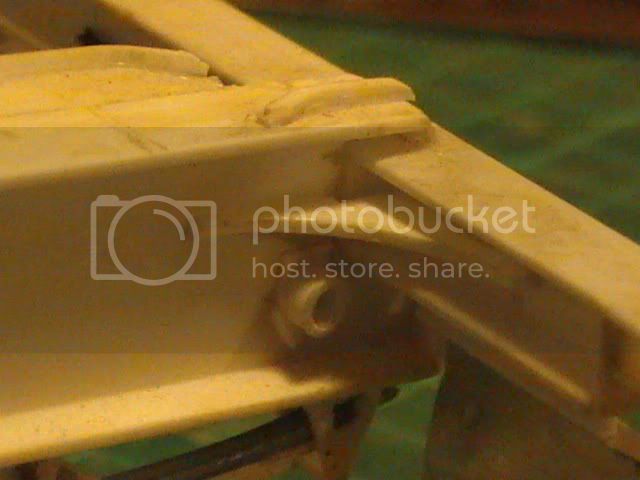
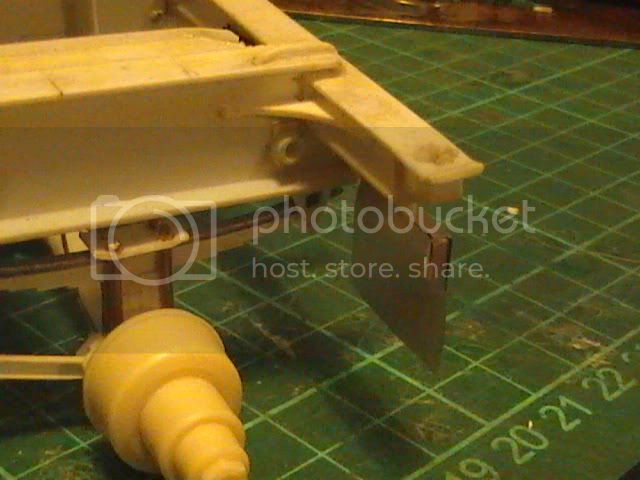
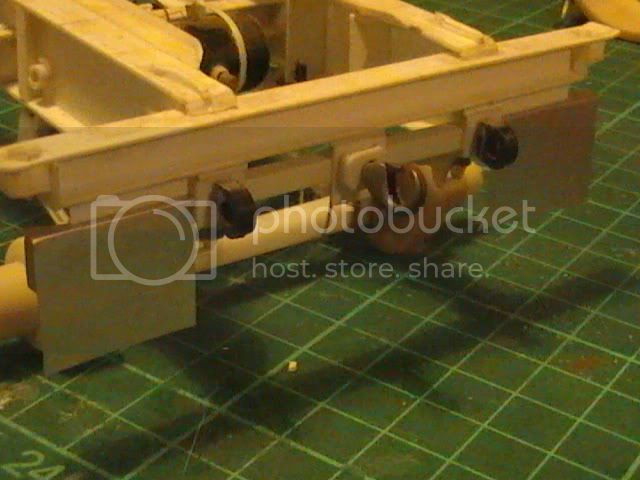
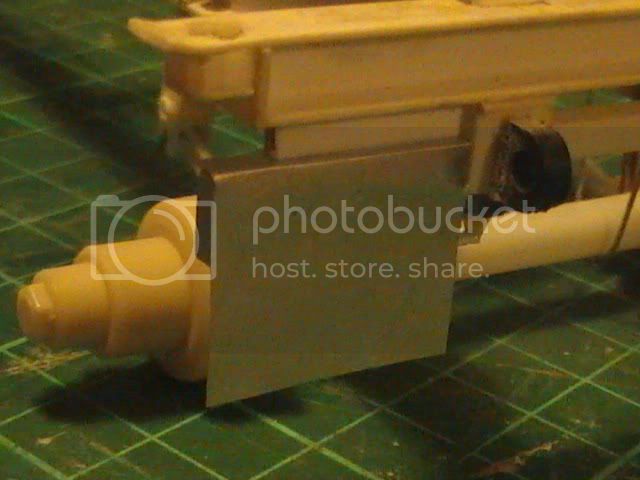
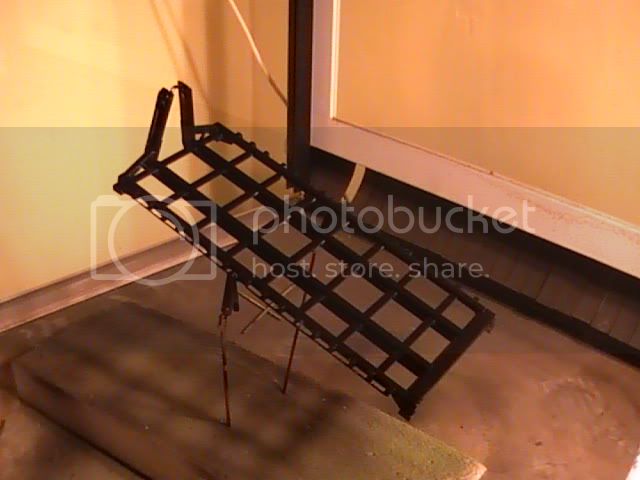
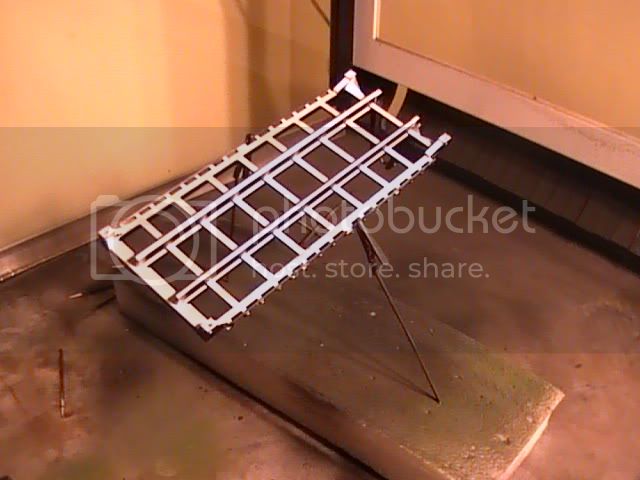
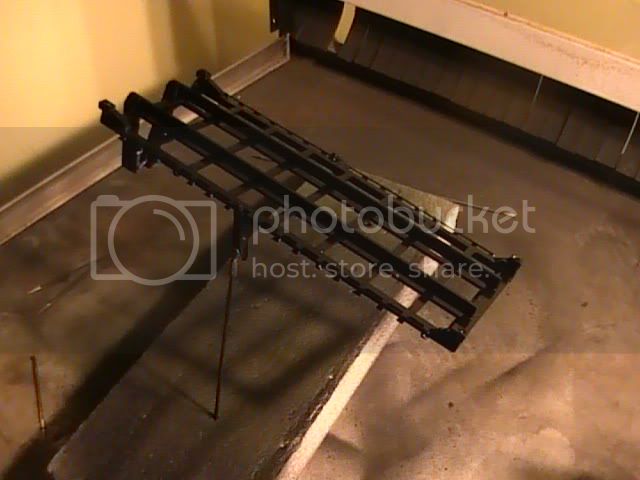
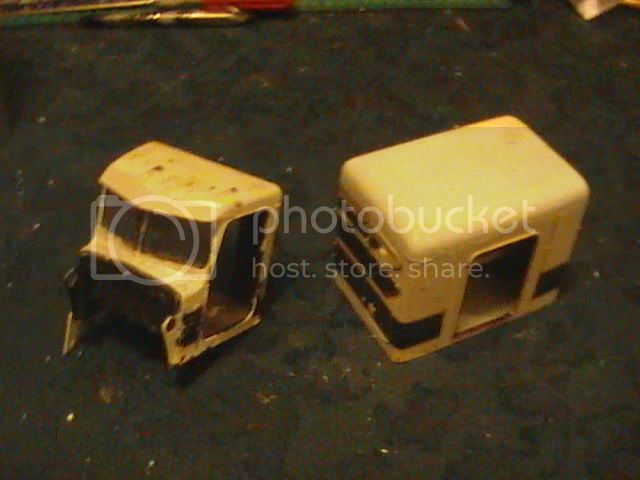
I need to adjust the the cab position taking account of all the other fixtures still to go between the LHS sub-frame and the cab.


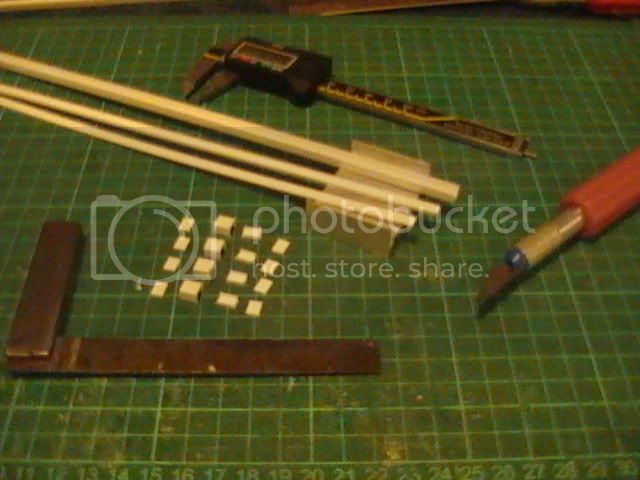
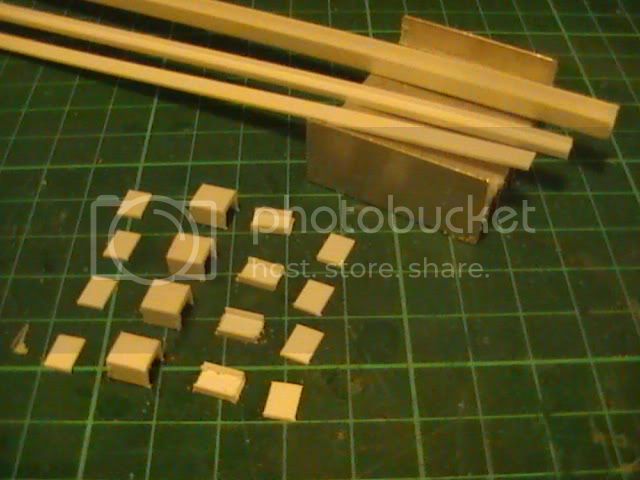
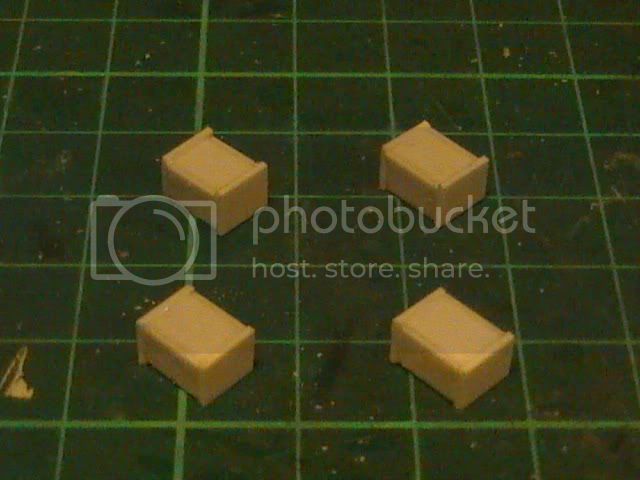
More work to do on oil tanks, cab mounts, engine bay fittings, etc
Nige


Looking very good is this, Nige.
I`m enjoying watching this come together.
It will be a show stopper, for sure.
Malcolm

Credit where credit is due, my friend
I wish i had the skill to scratch build some thing like your Drops
Malcolm
Hi Nigel,
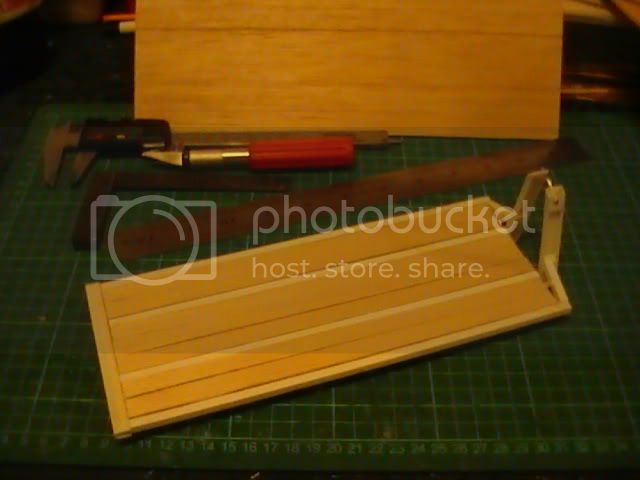
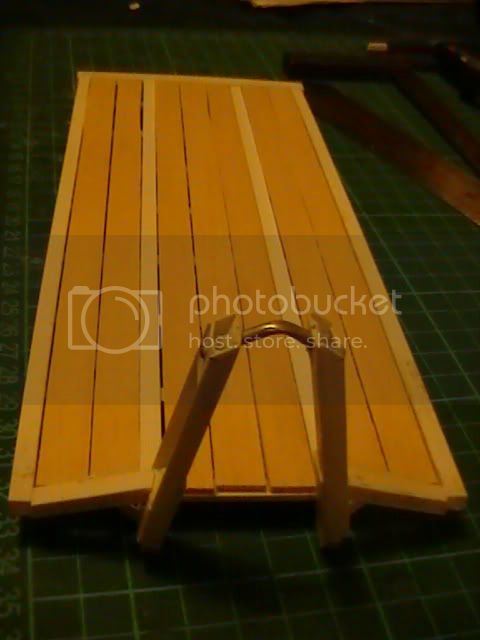
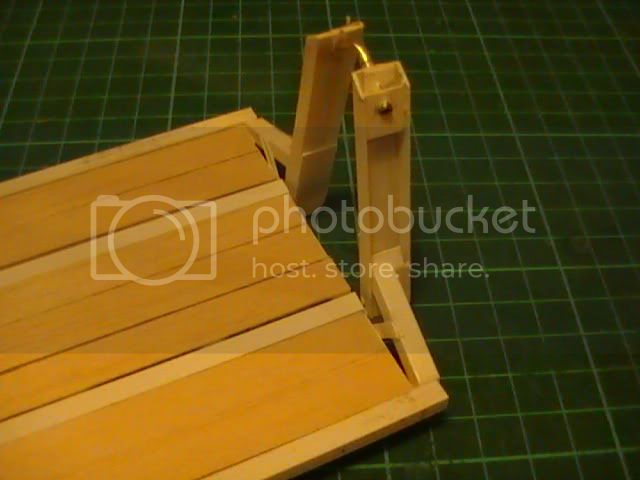
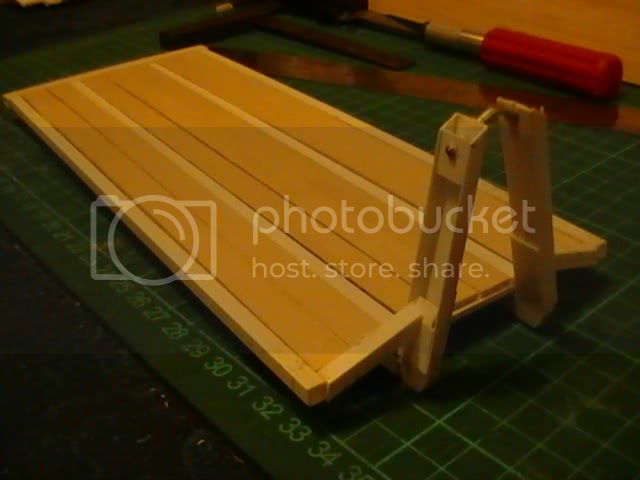
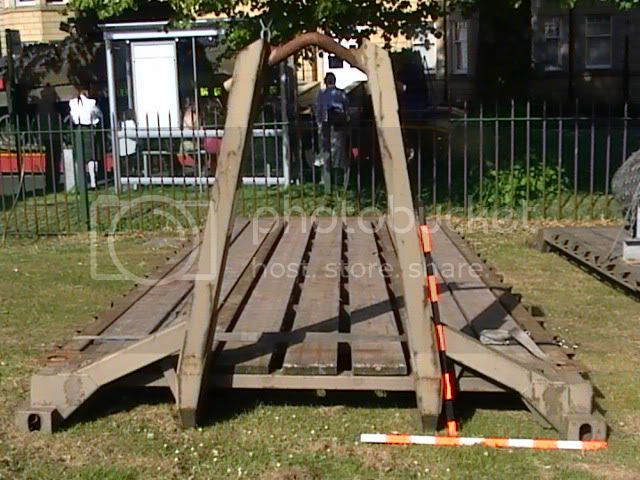
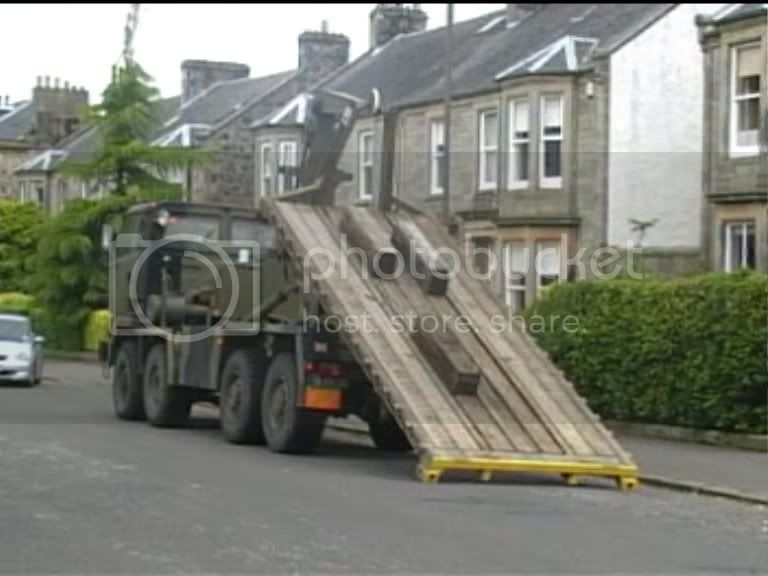
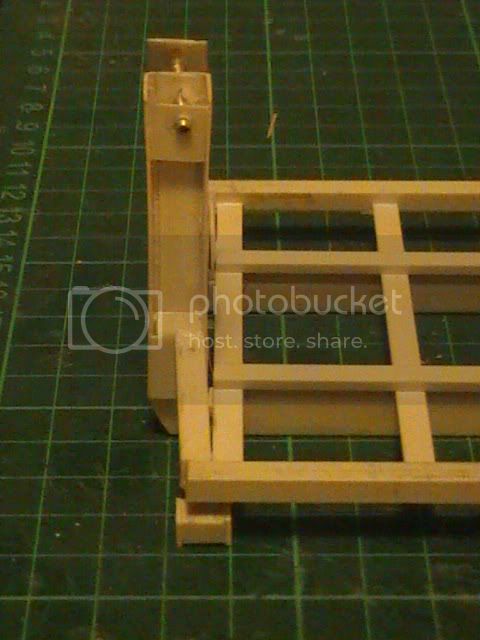
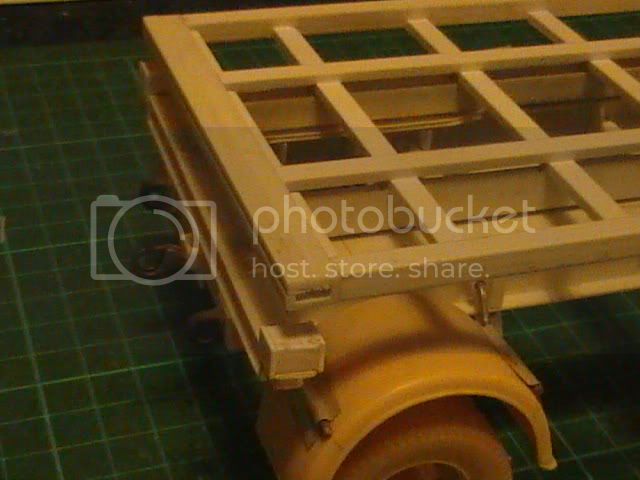
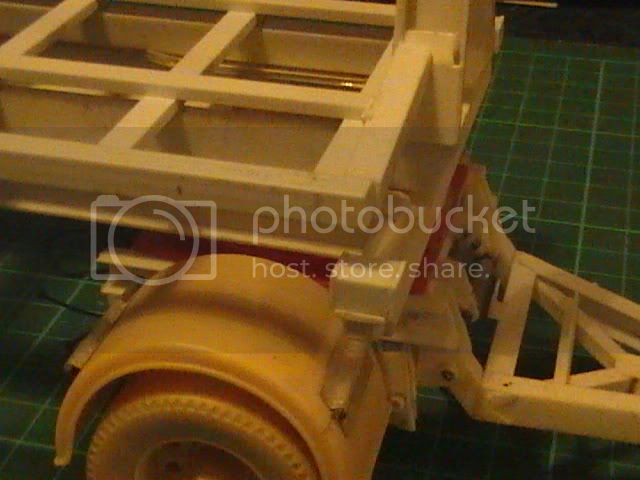
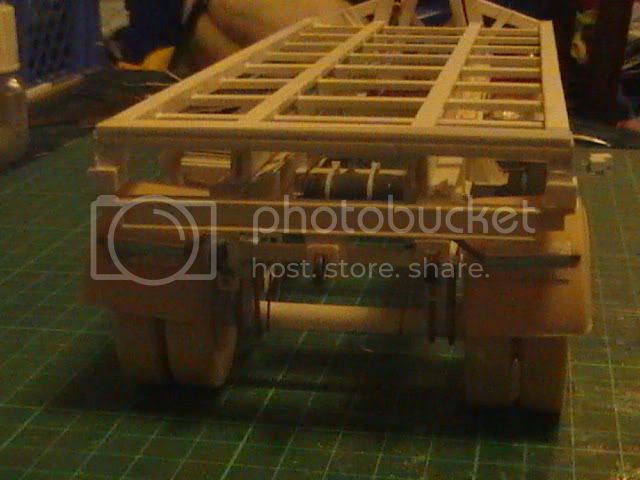
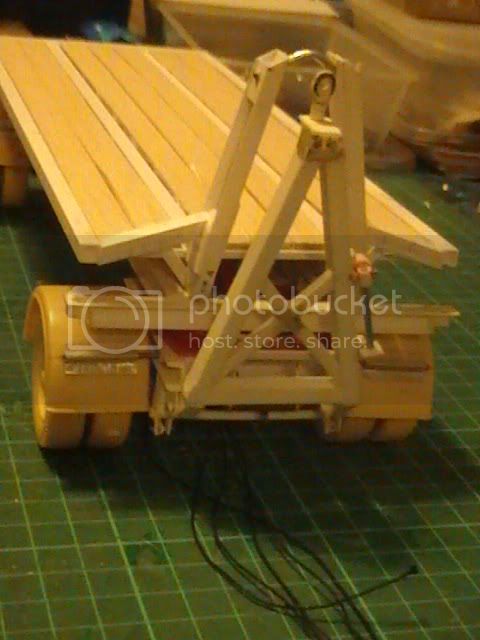
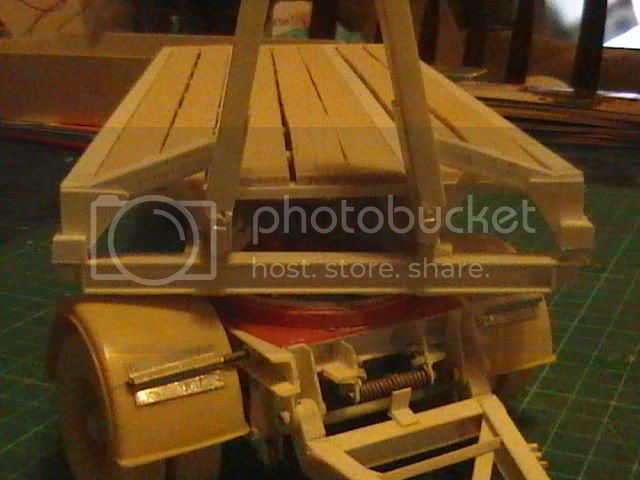
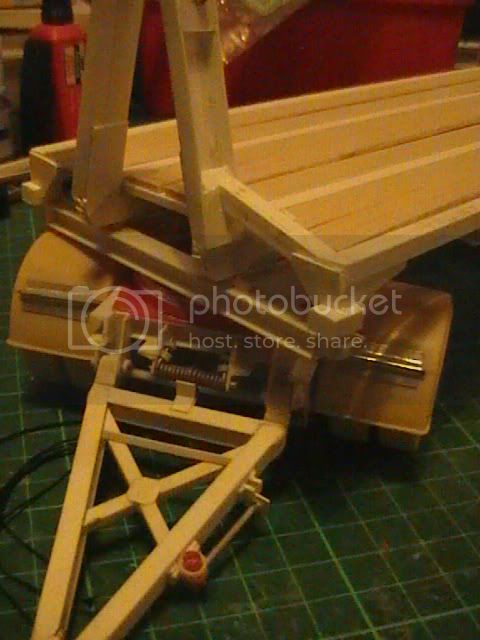
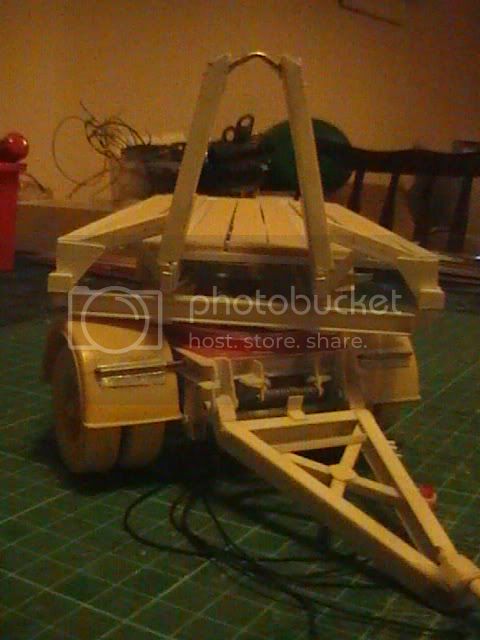
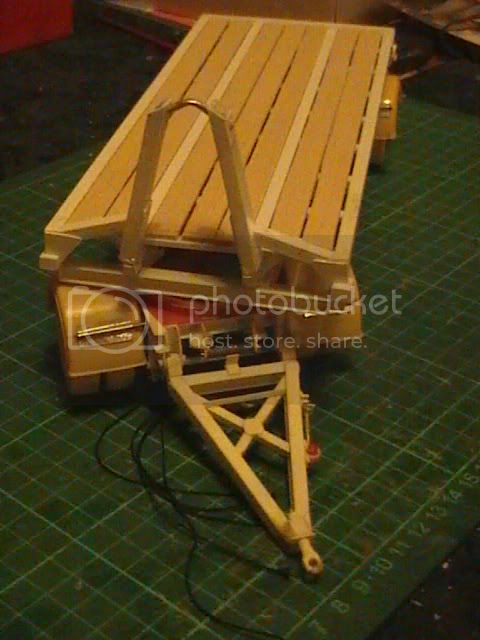
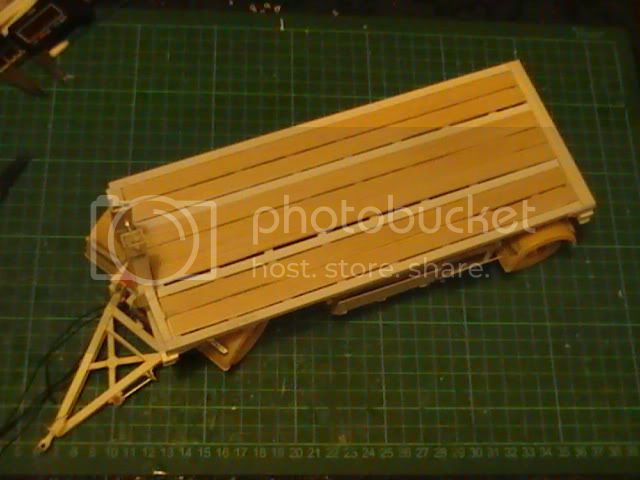
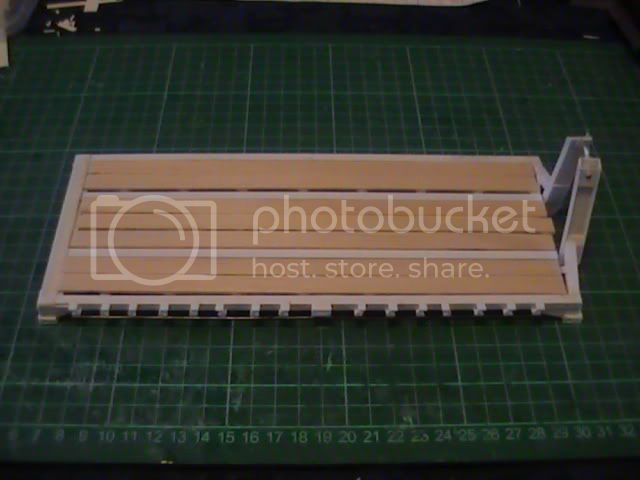
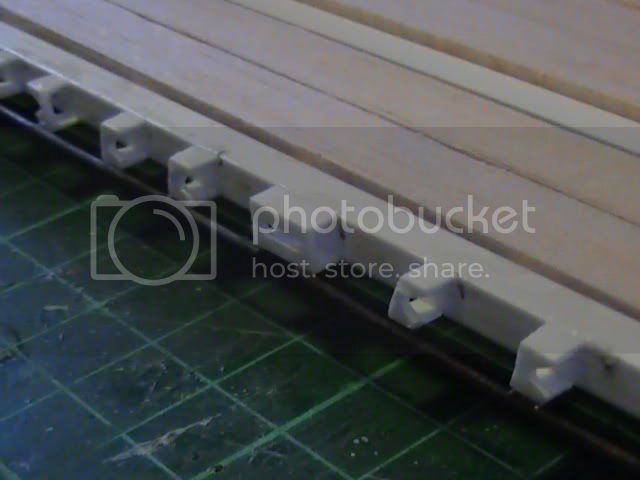
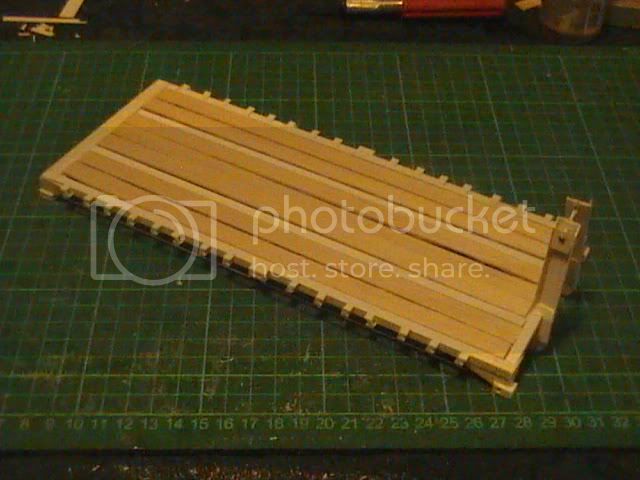
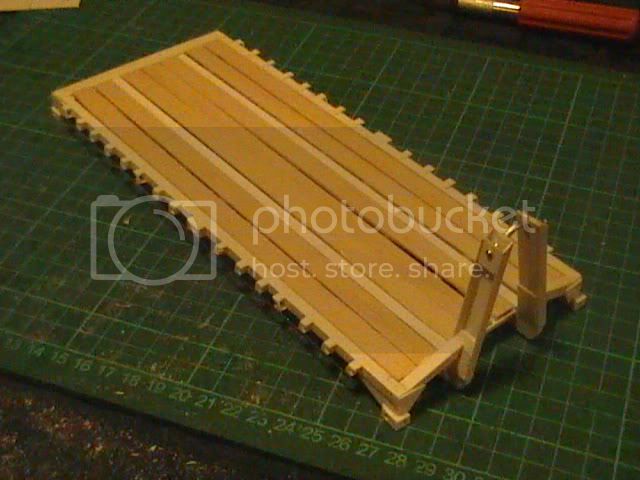
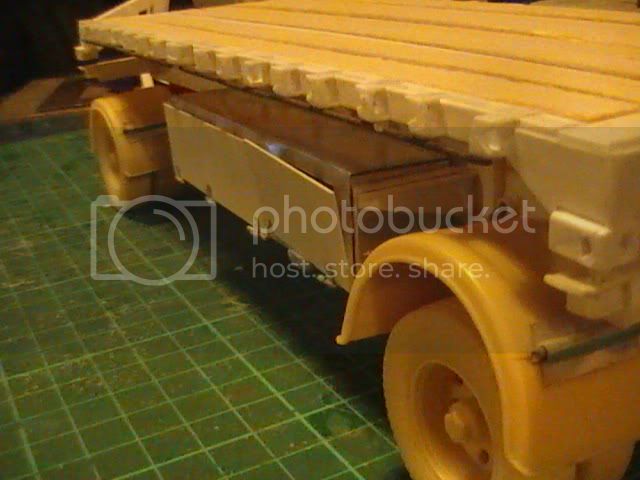
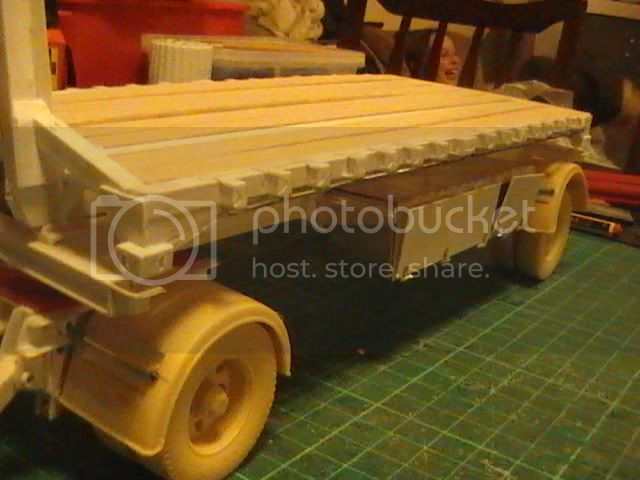
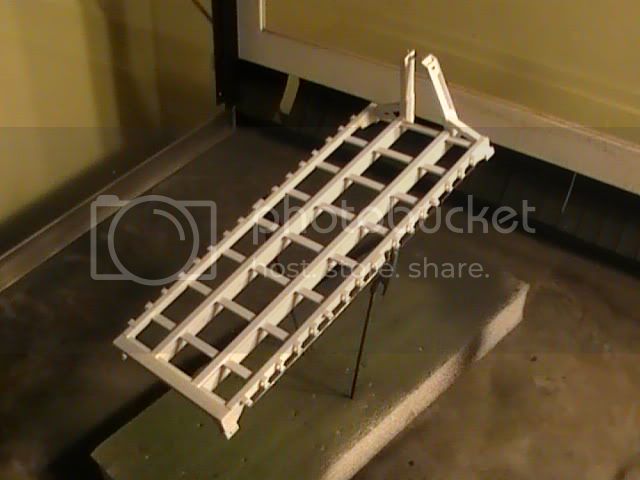
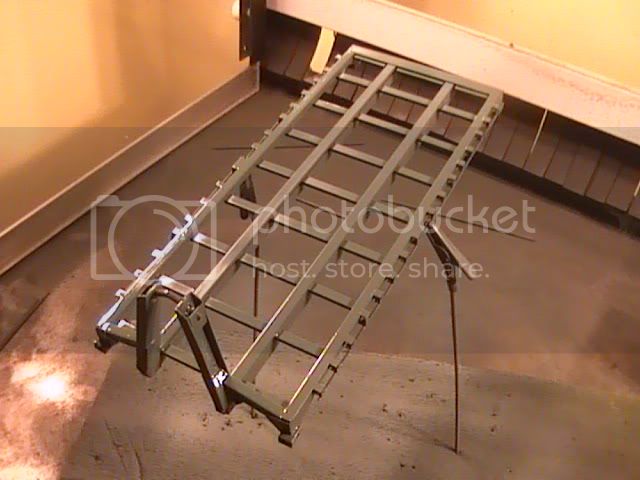
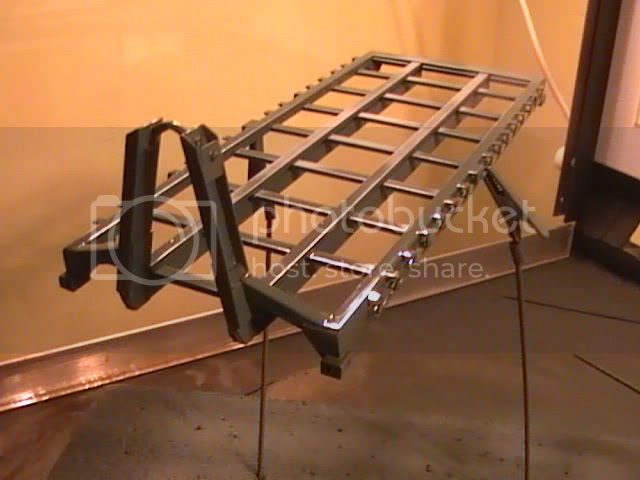
The truck is getting some shape with the flatrack and all.
Gr,
Marcel


Really looking good, Nige
Very impressive.
Malcolm
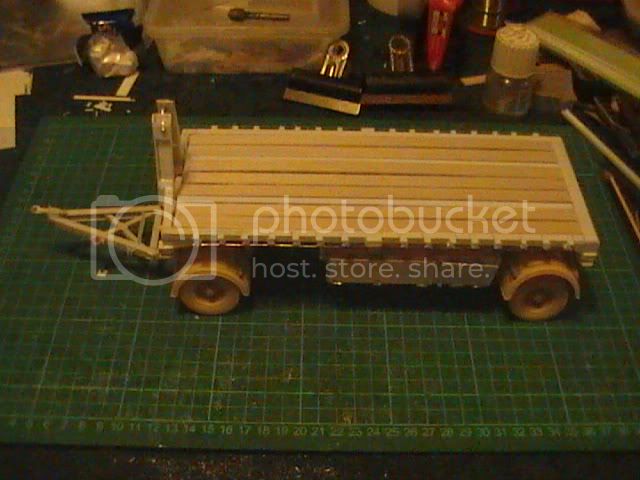


wow, talk about significant detailed progress...


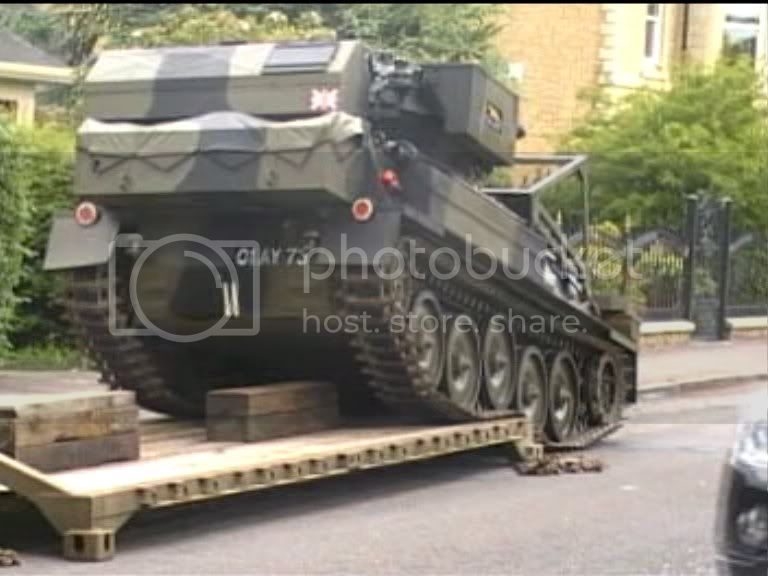
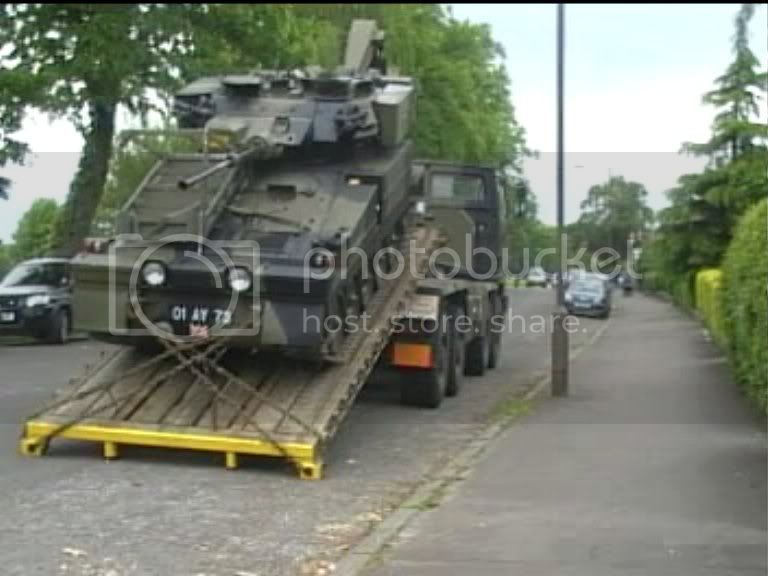
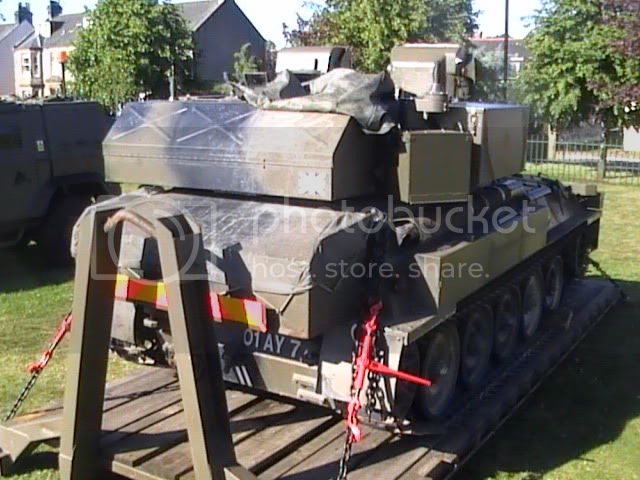
Shame there isn't a Scimitar or Scorpion tank in 1/24 scale available.

 |


