

1⁄35Pouring Resin: Easy and Inexpensive
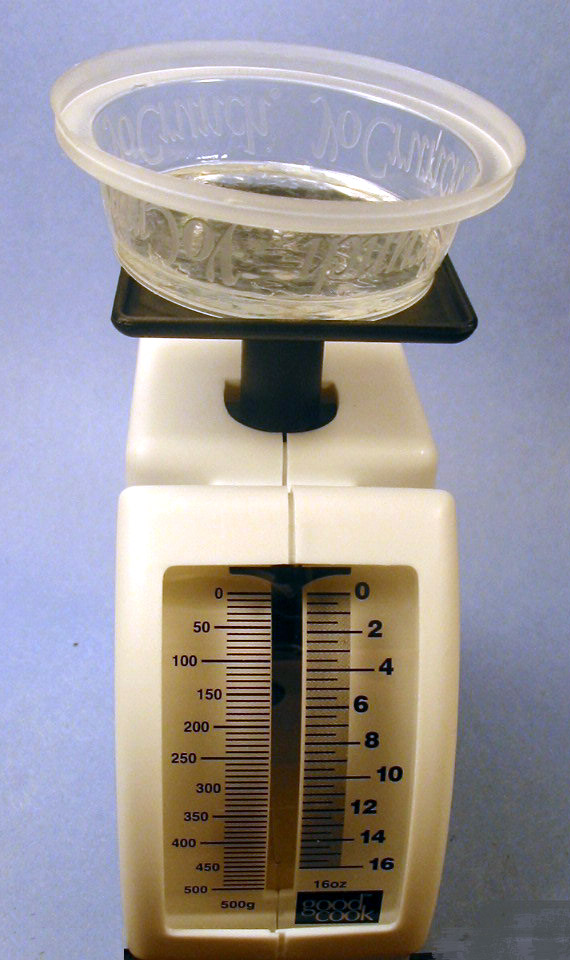
The mixing process involves two parts 1. Resin and 2. Catalyst. The Resin is the base plastic. The catalyst is a change agent; it chemically interacts with the resin producing heat. The end result of the interaction is the hardening of the resin. Mixing the resin can require a bit of experimentation. The back of the resin container does provide some guidance. The guide gives you an idea of how much catalyst to add to a given amount (ounces) of resin based on how thick the pouring will be. In the example for this article the subject was small compared to the amount of resin mixed. The mixing was done with ½ ounce of resin. The cast only required a very small fraction of that, just around 20 drops from a toothpick. It is important to base your resin/catalyst ratio based on the mixing amount, not the amount actually poured in the mold. Mixing can be done in any container. Its recommended to use a disposable one because cleaning a non-disposable container is quite time consuming and difficult. Disposable containers abound, the top part of a kids yogurt cup, condiment containers from the local fast food place, or you can purchase inexpensive ones from a DIY or hobby store. Place the empty container on a food scale and zero out the weight. Pour in a measurable amount of resin, in this case ½ oz. Read the back of the resin can and determine how much catalyst to add. Base the quantity on the weight and size of the mixing container. In this example 18 drops were used. Stir the two completely together. You can see small ripples where the catalyst and resin mix. Make sure you have a very even mix.
Pouring is straightforward. There are two factors to consider the size of the mold and the size of the mixing container. Pouring should be done with care to reduce the amount of bubbles allowed in the resin. Tipping the mold so the resin slowly runs down the side to the bottom (kinda like pouring a good draft beer) helps reduce bubbles. Another method is to use a toothpick or stirrer stick and place it over the opening of the mixing container in a diameter fashion. Then slowly pour the resin so it runs down the toothpick into the mold. The resin used in this example shrinks just a bit when it dries. Allow for this by adding a bit extra at this point. Note: It only shrank at the opening. The rest of the cast was exactly the size of the mold. In this example there is a large variance between the mixing container and the mold and a toothpick was used. Resin was collected on a toothpick and allowed to slowly drip off into the mold.
|
|

About the Author


FROM: NORTH CAROLINA, UNITED STATES
I modeled when I was a teenager. College, family and work stopped me for a while. Then I picked it back up after about 12 years off. My main focus is dioramas. I like the complete artistic method of story telling. Dioramas involve so many aspects of modeling and I enjoy getting involved in the ...
Comments


All Rights Reserved. Please read our Conditions of Use and Privacy Policy.