

1⁄35Pouring Resin: Easy and Inexpensive
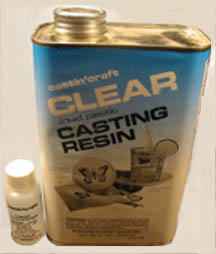
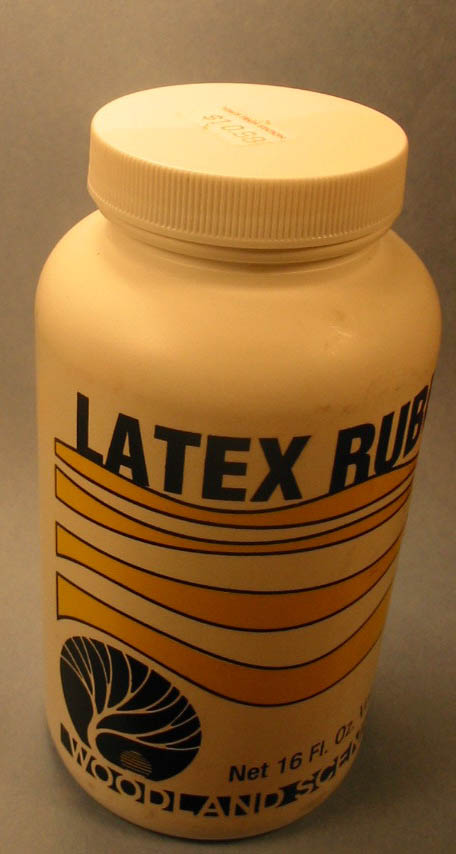
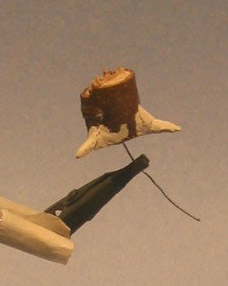
Resin The obvious stuff. The kind I started using can be purchased at most any craft shop. I got my 32 ounce container for under $10 USD. There is enough to last a long time. Catalyst This is the action stuff. This hardens the resin. This cost around $5 UDS. Mixing container Be creative and recycle. Think ahead to the quantity of resin you will need. Things that work are little paper cups, juice bottle lids (the bigger mouthed bottles), fast food condiment cups, and the lids of a kids yogurt containers. Latex This is to make the mold. You will find this at the craft shop near the resin. A 16 ounce container will give you enough material to make lots of molds and should cost under $10 USD. Master This is what you will be molding and replicating. Scale A food scale will work, one that measures small quantities. Discount department stores will have them for about $5 USD Extras Coloring agent. This is added to clear resin to give it color. Release agent, this is to help remove the piece from the mold. Plastic spoon and toothpick help the pouring and mixing process.
The latex used is designed for plaster casting in the Railroad modeling arena. There are some that are sold as a companion product to the resin. After the master has been selected or made, its time for the mold. I have used two methods of applying the latex to the master, brush and spatula. Both tools produce the same results. The spatula is easier to use and easier to clean. The brush gets caked with latex and is soon rendered impossible to clean and useless. Applying latex is easy and straightforward. Simply dip the spatula into the latex and smooth it out on the master. It is important that you make your mold thick and strong enough to stand up to some stretching and tugging during removal. A minimum of three layers will work. (Five or six wouldnt hurt.) Be sure to let each layer dry completely before starting the next. If the mold is large you may want to sandwich some type of reinforcement between two layers to help it retain its shape. I have used very thin hobby wire with success. Fiberglass reinforce drywall tape can be used also. When making your mold you should account for the fact that the resin will shrink some when it dries (this brand did). If possible make the mold slightly large than the master, put a little lip on the edge. As you add layers build up the outside edge just a bit.
|
|


About the Author


FROM: NORTH CAROLINA, UNITED STATES
I modeled when I was a teenager. College, family and work stopped me for a while. Then I picked it back up after about 12 years off. My main focus is dioramas. I like the complete artistic method of story telling. Dioramas involve so many aspects of modeling and I enjoy getting involved in the ...
Comments


All Rights Reserved. Please read our Conditions of Use and Privacy Policy.