

1⁄35Digital Photography Tips
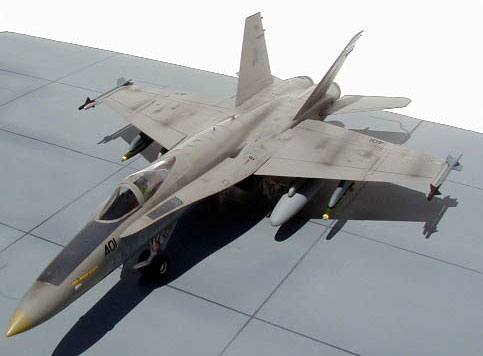
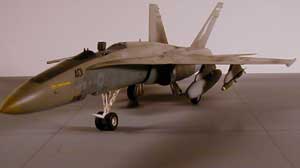
The final photographs for my F-18 Hornet article were a lesson in patience
and experimentation. From previous pictures I had taken and articles I had
written, I knew that the photographs of my subjects were really lacking and
didn't justify the work that went into them. So, for this F-18 I spent a lot of
time experimenting around with different photo techniques and setups. Here's the
process I went through.
The camera I use is an Olympus D-460. It's a 1.3 megapixel digital camera with
3x optical and 2x digital zooms. It has the ability to take regular 'through the
view finder' pictures or you can put it in macro mode to take close-up shots.
It's an older camera and not the best on the market but you can get good
pictures with it.
|
|
For my first set of pictures I had to do some shopping (a.k.a., do a wife impersonation) and pick up some items for my photo shoot. The first stop was Home Depot (a hardware store here in the states) and pick-up some G.E. Reveal light bulbs. They cost about $2.50 for a four pack so they're not bad. Then I headed over to the electrical area and picked up two clamp-on light fixtures. These fixtures have a clamp on one end for attaching to something (like a chair) and the other has a light socket and a reflector. The fixtures cost $5 each. Next stop was the local craft store, Michael's. Here I was looking for a good sturdy white base that I could use to set the Hornet on while I took pictures. I found what I was looking for in a 30"x20"x1/8" piece of foam board. It was exactly what I was looking for-sturdy, durable, large enough for a model and inexpensive ($2.50). If you don't have one pick-up a piece of white cardboard to use as a background. I had one at home so I didn't pick up one.
About the Author


FROM: FLORIDA, UNITED STATES
My interest in modeling started while watching my dad work late night's on old Star Trek and WWII plane models. I modeled planes for about 3 or 4 years before joining the Navy in 1990 and then took a 12-year break from the hobby before starting back-up again last fall. Man has it changed since I'v...
Comments


All Rights Reserved. Please read our Conditions of Use and Privacy Policy.