

1⁄35Digital Photography Tips
|
|
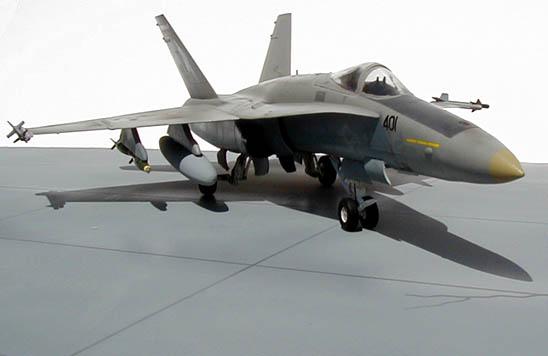
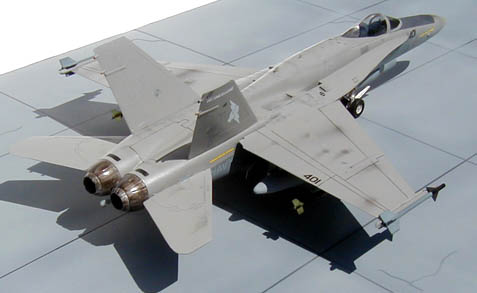
Using the new 'tarmac' I took some more pictures using the setup described
above. Overall the pics taken using the above procedure were ok but the color
just didn't seem right. It was better than using normal lighting but not article
quality in my opinion. So I moved onto some natural light photos next.
Using the same base and background I headed to the backyard (after mowing the
grass and picking up after the dog...to keep the wife happy) and setup my photo
shoot on a table against the back fence. With the base on the table and the
background leaning against the fence I took more pictures using both the white
base and the tarmac base being careful not to block the sun (which was at my
back) or get my shadow in a picture. After taking these pics I headed back
inside and started playing around with these pics in Photoshop, a high-end
graphics program.
|
|
Using Photoshop, I resized or cropped the pictures down to a size that would be
manageable on the web. Next I adjusted the lighting/colors in the pictures. For
me, I used to play around with adjusting the lighting, contrast and colors but
now I use one button for the natural light photos-auto levels. Auto Levels
automatically adjusts the pictures colors and in my opinion, turned out the best
representation of the actual model in color and contrast.
About the Author


FROM: FLORIDA, UNITED STATES
My interest in modeling started while watching my dad work late night's on old Star Trek and WWII plane models. I modeled planes for about 3 or 4 years before joining the Navy in 1990 and then took a 12-year break from the hobby before starting back-up again last fall. Man has it changed since I'v...
Comments


All Rights Reserved. Please read our Conditions of Use and Privacy Policy.