

1⁄35Making Custom Decals
The following images show the separations I made in order to print the markings for my A-4E Skyhawk.
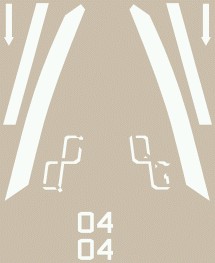 First Pass - White |
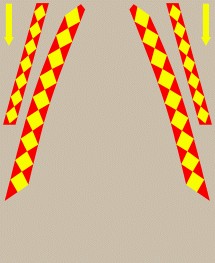 Second Pass - Color |
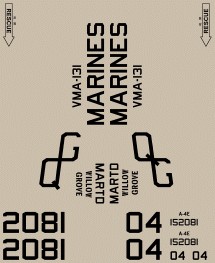 Third Pass - Black |
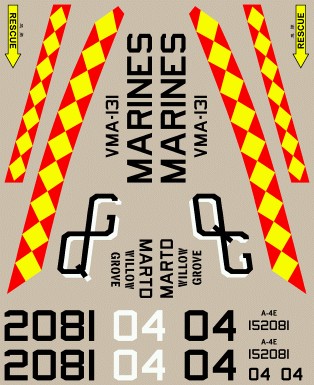 These three artworks combine to created this final image for the A-4E Skyhawk.
The ALPS printer prints in passes. By instructing the printer to not eject the
paper after the print, it is possible to have it maintain alignment and print
additional images in near perfect register.
These three artworks combine to created this final image for the A-4E Skyhawk.
The ALPS printer prints in passes. By instructing the printer to not eject the
paper after the print, it is possible to have it maintain alignment and print
additional images in near perfect register.
The first pass prints the white portions of the image, including the areas that
are undercoating for the colored areas of the decal page. To help avoid white
shadowing around the undercoated markings (caused by minimally missing the
register of the color print), I will reduce the white undercoat designs by about
one pixel all around there edges. This leaves a one pixel overrun for the color
print and usually is all that is needed to eliminate any undesirable white
shadowing effect caused from the printing.
The second pass prints the colored portions of the image.
The third and final pass prints the black portions of the image.
The Corel or Adobe art products provide for this separation into component
images through a process they term "layering". People I have discussed this
process with claim it is cumbersome and prone to problems when trying to track
the layers. The decal manufacture that approached me to do work for them no
longer uses layering, opting instead to do separate images as I have shown here.
About the Author


All Rights Reserved. Please read our Conditions of Use and Privacy Policy.