Introduction
Photo-etch parts have enabled us modelers to make some amazing constructions and add details unheard of a few decades ago. These tiny parts are one of the mainstays of the aftermarket industry; yet share an interesting Love-Hate relationship among modelers. We all love the detail it can provide on our own models, and admire the same on others. However working with photo-etch can be a real test of patience and press the capabilities of what our tools can do.
At first, photo-etch parts could usually be handled with some simple pliers, tweezers, and other basic tools. Now with the use of advanced technologies, such as Computer Aided Design, very intricate assemblies can be fully designed within the computer. The process to etch doesnt change and is no more difficult, however the skill and finesse needed to actually build and assemble these delicate parts has increased significantly.
The Small Shop, a Division of Kalama Precision Machine, makes a series of tools to aid the modeler in working with photo-etch parts. Among several very useful tools they have available is the 5 1/2 inch Hold-n-Fold, or 5-speed.
The Tool
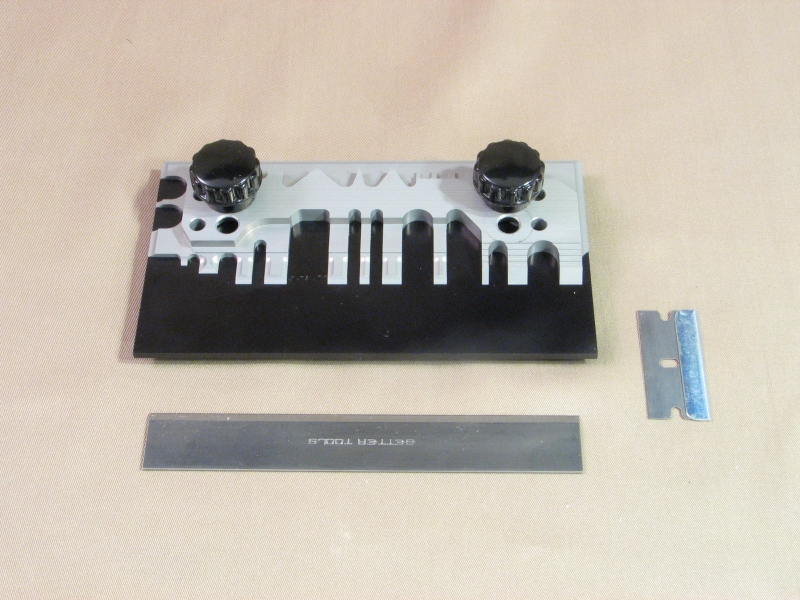
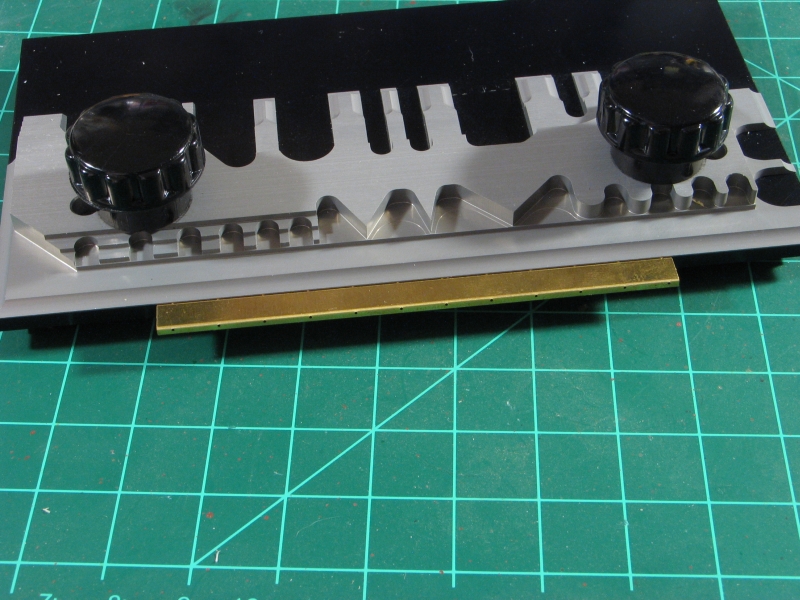
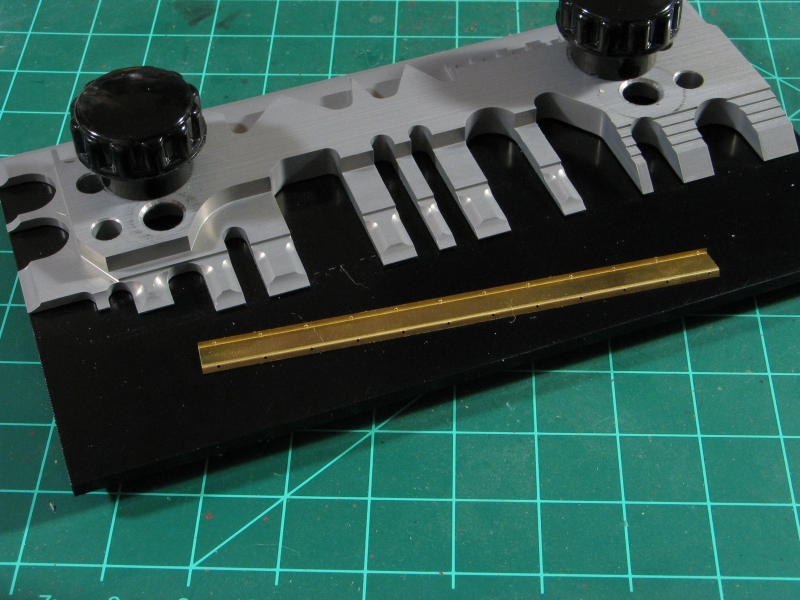
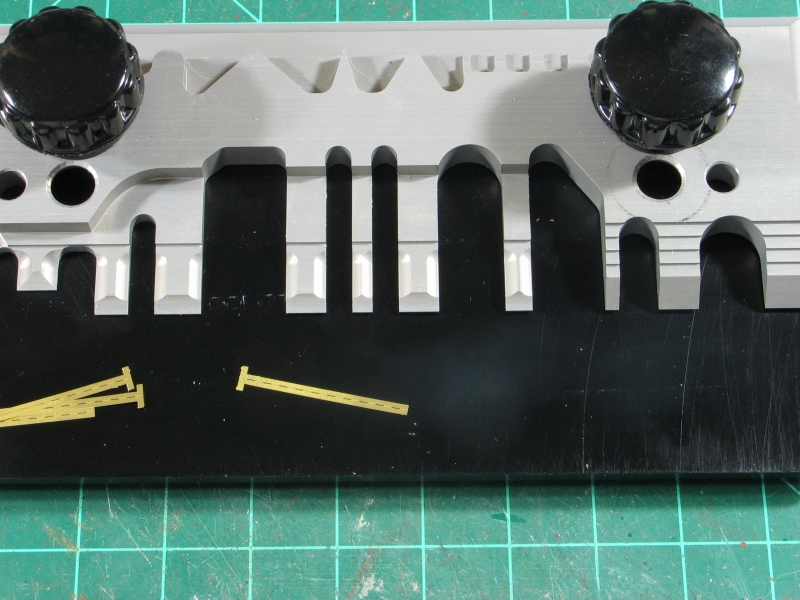
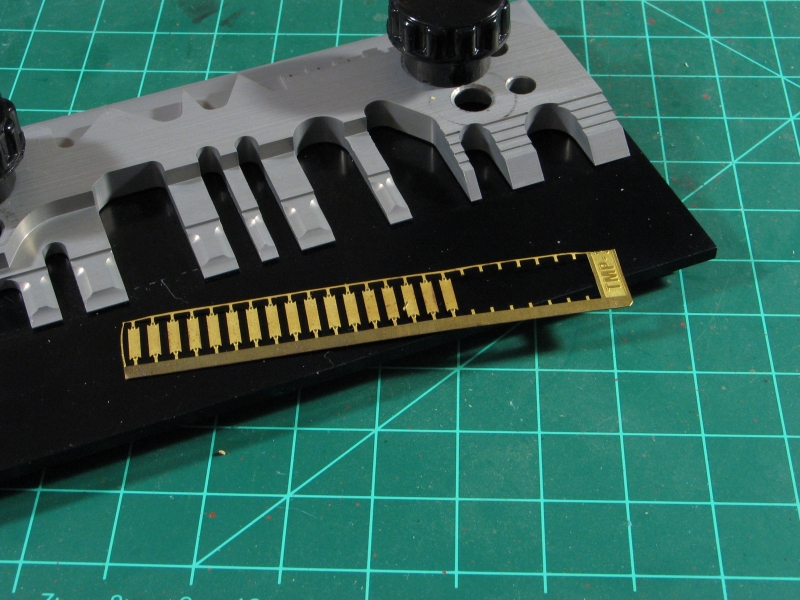
The main tool components are machined from aircraft grade aluminum, and consist of a bottom base plate that has a hard anodized black finish, the top tool plate in natural aluminum with its fingers, curves, and edges, and two adjustment knobs. The base plate has two threaded metal rods with springs that correspond to holes in the top tool plate. The adjustment knobs thread onto these rods and tighten the top tool plate to the base.
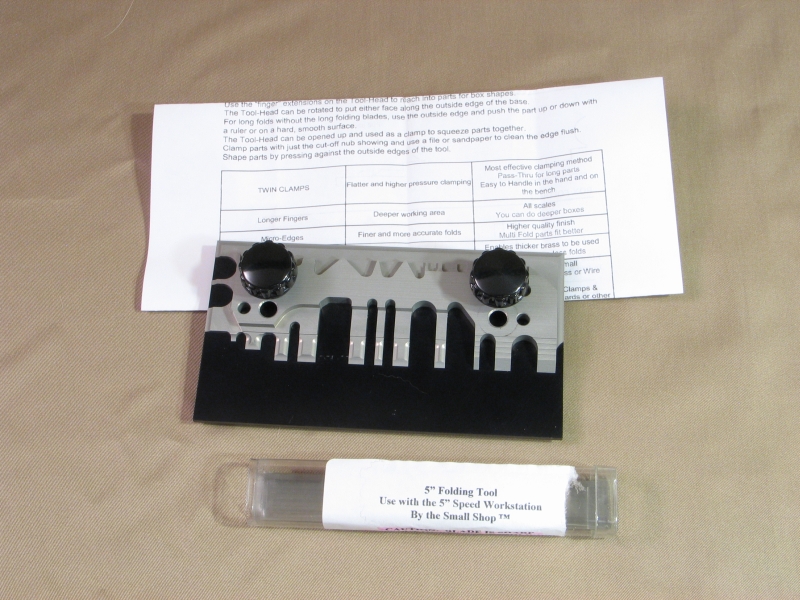
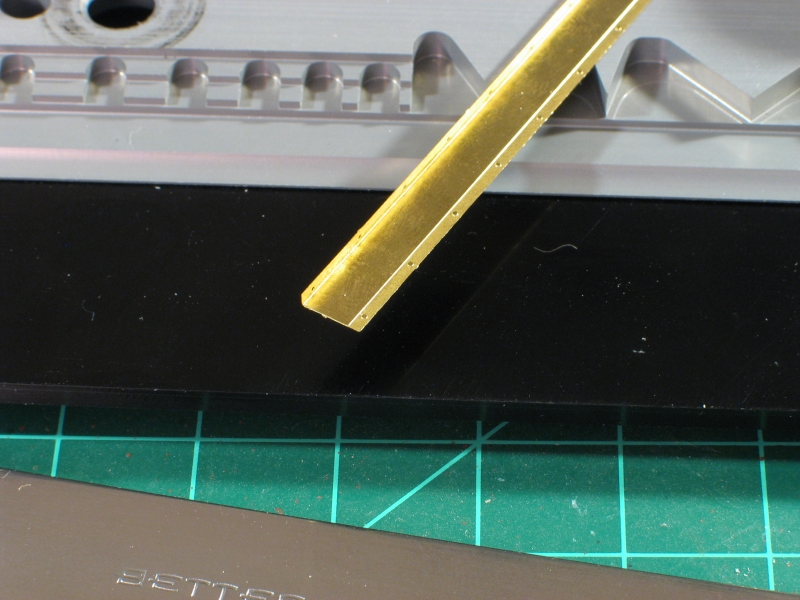
Also included is a large 5 long metal edge tool to facilitate bending long PE parts, and a standard straight razor blade to use with smaller parts. The edge tool and razor are packed separate, and all of this is wrapped in bubble wrap placed in a sturdy small cardboard box. There is also some general instructions and tips for use on a folded 8.5x11 inch paper.
Function and Use
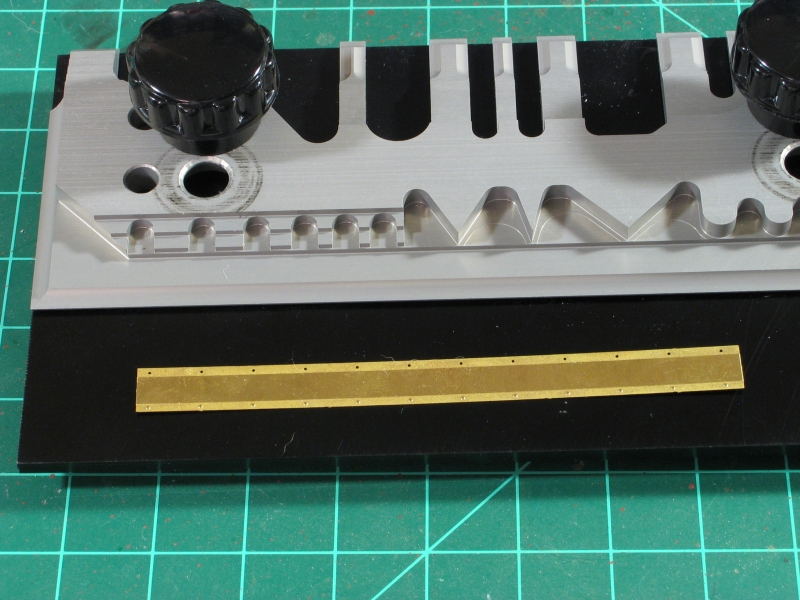
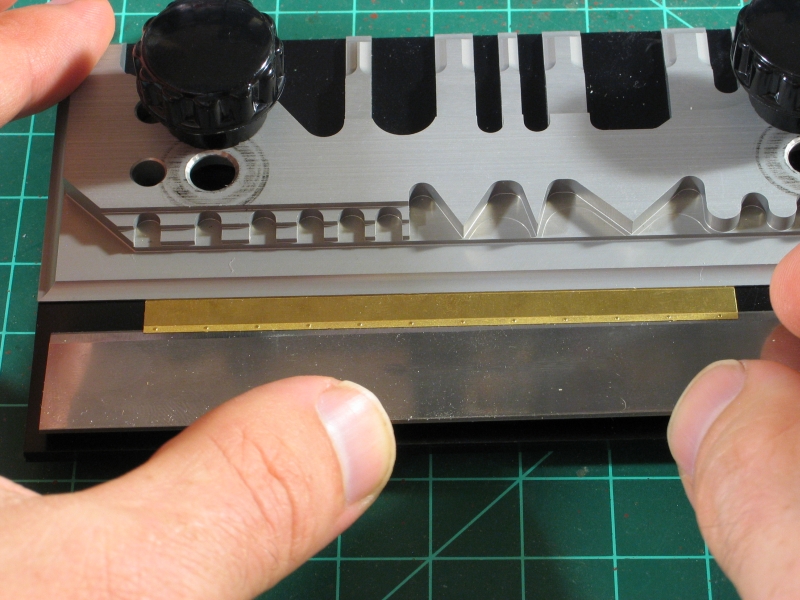
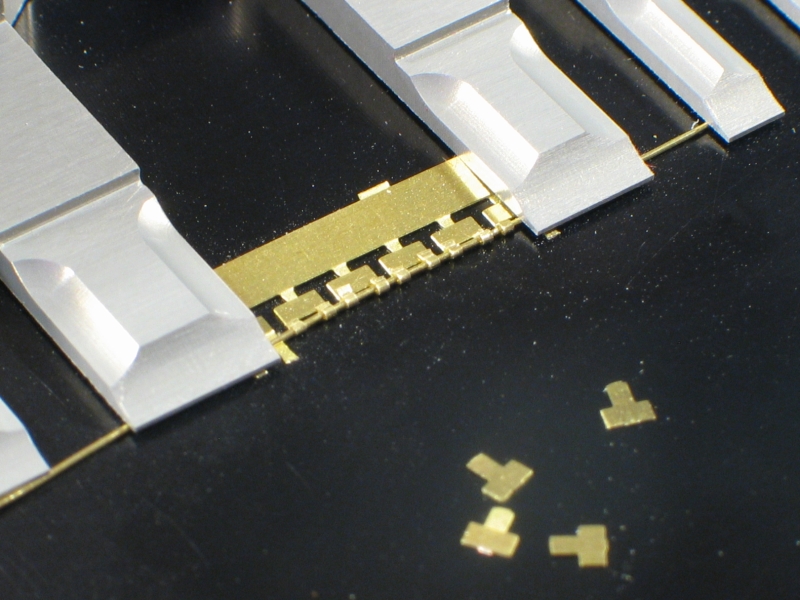
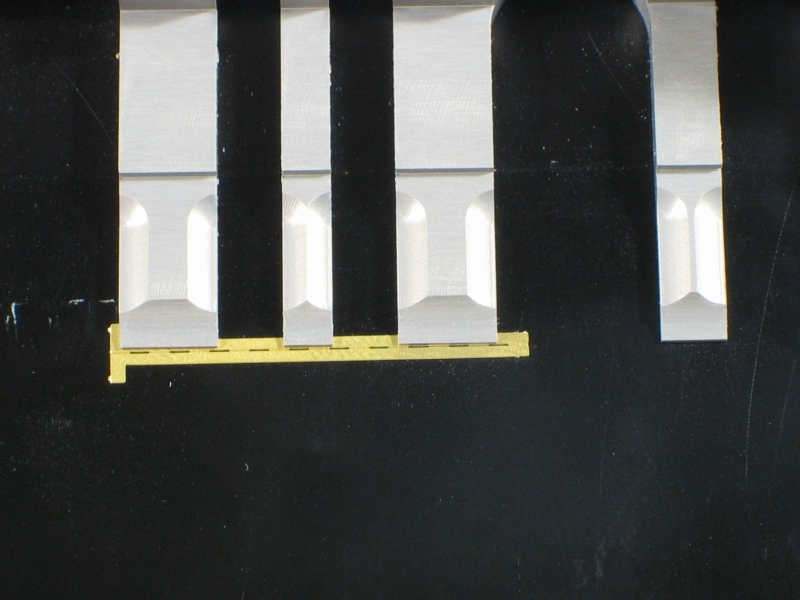
Basically there are several fingers and edges along the top plate to use depending on the PE object your working on. Merely adjust the knobs to loosen the top plate, slide the PE part under aligning the point of fold with the edge, and tighten the knobs thus clamping the part, then fold. Folding is accomplished by sliding the razor or metal edge tool under the part, then once fully slid under, raising the razor up to bend the part against the top plate. Some of the fingers are quite thin, so you can get past a 90-degree bend if needed. One side of the plate is just a straight edge to use for bending large, long items such as fenders and sheet metal. Keep in mind this tool can be used for any kind of sheet metal for scratch building projects and the like. Sheet plastic could also be bent using care.
For the review, I tried several items, including some that until now I had no practical way of bending. First a simple fender from a HVSS Sherman. For this one I removed the knobs and reversed the tool plate so that the solid flat edge (no fingers) was over the base plate. I then just slid the part under, tightened the knobs, and used the 5 metal edge to execute the fold. The fender is a Z shape, so another fold in the opposite direction was required. For this I flipped the tool plate back, and using the backside of the tool I inserted just the edge of the fender that needed to be bent, tightened the tool, then made the bend. This was all done in under a minute, and a perfectly bent PE fender was the result.
I also made some hinges (for Griffon Models M16 stowage boxes) by using the tools fingers to clamp down a fret of hinge halves plus the wire hinge pin, and then with the Five-speed holding the hinge halves, I made the necessary bends around the wire plus added the other hinge half. The 5-Speed became a very valuable extra hand to hold on to some delicate parts making something very tedious a bit more manageable.
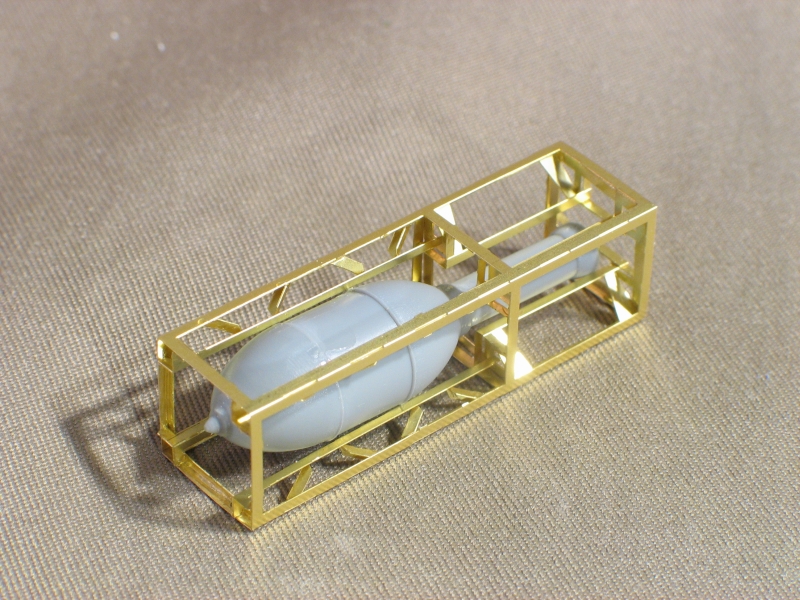
I had Dragons new Rocket Launcher w/ Crew set on the workbench, and included in this is a fret containing all the parts to make four rocket metal launch frames, or baskets. Each of these has over 30 metal parts that have to be bent and folded, many of which are very small and traditional pliers would had have a hard time griping the parts for folding. The 5-speed handled these small parts very well and I had no problem folding the parts.
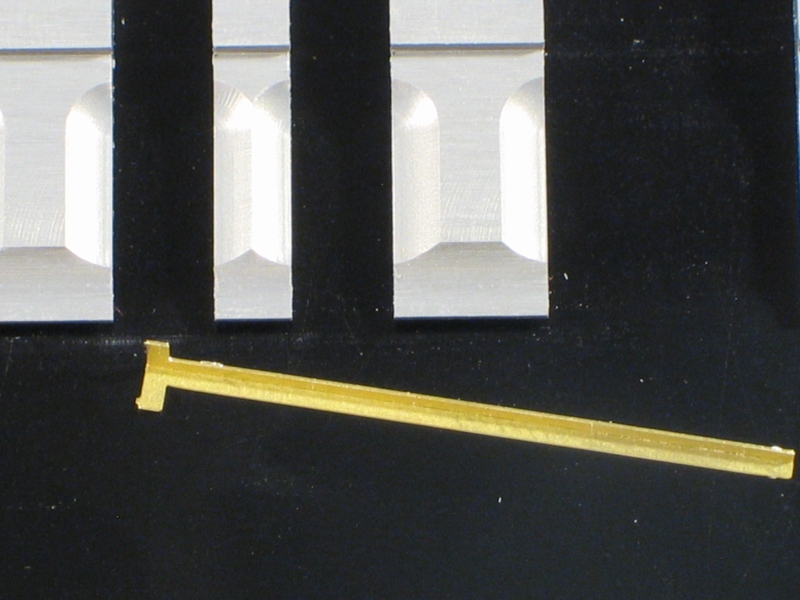
As a last test I had some older On the Mark PE parts for some HVSS fender braces. These are older parts, so there is no pre-etched fold line, thus with traditional tools I could never get a good crisp, square bend on such small parts. They sat in my spares box for at least a decade unused. I wanted to see if the Hold-n-Fold could handle such small parts. With only about 1mm under the edge of the tool plate, I clamped it down very well and carefully bent the first side. I then reversed the part, clamping the part with only the unbent side under the tool edge. The fingers are thin enough I was able to do a complete 90-degree bend, forming a perfect U as needed. So now thanks to the Hold-n-Fold, unusable parts can now be used on my next project!
The tool has a series of shapes and angles milled into the top plate. According to the instructions these are forms for bending headlight guards, tool clamps, and other such items. The instruction does not explain nor give any examples on how this is done. It would be nice to see some instructions on how to use this portion of the tool.
Conclusion
The
Hold-n-Fold 5-Speed is one of those tools that we dont think we need, but once we have one could never be caught without it. Within days of receiving this, I found its usefulness and it has never left my immediate working area since. The overall quality is excellent, and I would only suggest that they expand the instructions a bit to cover more of the features they designed into the tool itself. I highly recommend this, as well as any of the other PE bending tools in the Hold-n-Fold lineage. Basically for the cost of a new Dragon kit, you can have a tool you will use for every project requiring PE parts for years to come.
The 5-Speed's little brother has been reviewed
Here on Armorama.


Comments