

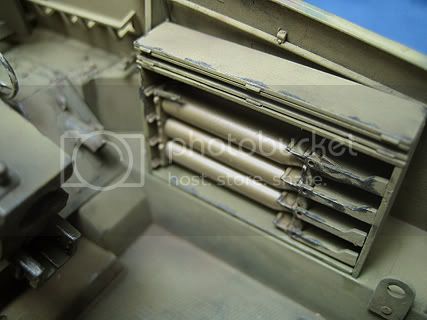
intial build of gun and ammo storage box


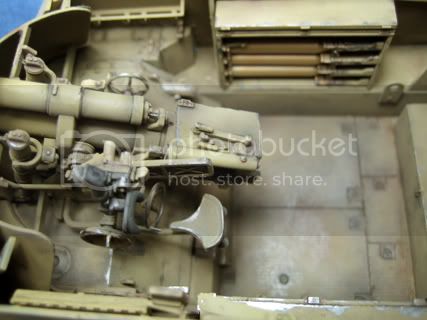
internal fighting cabin

a lot of injection marks to fill here. Note the cable to the gun catch control.
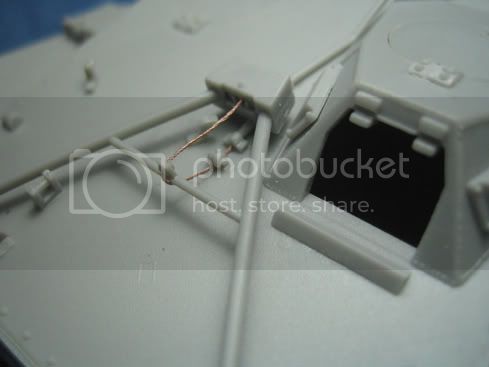
additional cables and spring on the gun catch.

 Community Forum: Kaki Model Malaysia

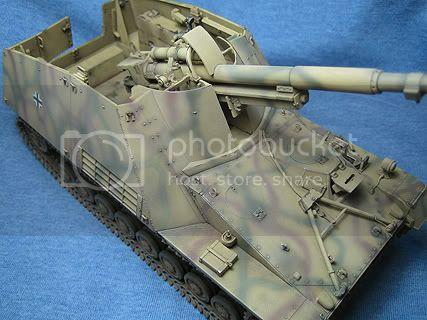


I agree with SL. My principle on chipping is actually to make an intelligent guesstimate as to where there will be a lot of abrasion from the crew, operations, loading, unloading, rubbing of parts, knocking, shoe scrubs and so forth.
One very telling photo is fron the actual tank in Aberdeen. While its in a bad state, it kinda gives you a hint where the paint chips are.
Some news flash. Can anyone tell me why my Humbrol matt varnish on the kit has decided that it wants to go cloudy on me? The kit looks like its in a very cold setting with a layer of frost on. Might work too accidently, as the crew is in winter clothes anyway?

The only teeny point I can make is the seat for the aimer. Wouldn't it be rubber rather than metal as you painted it?
 |


