


Hi Kakimodel,
as promised last week, heres my review of the first gen 2 set. This review is personally my opinion and I will cover only on the construction site. For more review on the initial look, please visit the wonderful Terry Ashley PMMS website Click Here .
IN the box, you will got 6 figures with various pose. The pose are great but I found the face impression is ok and still need improvement. A quick initial inspection on the figures parts, Im quite disappointed to find a lot of mold parting line seams along the arms, legs and torsos. Some of them are very long and can be seen without taking the parts at close range. The weapons, personal gears are perfectly done. This is contrast with the figure parts. Only small seam lines present at the weapons which can be easily removed by sanding with 600 grit sand paper.
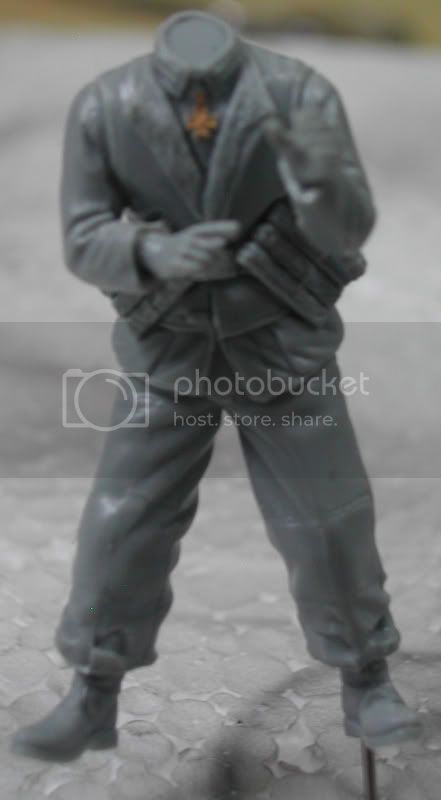
I assembled figure no 4 (labled D) first because its the most simple from the set. Its a standing SS with full length of coat. Hes cocking his Kar98 rifle. The bottom part of the coat showed some battle damaged which is a great touch and never been done in any plastic figures before. I assambled as per the instruction but left the personal gears. After dry fitting I found out that some of the part properly fit. I try to sand and file a small section to remedy this. In some cases like the arm/shoulder join, the join surfaces are not even. I have to sand here to make the surface even. Construction then continue with the remaing parts.
A word of advice, before assemble the arm, the Kar98 rifle must be test fit to get the real fit of the rifle and arm. After all is done, I let the glue dry and observed. Theyre indeed quite a big gap between the shoulder join and the legs. So I apply Mr Surfacer 500 to the join and after a few minutes, I wipe the excess mr surfacer with thinner and cotton swap. Then I assembled all the other details like the personal gears like the bag and ammo pouchs. Not a problem here.
Heres the finished result (at least)
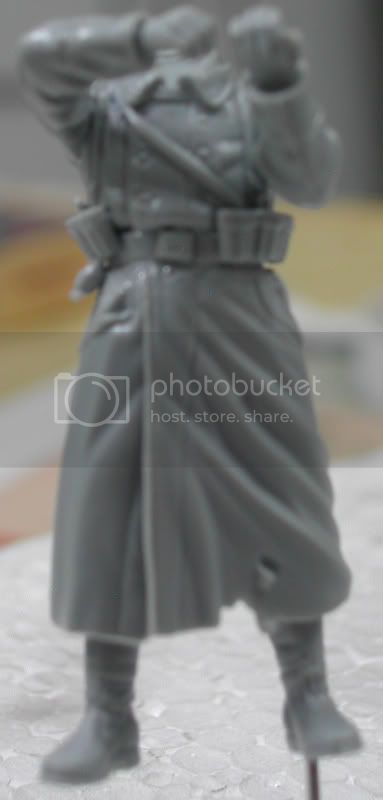
sorry the pic is blur. Shot last night with minimum lighting and mata mengantuk
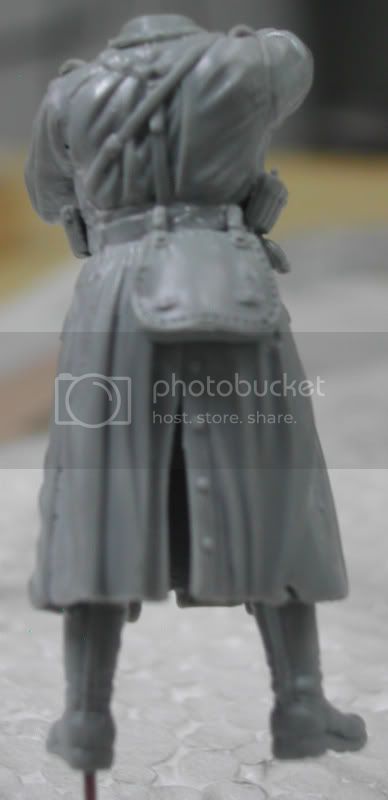
this is the back of the figure.
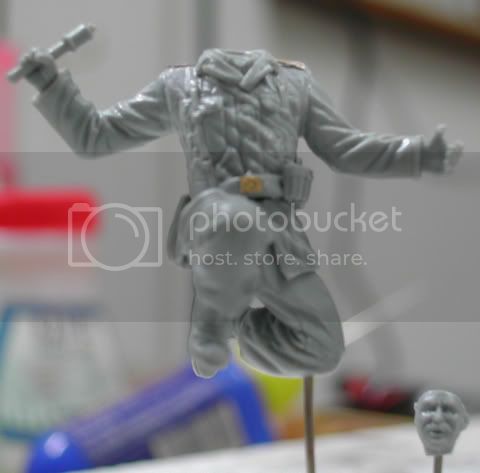
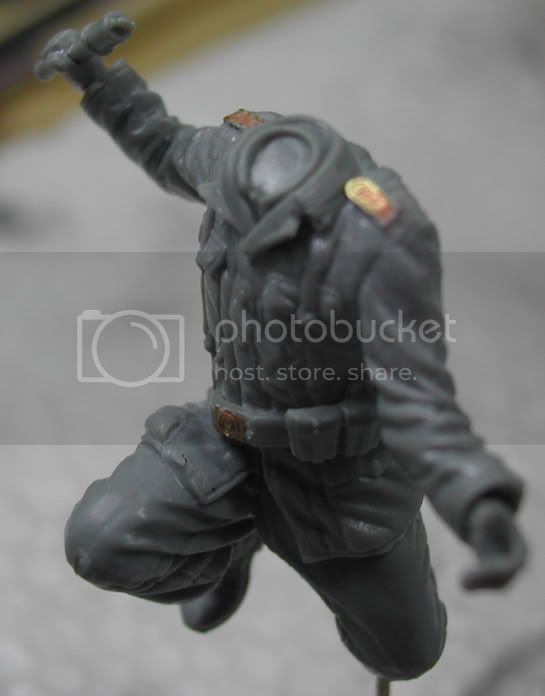
Next I assemble figure no 2. This fig is on his knee and hes throwing a stick grenade while holding Kar98 rifle. Comments are almost the same with the above. In this bulding, I decided to use the belt buckle PE and the shoulder insignia PE. I love the pose on this guy. I assembled the grenade. I drill a small hole prior to glueing the half of the grenade to the fist. This is optional but I just wanted to replicate a good and firm grip of the grenade and ease of cementing.
Heres the guy
Next I assemble the MG-42 team. Both figs are good but agains, the problem is fitting and seam lines. Mr. Surfacer 500 is used more in the fig no 5. Seam line is clearly visble and qucikly removed by my seam scrapper, mini files and sand paper. So many works..
Just remember to dry fit the MG-42 so that u get the correct and realistic grip.
Heres the photos. U can see the visible gap on the right dude. This guys also havent got their treatments.


Next I assembled fig no 1. This guy is standing and aiming his russian PPSh 41 SMG. I assemble per the instructions. No problem here except for the same issue.
As u can see in the picture below, the seam lines at the right arm. This fella still havent got his mr surfacer 500 and seam removal treatment.


Next is the fig no 3 which is a standing guy holding his MP40 SMG. Comments are as the above. I use the PE cross and superglued it to the fig chest. As you can see in the photo below, the seam lines in the legs are still visible after the initial removal.
Heres the whole team.
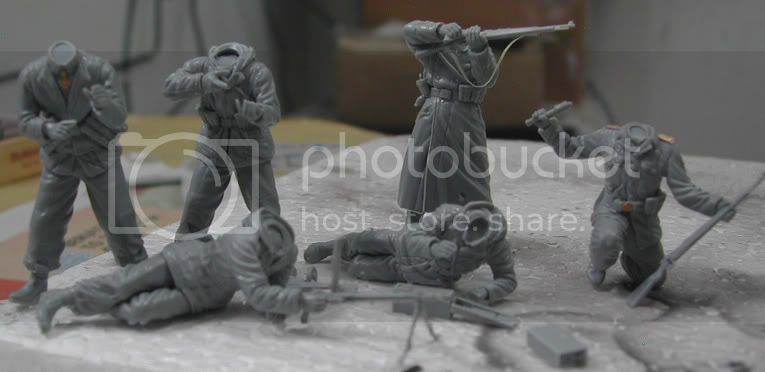
As conclusion, to me this is a good figure set with the only fitting and seam line problems that can be quickly removed by experience modeller. Due to difficulties and many small parts, I would recommend this set to experience modeller but beginner can also build this but care should be taken to some issues which are:
1. Fitting problem. Use filler or any other method to fill the gap
2. Seam line. Make sure theyre removed and do prime your model so that any flaws will be shown. Be carefull when removing seam line in small part like the delicate finger and ears.
3. Test fit all the weapons so that perfect alignment and a realistic grip are achived.
Other than that, enjoy!
Comments and questions are welcome. (since this is my first review, I would love to hear suggestion.)
Next, painting


