Chuck - you can recover from this problem. I believe you applied the Future Floor Finish too thickly as an undercoat for the decal.
What I do is to lay a little bit down with a brush as the undercoat like you did. Then apply the decal and let it setup completely. Once set, apply another coat of Future to seal it and blend in the area. Sometimes, I apply further thin brush coats to buildup a layer of thickness equal to the thickness of the decal. If this is a Tamiya armor decal - go carefully - because these puppies are thick. Once I reach the thickness of the decal itself, one final brush coat of Future blends it in totally. Let the Future setup at least four hours between thickness coats for good results.
Anytime I work decals or dry-transfers with Future, I let it setup overnight, before applying any lacquer gloss or dull cotes.
Another trick I use is what I like to call a "Dust Cote". The photos of my M45 Pershing below show the Dust Cote over top of a Future Finish. I make "Dust Cote" by adding 5 drops of Tamiya XF-57 Buff and 5 drops of Tamiya XF-19 Sky Grey to 1 1/2ounces of Dull Cote Lacquer. I thin this mixture 50% with Lacquer Thinner and apply it with an airbrush. What this does is both flatten your model's finish and creates a soft filter for the colors underneath - wiping out the glossy Future in the process.
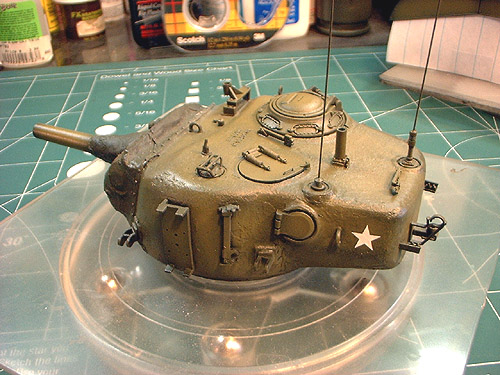
Straight Future applied and blended all over the area of a model above.
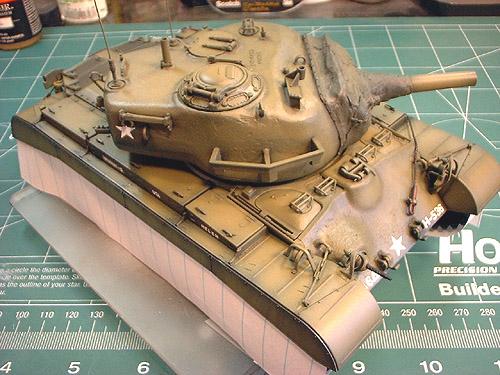
The "Dust Cote" applied as a filter and duller for the sheen. Hope this helps you out a bit...
Gunnie


