Quoted Text
Quoted Text
Just use a piece of wood with the correct sized holes in it.
Simples
The trouble is there are over a dozen punches in the kit ranging from 0.5mm to 2mm and everything in between! I don't have that many drills bits! Also if the dies get knocked theres a risk the die points will break off in the holes.
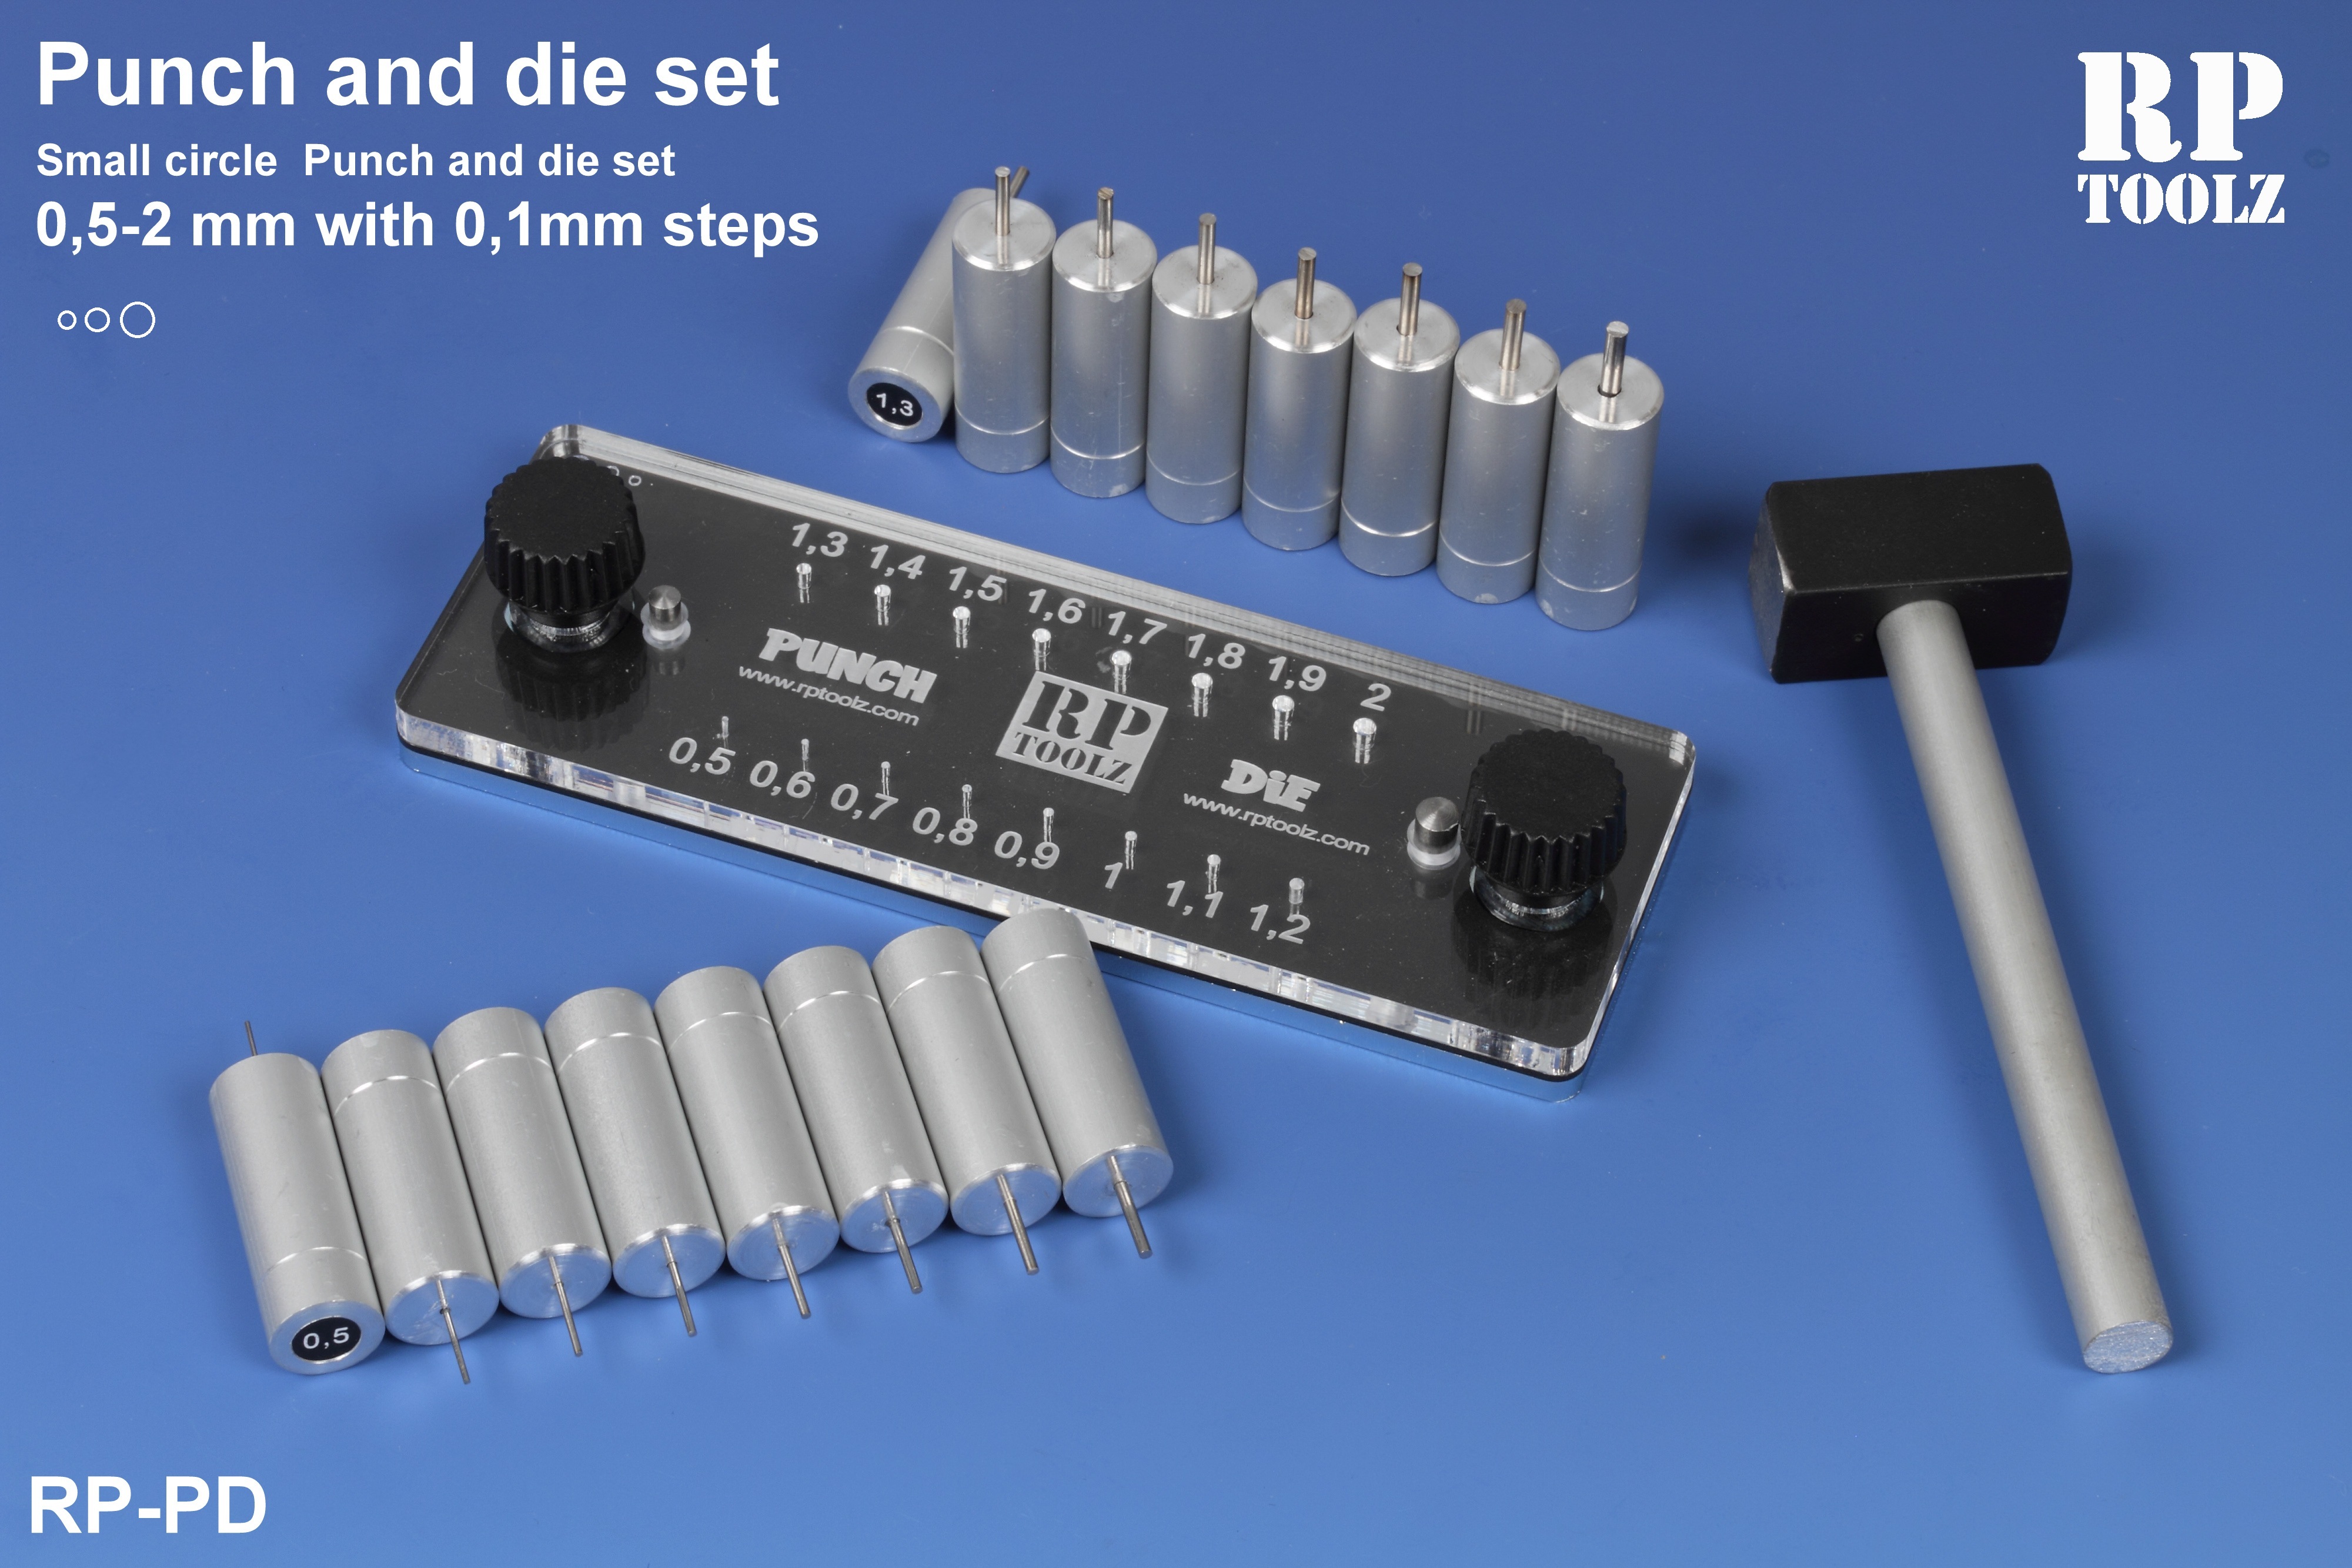
I assume that this is your set?
Read the whole instruction before proceeding.
You need two sizes of drill bits, one for the thicker "handle" part of the punch and one which is larger than the largest punch. If the largest punch is 2.0 mm then use a 4 or 5 mm drill bit. You need two pieces of wood, a thinner one which is about 1/4 of an inch thicker than the length of the protruding piece of the punch (the business end), the other piece of wood should be thicker than 2/3 of the length of the handle part.
Measure the thickness of the handle and mark points on the thinner piece of wood in straight lines, the distance between the points should be the handle thickness + 1/3 to 1/2 inch apart. This depends to some degree on which type of wood you use and the sharpness of the drill bits (hardwood + sharp drills = less distance). If there are 16 punches in the set you could do 4 x 4 points, 4 lines with 4 points in each.
Drill straight through the thinner piece of wood, in the marked positions. Make sure you drill at right angles to the wood, a drill press is very useful for this.
Clamp the two pieces of wood together. If the pieces of wood are not exactly the same size (length x width) you also mark them to keep track of how they fit together, trace the outline of the smaller onto the larger for instance. Use the same drill bit held in your hand to make marks through the holes you just drilled. You can hold the drill bit in your hand.
Now use the large drill bit, the one which is slightly larger than the thick handle part of the punch to drill straight through the thicker piece of wood.
Now you have two slabs of wood with holes with the same distances between the holes. Glue the slabs together using the markings/traced outline to align them.
Now when you insert a punch in a large hole the sensitive business end should be dangling in a smaller hole with some margin between the punch and the walls of the hole.
None of the punches should stick out through the bottom of the small hole. A sufficient part of the handle should be sticking up over the top of the wood.
Trim the edges of the glued together pieces of wood, polish and finish to suit your taste. Find a carton/box which fits the wooden punch holder. When you have read this far you should be thinking about finding a suitable box first and size the wood to fit the box. Also reserve some space for the die set and the little hammer. Maybe add some width or length to the pieces of wood so that the hammer and die fits beside the punches.
/ Robin
An accomplished wood worker/artist would make the whole box out of some fancy hardwood with brass hinges. There would be routed cutouts shaped like the hammer and the die-plate. The lid would have matching cutouts to make sure that everything stays in place when the lid is closed.
Something like this:

But that would take away way too much valuable modelling time .....


