This week I've been working on a special project and if you don't mind I would like to share my progress so far.
Some time ago I was trying to find a 75mm M18 shell casing for an M4 Sherman tank, although I don't have a Sherman tank parked in the backyard I thought it would be a nice historical piece to display in the room...
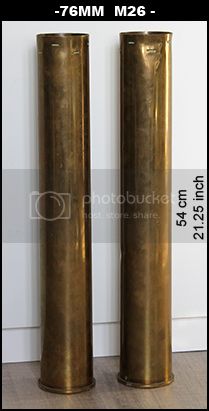
Instead, With a bit of luck I finally stumbled upon these 76mm M26 shell casings. (Standard shell casing for upgunned 76mm Sherman)
Now, I got the crazy idea to make the missing Armor-piercing shells myself, by creating them on my old basic wood-lathe...
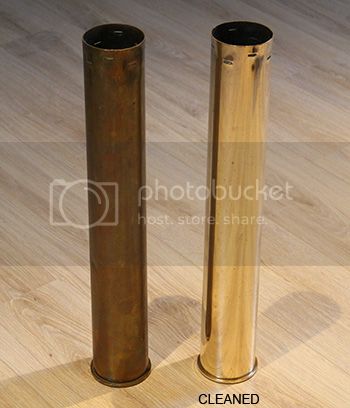
Here's a picture of the shell casings, they are a bit dented and stained but still very nice.
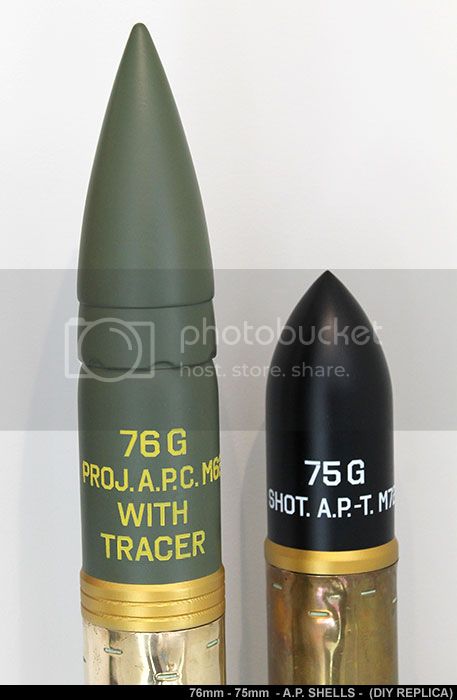
I planned to create a 75mm and 76mm AP shell, as I'm still expecting a 75mm shell casing too.
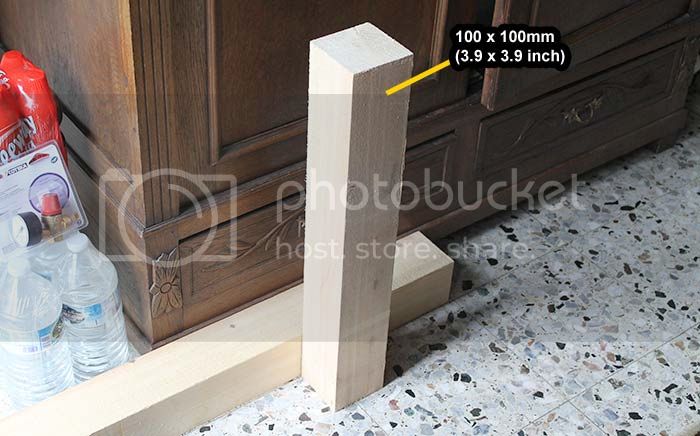
For this I used a big block of pine wood about 100x100mm. (I didn't have any hardwood piece this big)
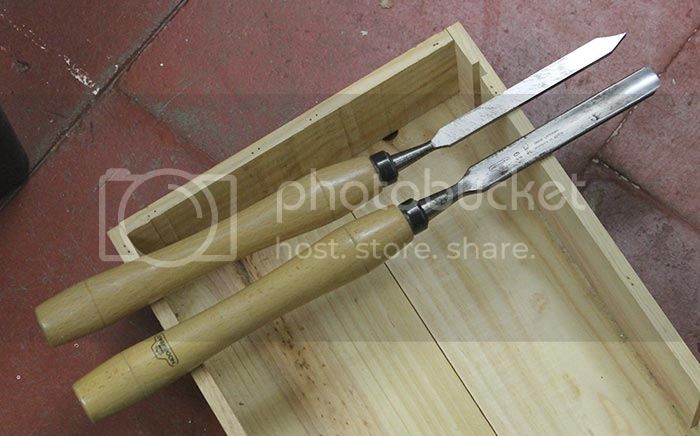
I haven't used my wood-lathe in years (stored at my parents house), so I started by removing rust and cleaning both the lathe and wood chisels...
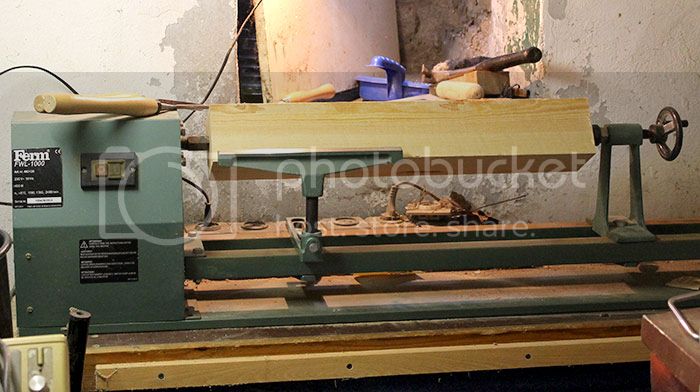
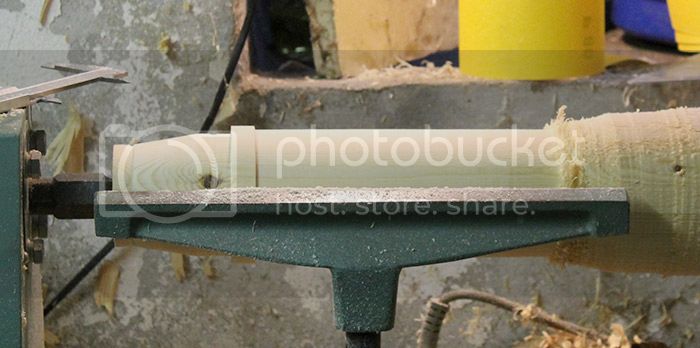
When the place was cleaned up I placed the wood between the centers...
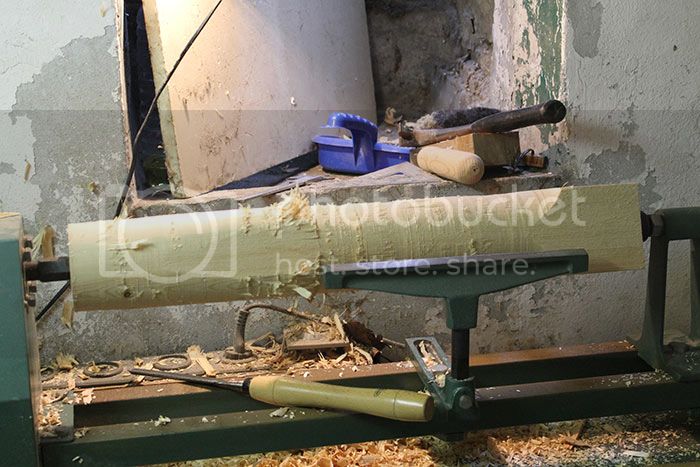
Here I'm roughly rounding the wood, chips flying everywhere...

After a little practice I started working on the 75mm shell, using my drawing and calliper...
75mm AP shell almost done...

I have a basic low-cost wood-lathe, so I don't have a spindle with chuck (claws). Because of this I can't work on the tip of the shell, so I finish the main body of the shell and only work on the tip when almost done.
I then gently reduce the diameter close to breaking point,...
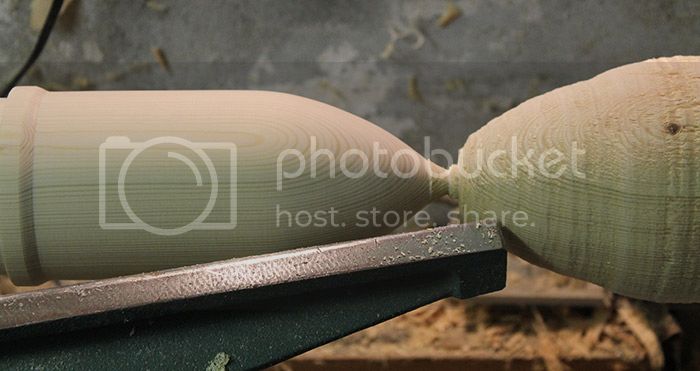
...Until the piece of wood snaps, then I finish the tip of the shell by hand.
right after breaking point...
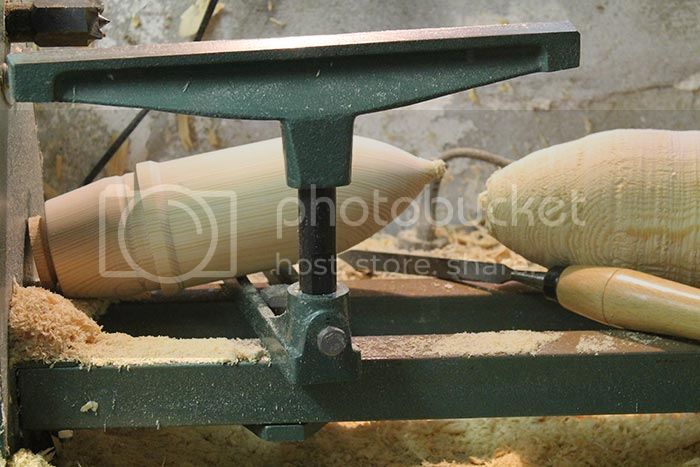
Then I place the other piece back into the lathe for my next 76mm A.P.C shell (capped)
Here you can see me holding the long chisel to carve the wood...

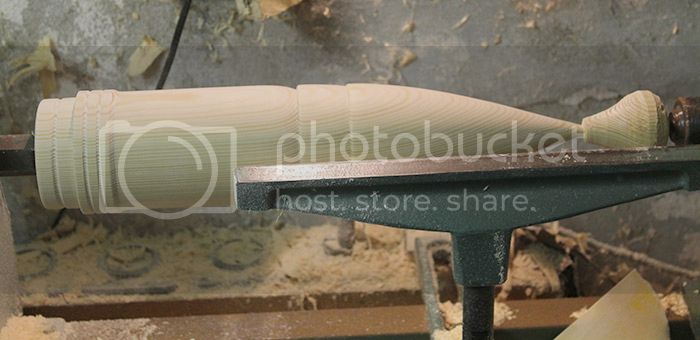
The 76mm shell almost done...
After a few hours it's time to clean up again, wood chips everywhere...
Here you can see the final result before painting
I marked the welds of the soft piercing cap with a black ballpoint...
The welds are carved with a dremel tool
Then I applied a first coat of (stairs)varnish with a soft brush to soak the wood...
First coat of grey primer (spraycan), this solid color reveals all the imperfections, which I tried to improve with a filler (white)...
Second layer of grey primer
The 75mm shell should be black with white markings,
Here 2 coats of black were applied...
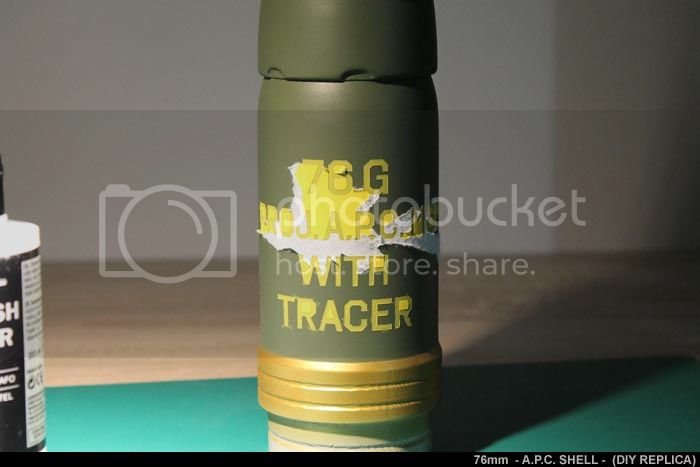
The 76mm shell should be painted late 'Olive drab' with yellow markings,
My olive drab is more of a (early) brown, so I used 'US army green' (Vallejo) instead.
Here I'm using my airbrush, it's a large piece so I slowly work my way up to the top...
The 76mm, Green done

Here I'm masking the 'Driving band' with Tamiya masking tape 6mm...

Then a first coat of 'Brass' (Vallejo) with the airbrush. The shells are masked further with some paper...
Peeling of the masking tape...
Final result after painting...
Then I started cleaning up the shell casings,
I used vinegar and salt to clean the brass, but that didn't work very well, so I bought this bottle of brass-polish...
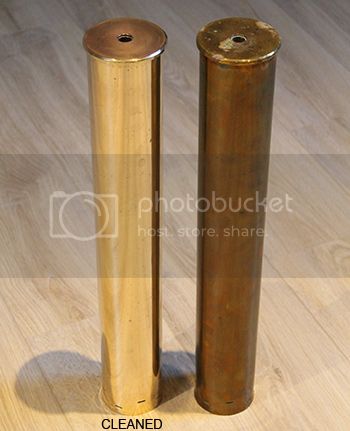
After a lot of rubbing I got one shell casing clean, you can clearly see the difference.
I probably can get it even a little bit better if I have more time.
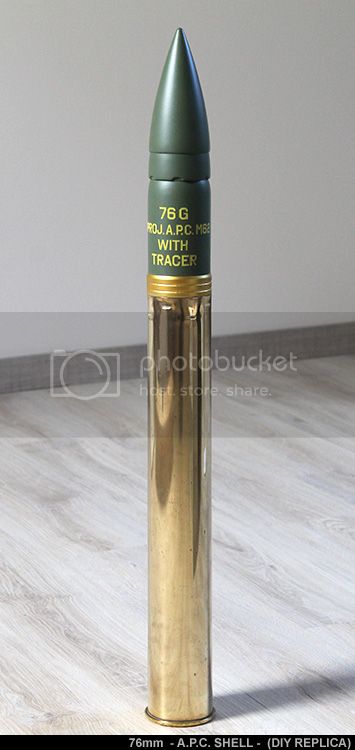
Here the wooden shells are fitted into the shell casings.
I've put the names of the parts in the picture...
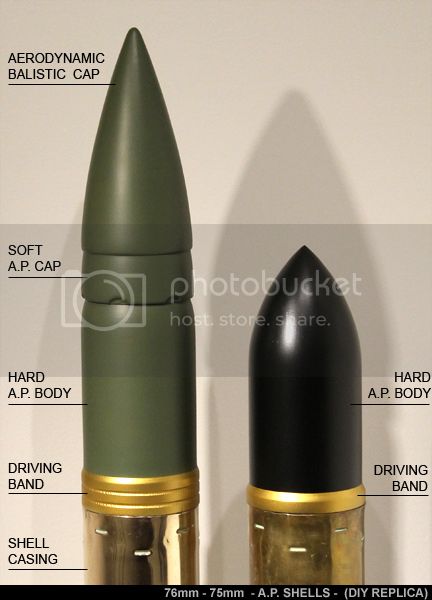
DRIVING BAND : takes the shape of the helical grooves inside the barrel, this makes the projectiles spinning for more accuracy. Also prevents hot gas leaking. (loss)
HARD PIERCING SHELL : The hard shell that goes through the steel of the enemy tank (includes TNT/fuse or tracer)
SOFT PIERCING SHELL : Protects the hard shell from scattering before penetrating the steel plate, by distributing the impact forces on the hard shell
BALLISTIC CAP : Makes the Soft piericing shell more aerodynamic, reducing drag, increasing speed. It's hollow and does not survive the impact.
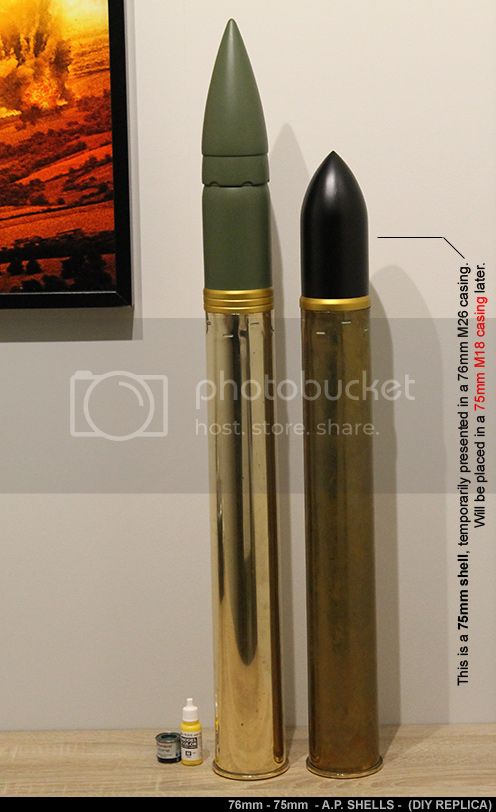
Here is full picture, shells in place (The second shell casing still needs to be cleaned, and still needs an other type of shell)
It's very huge! (Vallejo bottle and humbrol on the left)
TODO:
I still have to apply the markings (white on 75mm, yellow on 76mm), maybe a little metal weathering but I'll probably wait a bit for that...
Many thanks for reading! Hope you enjoyed it as much as I did

Kind regards,
Steven