its BUFFALO TIME 1/10 mostly scratch AKA BONE
New Jersey, United States
Member Since: May 21, 2011
entire network: 226 Posts
KitMaker Network: 227 Posts
Posted: Wednesday, October 30, 2013 - 10:32 AM UTC
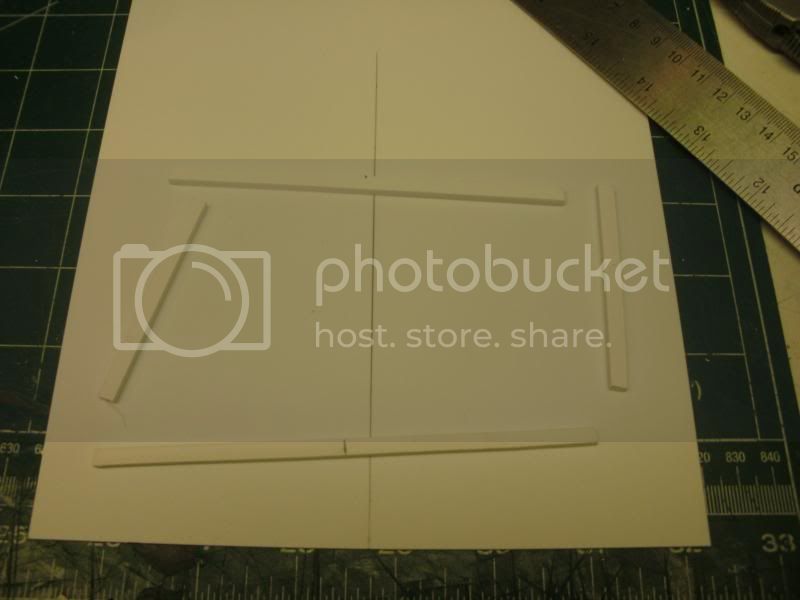
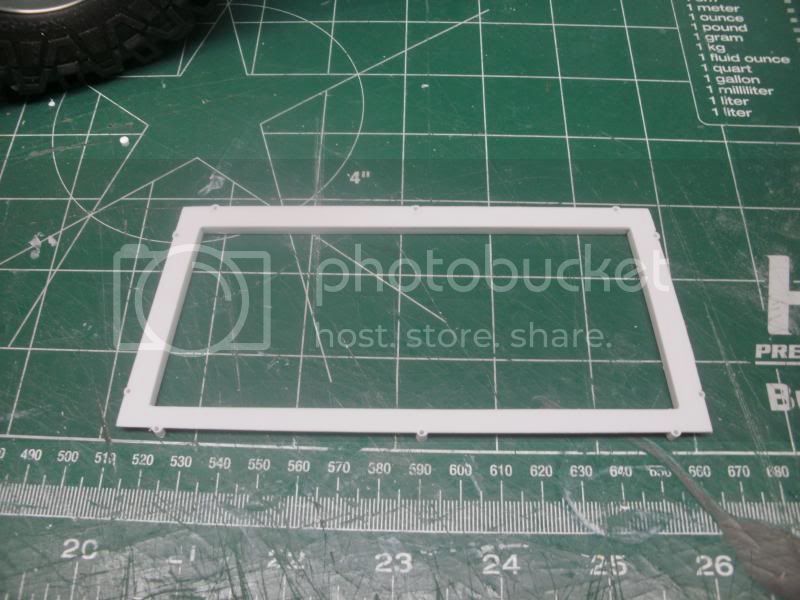
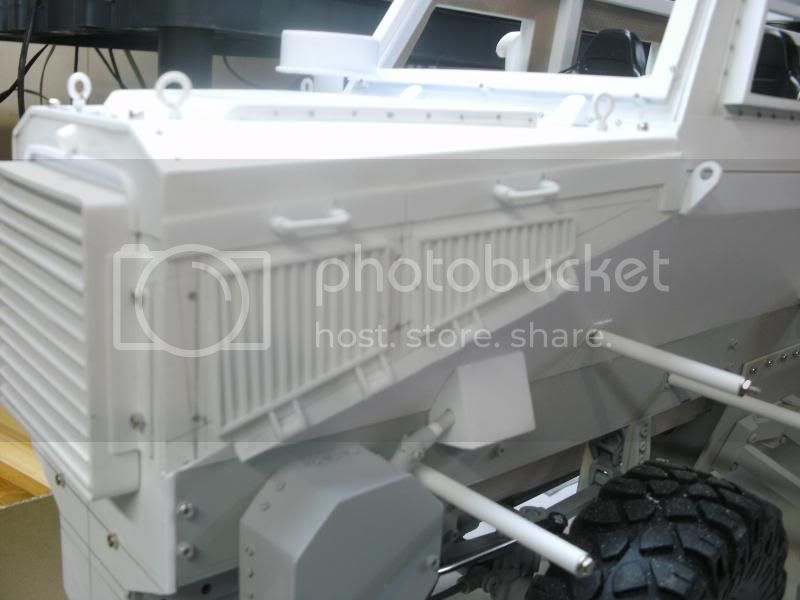
today I started on the wind shield , looking at the real truck it has an 5 inch thick window for protection.
so I cut , glued, drilled , made and installed it
I had some time left so, I made the net 2 pieces that go to the sides of the hood
New Jersey, United States
Member Since: May 21, 2011
entire network: 226 Posts
KitMaker Network: 227 Posts
Posted: Thursday, October 31, 2013 - 10:17 AM UTC
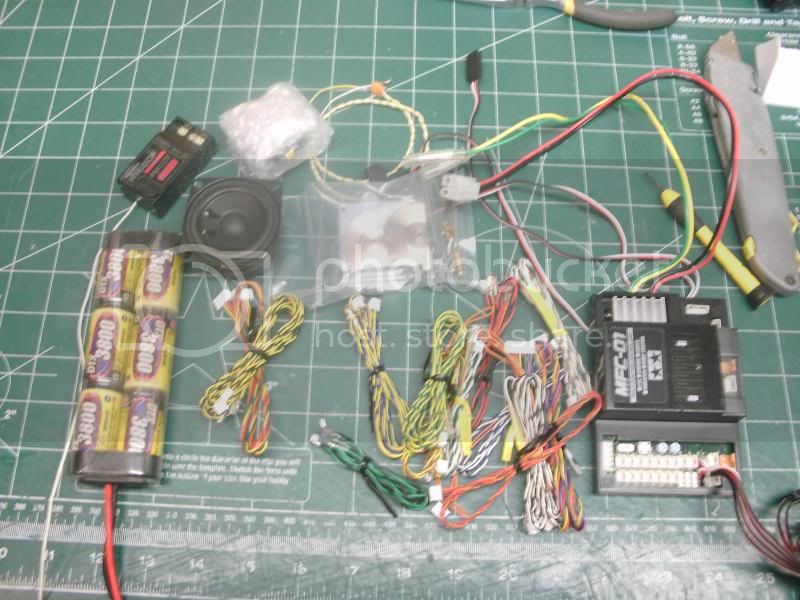
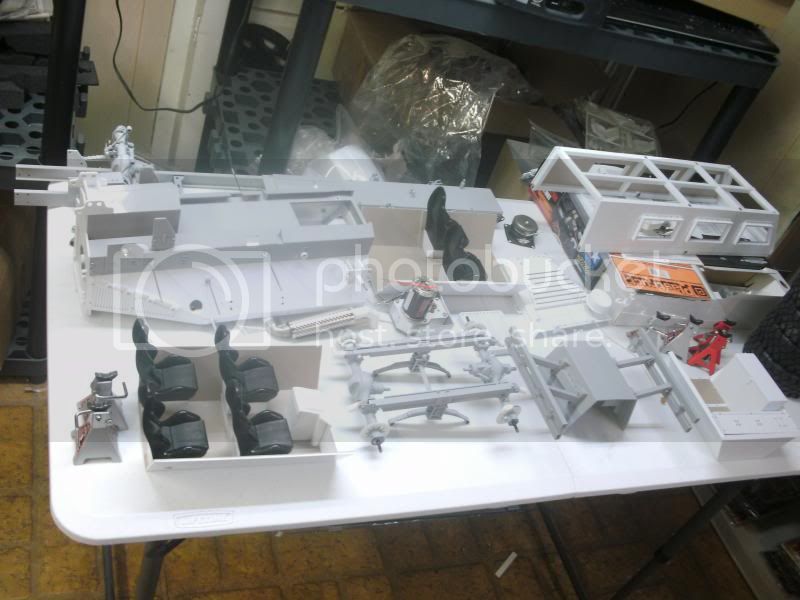
today was day from hell. I hate electronics, love to build though.
any way, I have everything to install, light, sounds, esc , battery(grade later to 5000mah) speaker
rear lights are in, will make bucket later
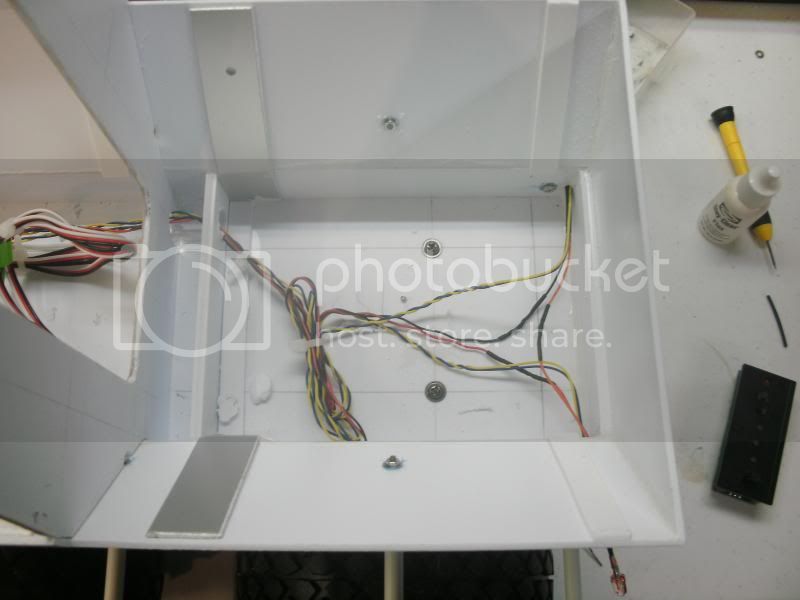
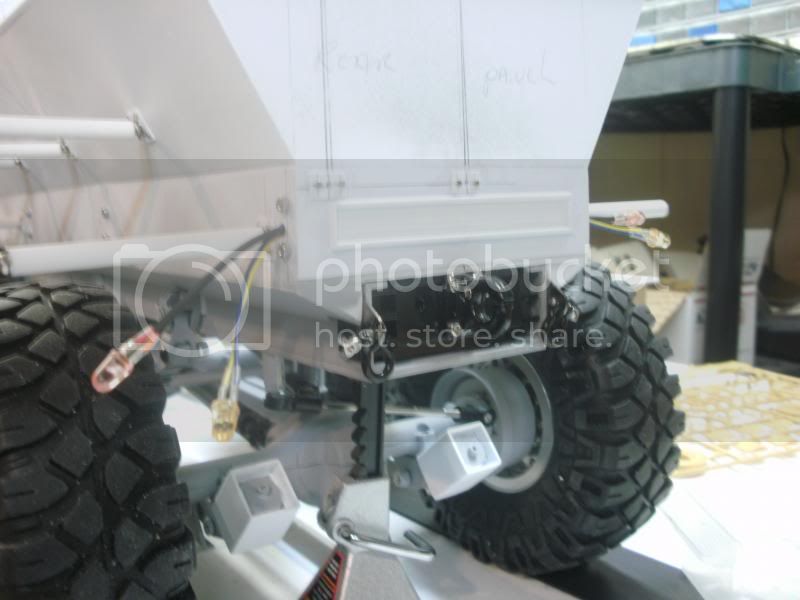
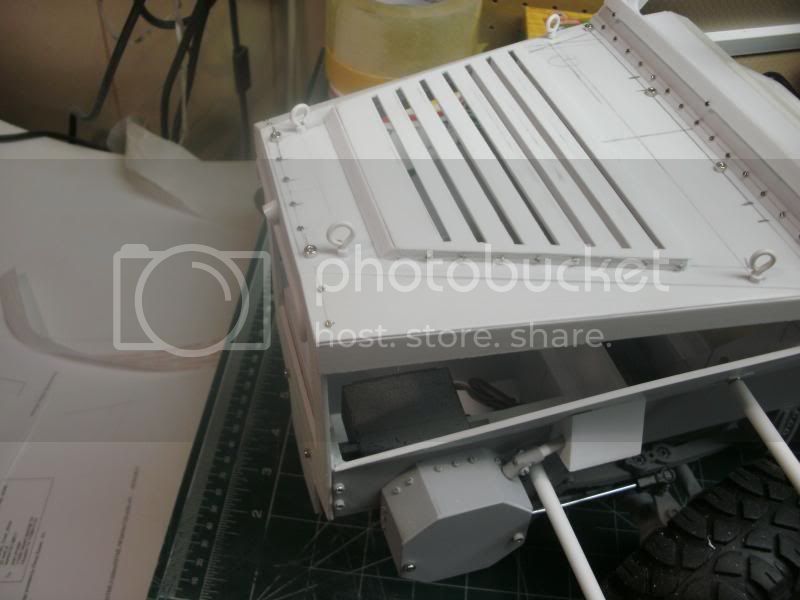
have to make a lot of change in rear of the cab,
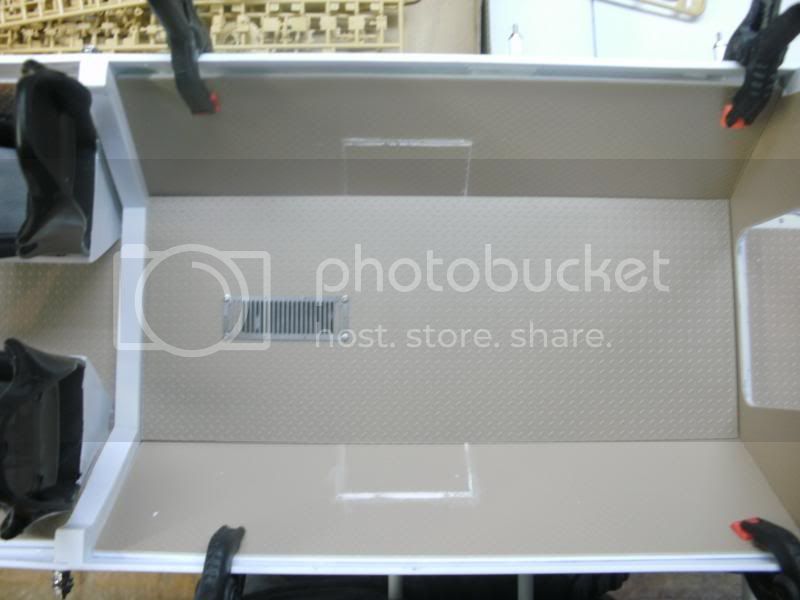
I was able to keep the sides, but the floor I have to raise 6mm

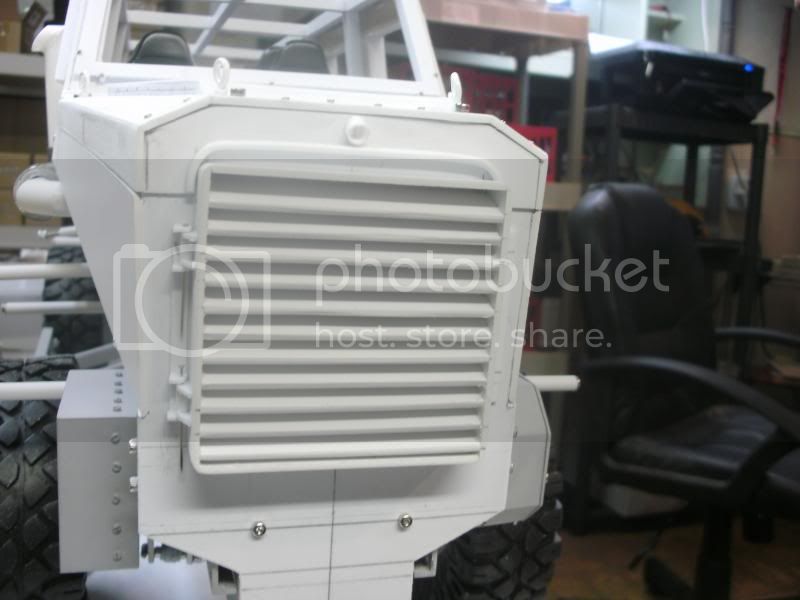
the mfu needs airflow, I remade the fllor and cut out a vent
New Jersey, United States
Member Since: May 21, 2011
entire network: 226 Posts
KitMaker Network: 227 Posts
Posted: Saturday, November 02, 2013 - 07:03 AM UTC
interior is back in
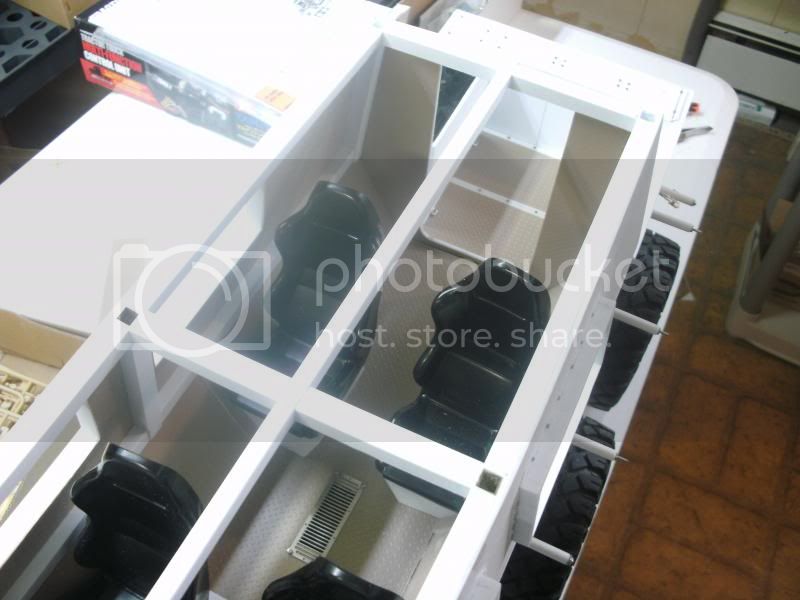
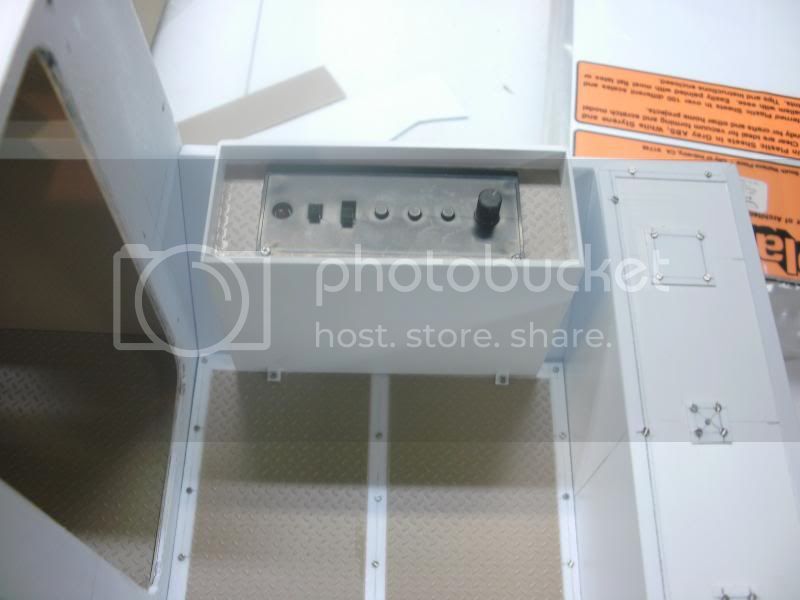
the mfu unit has a control panel. the truck has some kind of storage box in the back bay, so I will make the storage box and put the control panel in it , I still need to make an opening door for it
Ontario, Canada
Member Since: August 05, 2003
entire network: 1,698 Posts
KitMaker Network: 130 Posts
Posted: Monday, November 04, 2013 - 05:00 AM UTC

wow!
Have you got any other scratchbuilds like this on Armorama? Would love to see your other stuff.
The fact that its gonna be RC is the icing on the cake!
Why plan when you can react?
New Jersey, United States
Member Since: May 21, 2011
entire network: 226 Posts
KitMaker Network: 227 Posts
Posted: Monday, November 04, 2013 - 07:44 AM UTC
Quoted Text
wow!
Have you got any other scratchbuilds like this on Armorama? Would love to see your other stuff.
The fact that its gonna be RC is the icing on the cake!
Oshkosh airport fire truck and a hemtt
New Jersey, United States
Member Since: May 21, 2011
entire network: 226 Posts
KitMaker Network: 227 Posts
Posted: Monday, November 04, 2013 - 07:46 AM UTC
I had to reinforce the sides with plastic square stock and with metal inserts
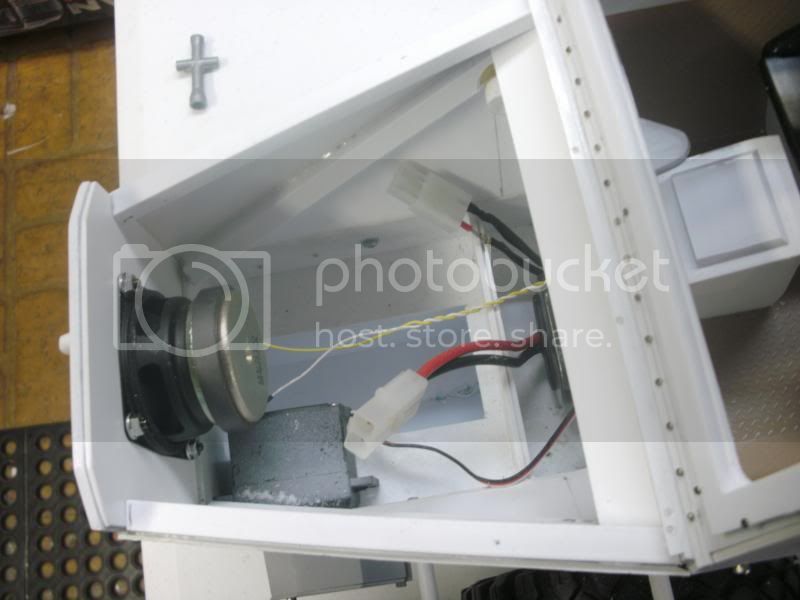
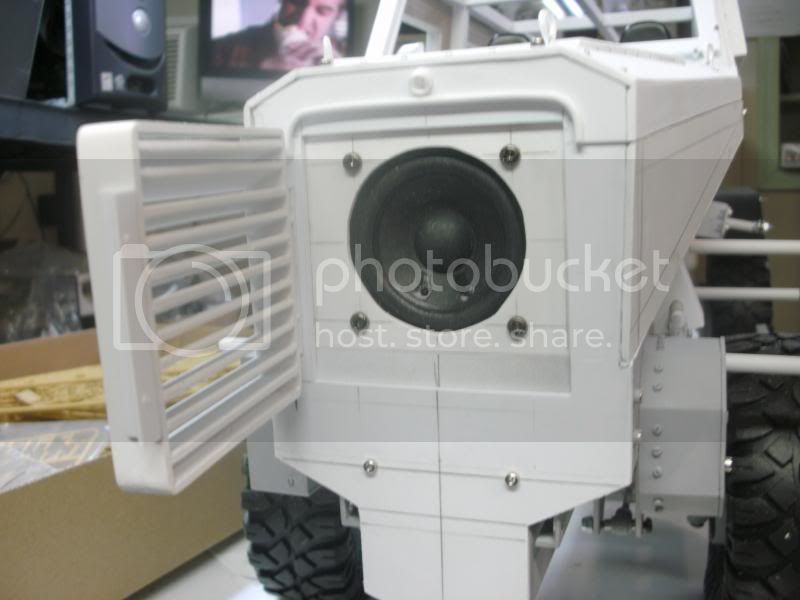
next I installed the speaker
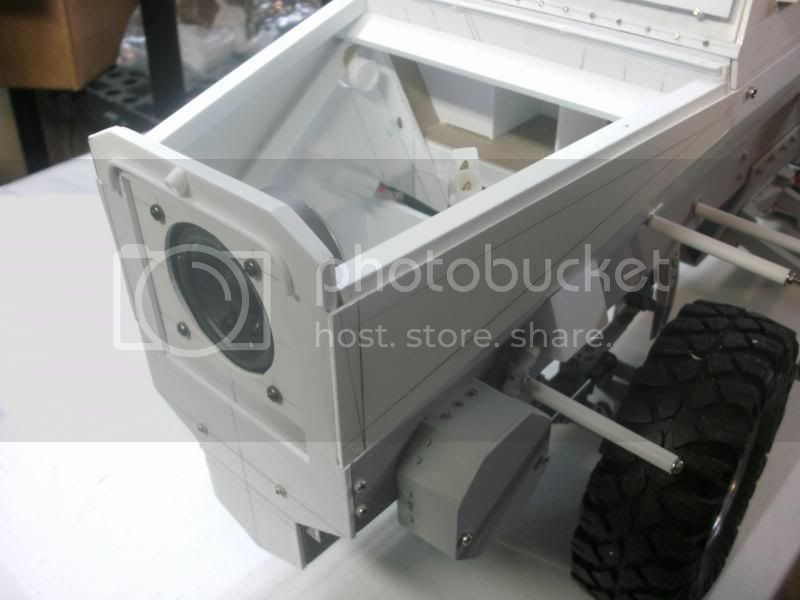
reattached the hood and sides
New Jersey, United States
Member Since: May 21, 2011
entire network: 226 Posts
KitMaker Network: 227 Posts
Posted: Monday, November 04, 2013 - 11:55 AM UTC
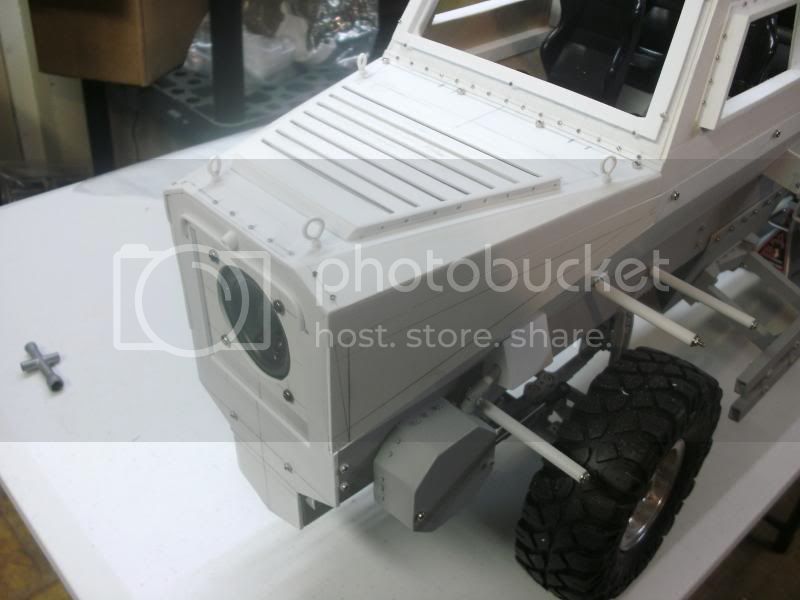
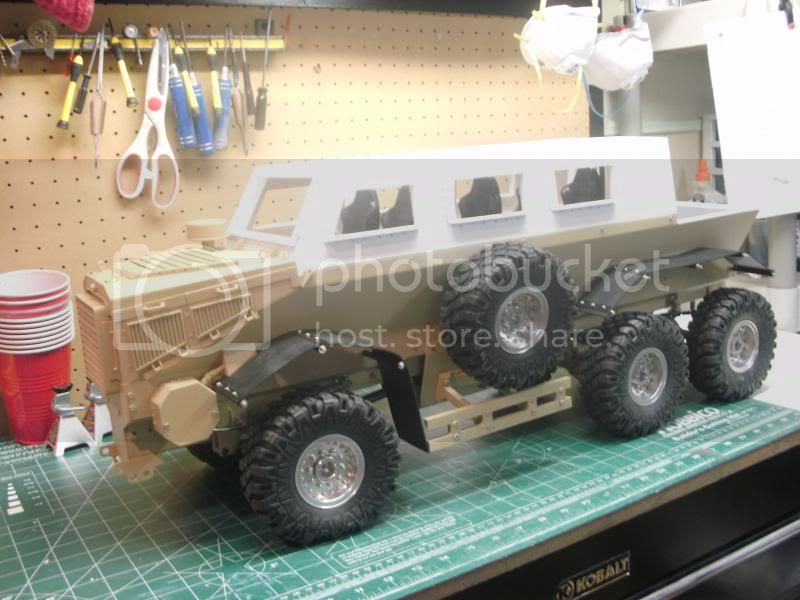
I made the grill and made the hinges
hey its a working door
New Jersey, United States
Member Since: May 21, 2011
entire network: 226 Posts
KitMaker Network: 227 Posts
Posted: Tuesday, November 05, 2013 - 08:40 AM UTC
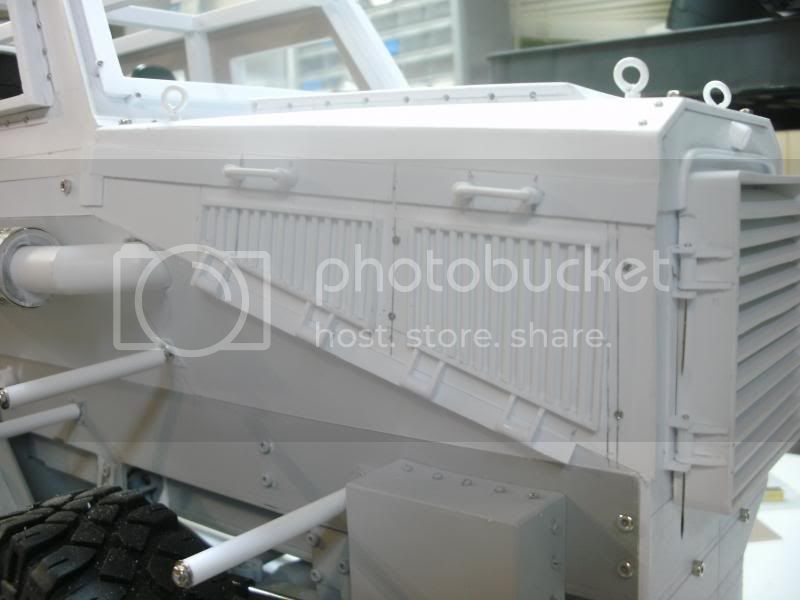
today I worked on the side of the hood, theres a lot of parts to make here . tomorrow I will do the other side
England - North West, United Kingdom
Member Since: September 20, 2008
entire network: 365 Posts
KitMaker Network: 75 Posts
Posted: Tuesday, November 05, 2013 - 08:52 AM UTC
Keep up the good work its looking awesome, can't wait to see it painted and running.
New Jersey, United States
Member Since: May 21, 2011
entire network: 226 Posts
KitMaker Network: 227 Posts
Posted: Tuesday, November 05, 2013 - 11:55 AM UTC
I made the lid/door to the rear storage box


New Jersey, United States
Member Since: May 21, 2011
entire network: 226 Posts
KitMaker Network: 227 Posts
Posted: Wednesday, November 06, 2013 - 10:11 AM UTC
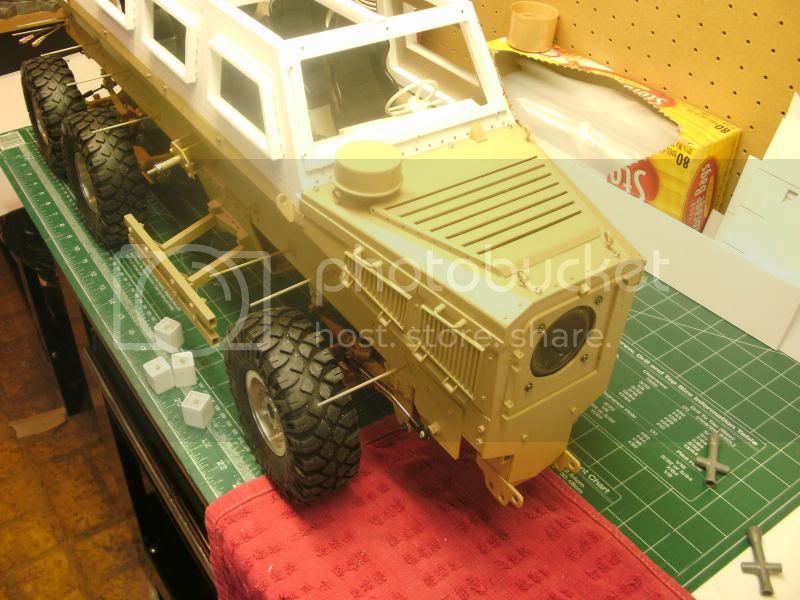
today I made the air cleaner, wind shield wiper mounts and started on the right side hood
here I finished the right side
Napier, New Zealand
Member Since: August 01, 2005
entire network: 1,049 Posts
KitMaker Network: 30 Posts
Posted: Wednesday, November 06, 2013 - 10:26 AM UTC
Wow - just fantastic engineering.
Sorry I missed this before ........
cheers
Brent
Available for commissions,visit my Flickr Albums and modelling/painting blog to discuss .......
http://houseofqueeg.wordpress.com/
https://www.flickr.com/photos/134514258@N04/albums
New Jersey, United States
Member Since: May 21, 2011
entire network: 226 Posts
KitMaker Network: 227 Posts
Posted: Thursday, November 07, 2013 - 04:27 AM UTC
Quoted Text
Wow - just fantastic engineering.
Sorry I missed this before ........
cheers
Brent
cant miss this one, shes huge , thanks man
New Jersey, United States
Member Since: May 21, 2011
entire network: 226 Posts
KitMaker Network: 227 Posts
Posted: Thursday, November 07, 2013 - 04:30 AM UTC
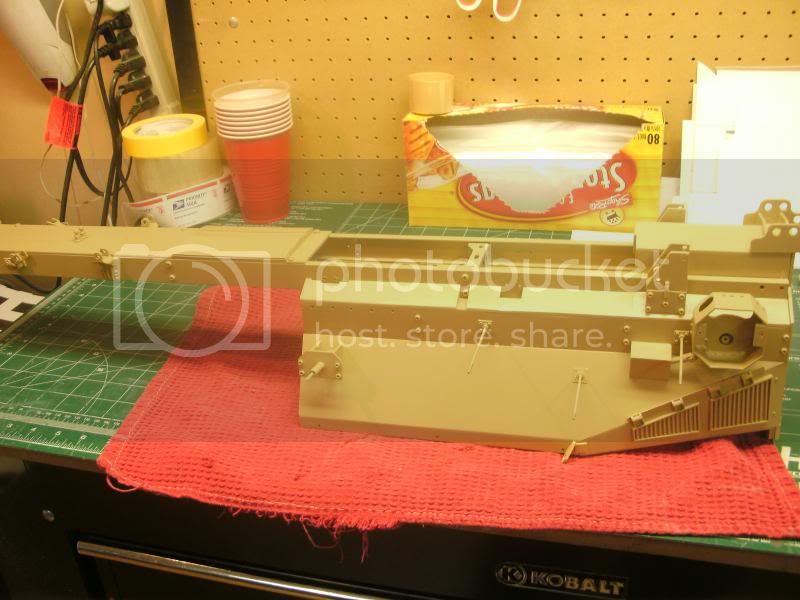
GOOD NEWS and BAD NEWS , bad news is I have to take apart. good news is , the lower hull will be painted
a day of disassembling, sanding and painting . im thinking 3 days
New Jersey, United States
Member Since: May 21, 2011
entire network: 226 Posts
KitMaker Network: 227 Posts
Posted: Thursday, November 07, 2013 - 11:41 AM UTC
damn, there goes a quick 3 cans of paint
New Jersey, United States
Member Since: May 21, 2011
entire network: 226 Posts
KitMaker Network: 227 Posts
Posted: Friday, November 08, 2013 - 08:53 AM UTC
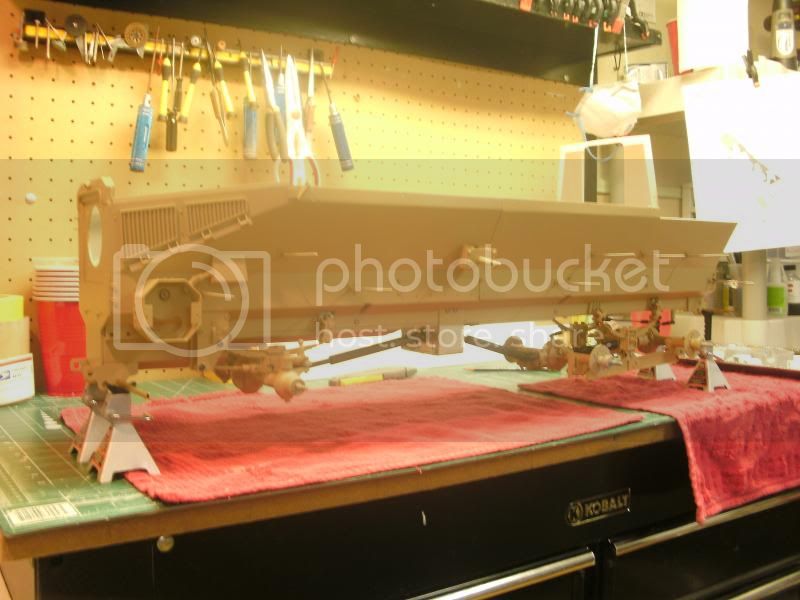
I kept the drive shafts black, linkage black and painted the brake drums flat black . still need to paint the air containers
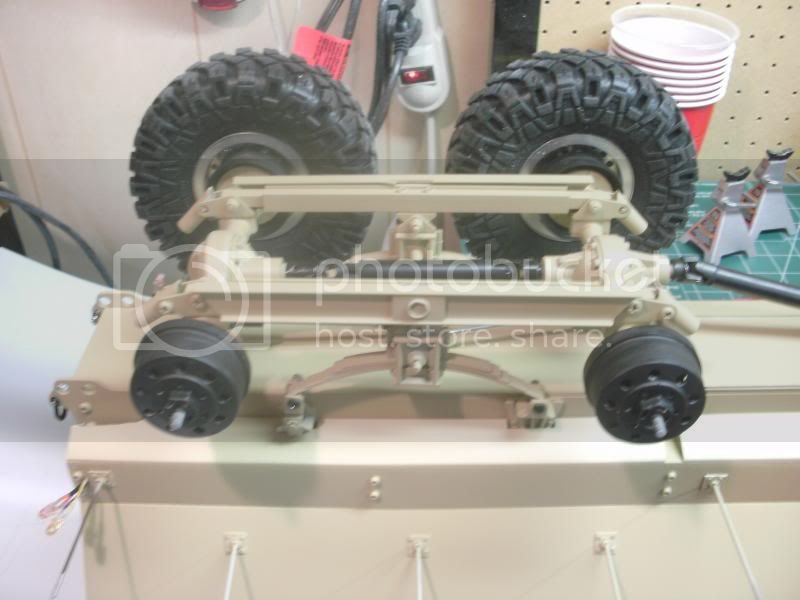
little by little she's coming back together , I cant paint the roof yet, as there is a lot of parts that I still need to make
New Jersey, United States
Member Since: May 21, 2011
entire network: 226 Posts
KitMaker Network: 227 Posts
Posted: Sunday, November 10, 2013 - 05:21 AM UTC
some small updates
Oklahoma, United States
Member Since: March 01, 2002
entire network: 6,043 Posts
KitMaker Network: 1,603 Posts
Posted: Sunday, November 10, 2013 - 11:26 AM UTC
Beautiful job, dang that looks crazy good.
Question where did you get the Diamond plate from?
Jeff

New Jersey, United States
Member Since: May 21, 2011
entire network: 226 Posts
KitMaker Network: 227 Posts
Posted: Monday, November 11, 2013 - 12:54 AM UTC
thanks man ! towerhobbies has the diamond plate
New Jersey, United States
Member Since: May 21, 2011
entire network: 226 Posts
KitMaker Network: 227 Posts
Posted: Tuesday, November 12, 2013 - 07:33 AM UTC
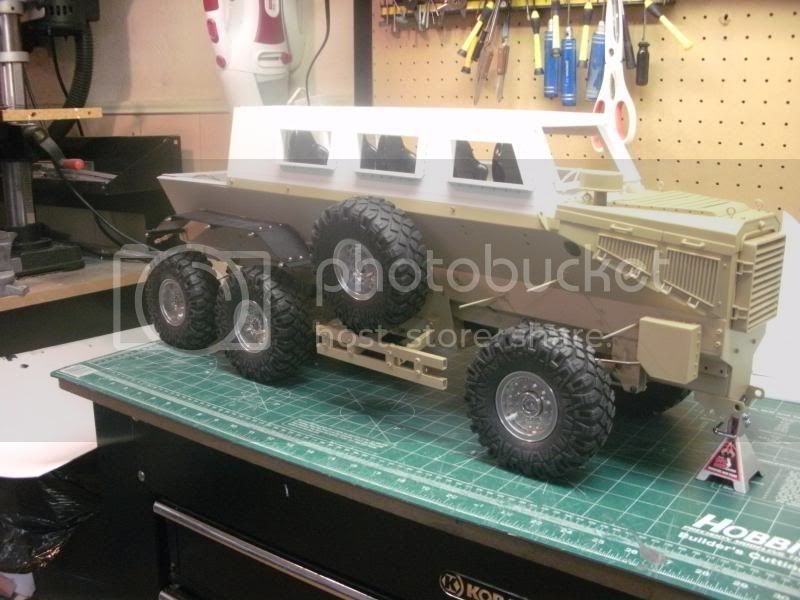
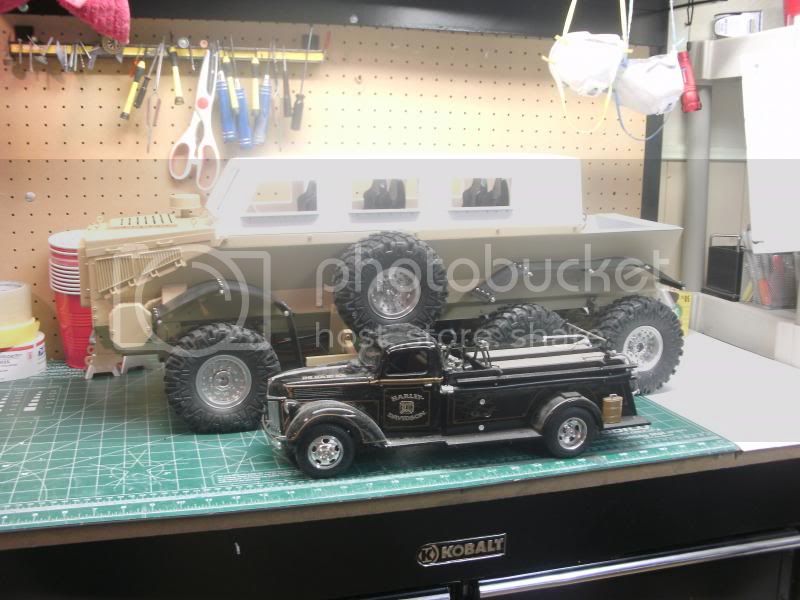
right fenders are on
for comparing to a 1/16 scale truck
New Jersey, United States
Member Since: May 21, 2011
entire network: 226 Posts
KitMaker Network: 227 Posts
Posted: Tuesday, November 12, 2013 - 09:55 AM UTC
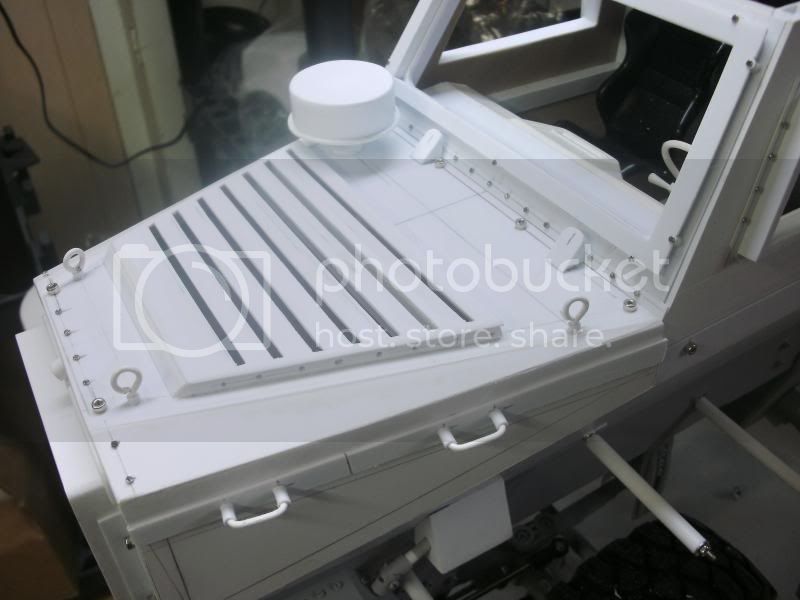
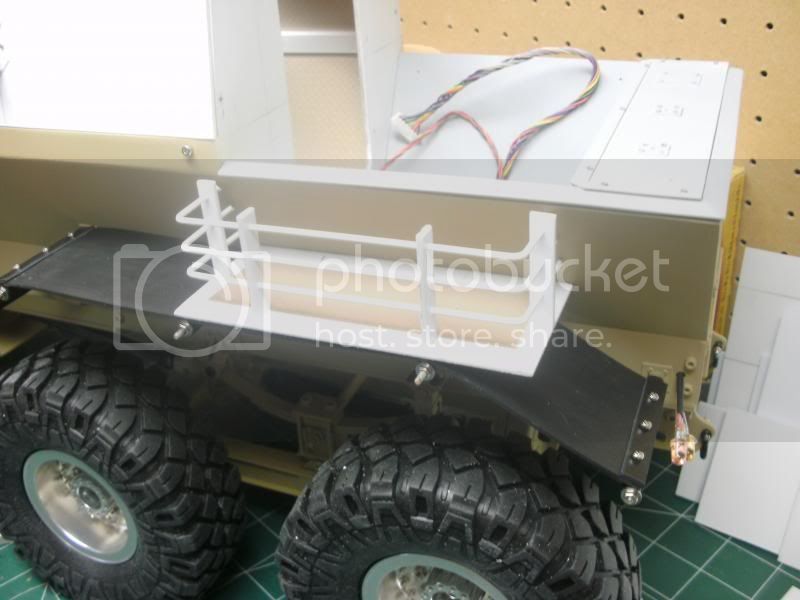
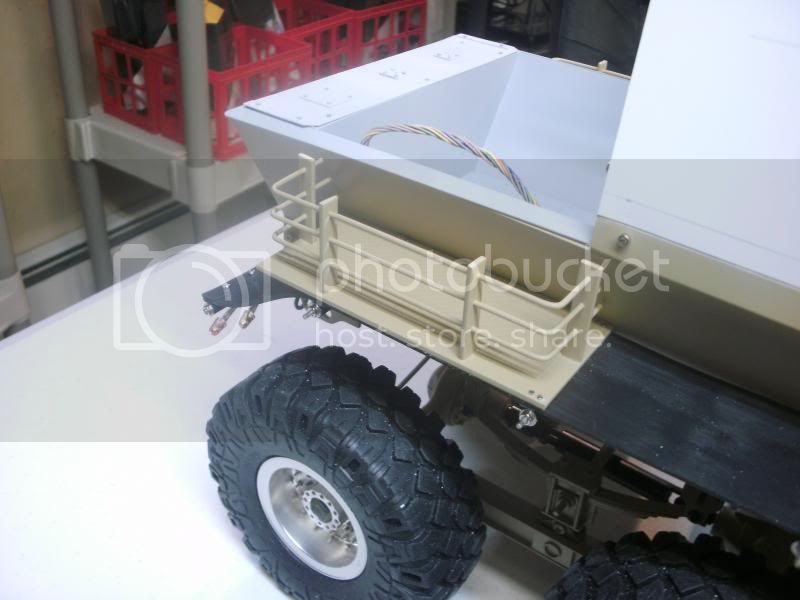
theres a couple of platforms that sit on top the rear fenders , I made one so far
New Jersey, United States
Member Since: May 21, 2011
entire network: 226 Posts
KitMaker Network: 227 Posts
Posted: Wednesday, November 13, 2013 - 10:43 AM UTC
these are the parts that I cut and put together for the platform . this is the right side that made today

here it is finished and painted
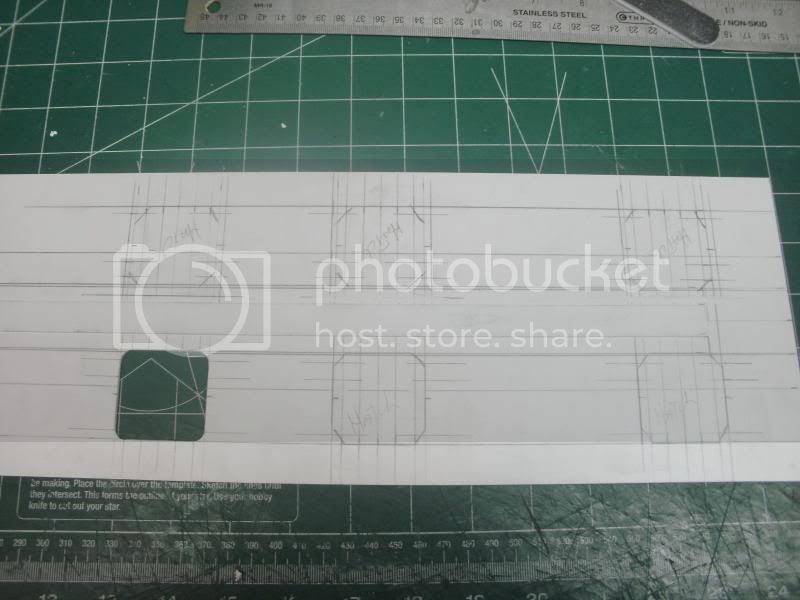
next I started on the roof top. there is 6 hatches to be cut and made .
New Jersey, United States
Member Since: May 21, 2011
entire network: 226 Posts
KitMaker Network: 227 Posts
Posted: Thursday, November 14, 2013 - 10:09 AM UTC
started on the roof
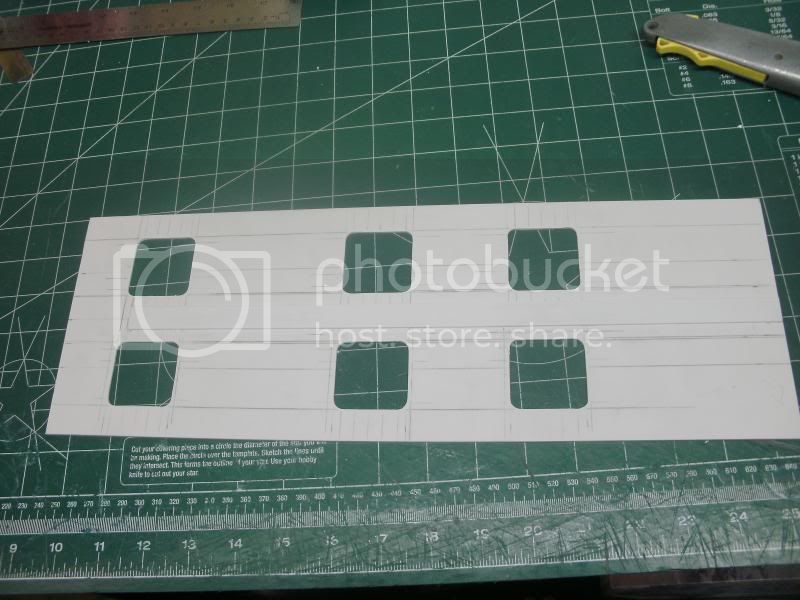
cut the holes, drilled 96 holes and started with the micro screws
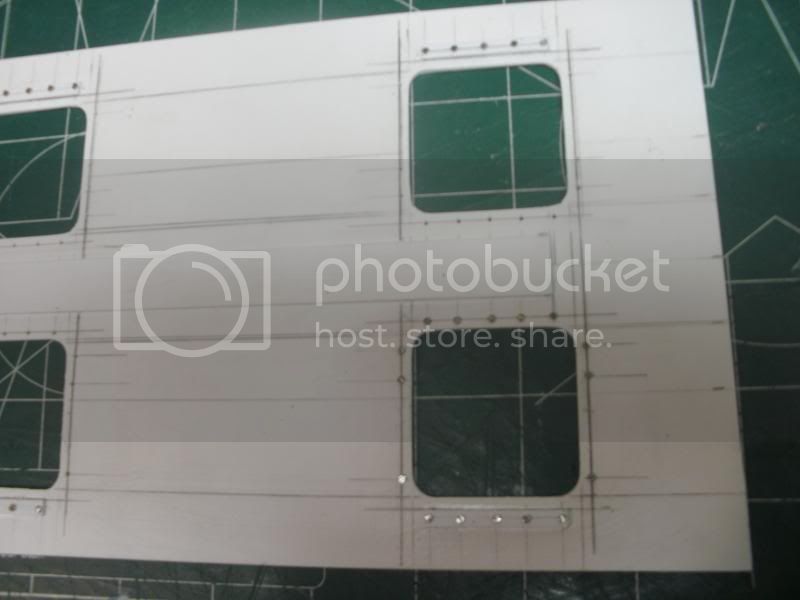
screws are in, roof Is glued , tomorrow I will sand and start on the hatches
Canada
Member Since: December 30, 2011
entire network: 902 Posts
KitMaker Network: 93 Posts
Posted: Friday, November 15, 2013 - 09:03 AM UTC
Illinois, United States
Member Since: November 03, 2013
entire network: 77 Posts
KitMaker Network: 1 Posts
Posted: Friday, November 15, 2013 - 05:01 PM UTC
Very Impressive, I know I cannot pull something off like this. My hat is off to you.
I know it's RC, I just see it flipping over and something breaking in my head. The horror!


