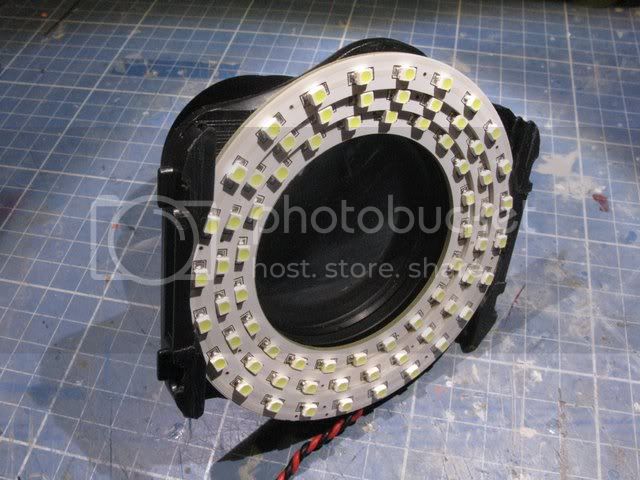
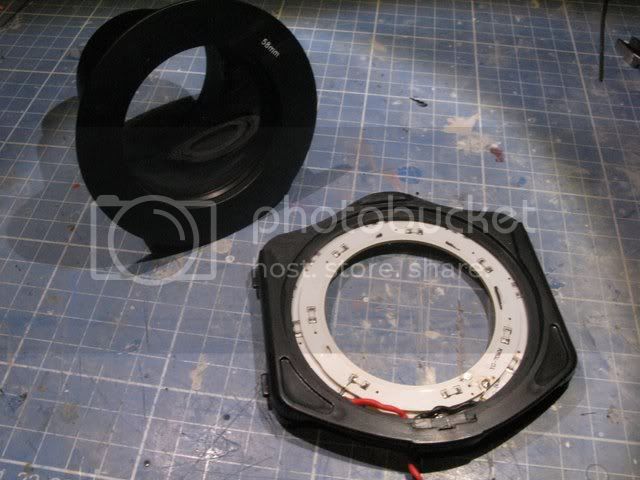
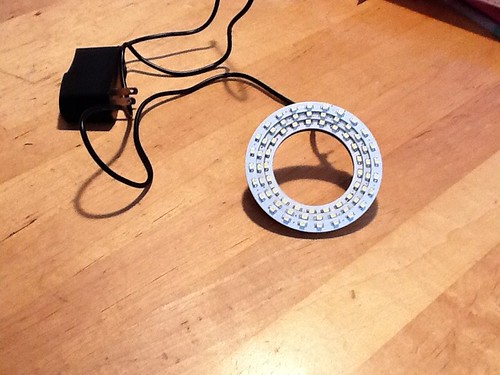
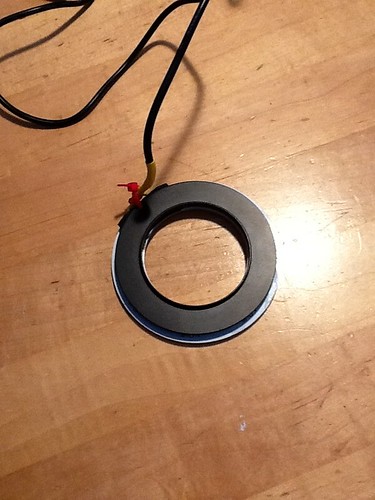
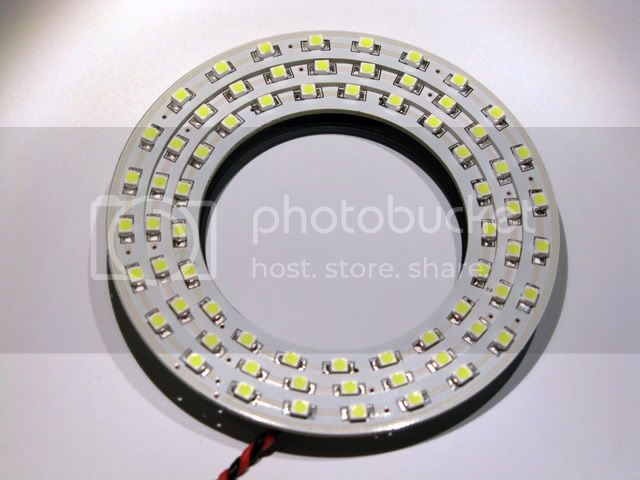
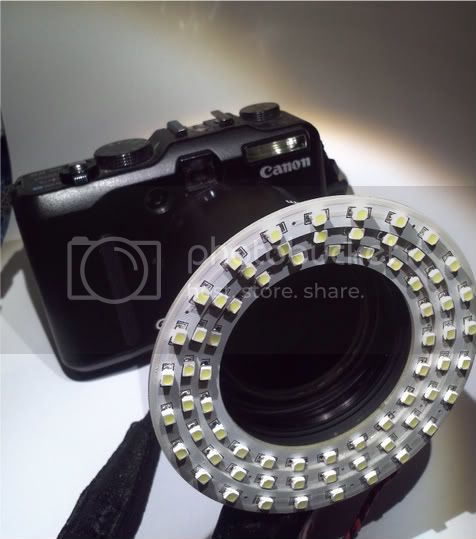
I visited a web page that got some Extreme Deals. There I bought some LED rings that is made for using as parking lights inside the headlight, like the one in BMW cars, angeleyes or something like that. The webpage had the rings is several sizes, so I ordered 3 different to check if any of those would fit my filter treads. When I got the led-thingies they (almost) fit inside each other, nothing a dremel tool could not fix.
A few minutes, solder and some CA-glue later I got myself a macrolight. I have not made any electronics to adjust the intensity yet, nor have I found a good way to mount the battery. I am going to use a Li-Po battery, so far I have just used the battery from my RC plane (11.1V 1300mAh) but I am going to get a separate battery for this appliction.
First some pictures of the lights, then some examples what to expect from this gadget.

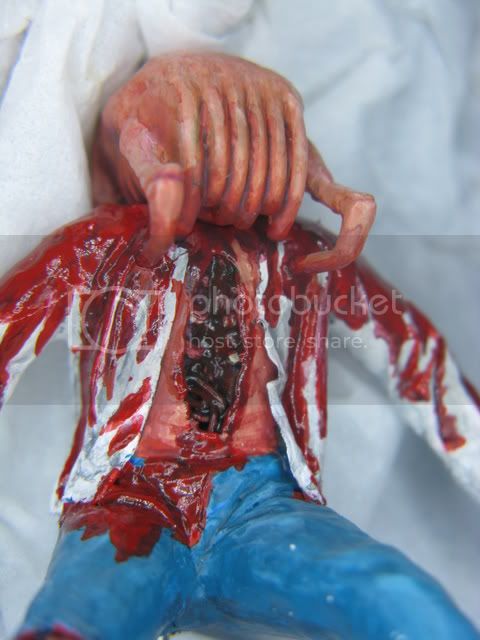
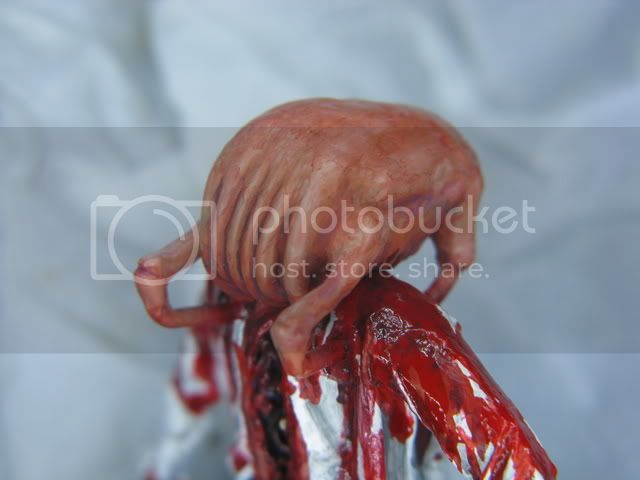
A toy figure I found in my partsbox.

Then one of my favorites, a zombie with a headcrab