I'm nobody special..just have a few attempts under my belt, that's all.
As for leaving no marks that's an easy one;
-1st off, the secret to a good fill job is to layer thin layers{.020ish} one at a time and never glop it on thick....and a clean subject for the filler to go onto is always a good practice as well. Soap and water with an air dry will remove any finger oil for best adhesion results.
Use whatever you like to apply it with....popcicle stick, scrap piece of strip stock{my fave- but that's me}...just don't use your fingers.
Let it dry for a good day then work it with sanding sticks or sand paper - use high grit, meaning 400 for fairly quick takedown and 600-800 or more for a nice smooth finish...I've seen guys use 1200plus grit and get it as smooth as glass.
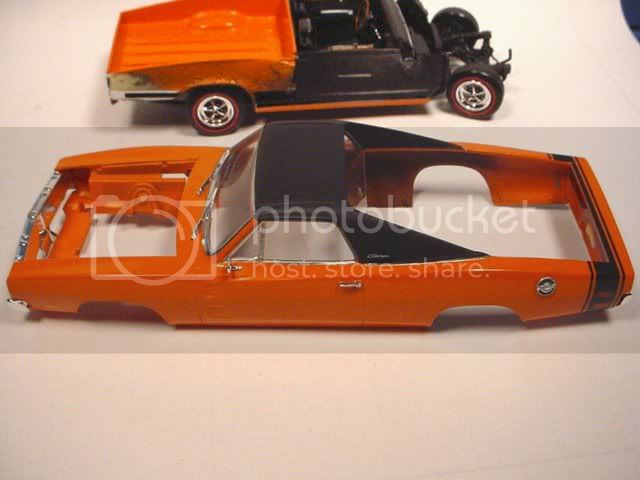
Fill the area{s} then sand flush so it's nearly transparent around the edges for a smooth blend..I like wet sanding not only to rinse the excess away but to clean the piece up as well.
Seal with a good automotive primer and your ready for paint...gloss thru flat. If you should see any pin holes or lines where it's not blended well enough just rehit with filler or sanding till your happy.......take your time and take it to the level your happy with and you'll like the results.
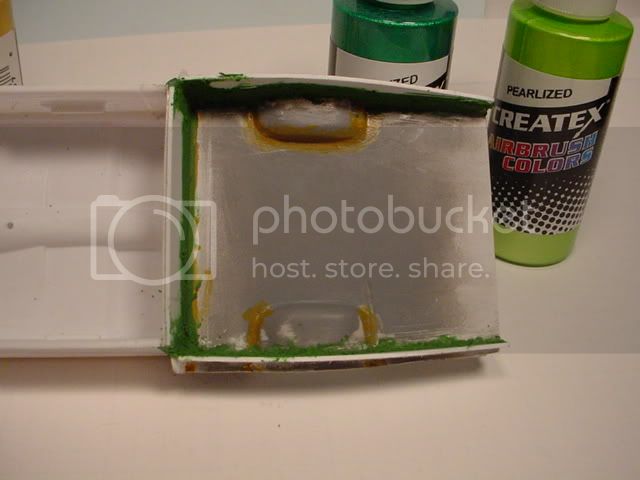
Me, I happen to like two types of filler...and like anyone "these are My faves" but as we all know, everyone has a favorite glue, paint company product and well, filler is no different here. My choices are simple Squadron green putty filler...I have some white around here somewhere but have not used it yet-

. The other is Bondo glazing putty made for cars{real ones} but it works for models too. The Bondo glazing putty WILL crack when it dries if you put it on too thick and sometimes even tries to crack if it's thin...however...one can simply overfill that with another filler and be fine. Perhaps I didn't squish it enough to mix it well...some of those sit on the shelf for awhile and try to separate - I think mine did!
As for the beveling tool...I don't know man...there's alot of folks who have just and will just do the oldschool thing by joining two pieces together in an overlap joint - 9.9 out of 10 folks do, but that doesn't mean to take the wind out of your sail for the beveling tool idea. I would ask you this though my friend, which would be less work to achieve your goal, beveling all the mating surfaces, then gluing, then sanding and hoping for no gaps or anything to fill...or...mate parts in the overlap fashion and sand and fill as needed{kinda faster if ya know what I mean}. You can always add some square stock or another lap joint for areas that need a good rounding or added strength- any triangle stock you may see is usually not designed to be used in a 90 degree corner or at least not very well{I've tried}.
Hey- I don't/won't tell people how to build models or what to build so this applies here, and if your heart tells you to bevel, well then bevel to your hearts content...whatever makes "you" happy. I'm just giving you some insite as to the world of lap joints and filler as an "option" for you...it works for me, but that's me.

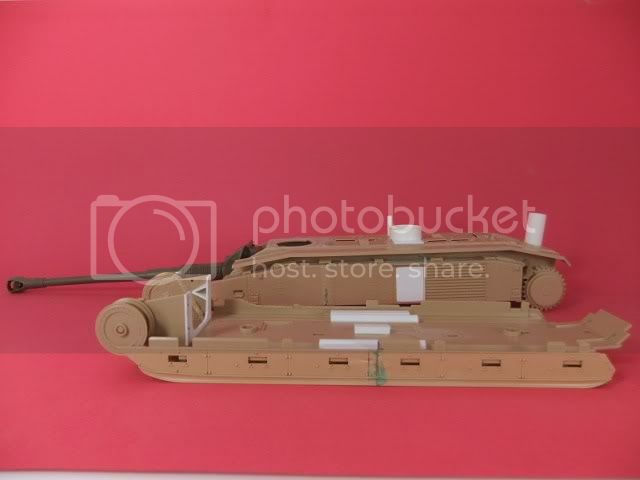
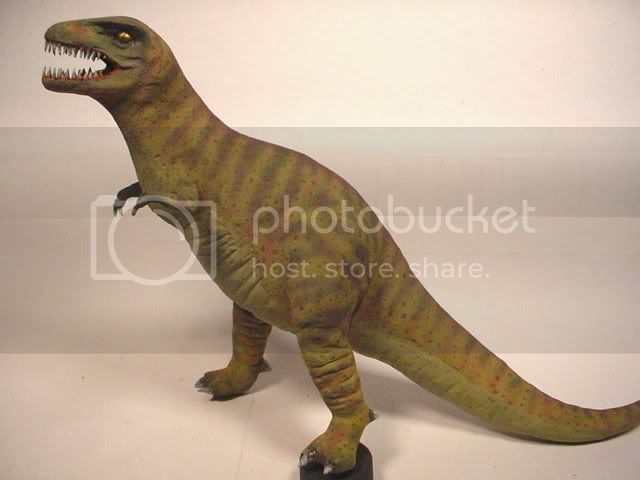
The one thing I just haven't gotten to do right yet is paint figures of any scale...I can weather and shade cars, trucks and the like, but not worth a darn on figures...sounds stupid huh! ....one of these decades I'll nail it. Now, let's see some work on that badboy!