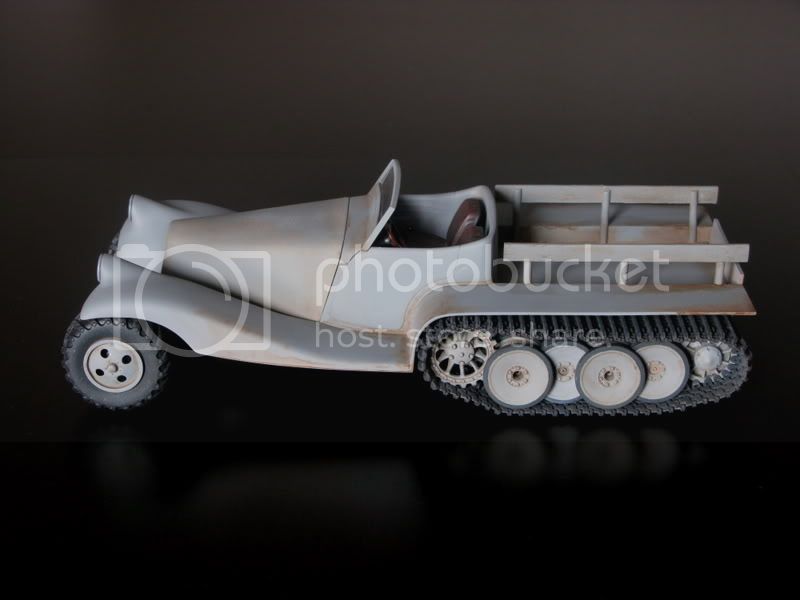
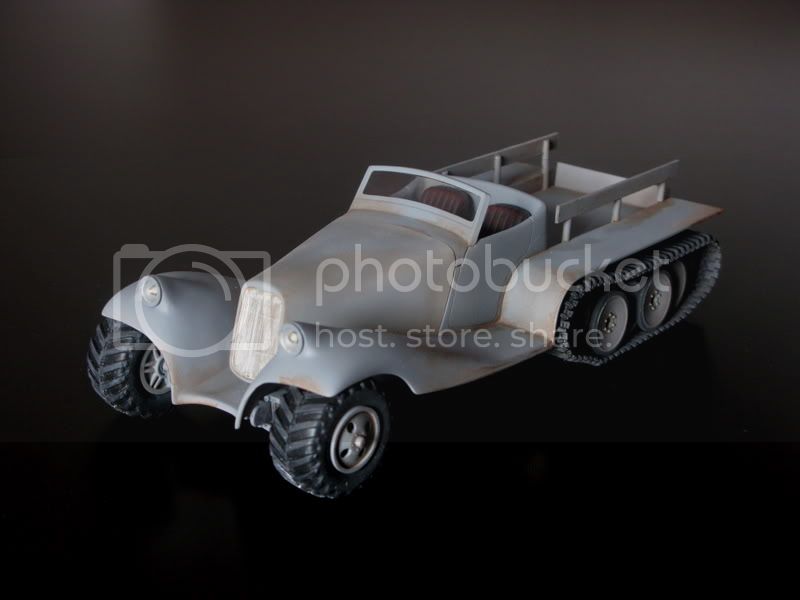
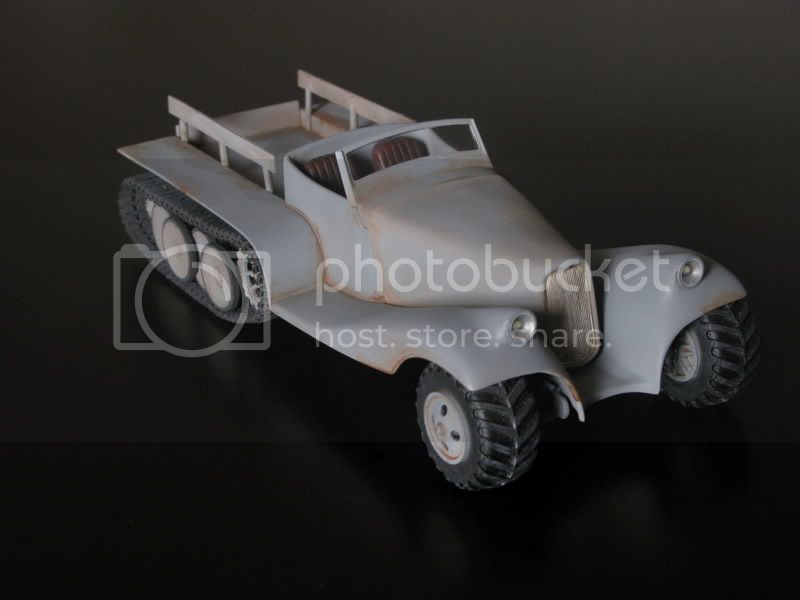
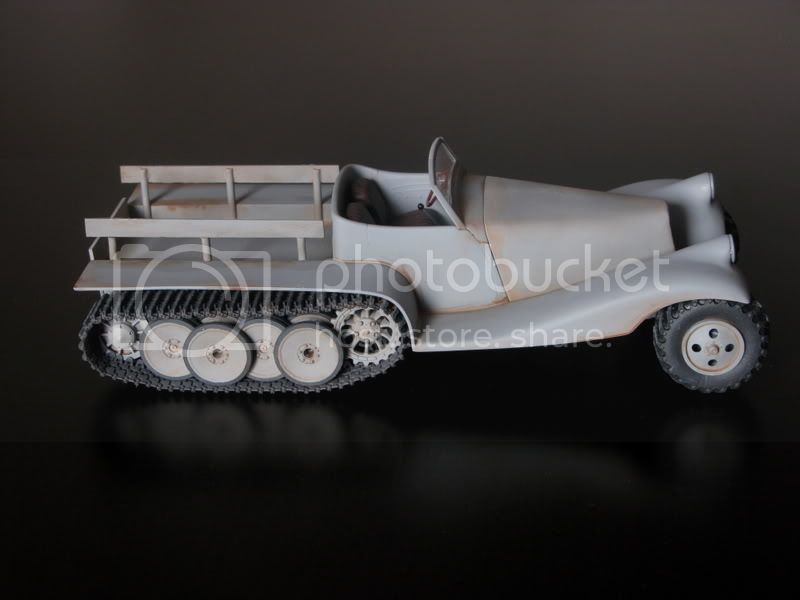
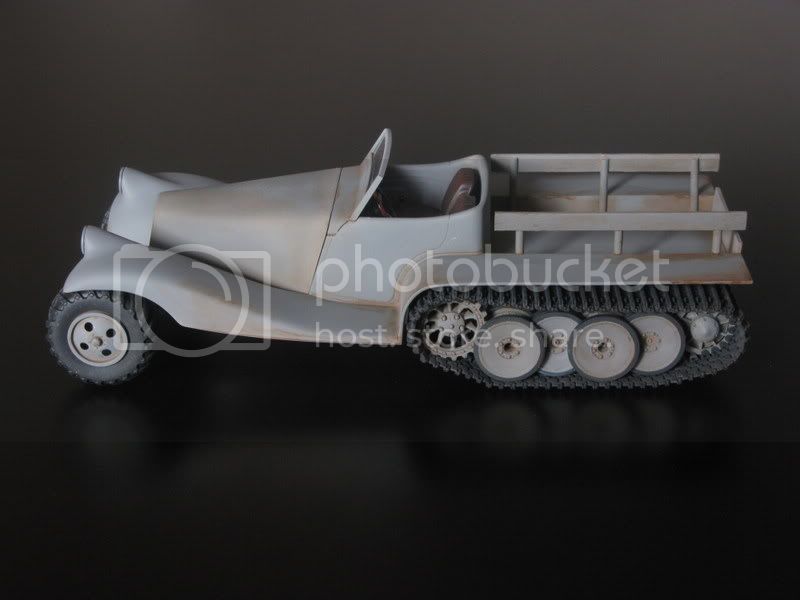
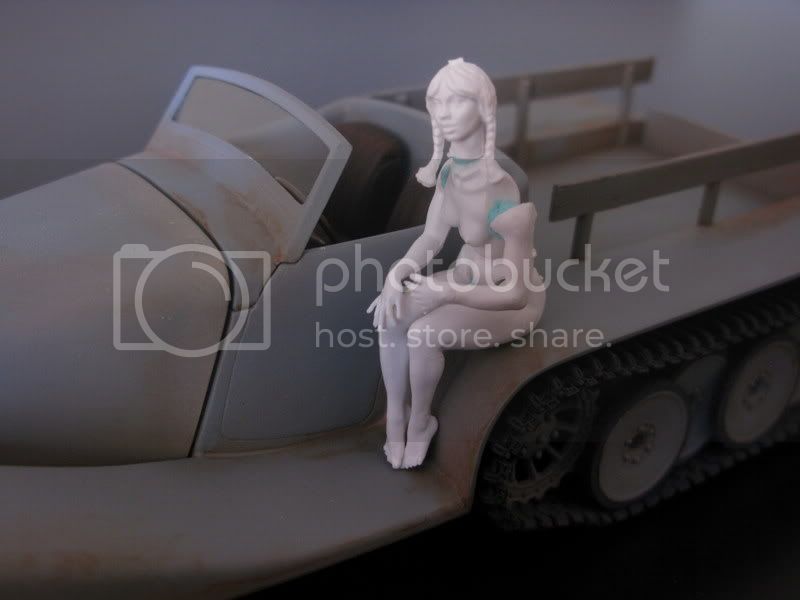
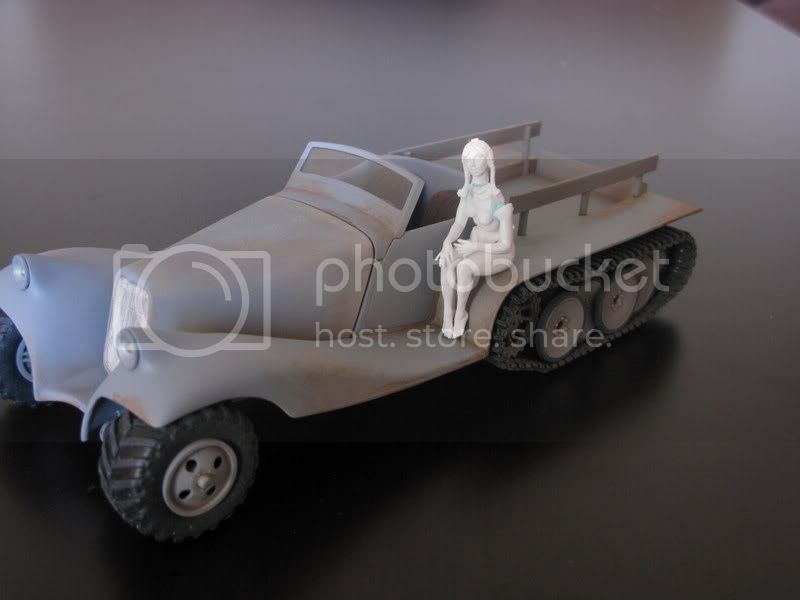
The model started it's life as a Monogram Rommel's Rod, and ended up as something other than that. I'm not quite shure what I should call it at this stage, so far I have called it X-Rommel's Rod...
I started this build 8 - 10 months ago. It has been a hard build, not because the parts, just because I could not make up my mind to how to build it. I had no plan, just making it up as it got glued together.
What I did to this poor kit?
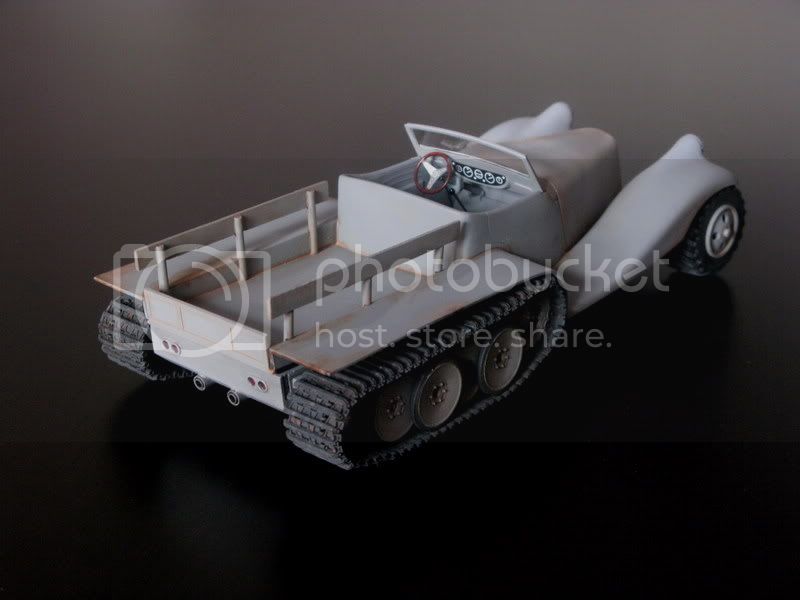
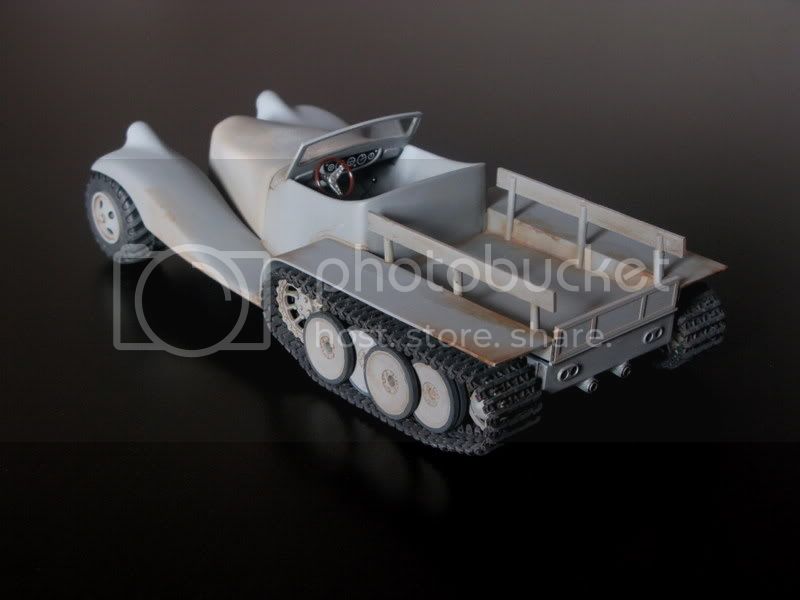
In the begining I didn't like the thought of it beeing a staff car, so I brought out my beloved plastic saw and the started the surgery... Chopped off the back seat, and transplanted the back of the passenger compartment right behind the drivers seat.
After I did that, I came to look at the tracks of this vehicle... Not looking it's best! One thing lead to another, and I got some tracks from someone on the norwegian ipms forum (Thanks). The tracks came from a afv kit I think, not quit shure, with all the wheels and the bottom part of a early tiger. And as luck came into the equation, the bottom of the tiger was just the right width to fit where the track part of the rommel rod, so a transplant was quit easy.
The new tracks was of course in a few million pieces, but sticking the pieces together was not a small undertaking. But at last both tracks was finished. (only broke apart 10-15 times..)
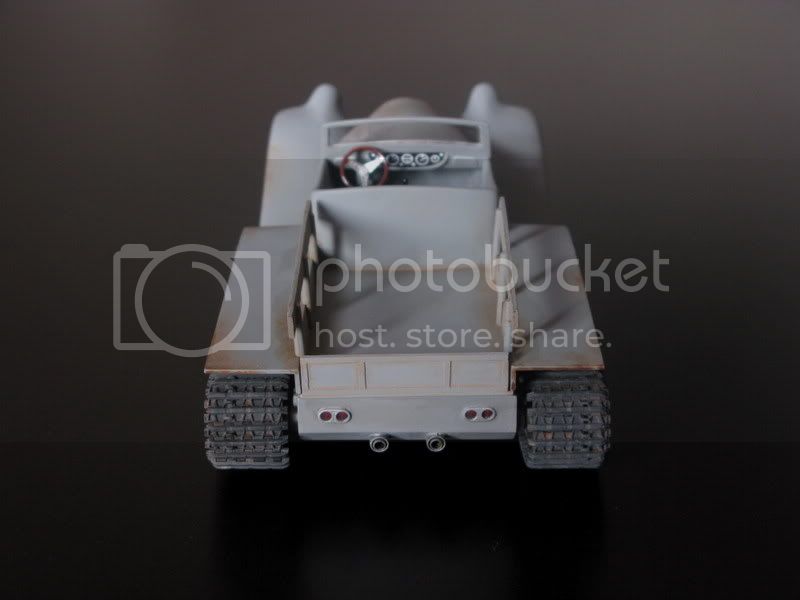
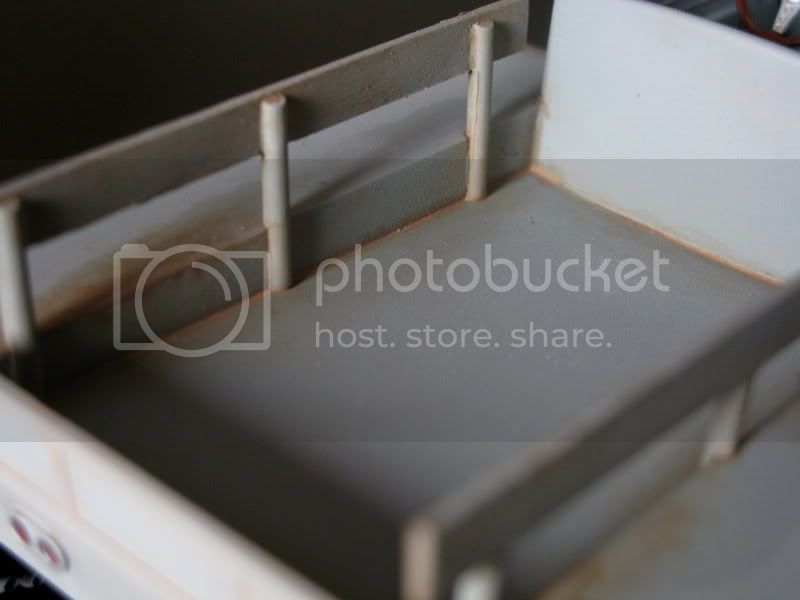
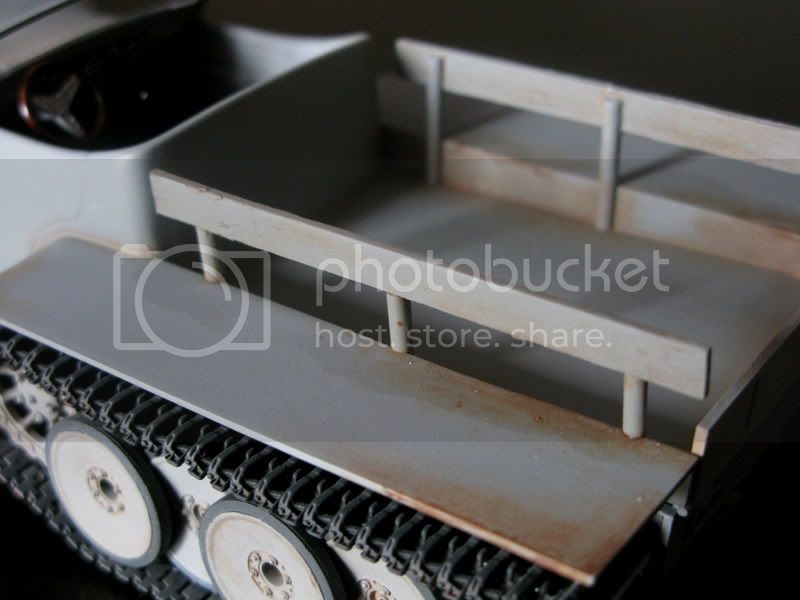
But with new tracks, the rear fenders was totally wrong! It needed to be 1cm wider at each side... Not a problem, just a challenge to my beloved plastic saw! A long cut to each side, some styrene sheets, alot of superglue and tamiya liqud extra thin cement and some select words to howl to the stubburn piece of plastic in the heat of the moment...
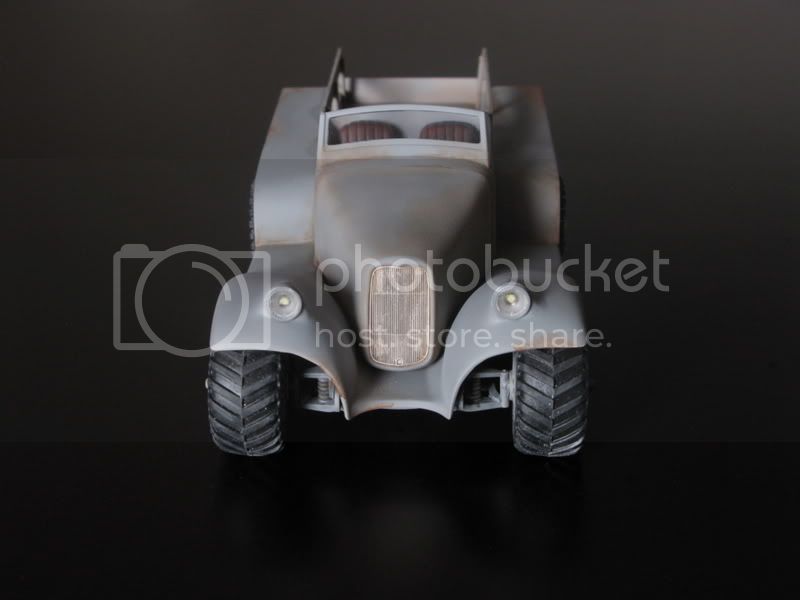
When I got this far, I dry fitted the vehicle and didn't like what I saw. The hood was way wrong. And I spent a few weeks looking for a remedy. I found it at last in a swap meet. Guess it's from some -30's ford, don't know - don't care. it looks right and thats what's the part I care about.
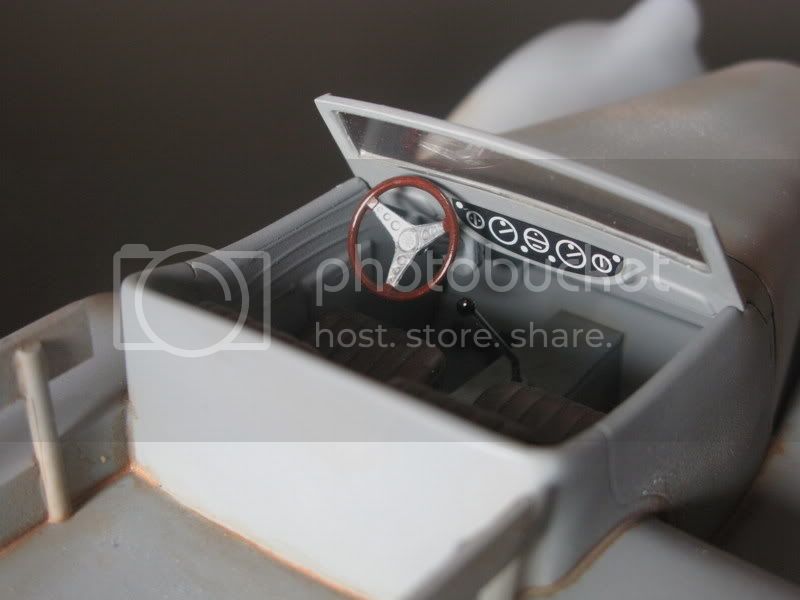
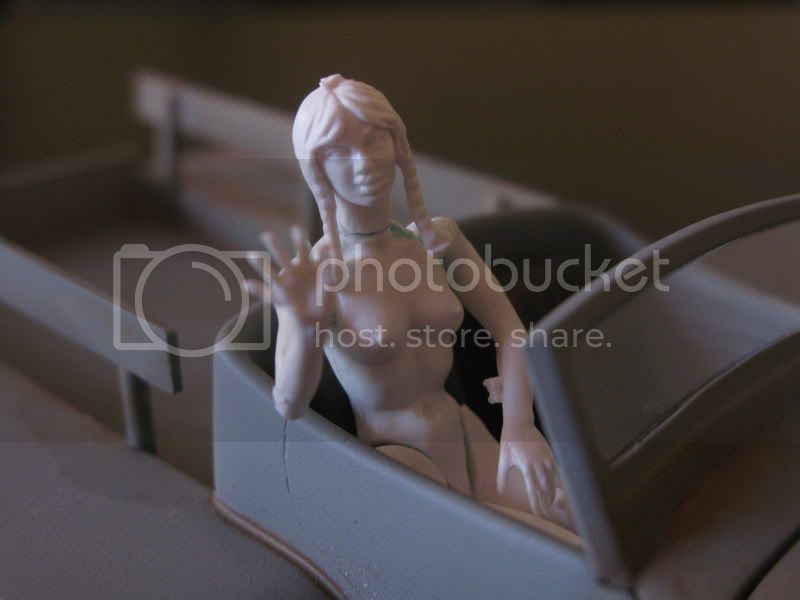
Seats found in one of my other kit's. I don't have a parts bin yet. this is only my third finshed model... (started alot, but finishing models is not my cup of tea)
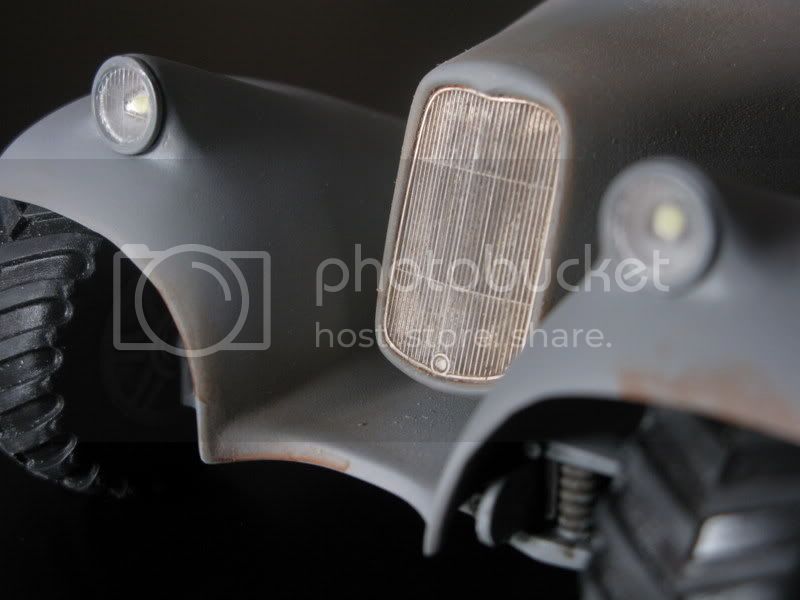
The headlights was a new problem, how to make them... In the end I mounted a pair of frenched headlights from the ends of a couple of ballpoint pens(!) and a lot of putty.
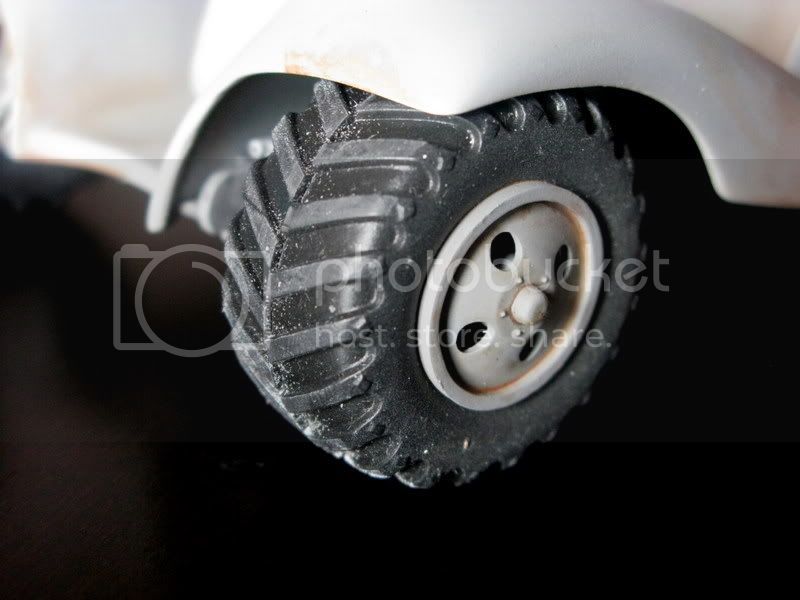
Then there was the issue of the front pair of wheels. The stock wheels was to puny, and I looked all over for something to replace with. the answer was a hotwheel diecast monster truck. I made rims from a lego wheel and the original hubcap.
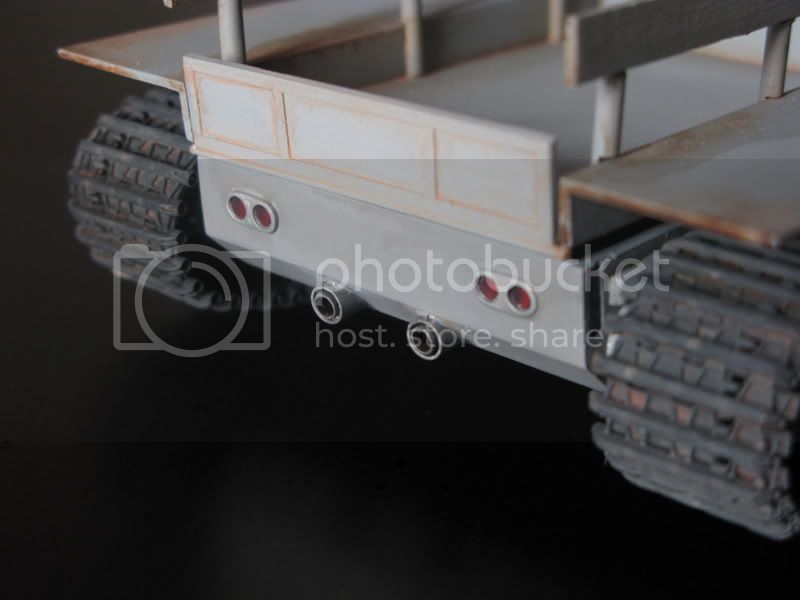
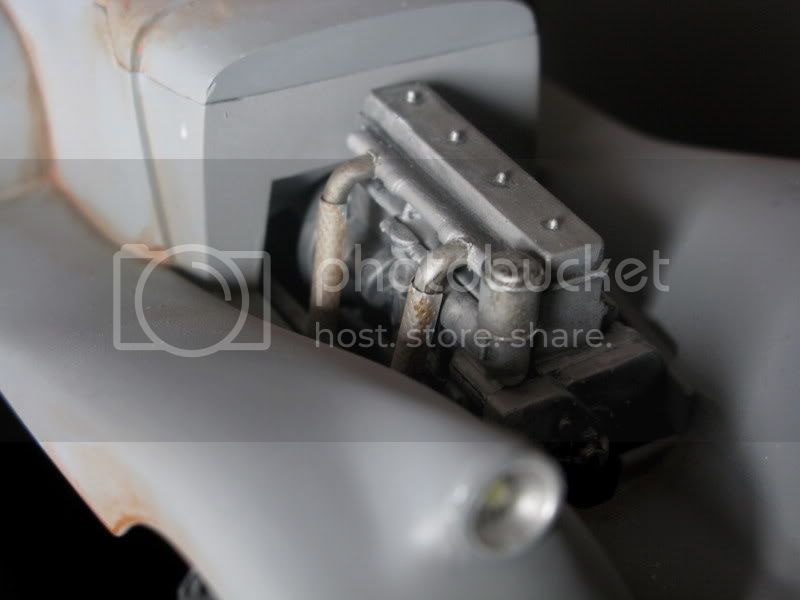
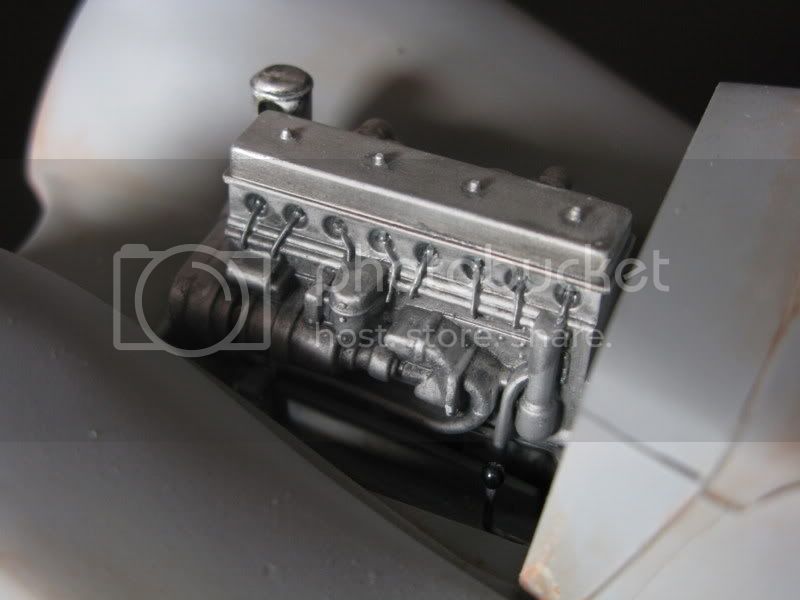
Rear lights was made from some short bits of brass pipe and epoxy putty and some red transparent plastic from my "could maybe use this some day" box. The exhaust was also made from some brass pipes.
Orginal engine with new exhaustpipes. Heatshields from a thin tin can pressed over a dentist tool to make the pattern.
All metal finishes was made with treasure silver wax. A quite extraordernary product! paint with Vallejo modelcolor, some citadel acrylics and weathered with some cheap artist oil paint.
The rest is as the say: History...
Picture time! I have some pictures of the build process if someone would like them to be posted. I for one like to see pictures of finished models...