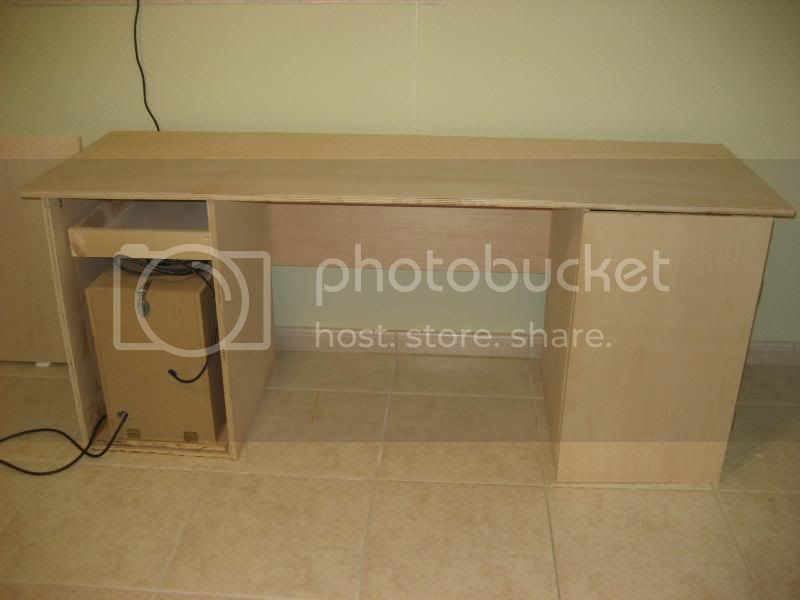
Finally, an update on the workbench (aka desk)....
I have to start by saying that I had to think of the size over again. Due to the desire to be able to use the workbench for years to come, SWMBO and I decided it would be best that I scale it down a bit. Our family plans on "expanding", so a large desk would be a pain to move once the room becomes necessary. So I chopped off the smaller section. I originally had a desk length of 7 feet and 5 feet respectivelly. The 5 footer got cut off and I painstakingly changed the drawer cabinet to the 7 foot section.
The drawers were a ridiculous pain. If you do attempt to build your own desk with several drawers for use, please try to number the corresponding rails. I had one length confused and almost took a sledghammer to the entire thing. And this is after my intense model building patience had warn out (roughly 2 hours of fiddling with 1 drawer). Needless to say, I'm happy with the results and they flow nice and smoooooth.

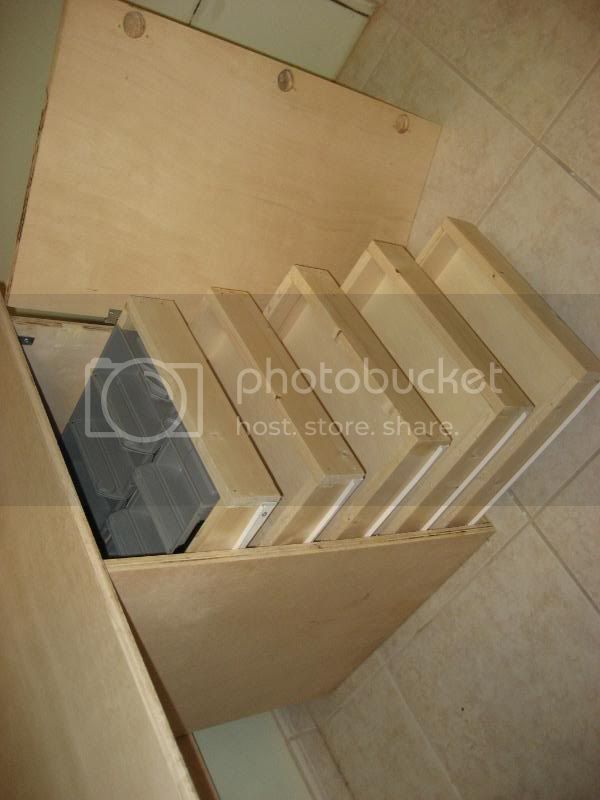
I'm thinking of using some storage bins to help organize the stuff in the drawers but don't know what to use yet. I was looking at SWMBO's kitchen drawer organization thingies; they have this nice polished aluminum look.
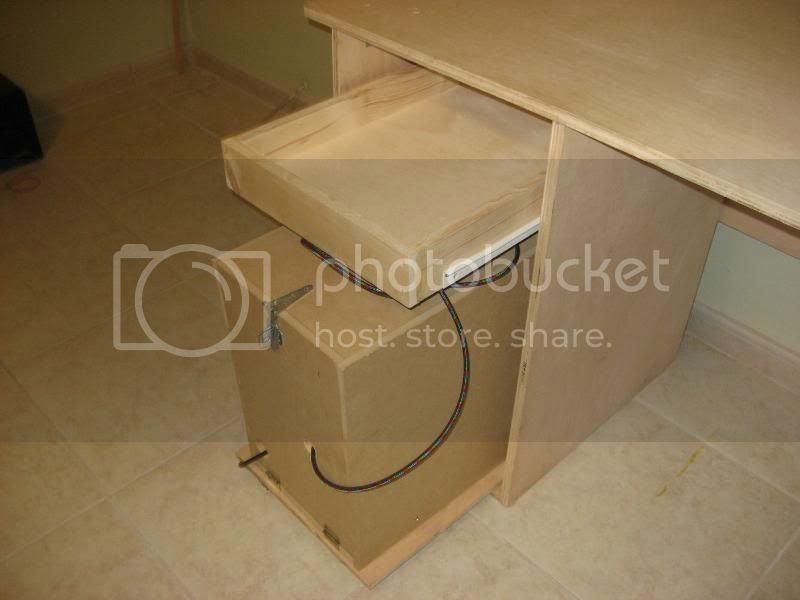
I bought another underrail mount for the compressor drawer; it was a little unstable with a single rail.
Next, I moved onto the paint trays. Well my idea was a refrigerator type tray setup that will allow enough room to close the doors. So, after walking around Home Depot aimlessly I ran into a metal stud used to create indoor walls. As I am no contractor or constuction worker, I have absolutely no clue as to the correct name of the piece but you can get an idea as follows:
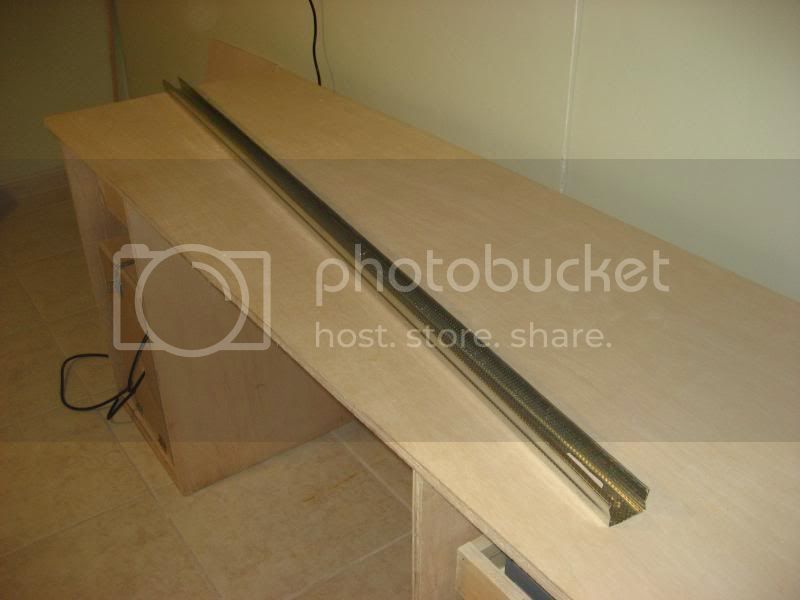
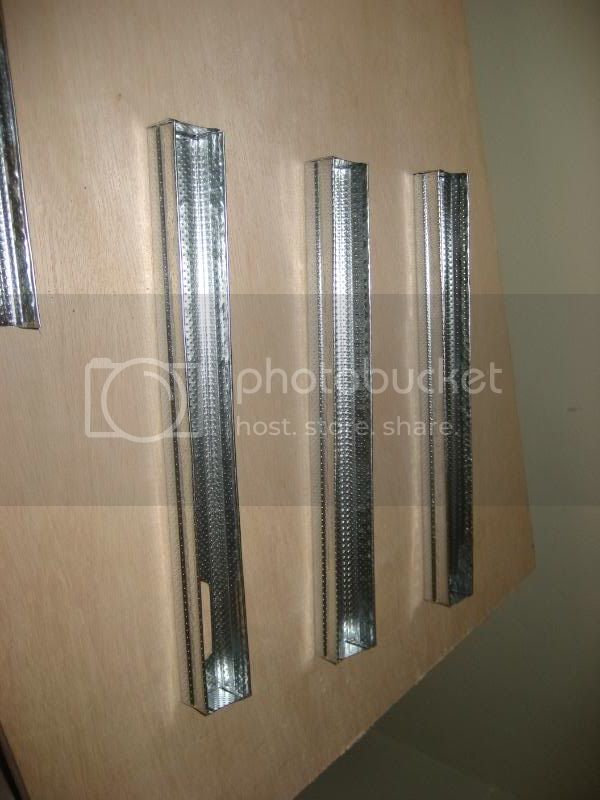
The picture was taken after I had cut off some sections and formed some trays. My camera was out of batteries again so I got some together while I waited for the battery to charge. First I bent in the edges of each peace to create a nice clean U shape.
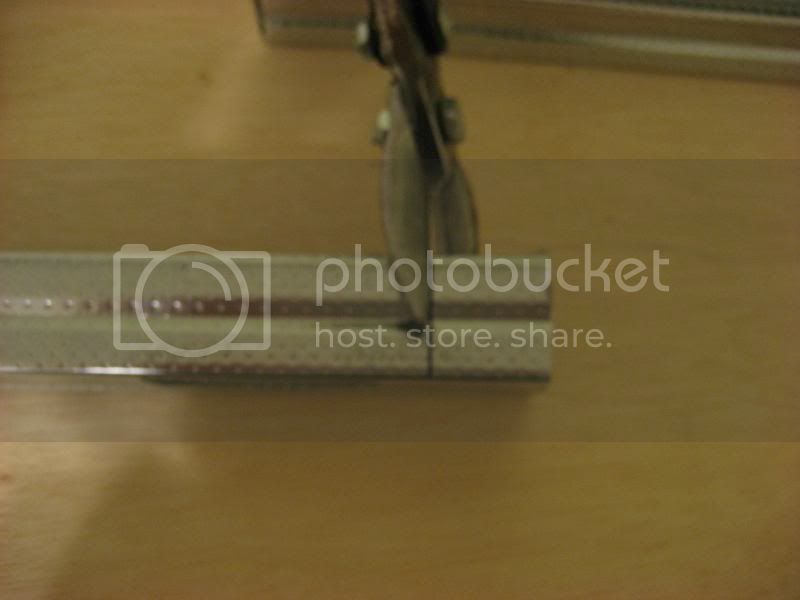
I marked them to length at approximately 1/2 an inch less then the entire opening of the drawer cabinet.

Next, I cut off the side walls at approximately 1 1/8 of an inch to bend them upward. This was done to create an end to the rail ensuring that the paint would stay put while swinging the door open or closed.
And the completed pieces.
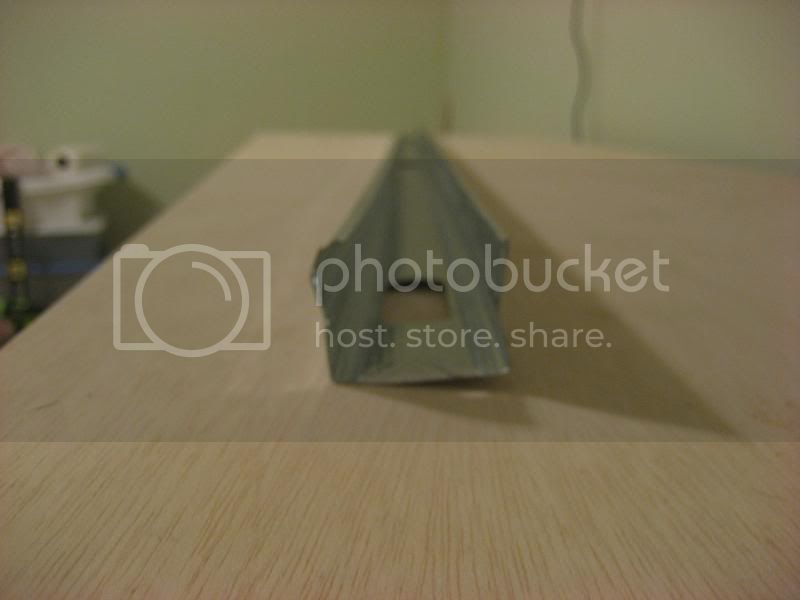
Here's the function. I ran across the question of strength and I assure you that the rail will not bend under the weight of the paint. The metal was extremely tough to bend and cut; the dimension is small enough to not allow it to give.
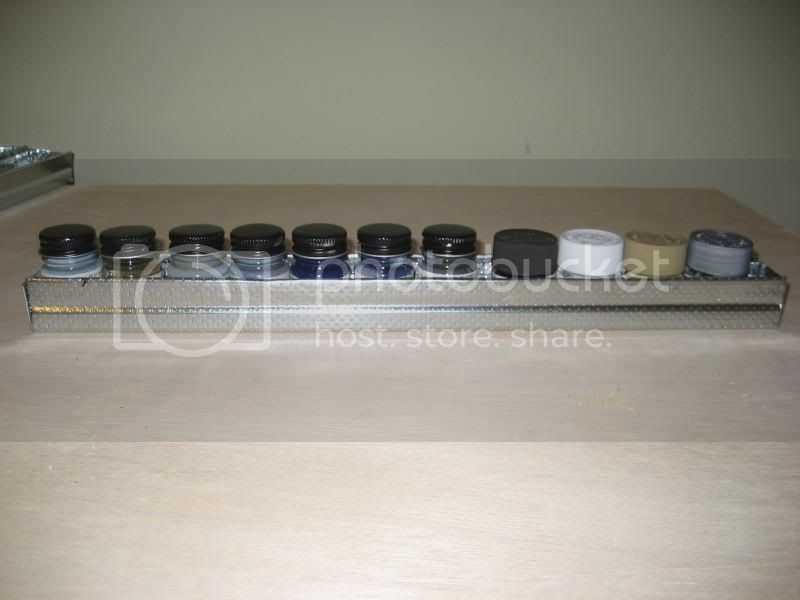
Luckily enough, it fits the Tamiya and model master paints.

Here is my hairy friend propping it up to show us the dimension. As you may have seen, I attempted to use the professional door hardware. It went in nicely, but the setup would not allow the drawers to slide out. I tried other, similar, hardware but decided it best to use the proven type before the entire build became airborne.
Next time, I will have completed the installation of the paint rails and will be tackling the stain.

Cheers