Scratchbuilders!: Armor/AFV
This is a group for armor scratchbuilding questions, topics and projects.
Hosted by Mike Kirchoff
"Rewind"--MLRS RRV -- (Pt-2)
Posted: Tuesday, February 26, 2008 - 03:33 AM UTC
Thought it would be better as a new post ....even as Pt-2....
Original here....
https://armorama.kitmaker.net/forums/113761&page=1
Having received more info ---I was justified in "terminating"afore-said build ...as my Mk1 eye-ball had lost some accuracy (getting old) and found I was MILES .. ....out in my calculations
These and a few others are now being corrected in this new build
Part 2 ( *If at first you dont succeed--bin it and go back to base 1 * )
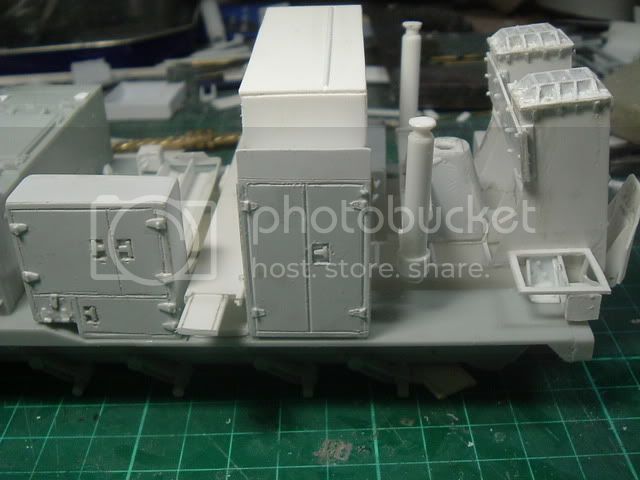
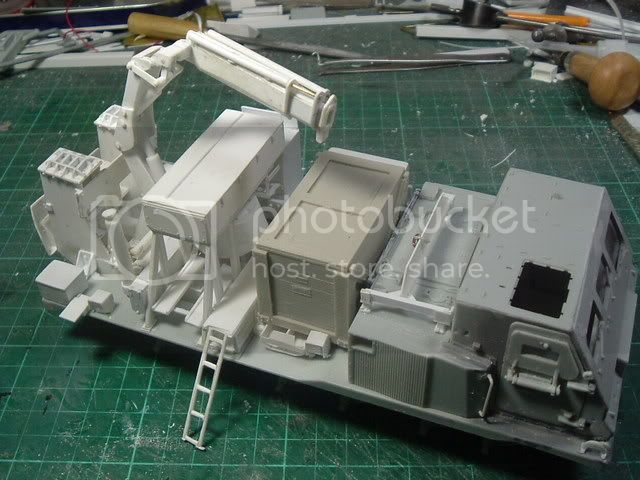
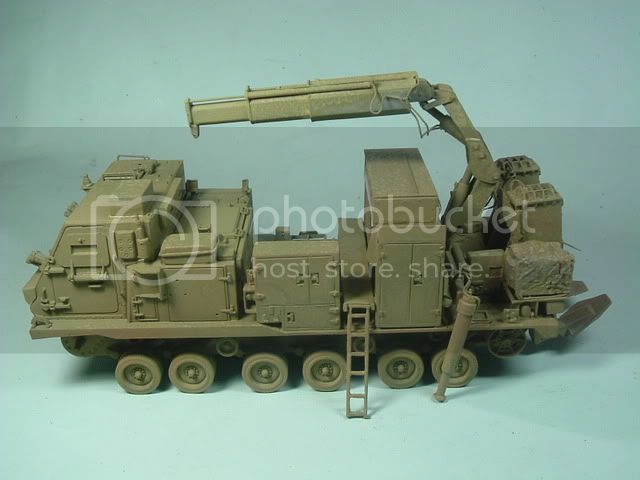
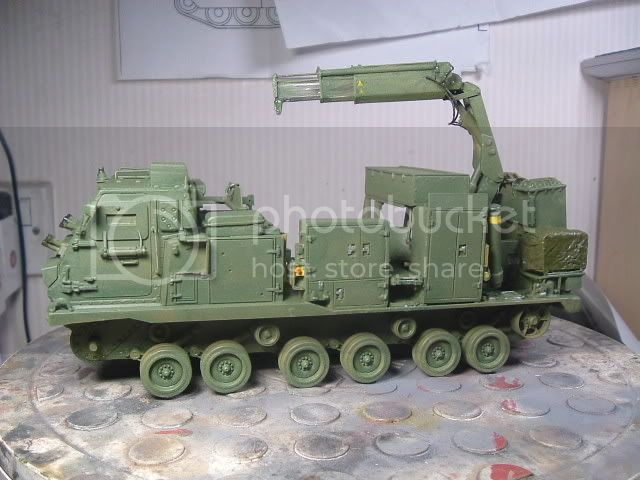
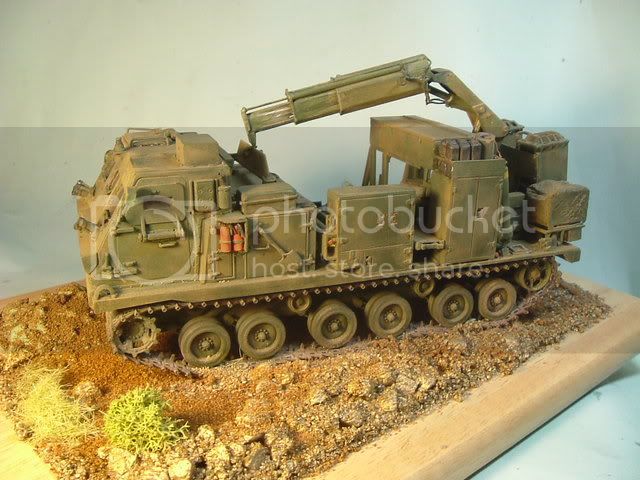
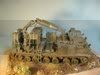
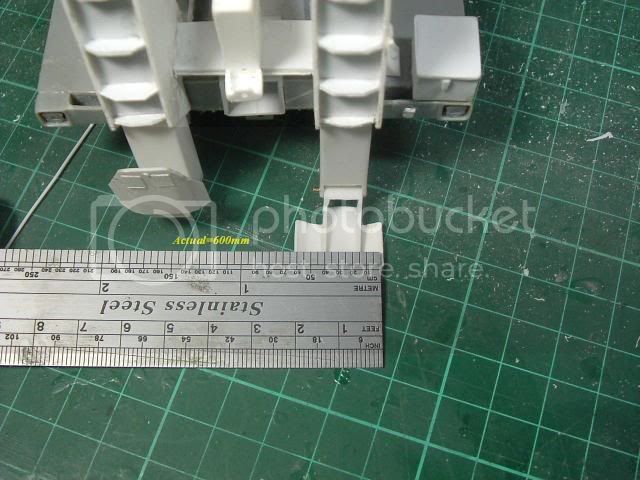
Take 1 MLRS kit an chop out the rear interior of top hull back
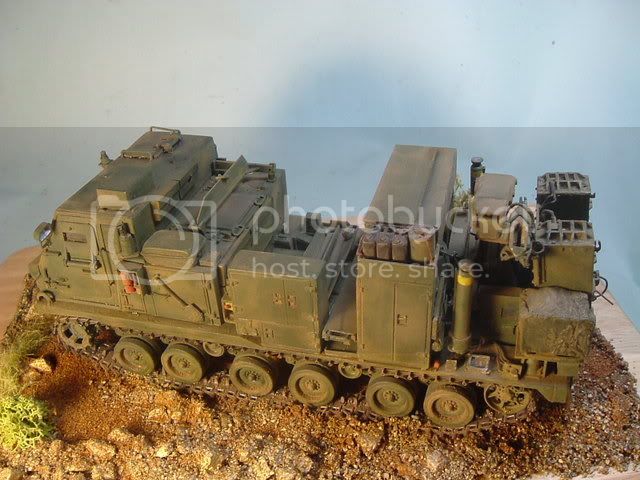
...add a base plate to fit (bad pic)
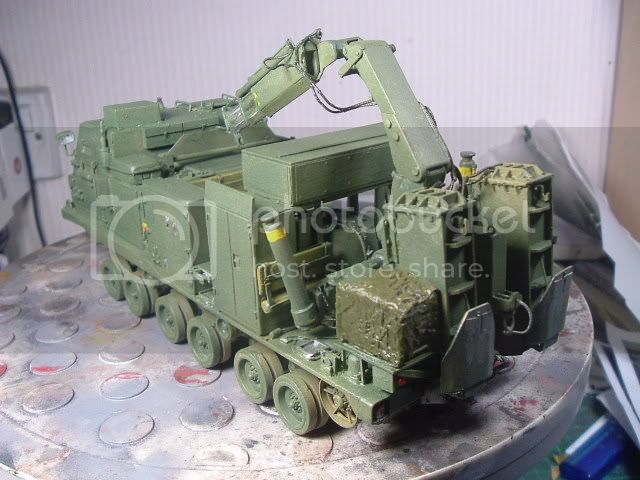
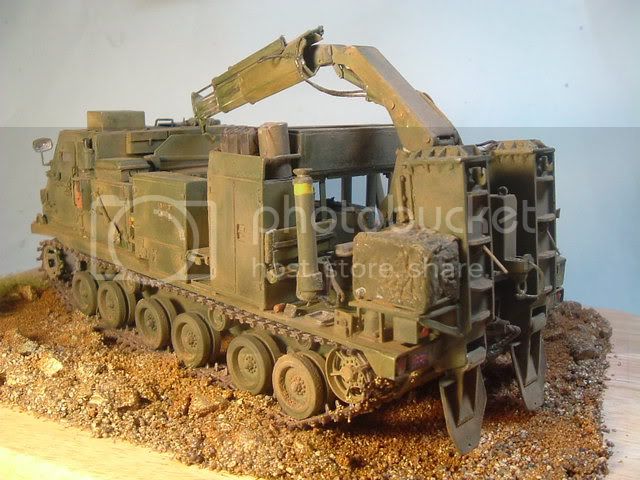
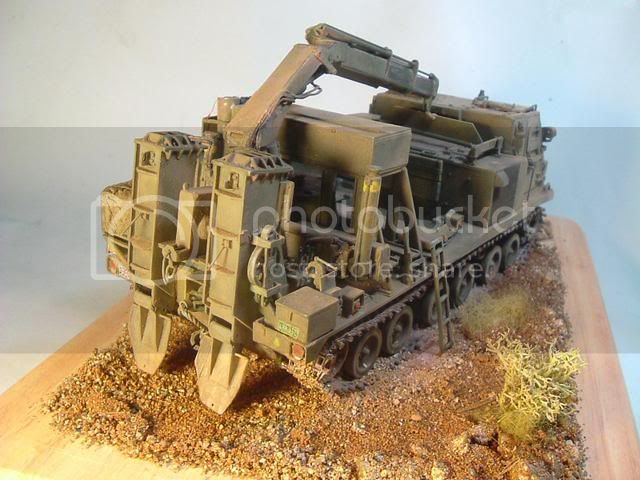
...cut out the tail section between side walls
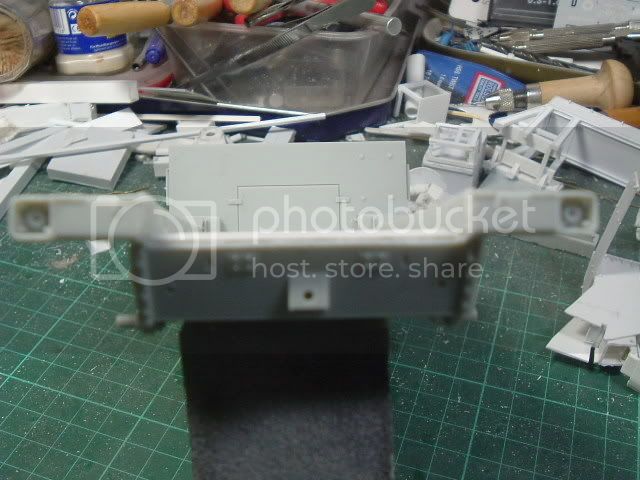
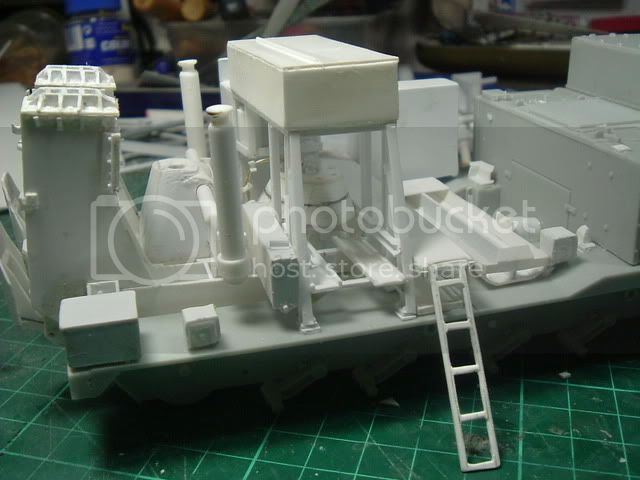
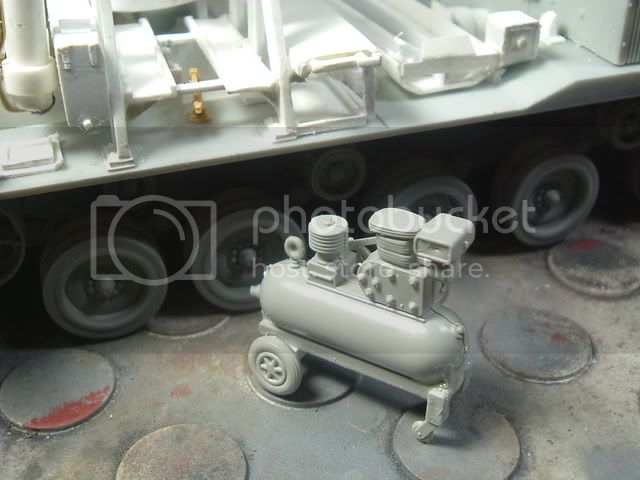
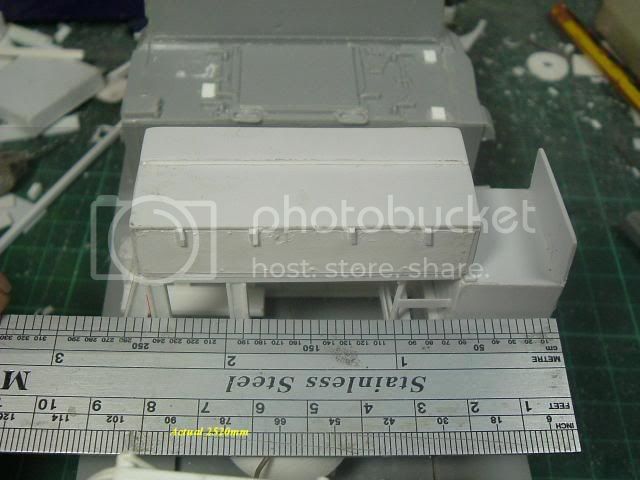
...add hydraulics and boxes (may have to enlarge big 1)
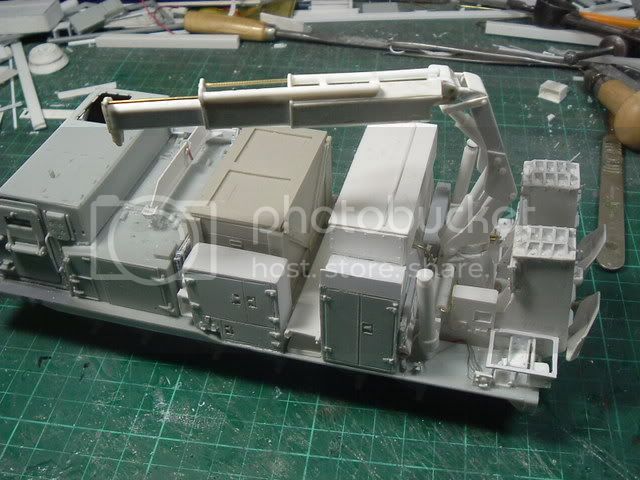
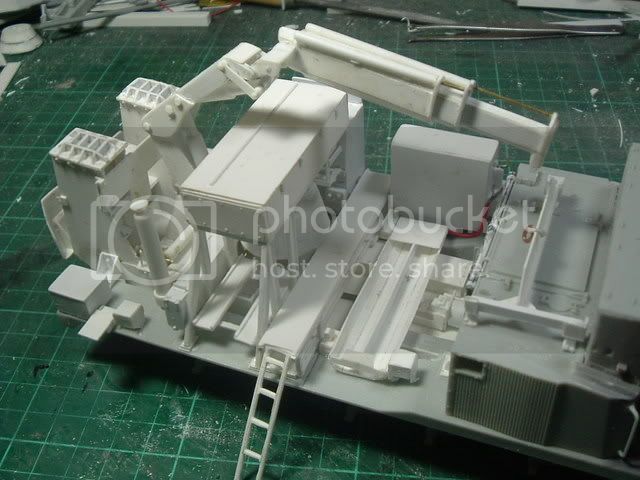
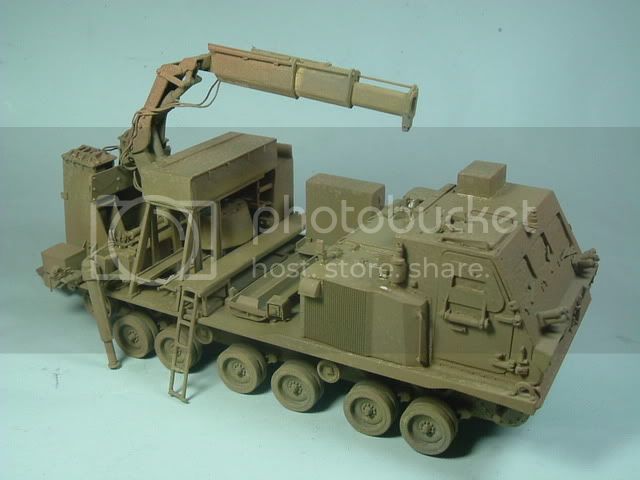
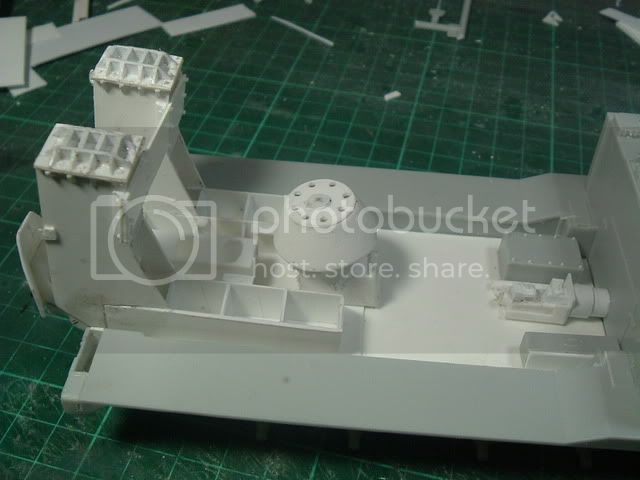
...fitted old towers with new "space bar"and corrected -winch cable box(between towers)
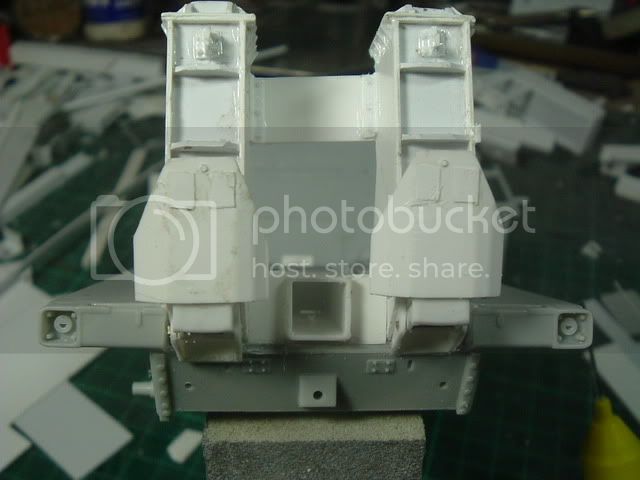
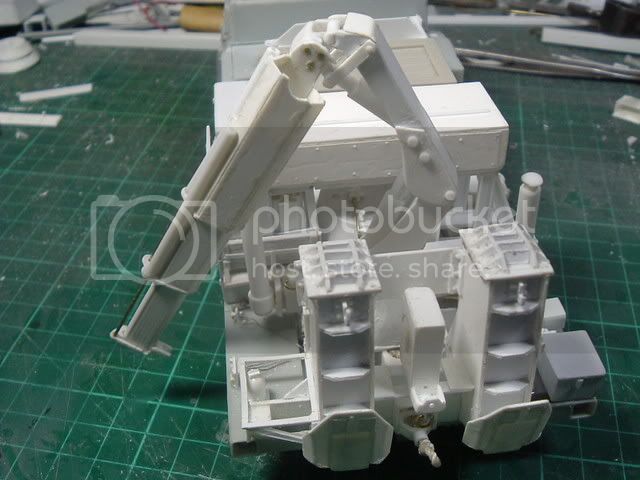
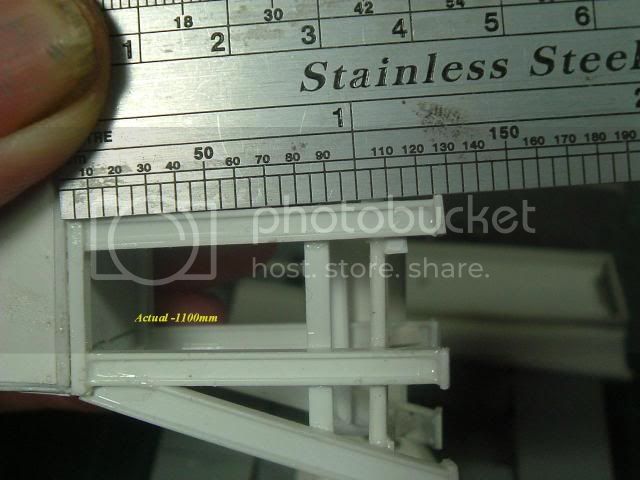
...new tower extensions made and fitted
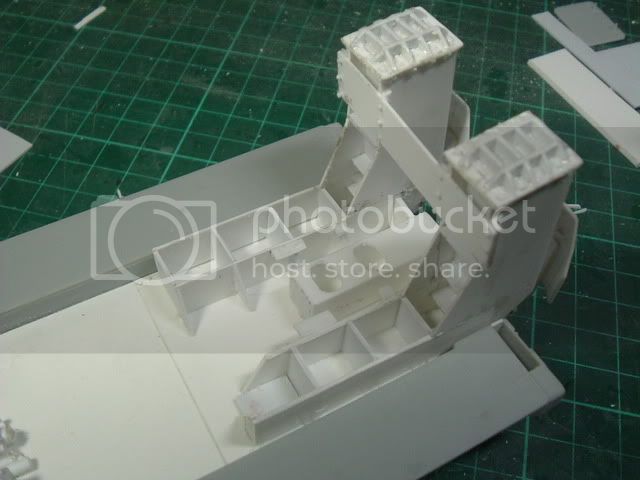
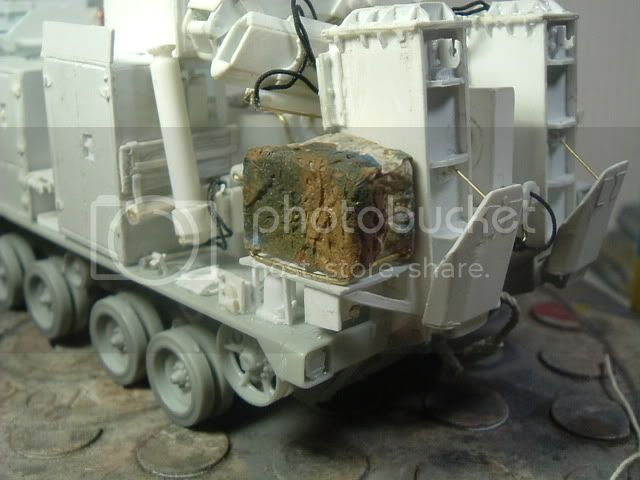
...prepositioning of winch unit (to be re -vamped )
...well as the guy said as he fell off the high -rise roof passing 8th floor
"So far --So good !"
More soon
aye
BARV
(GOSMG)
Posted: Tuesday, February 26, 2008 - 11:04 AM UTC
Quoted Text
...well as the guy said as he fell off the high -rise roof passing 8th floor
"So far --So good !"
Chuck it out the window mate... Paint scheme is wrong.
Man! He's at it again! Never learns!
Posted: Wednesday, February 27, 2008 - 09:48 AM UTC
A few more bits done ....
Winch taking shape
Hydraulic tank enlarged..."Engine "carrier pins/cups on ....'box'tray installed
Dry fitting
Left side
Carrier
Right rear
Right side-------Steps being done
Posted: Monday, March 03, 2008 - 12:02 PM UTC
Not been on bench for a few days ---sick note
A few pics ----lots of details and little things to do before a tidy up ---
Crane reworked
aye
BARV
(GOSMG)
KoSprueOne
Myanmar
Member Since: March 05, 2004
entire network: 4,011 Posts
KitMaker Network: 879 Posts
Member Since: March 05, 2004
entire network: 4,011 Posts
KitMaker Network: 879 Posts
Posted: Monday, March 03, 2008 - 02:02 PM UTC
More of those WIP videos please....
okdoky
Scotland, United Kingdom
Member Since: April 30, 2007
entire network: 1,597 Posts
KitMaker Network: 673 Posts
Member Since: April 30, 2007
entire network: 1,597 Posts
KitMaker Network: 673 Posts
Posted: Tuesday, March 04, 2008 - 01:05 AM UTC
Real Nice !!!!!!!!!!!!!!!!!!!!!!!!!!!!!!!!!!!!!!!!!
Nige
Nige
Posted: Wednesday, March 05, 2008 - 12:27 PM UTC
Busy day ---here is a "walkaround" --too many to post
From bottom of page...DSCF 2385>
http://s50.photobucket.com/albums/f329/BARV/MLRS%20RRV%20Build/MLRS%20RRV%20Pt%202/?start=20
Few bits for to-morrow then --undercoat
aye
BARV
(GOSMG)
Posted: Thursday, March 06, 2008 - 12:31 PM UTC
Not a bad day ...got some work done ....a few pics
Found some bits in spares box
Think its a welding set
Over-coat (was cold )
First coat........... ----Leopard spots ..sneezed witha 'hopper' full of thinners ......have done it before intentionally for effect ...BUT ..this was a snag
Full set at ......DSCF 2409 >
http://s50.photobucket.com/albums/f329/BARV/MLRS%20RRV%20Build/MLRS%20RRV%20Pt%202/?start=40
aye
BARV
(GOSMG)
okdoky
Scotland, United Kingdom
Member Since: April 30, 2007
entire network: 1,597 Posts
KitMaker Network: 673 Posts
Member Since: April 30, 2007
entire network: 1,597 Posts
KitMaker Network: 673 Posts
Posted: Thursday, March 06, 2008 - 12:44 PM UTC
Love the vice and compressor. Where did they appear from? An after market set or your own creations?
Glad you kept going with this build.
Nige
Glad you kept going with this build.
Nige
CombatKrieg
Singapore / 新加坡
Member Since: January 19, 2008
entire network: 517 Posts
KitMaker Network: 71 Posts
Member Since: January 19, 2008
entire network: 517 Posts
KitMaker Network: 71 Posts
Posted: Wednesday, March 12, 2008 - 08:31 PM UTC
Wow, that crane arm was scratchbuild? Dang.
ti
Dalarnas, Sweden
Member Since: May 08, 2002
entire network: 2,264 Posts
KitMaker Network: 254 Posts
Member Since: May 08, 2002
entire network: 2,264 Posts
KitMaker Network: 254 Posts
Posted: Wednesday, March 12, 2008 - 10:02 PM UTC
Well done. You've done a much better job than I could have done...
Posted: Thursday, March 13, 2008 - 01:24 PM UTC
Thank you --too kind ......"Awaiting Spare" at the mo .....track should be here soon .
A few tweaks to do yet litle details -hook , reset smoke dischargers , "winky light", fire 'squirty things'and a tidy upand fix nearside stabalizer
A few of first base coat before sealing and dusting --not weathering
More soon
aye
BARV
(GOSMG)
Posted: Wednesday, March 26, 2008 - 10:34 AM UTC
Well here it is at last finished ..less "blinky light (cant find them )
Tracks were a bummer --seems they dont like enamel paint ---(builder 1 --tracks 16 hrs...next time I put tracks on first
Here are the latest pics ......
Thanks to the guys for the great support I have had on this build....its been a good challenge
More "beasties" soon
aye
BARV
(GOSMG)
Posted: Wednesday, March 26, 2008 - 10:47 AM UTC
And yet another amazing build reaches its conclusion!
okdoky
Scotland, United Kingdom
Member Since: April 30, 2007
entire network: 1,597 Posts
KitMaker Network: 673 Posts
Member Since: April 30, 2007
entire network: 1,597 Posts
KitMaker Network: 673 Posts
Posted: Wednesday, March 26, 2008 - 10:48 AM UTC
Hey Steve
Absolutely great piece of work as usual. Did the flashing beacons become carpet fodder?
Looking forward to seeing this at Perth
A' the best!
Nige
Absolutely great piece of work as usual. Did the flashing beacons become carpet fodder?
Looking forward to seeing this at Perth
A' the best!
Nige