_GOTOBOTTOM
Scratchbuilders!
Built a model or part from your own materials lately?
Hosted by Mike Kirchoff
E100 Krokodil
Greenstuff
Visit this Community
England - North West, United Kingdom
Member Since: April 24, 2007
entire network: 24 Posts
KitMaker Network: 0 Posts
Posted: Friday, June 22, 2007 - 11:56 AM UTC
Some of you may have seen my post in the 'Modelling in General' section, but if not then nevermind.


Quoted Text

Hi there,
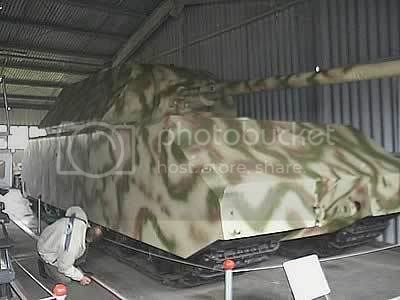
I'm new to this forum, and this hobby too. Though I do have some experience in scratchbuilding. I'm planning on Scratching a 1:35 scale E-100 StuG


So I spent the past month or so collecting what information I could find on this beast, and the last few days drawing up some plans (1:70 scale), these are them:

The various thickness of armour:


Overall view and front measurements:


And the side Measurements:


I realise the writing is quite difficult to make out, but I scaled the pictures down to fit properly on monitors. If people woud like I can create some larger versions and link you to them.

I'll be using these tracks and suspension:

http://www.hlj.com/product/AIF35-005

http://www.hlj.com/product/AIF35-009

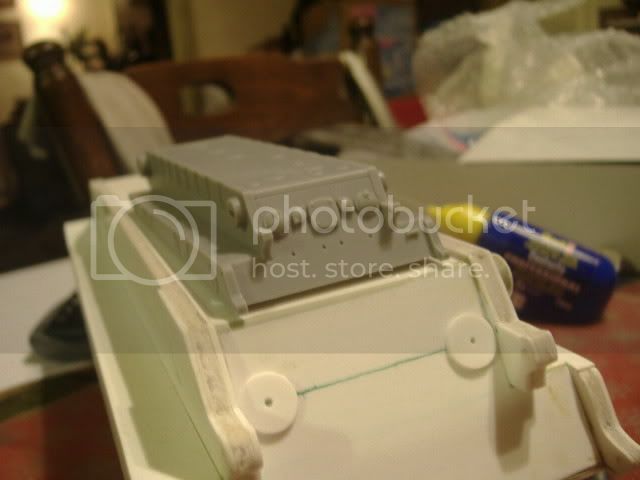
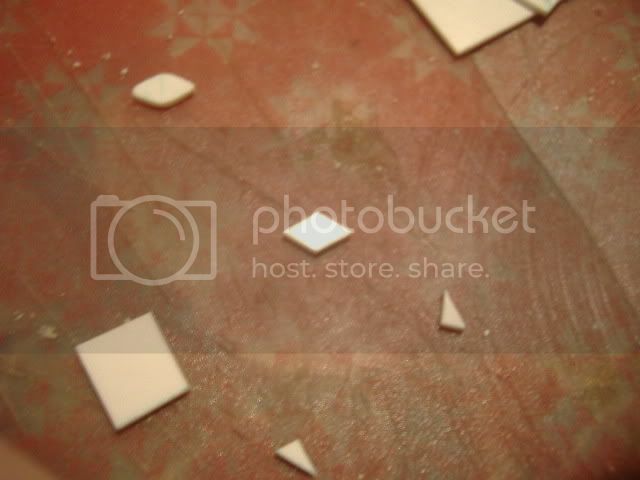
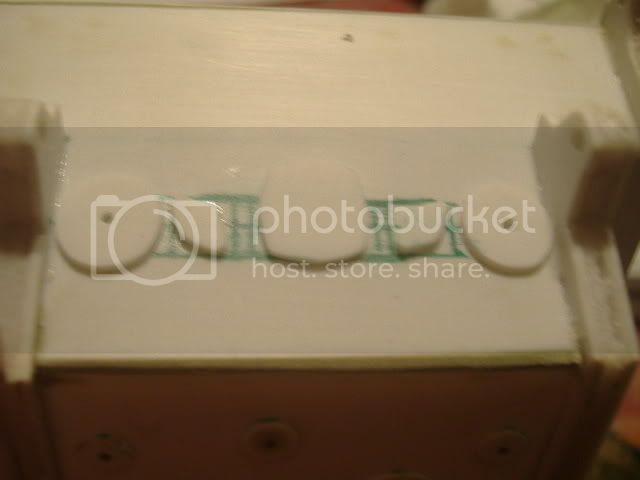
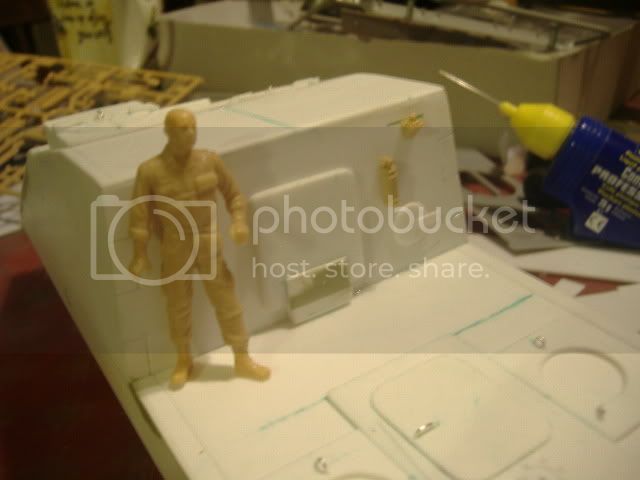
My main experience with scratchbuilding lies in the world of Warhammer 40,000, but I don't imagine the leap will be that great, as a lot of the stuff I work with is heavily based on real world AFV's. For instance:


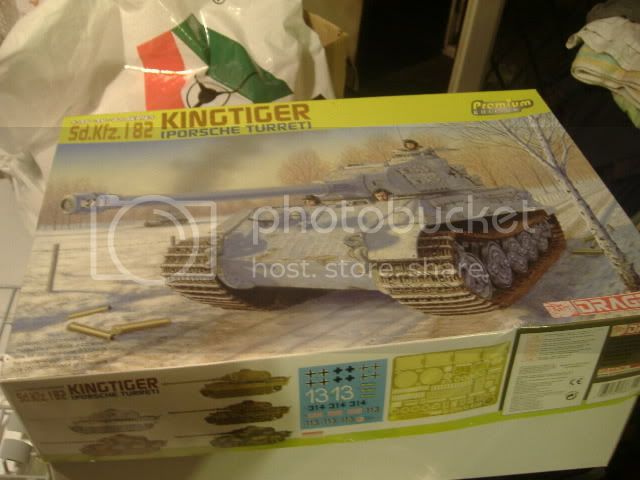
One thing I'd like however, is pictures of the suspension mountings on the hull side of the E100, either the 1:35 version or the 1:72. If not, i'll just try and buy the Dragon 1:72 model.

So, wish me luck!

Edit: It's just occured to me, this should be in the AFV section. Oops. =
old-dragon
Visit this Community
Illinois, United States
Member Since: August 30, 2005
entire network: 3,289 Posts
KitMaker Network: 592 Posts
Posted: Friday, June 29, 2007 - 02:43 PM UTC
Very nice Alex, I'd love to see larger pics and even a rear shot of the hull/back hatch.
Greenstuff
Visit this Community
England - North West, United Kingdom
Member Since: April 24, 2007
entire network: 24 Posts
KitMaker Network: 0 Posts
Posted: Saturday, August 04, 2007 - 12:23 PM UTC
A long overdue update!

A few weeks back I finally managed to get hold of the 1:72 Dragon E-100, which meant I could officially begin construction of the tank.

Last week was the creation of the lower hull:


Here you can see the various access hatches on the hull floor:


And this is where i'm at today, with some helpful American's to help out with scaling. (You can also see a Tiger in the background, which gives some scale too):


Saturday's purchase:


20mm cannon for the smaller AA turret that will be placed at the top of the superstructure, in a conical sort of turret:


Well, what do you guys think so far? I'm fairly happy with it, especially as it's my first *real* scale construct.

Back to work!
SSGToms
Visit this Community
Connecticut, United States
Member Since: April 02, 2005
entire network: 3,608 Posts
KitMaker Network: 512 Posts
Posted: Saturday, August 04, 2007 - 01:59 PM UTC
Wow! Your scratchbuilding skills are outstanding! And your work ethic is admirable too - it would take me a year to get that far! Nice work!
TacFireGuru
Visit this Community
Colorado, United States
Member Since: December 25, 2004
entire network: 3,770 Posts
KitMaker Network: 747 Posts
Posted: Saturday, August 04, 2007 - 11:21 PM UTC
Alex,

Nice work there!

Have you seen this? It's from New Connections E-100 Stug.

Mike
slodder
Visit this Community
North Carolina, United States
Member Since: February 22, 2002
entire network: 11,718 Posts
KitMaker Network: 2,584 Posts
Posted: Saturday, August 04, 2007 - 11:24 PM UTC
Very nice. The progress shots are great in that they show the control and attention to detail you are adding even in areas that will be hard to see.
Greenstuff
Visit this Community
England - North West, United Kingdom
Member Since: April 24, 2007
entire network: 24 Posts
KitMaker Network: 0 Posts
Posted: Sunday, August 05, 2007 - 12:57 AM UTC

Quoted Text

Alex,

Nice work there!

Have you seen this? It's from New Connections E-100 Stug.

Mike


Thanks! I certainly have, that's what i'm basing this design on, although I'm altering a couple of things, which I think is fair enough, as it was never actually built.

Thanks for all the other comments people, I'll post some more pictures this evening, as i've started on the engine deck now.
Jurjen
Visit this Community
Groningen, Netherlands
Member Since: September 21, 2003
entire network: 3,040 Posts
KitMaker Network: 251 Posts
Posted: Sunday, August 05, 2007 - 04:25 AM UTC
Hi Alex!

You're are doing some serious scratching! It looks really good and I'm curious to your coming updates.

I have one question, how did you make the panel lines on the front armor?

Keep up the good work.

Jurjen
SSGToms
Visit this Community
Connecticut, United States
Member Since: April 02, 2005
entire network: 3,608 Posts
KitMaker Network: 512 Posts
Posted: Sunday, August 05, 2007 - 12:38 PM UTC
Hey Alex,
Is this all laminated sheets? How did you make the mantlet? It looks very thick and I see no panel lines or putty.
I would love to see you do a step-by-step "how to" text to go with these pictures. I would have a lot to learn from you.
TacFireGuru
Visit this Community
Colorado, United States
Member Since: December 25, 2004
entire network: 3,770 Posts
KitMaker Network: 747 Posts
Posted: Sunday, August 05, 2007 - 01:03 PM UTC

Quoted Text

Thanks! I certainly have, that's what i'm basing this design on, although I'm altering a couple of things, which I think is fair enough, as it was never actually built.


One of the things I SOOOOO love about Paper Panzers! What do they call it? "Artistic License??" I really do like what you've done so far. One word emcompasses it all: "Impressive."

Got a couple of things on the "burner" right now, but once I start my FCM Panzerzerstoerer, THAT's the only thing I'll work.

Keep it up....looking VERY sharp right now! Any thoughts yet on how you'd like to give it paint?

Mike
Greenstuff
Visit this Community
England - North West, United Kingdom
Member Since: April 24, 2007
entire network: 24 Posts
KitMaker Network: 0 Posts
Posted: Sunday, August 05, 2007 - 02:52 PM UTC

Quoted Text


I have one question, how did you make the panel lines on the front armor?


I used a scribing tool, i'll post pictures of it later on. They're quite widely available I think.


Quoted Text

Hey Alex,
Is this all laminated sheets? How did you make the mantlet? It looks very thick and I see no panel lines or putty.
I would love to see you do a step-by-step "how to" text to go with these pictures. I would have a lot to learn from you.


The sides of the lower hull are foamcore with an outer skin of 1 mil plasticard on either side, as are the upper hull sides. The mantlet was made from 3 sheets of plasticard laminated, but I drill the holes in only the top one, before gluing them together, so that I knew all the holes would be equally deep.

I'll see what I can do for a step by step, any requests in particular?


Quoted Text

One of the things I SOOOOO love about Paper Panzers! What do they call it? "Artistic License??" I really do like what you've done so far. One word emcompasses it all: "Impressive."


Thanks

[quote][Keep it up....looking VERY sharp right now! Any thoughts yet on how you'd like to give it paint?

Mike /quote]

Well I need to buy an airbrush first, which isn't going to be cheap. I'm thinking either flat Panzer grey, with a white wash over the top, or perhaps a sandy, khaki sort of colour, with camoflauge similar to the first two Maus'.

Like so:


OK, I said updates tonight, but i've been busy with college preperation stuff, so almost definately tommorow.
SSGToms
Visit this Community
Connecticut, United States
Member Since: April 02, 2005
entire network: 3,608 Posts
KitMaker Network: 512 Posts
Posted: Monday, August 06, 2007 - 09:14 AM UTC

Quoted Text

I'll see what I can do for a step by step, any requests in particular?


Alex, it would be very informative if you had a caption for each photo stating what the photo shows and how you built it, just like you explained the hull and mantlet.
Your work is really outstanding!
Greenstuff
Visit this Community
England - North West, United Kingdom
Member Since: April 24, 2007
entire network: 24 Posts
KitMaker Network: 0 Posts
Posted: Tuesday, August 07, 2007 - 08:49 AM UTC
Updates (Yes yes, late I know. =P )

Ok, first we'll start with the basic detailing of the lower real hull:


Two circles cut and positioned on a centre line for the base of the track tension thing (?)

Now for the diamond shape objects:


These start off as two sharp edge diamonds, and then have all the corners sanded into round points:


These are then mounted along with the earlier circles in line with each other. ( I also added the centre square bit, but didn't take any in progress shots. Essentially, it's a square, with the "pointed" edges being the on the original lines of the square, and the rest are all in by .5 mm from each corner.


Then I started on the engine deck:


It's basically 3 rectangles, with two of them having a circle cut out of them and a line scribed through the centre. And the centre panel recieved the engine hatch, a rectangle with it's corners sanded smooth.

It's not easy to see, but i'm happy with how this (fuel cap?) turned out:


So we'll let that dry for now, and move onto the superstructure rear:

The beggining of the rear hatch, you can see how it is made of two interlocking parts that have been sanded around the edges so that they're smooth and look like heavy cast steel:


A quick mock up (Bonus points if you can tell me what the layout of the rear panel is based upon):


Quantum leap forward on the engine deck:


The various domes are just circles of plasticard with their edges sanded to a round finish, and the ventilation/extractor fans are simply circles of plasticard, with lines scored onto them to represent the fan blades. By no means an exact replica of the real thing, but it will be obscures by the grill on top, so it only needs to give an impression of fans. The dome on top was simply a cutting from the sprue of the 1:72 E100.

On a side note, i'm very happy how the engine deck turned out, but less so about learning that it is almost exactly the same as the King Tigers. Which I only discovered after finishing it. ¬_¬

And that just about concludes this update. Some parting shots:

A mock up with a pen for the barrel:


And some close ups of shell impacts on the front hull:


See you soon!
Murdo
Visit this Community
Scotland, United Kingdom
Member Since: May 25, 2005
entire network: 2,218 Posts
KitMaker Network: 760 Posts
Posted: Tuesday, August 07, 2007 - 01:03 PM UTC
Lovely stuff Alex!

Lovely stuff!!

Great lessons here!
Greenstuff
Visit this Community
England - North West, United Kingdom
Member Since: April 24, 2007
entire network: 24 Posts
KitMaker Network: 0 Posts
Posted: Thursday, August 09, 2007 - 12:40 PM UTC
The rear is now just about done, I added a fuel/water tank to the rear, as it was looking a little bare.


Ordered some MR surfacer, so I can add some texture to the sides, I also ordered the tracks, idler and drive wheels. However, i'm going to have to use the road wheels from a King Tiger, but i'll change some details on them, and they can be a later production varient.
Greenstuff
Visit this Community
England - North West, United Kingdom
Member Since: April 24, 2007
entire network: 24 Posts
KitMaker Network: 0 Posts
Posted: Saturday, September 22, 2007 - 12:38 PM UTC
Arise slumbering beast!

I've finally had some time to do a decent amount of work on this thing, but i'm still waiting for the parts from japan.. (tracks and Surfacer)

Heres some pictures. Say goodbye to all that nice clean plasticard, and hello to dirty grey Mr Surfacer!


And here's what i've had to steal from the Tiger 2 so far:


=[

But on the plus side, I have a lot of spare King Tiger parts if anybody wants any. (Porsche Turret)


Thanks for looking. =]
tatbaqui
Staff MemberNews Writer
ARMORAMA
#040
Visit this Community
Metro Manila, Philippines
Member Since: May 06, 2007
entire network: 2,713 Posts
KitMaker Network: 159 Posts
Posted: Tuesday, December 25, 2007 - 11:25 AM UTC
Hi Alex -- how has your project been going along? Have been following this thread and its been a while since you last posted. Keen to see and learn from your build. Cheers -- Tat
 _GOTOTOP