

1⁄35TipSheet: Rivets by the Million
|
|
This tip is not my own it was given freely to me by my very good
friend Norman Robinson from Womborne model club. The idea was that I would
develop it and use it as a part of my demo workshop at model shows up and down
the UK.
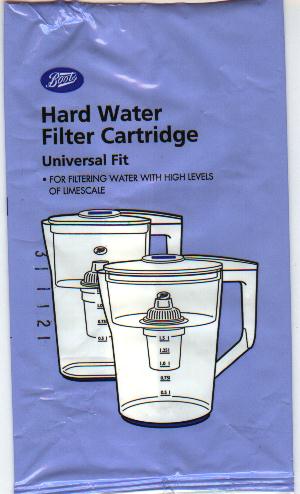
You will need to obtain a Boots own brand of Hard water filter canister, about
£4-00 in the UK, I am told that Brita's make will also do, but I have not tried
this out yet. See note at end of tips page for overseas readers.
Method
Cut the top of the canister and carefully cut open the inner net bag, empty
the contents into an ovenproof dish and spread them round till you get an even
layer. This helps in the drying out process.
Put the dish into an oven on the lowest heat (plate warming setting) till the porcelain beads turn from yellow to off white. Leave to cool down and then empty into a Jam jar or similar container that can be sealed against damp.
Warning
Under no circumstances dry them out in a microwave oven, they will explode
and can injure or at the least pebble dash the room, you have been warned!
|
|
To Use
Select the right size micro drill to drill a tiny depression in the plastic
about 3 turns is usually enough. Select the bead and pick it up with the
moistened end of a wooden cocktail stick, this will hold it until placed in the
hole. Glue with liquid poly glue or any of the following; super glue, PVA glue,
varnish, gloss or matt paint, 5-minute epoxy glue.
The beads can be used to represent rivets, bolt heads domed, grease nipples on wheels or axles, buttons on uniforms etc.
 |
They are useful for Armour, Aircraft, Ships, Figures, Civilian vehicles, Trucks, Science fiction, dioramas, it is up to the model makers imagination and trial and error. They can be painted with all the usual paint mediums; even printer's inks for silver buttons and varnishes. Scales from 1/72 or to 1/24 and even larger in some cases if scale is not too important ie science fiction spacecraft.
One canister holds enough to last a lifetime even when split for an average club membership. It has at least 25 different sizes and I am not prepared to count how individual beads there are, any takers?
Lastly the Black bits are activated charcoal and can be used as debris on dioramas or coal scattered along side a railway embankment or in the coal bunkers.
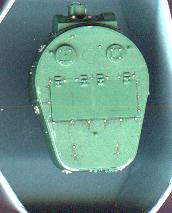
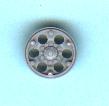
I have included a scan of a Boots own brand packet and a scan of a simple worked example of the porcelain beads in use for the domed head bolts to detail a BT 2 wheel. It is now up to you to develop the method and use it to help in your modelling skills.
Apologies for poor scan of wheel but mine is from the first generation and so is not up to the standards now offered by the latest models.
Note in countries outside of the UK, you will have to search out your own local product brand for availability and price and check to see it the canister filter has these beads of porcelain as part of the active filter.
Update - FollowupTalking to a fellow modeller at a model show recently about the use of the porcelain beads from the water filter to replicate domed buttons on figures. He expressed one main concern of, how to paint them after inserting them in the drilled depression.
This gave me food for thought, just how could you paint them successfully and keep they're round shape.
So in the good old-fashioned way I started to experiment with some beads of differing diameters.
This is what in the end seemed to be the simplest way. I started with a piece of cling film, for none UK readers; very thin clear food-wrapping material. I selected 10 beads of similar dia and put a tiny drop of printer's gold ink in the centre of the cling film. I then dropped the beads into the ink, and folded the cling film over to form an envelope. By rubbing the area of cling film with the beads in it, between finger and thumb, till the beads absorbed the printers ink, it only takes a few seconds. . I then unfolded the cling film and left the beads to dry out.
Hey Presto all the beads are now pre coloured and ready to drop into the depression in the figure after all the other painting has been completed. No need to touch up at all.
I showed this mini update to my friend and he tried it out on a Celtic broach on an ancient Briton bust, for this he used several different inks to give him the coloured enamels. By giving the finished broach a coat of gloss varnish it really looks as if it is enamelled and not painted.
The same method could be used for domed instrument warning lights in cockpits, but that is for the aircraft chaps to try out, not my field.
Ian Sadler © 2002
About the Author


All Rights Reserved. Please read our Conditions of Use and Privacy Policy.